
Introduction to SketchUp Group
SketchUp Group is a very important step during creating or designing any 3D object of the 3D model, and in this step, we group edges or parts of any 3D object for separating them from another object of the model as per the requirement of that object. If you will not group any edges as well as surfaces of any object in this software, then it may create difficulties for you during doing parametrical changes in that object, and it will also affect the geometry of other objects. So let us find how we can use group and handle its other features in SketchUp software.
How to create and use Group in SketchUp?
Making a group is a very easy task in this software, and you will have lots of advantages after grouping an object. In this article, you will learn to create grouped object as well as how you can ungroup them if want.
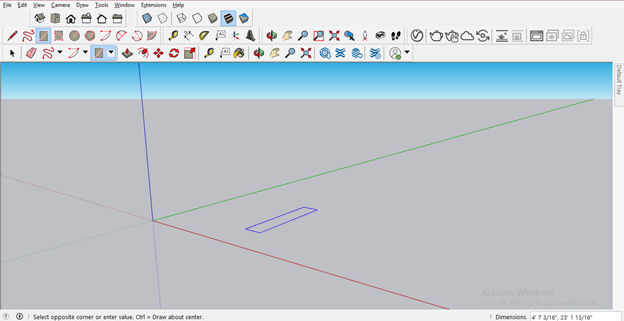
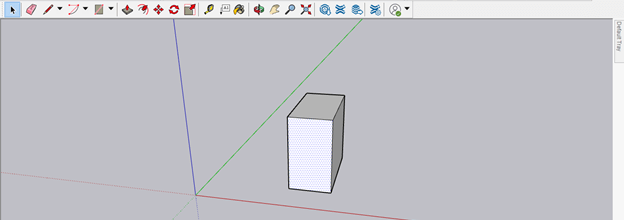
Let us first take a Rectangle tool from the tool panel or press the R button of the keyboard for it. I will draw a freehand rectangle with this tool.
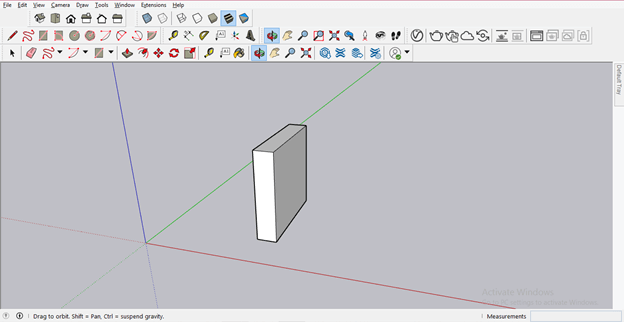
Now by using the Push/Pull tool of the tool panel, I will add some height to this rectangle.
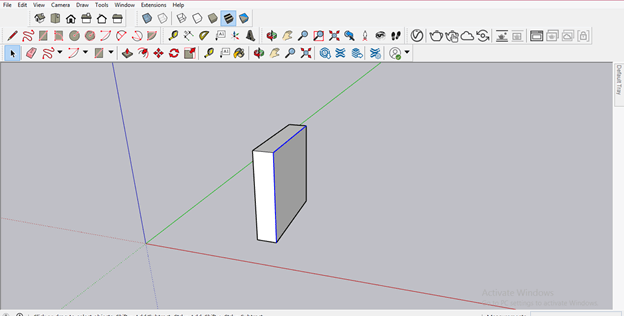
You can see we can select edges as well as their faces separately this time.
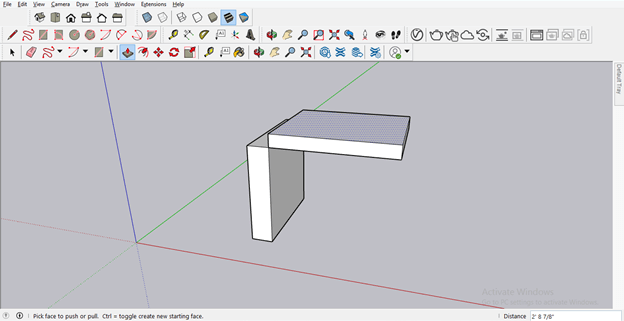
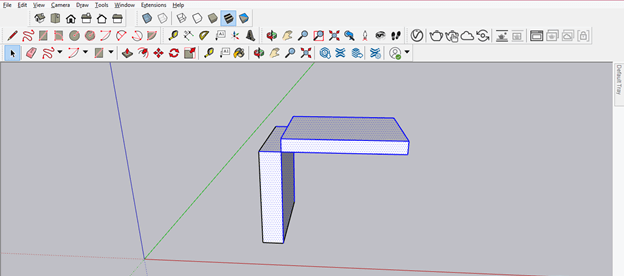
I will again draw a rectangle with a rectangle tool like this and extrude it with a Push/Pull tool like this.
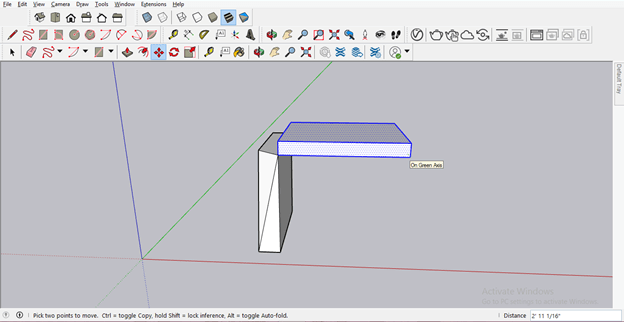
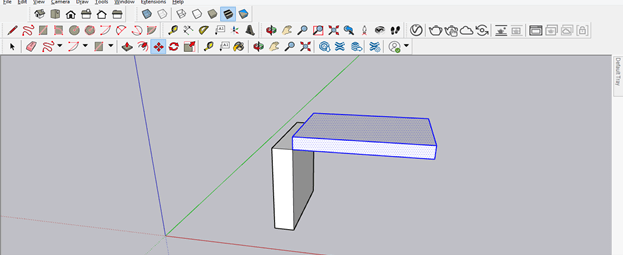
Now I want to move this top 3D object a little bit on the left side so that I will select it, but you can see it also selects edges of another object. So it is difficult to select one object this time.
But if I deselect edges of another object one by one and I try to move the upper object, then you can see it disturb another object edge; also that means the common edge or face of the adjustment object will disturb each other if we did not group them separately.
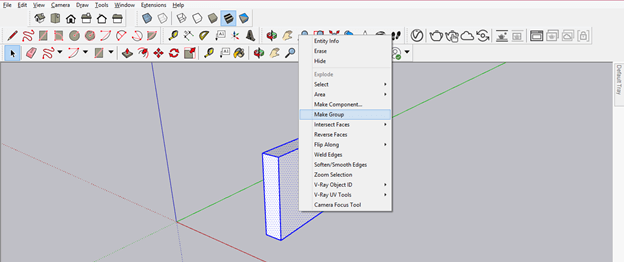
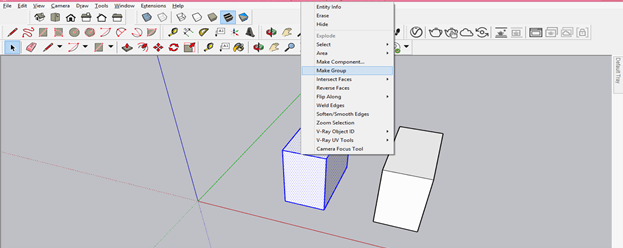
Let us back to our first object and select it completely by dragging the mouse cursor around it and then press the mouse’s right-click button. Once you make a click, this list of different options will open. Here you will find the Make Group option. So click on it for making your selected object as one group.
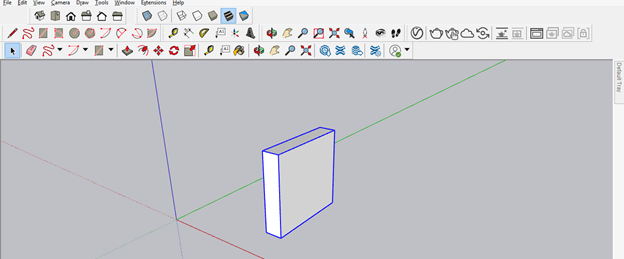
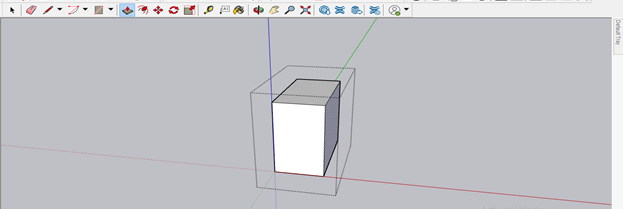
Now when you click on this object, the whole edges and faces of this object will select in just one click because they are grouped now.
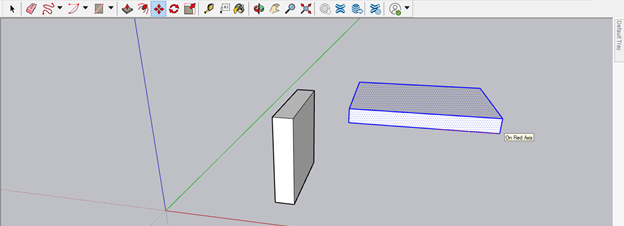
Now, if you want to move this upper object, it will only select this upper object because I have grouped them separately.
And you can see I will easily move it in any direction without affecting another object.
If you want to make any change in the grouped object, you have to double click on it, and then you can make changes to it. For example, I want to extrude the side face of this 3D object so it will make a double click on it, then use the Push/Pull tool on the surface of the side face for extruding it.
You can also make the right-click after selecting the grouped object and then choose the Edit Group option from the list for editing this object.

If you want to ungroup any grouped object, just select grouped object and make a right-click again. This time chooses to Explode the option from the list.
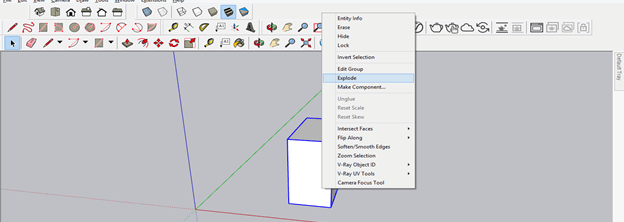
Now it is the ungrouped object, and you can select each surface separately.
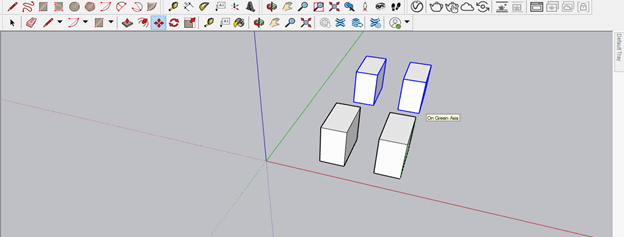
Let me tell you what the difference between grouped objects and Component is. So I will make a copy of this object. Hold the Ctrl button of the keyboard during moving an object for making a copy of it.

I will select the first object, then make a right-click and choose the Make Group option from the list for making it a grouped object.
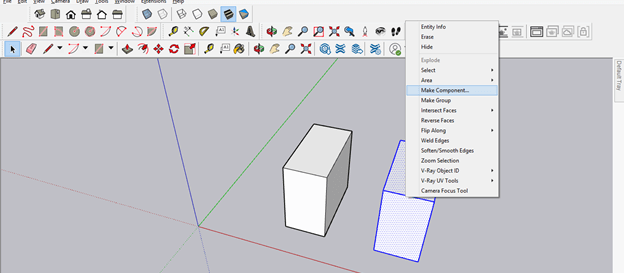
Then select the second object, and this time I will choose the Make component option from the drop-down list, which comes after pressing the right click of the mouse.
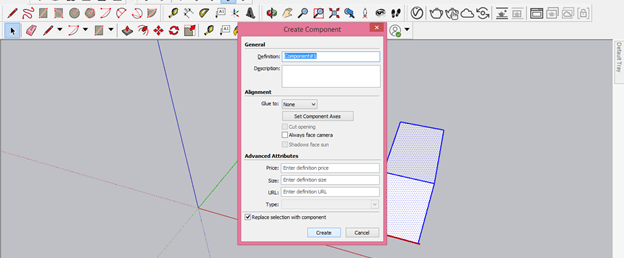
Once you choose the Make Component option from the list, it will ask you to define the name of this component. You can name it according to you, and it will help you to identify the particular object in a very large project model. I am just explaining to you how the grouped object is different from the component object, so I will leave its name as it is.
Now select both objects and make a copy of them by the same method as we did previously.
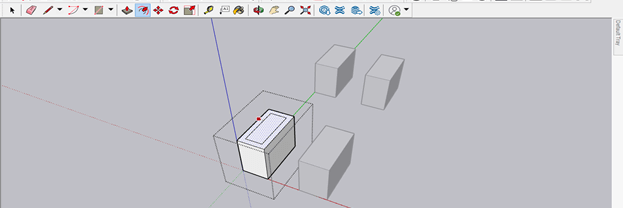
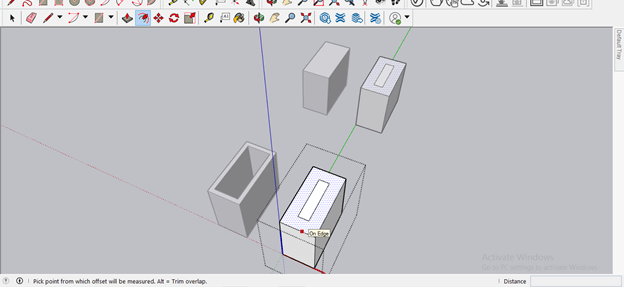
Now I want to offset the upper surface of the first object, which I have grouped. So for editing it, I will make double-click on it then take the offset tool for offsetting the upper edge. Then, finally, I will offset it in the inward direction.
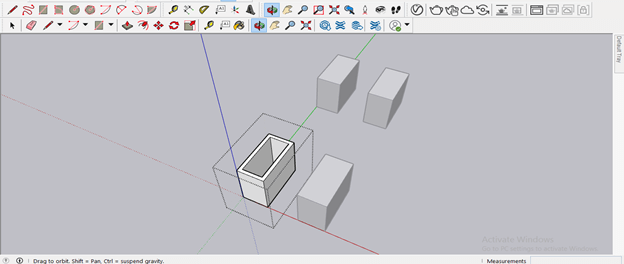
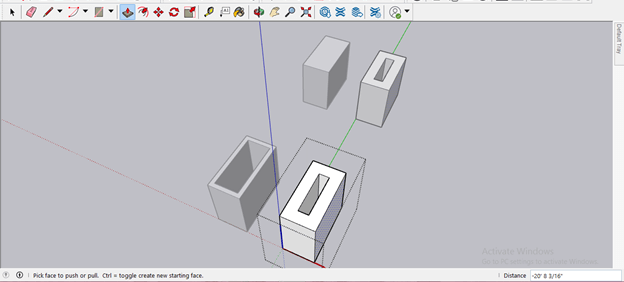
Then I will use the Push/Pull tool for subtracting the inner surface of this object. You can see other copied grouped object is not affected by the changes I have done in the first grouped object.
Now let us do the offset in the Component object also. So I will repeat all the steps as I did for the grouped object in the previous. So you can edit components in the same way as we edit grouped objects.
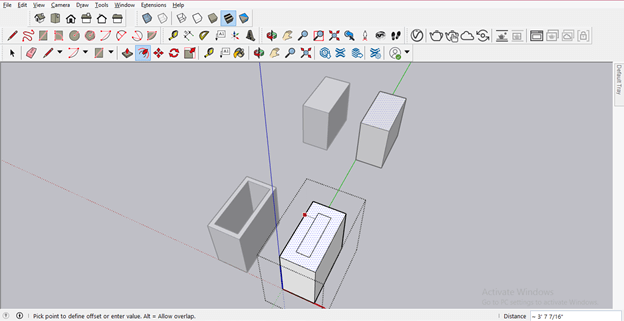
You can notice that whatever change I am doing in this object, the same will perform in the copied object of this component object.
And when I will subtract this inner surface with Push/Pull tool, then it will also subtract from the copied component object. So making a group of any object or component of any object depends on what type of work that object will perform in the creation of your 3D model.
This way, you can use the group option for making groups of edges as well as the surface of any 3D object in this software.
Conclusion
After going through this article now, you have a good understanding of the group option through which you can create a group of the 3D objects, and you also have knowledge about the importance of making a group and how it makes our work easy during working on 3d modeling. For example, just group all the surfaces and edges of any object after making it to become easily editable without affecting other objects.
Recommended Articles
This is a guide to the SketchUp group. Here we discuss How to create and use Group in SketchUp, the importance of making a group, and how it makes our work easy while working on 3d modeling. You may also look at the following articles to learn more –
