Introduction to 3D Text in Photoshop
Photoshop is an amazing designing software, and play with 3D Text in Photoshop also has great fun. 3D Text gives a three-dimensional view and realistic feel to your text. In the 3D text tutorial, you’ll learn different formations, shaping, adjustment, and alignment of 3D text. Here you’ll take a look at ‘How to create 3D text in Photoshop’ with me in a very easy and enjoying way. For this exercise, you will have a minimum CS6 version of Photoshop and will get the best result with the CC version.
Steps for Creating 3D Text in Photoshop
Let’s start with a cool mind and feel fun in our work.
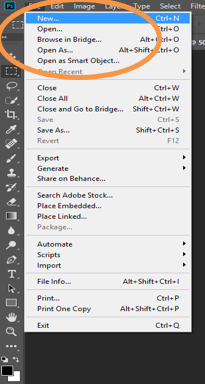
Step 1: Go to the File option and click on New.
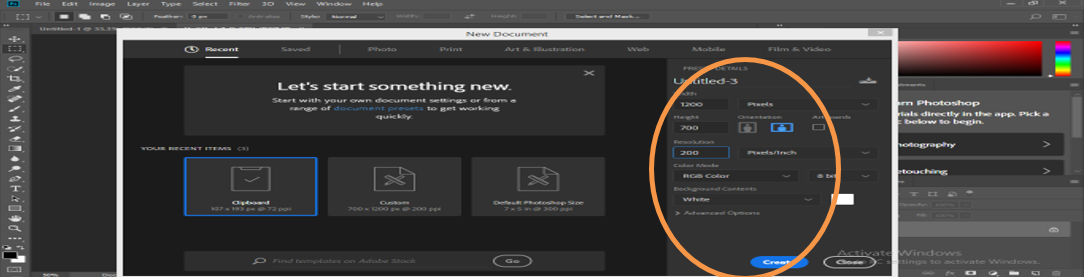
By following the above step, we will have a dialog box open in our workspace. I will set page Width 1200 pixels and Height 700 pixels, and Resolution 200 pixels/niche for the best result in this dialogue box. I will take a white color for my document background; you can take any color according to your text.
Here you can set color mode also, i.e. RGB or CMYK, for different purposes. Click on Create button in the dialog box for setting these measurements.
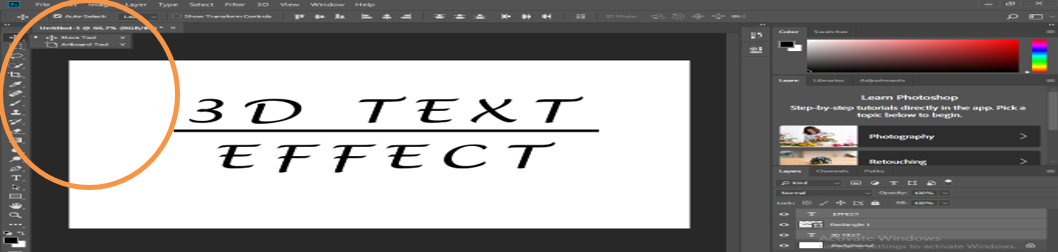
Step 2: Go to Tool Panel, and here we’ll take text tool from Tool Bar.

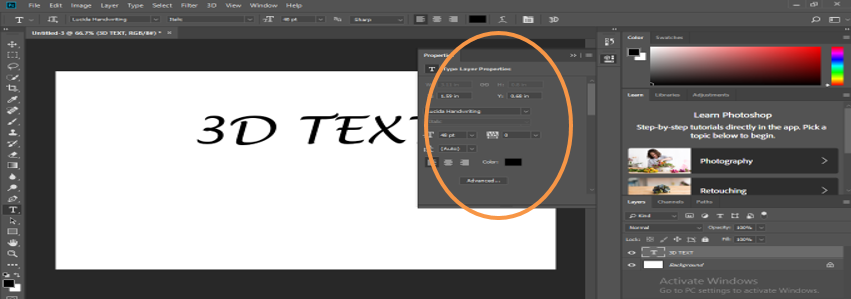
And I will type ‘3D TEXT’ as my text for 3D effect and click OK on the upper-right corner as shown in the above image. For giving your text the best 3D effect, it is better to take the upper case of the text as I have taken. You can resize your text according to you from Text Property of text, i.e. ‘Toggle the character & Paragraph panels’ option at the upper right corner of your workspace.
After clicking on this option, you will have a dialog box; now, I will resize my text and remove the gapping between text for a better look; you can set it according to you and take it at the center by holding the right button of the mouse and drag it at the center.
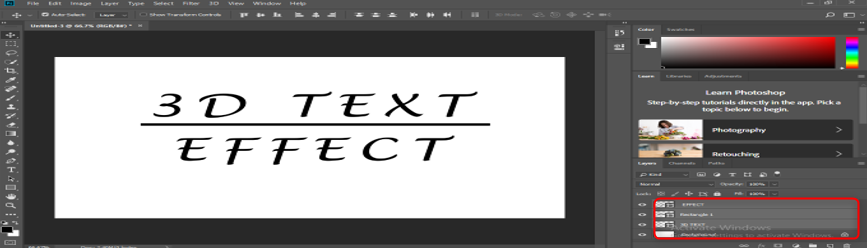
I will add an underline below my text by rectangle tool to make my text effective and write another text, i.e. ‘EFFECT’ and manage its size and text gapping according to my previous text by following the same steps as the previous text.

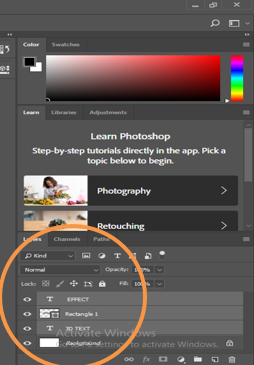
Step 3: Now, we are going to work with layers.
Here we have four layers in our current workspace, i.e. 3D TEXT layer, Rectangle 1 layer, EFFECT layer, and Background layer.
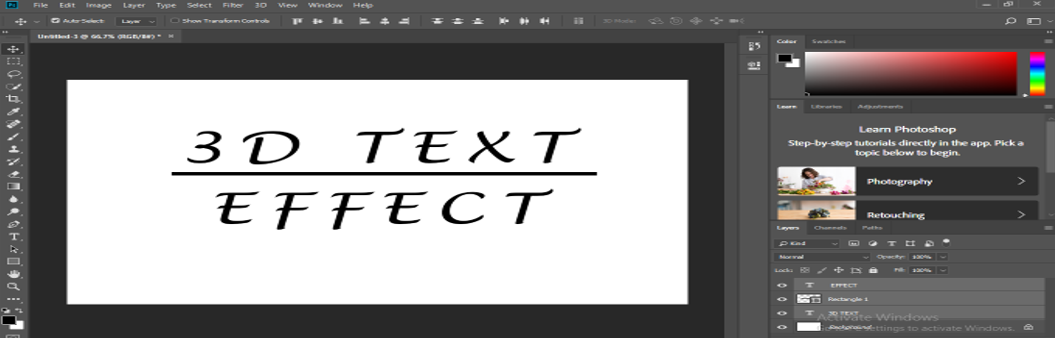
We will align our all three layer of text to center by using the move tool from tool panel with a background.
Layer results.
Step 4: Convert to Shape and Merge layers.
To convert our text in shape, right-click on the ‘3D Text layer’ and click on the ‘convert to shape’ option. We will do the same with the EFFECT layer.
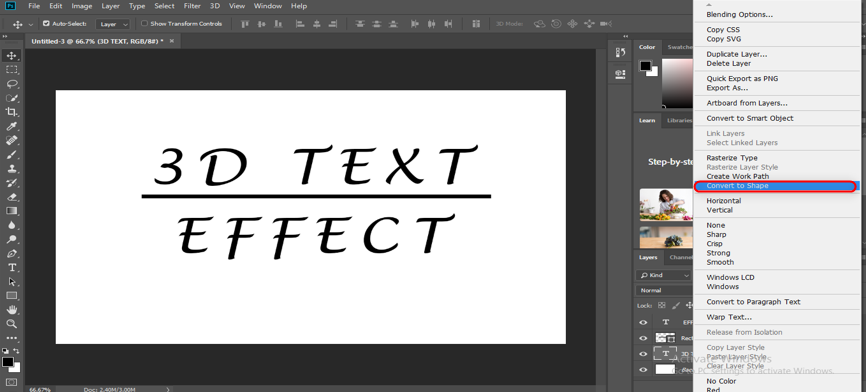
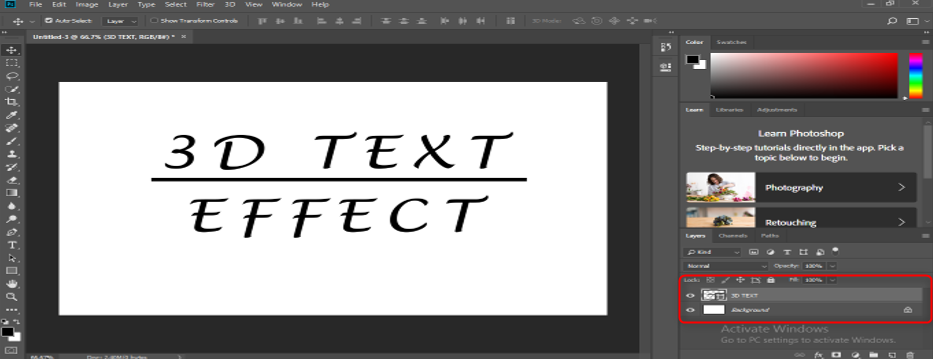
Now I will merge all the above three layers by selecting them. For selection, click on one layer and hold the Ctrl key, then click on another two-layer one by one and then Ctrl+E for merging.
Now we will have a new merged layer.
Right-click on this layer and choose the ‘New 3D Extrusion from Selected Layer option.
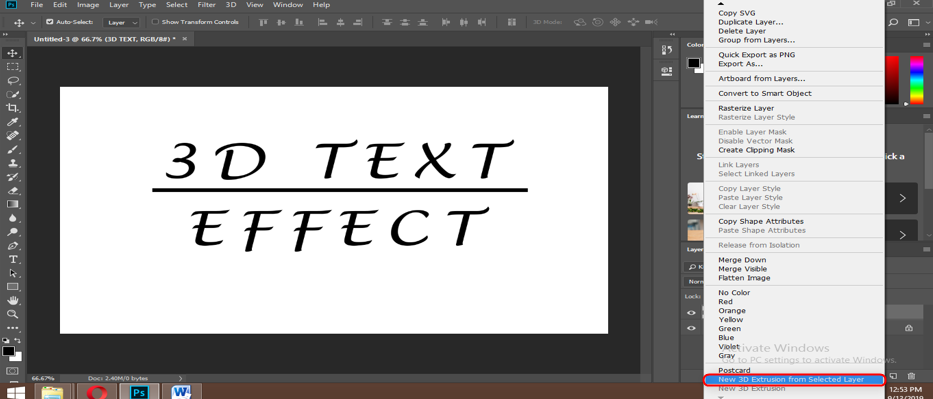
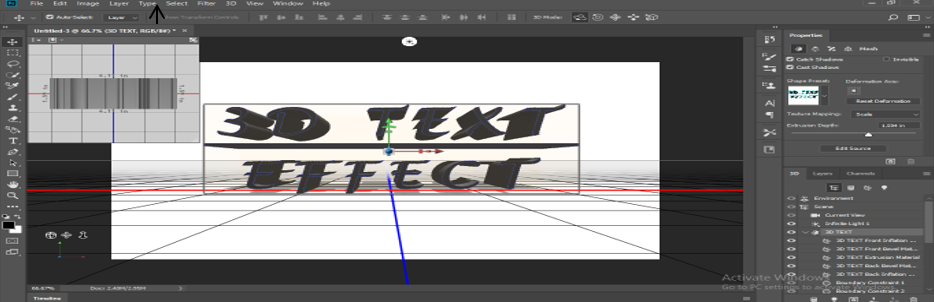
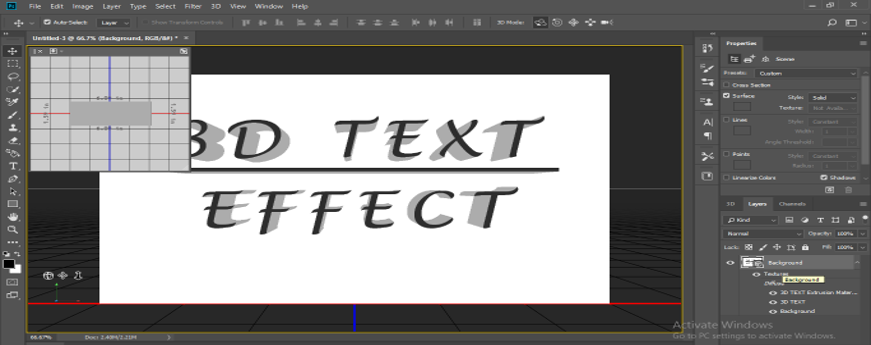
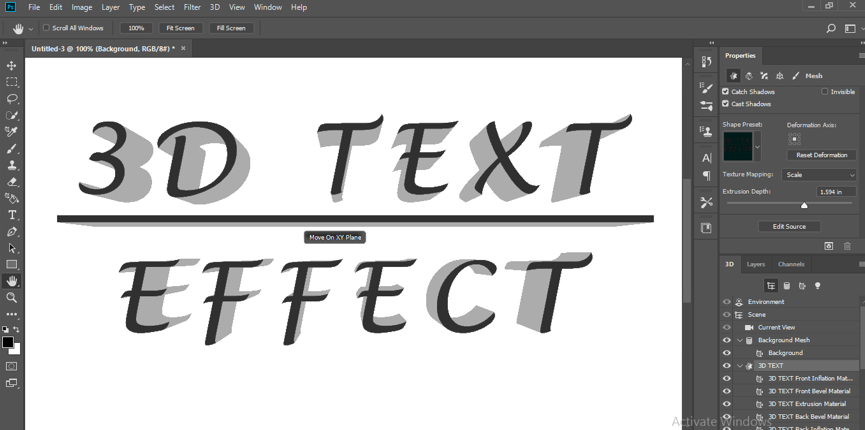
After this step, we will find our text converts into 3D and will have a 3D work shape on our working area.
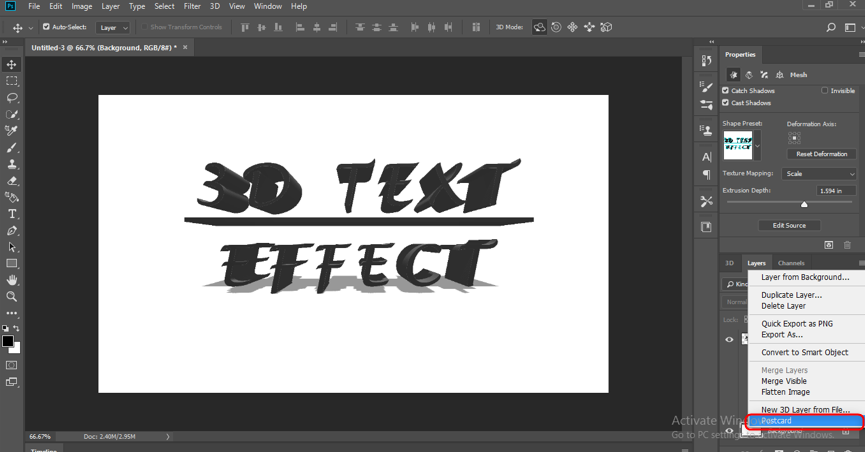
Step 5: Converting Background into Postcard.
Go on the Background layer and right-click on it, and choose the postcard option by clicking on it.
Select the background layer and 3D text layer by holding the Ctrl key, clicking on them one by one, and press Ctrl+E to merge them.
Step 6: Set Parameters of 3D Text.
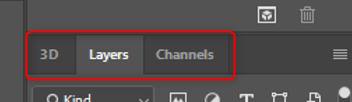
Here we have three options in our workspace at the lower right corner, i.e. 3D, Layers, and Channels. We can go on any of the options by simply clicking on them to set their parameters.
Now click on the 3D option from these option for setting the parameters of 3D Text and click on the effects option and again click on ‘effect front inflation material’.
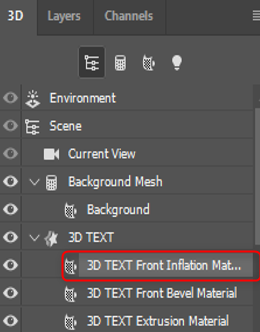
You can set different parameters of 3D text from here one by one for giving it an effective look. In the 3D option, there are many effects that we can adjust according to our use.
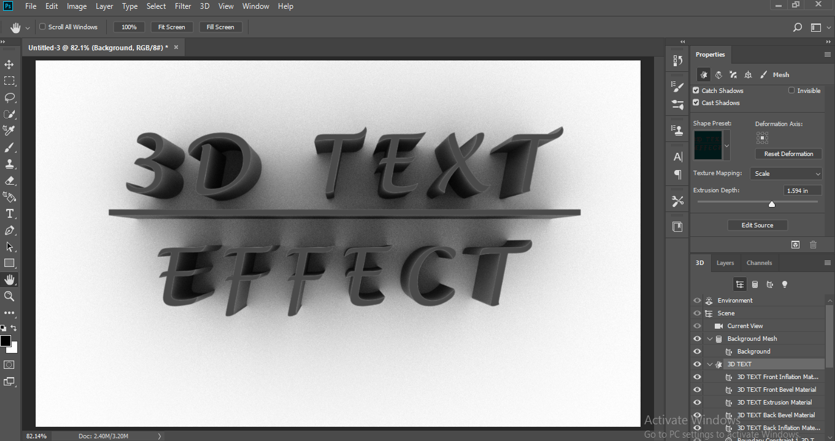
We will have a dialog box in the upper right corner showing the ‘Properties’ title. Now I will set some value of 3D text for giving better effect to our 3D text.
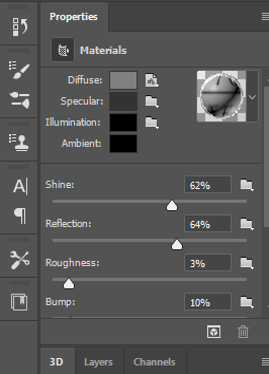
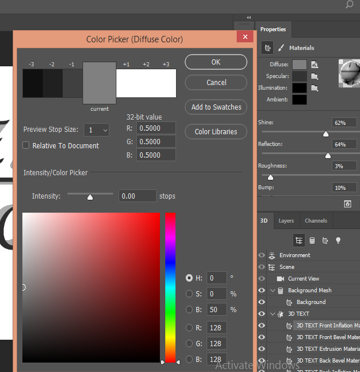
Here I will set shine and reflex according to me; you can set as you like. You can also change the color of text by clicking on a diffuse option from here, whatever you want in your 3D text.
Now here is your final 3D text Effect.
You can use more effects in your 3D text step by step to give it a realistic look.
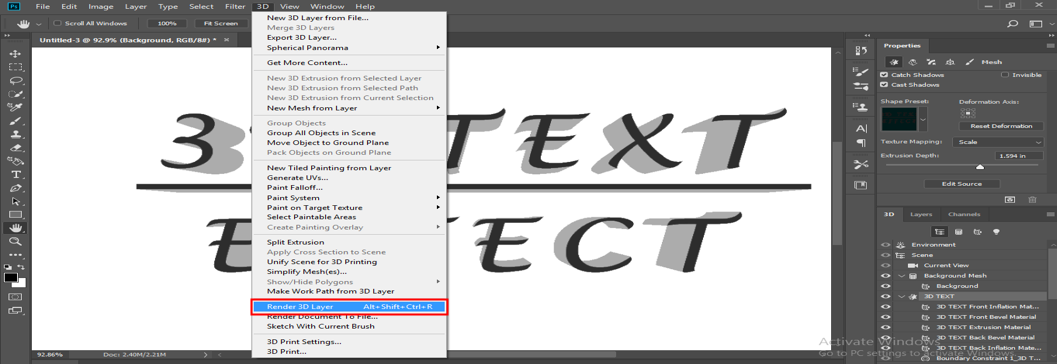
Step 7: Give Render to your 3D text.
To render, just click on the 3D option and select Render 3D Layer to give render effect to your 3D text.
Here you can see the effect of render in my 3D text looks very cool. You can also make this effect in your own 3D text.
Conclusion
Now take a look at you; after following these 5 simple steps, you can easily make a 3D text effect in your Photoshop with great fun. You will find creating 3D text in Photoshop is not hard work; in fact, it is like playing with text on your workspace.
Recommended Articles
This is a guide to 3D Text in Photoshop. Here we discuss a basic overview and steps to create text in photoshop with illustrations. You can also go through our given articles to learn more –
