Introduction to ZBrush Hair
ZBrush Hair can understand as adding/creating hairs for the different parts of our model sculpture or to any other object which need to have hairs on its surface. In Zbrush, we have a Fiber panel in LightBox tab of this software through which we can add our desired type of hair structure to our model but for having our desired end result we have to go through some important settings of different parameters which we can find in the right-hand side section of toolbar of this software. So I will today show you how you can add hairs to the beard of a men sculpture.
How to Use ZBrush Hair?
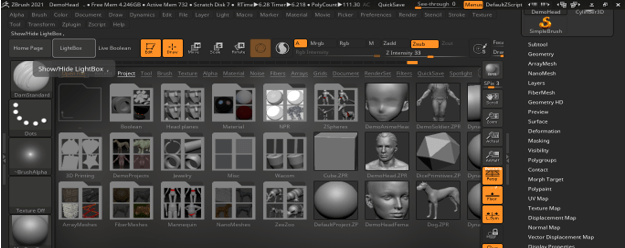
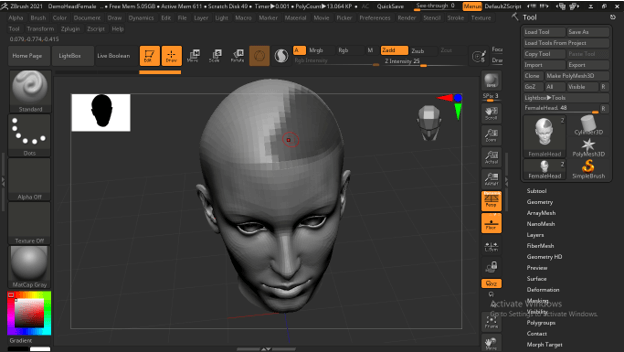
To use ZBrush Hair for creating hairs on the surface of an object of sculpture in this software is not a very big deal we just have to go through some of the parametrical settings for getting our desired result. So let us start our discussion about this topic. I will first have a model face on which I will create hairs on beard area of it so I will go to LightBox panel of this software which is at the top left corner of user screen and click on it.
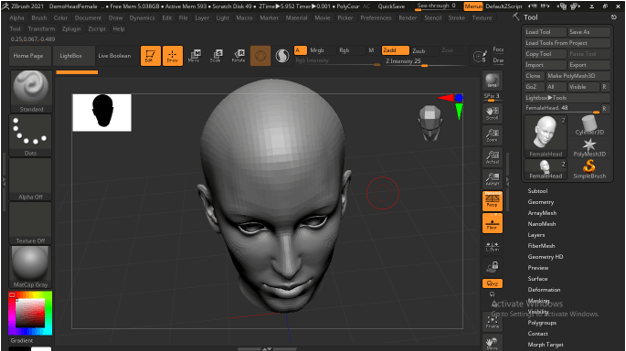
I will choose this Head Female preset model face from the list of Project panels by making a double click on it.

Once I will make double-click it, it will open automatically on the user screen of this software or you can have a dialog box for choosing file of this model. So choose your desired file.
And now we can rotate or move our model on the screen according to our requirements.
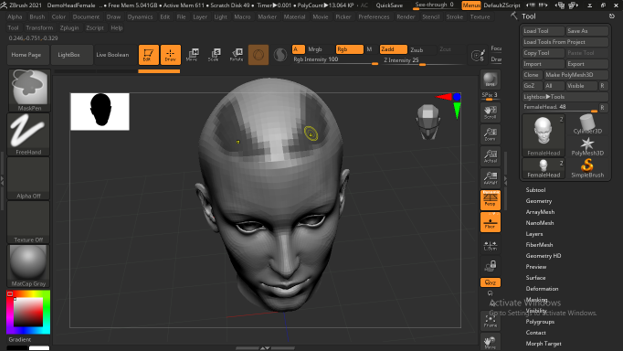
Now mask the area on which you want to have hairs. For turn, this mouse cursor into mask tool hold Ctrl button of keyboard and it will turn into yellow mouse cursor that means you are in mask brush tool mode.
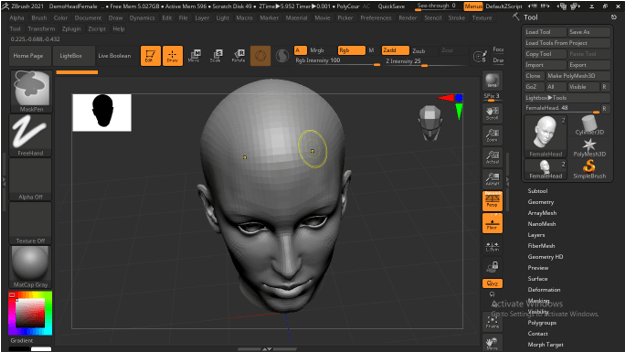
Now drag with this cursor on the area which you want to cover with hair. I will draw this area on the scalpel of this female sculpture. All the dark areas can understand as mask areas.

You can increase or decrease the size of the mask brush tool any time according to your suitability by pressing [ or ] keys of the keyboard.
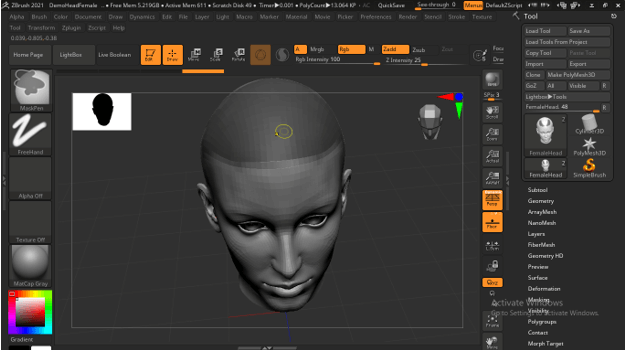
If you are in symmetry mode by pressing the X button of the keyboard then it will draw the same mask area on the both side so it is your choice in which mode you want to draw a mask area.
I have created this mask area for the hairs on the head of this model. You can create it as per your choice and can also do this for hairs of beard area.
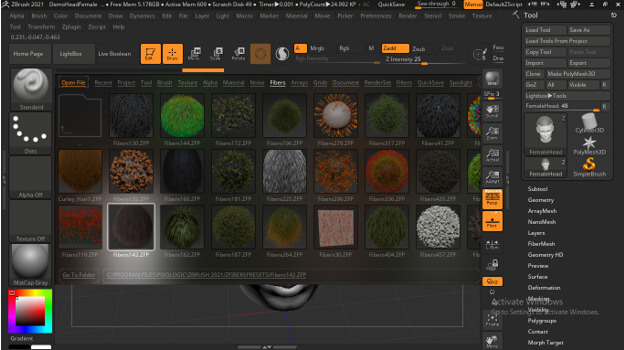
Now let us create hairs on this area and for that again go to the Light Box tab of this software then click on the Fiber panel of it which you can find in the same list of Project panel. Here we have a number of fibre preset. Which we can use as per our choice. We can also download any fibre preset from the internet if we want.
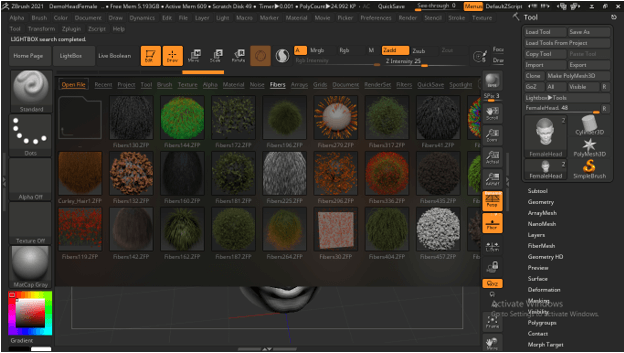
You can choose any one of them according to your requirement. I will choose this Fibers 142 model from this list by making a double click on it.
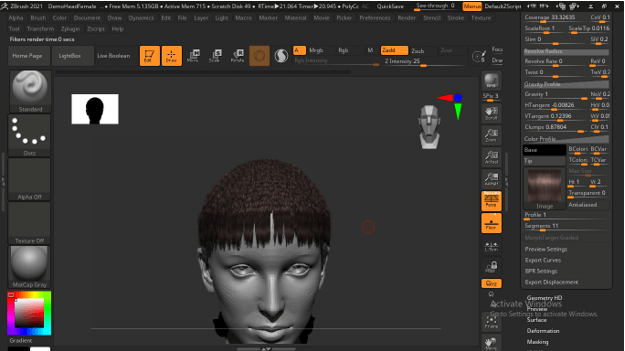
Now go to the different panels or tool bar section which is at the right side of users screen and click on FiberMesh tab of this section. Here we have the Modifiers section for making modifications in the applied fibre mesh so click on it.
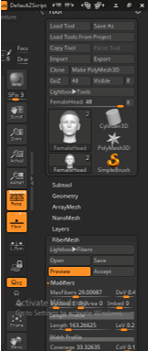
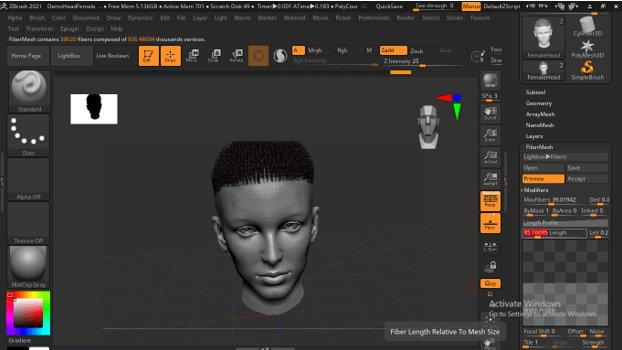
In this Modifiers tab we have a number of parameters in which we can make variation and Gravity is one of the options through which we can change the direction of hairs that means if the gravity value will high then hairs will be in a downward direction or if the value is low then hairs will be in an upward direction so we can make a variation in the high and low value of gravity for having different changes in the direction of hairs.
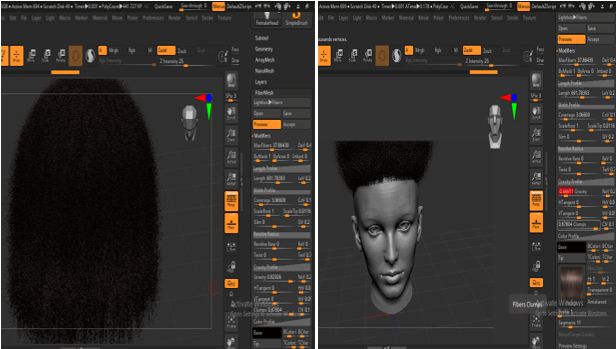
At the top of this Modifier panel, we have the Maxfibers option that helps us to increase or decrease the density of the hairs on the applied area. So as per your requirement you can change its value.
Next is the Length Profile option which is below the Maxfibers option in this panel and by increasing or decreasing its value we can adjust the length of the hairs on the applied area.
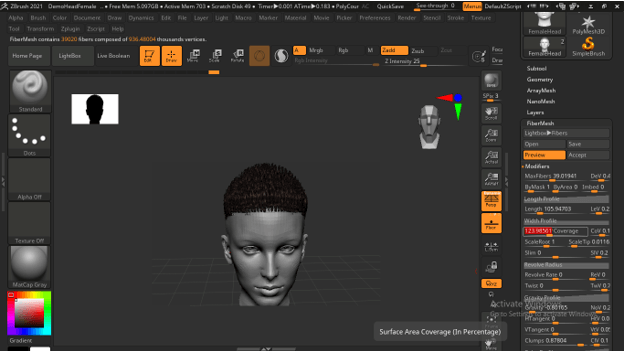
The next option is Coverage which is in the Widht profile option that can use for increasing or decreasing the width or thickness of the hairs.
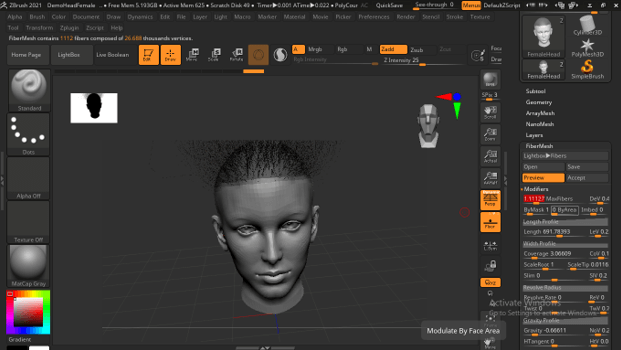
If you want to see how thick hairs will look in reality then go to BPR tool which is here next to tool bar and click on it.
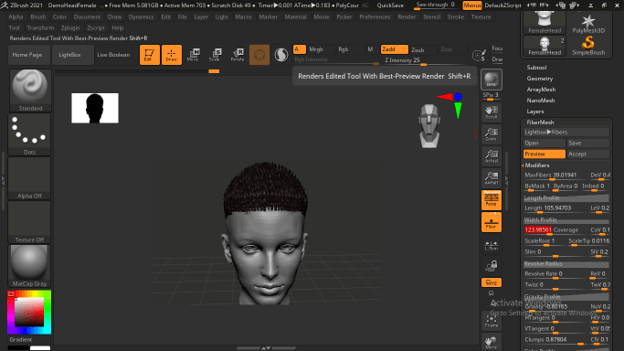
Once you make click on it in few second it will show you rendered output of your created hairs.
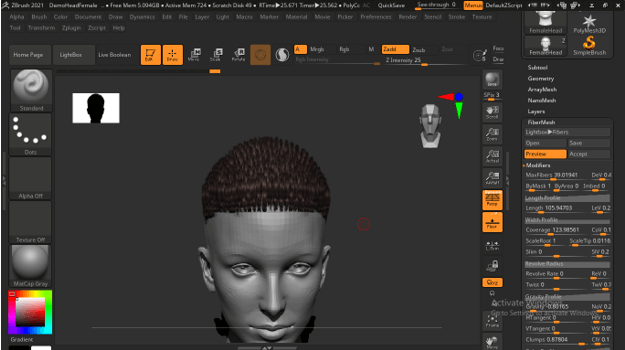
If you are not satisfied with the result then you can again go to the Modifier panel of Fiber mesh and change the value of Coverage option of Width Profile for making hairs thick or thin as per your choice. Not only Coverage value but you can make changes in the other values also for getting desired end result.

And again check the rendered output by the same way as we did in previous and you can see the hairs a finer than pervious structure of hairs.
These are some settings of different parameters of Fiber Mesh in which you can make changes for having your desired type of hair structure for the sculpture model. Creating hairs for your model Zbrush offers you a number of cool parameters with which you can play without having any difficulties.
Conclusion
Now I am sure it is easy for you to create hairs for your model or any other 3d object by using fibre mesh options and their properties. You can play with the parametrical settings of this fibre mesh for having different variations in your created hair structure. You can also download basic fiber mesh from internet if you don’t want to use preset of this software.
Recommended Articles
This is a guide to ZBrush Hair. Here we discuss the Introduction, How to use ZBrush Hair? respectively. You may also have a look at the following articles to learn more –
