Updated May 29, 2023
XML in Excel (Table of Contents)
Introduction to Extensible Markup Language (.XML)
Designed for storing and transporting data. It is a markup language similar to HTML. XML File appears as below mentioned, where it is a note to John from Craig.
XML File type & structure appears as below mentioned:
<note>
<to> John</to>
<from> Craig</from>
<heading>Reminder</heading>
<body> Don’t forget me this weekend!</body>
</note>
- XML is just a piece of information wrapped in tags, just like the above-mentioned note.
- Usually, most XML applications work as expected, even if you add new data (or it is removed).
- XML Simplifies tasks like data transport, sharing, availability & platform changes.
- The XML standard is a flexible & easy way to create information formats.
- XML helps electronically share structured data via public or corporate networks.
- XML is a hierarchical structure.
Definition of XML & XSD
- XML Schema language is also called XML Schema Definition (XSD).
- XSD defines the structure of the XML file, which needs to be created, and indicates where the columns need to be mapped in the tabular Excel data.
- It is also called Extensible Stylesheet Language Transformation (XSLT) or (.xslt file).
- XSD implements data type and validation to file.
- XSD allows you to create elements, Data relationships & Data validation is defined in XML.
- XML data files (.xml) contain custom tags and structured data.
How to Import XML Files in Excel?
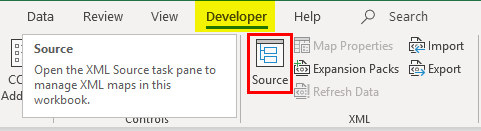
You can import the XML file in Excel from the source option in the Developer tab. If the Developer tab is unavailable in the Ribbon, you need to add the tab with the mentioned steps or procedure.
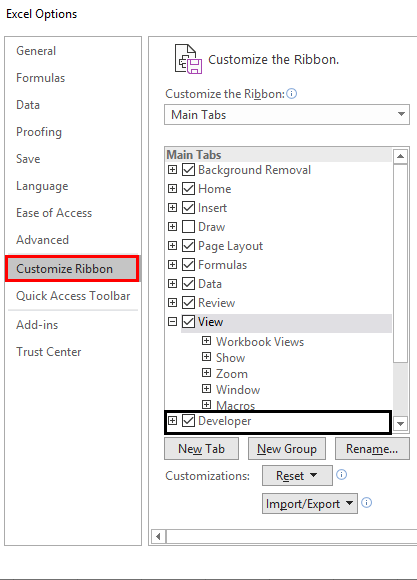
Go to “File” and select “Options.” and select “Customize the Ribbon”, or you can right-click on the Home tab and select “Customize Ribbon”, as shown below.
In Excel Options –
When you return to the main Excel page, you will see the Developer tab next to the View tab at the top. In that, if you need to select the source tool to map elements in your XML to your spreadsheet.
Let’s check out the steps available to convert an Excel file to an XML data file & vice versa.
Step 1 – To Convert your Spreadsheet into XML, you need a Markup Schema
This markup schema defines each field you’ll use in your XML file, i.e., the structure of the XML file. We have to do this outside Excel in the other file type.
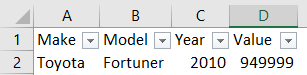
In the below-mentioned spreadsheet, I have four types of columns & information, i.e., Car makes Car model, year of manufacture, and last, Car cost or value. So, our Excel schema will have four different tags, and we must create them.
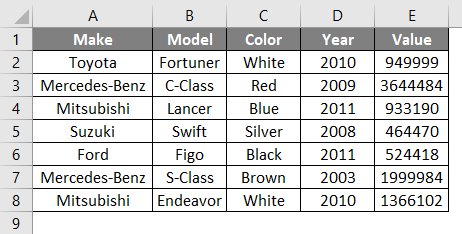
The above spreadsheet contains four columns, each of which will become an element. It provides details about a car type and its information, i.e., the brand name, model name, and year of purchase it is cost or value. The car data in the above cells of Excel are not independent. For example, I have four cells in a row; all that row data is related to each other.
Open Notepad and add the following two lines; they are the standard information that XML files need initially. (Note: It is optional ).
<?xml version="1.0" encoding="UTF-8" standalone="yes"?>

<data-set xmlns:xsi="http://www.w3.org/2001/XMLSchema-instance">
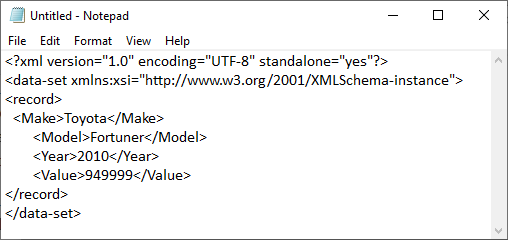
The element is declared from line three onwards. The record tags, i.e., < >, define a single record described in our spreadsheet. Whereas other tags define the relevant pieces of information under that record. i.e.
<record>

<Make>Toyota</Make>

<Model>Fortuner</Model>

<Year>2010</Year>

<Value>949999</Value>

</record>
Finally, add the closing </record> tag at the end of the file in the notepad.
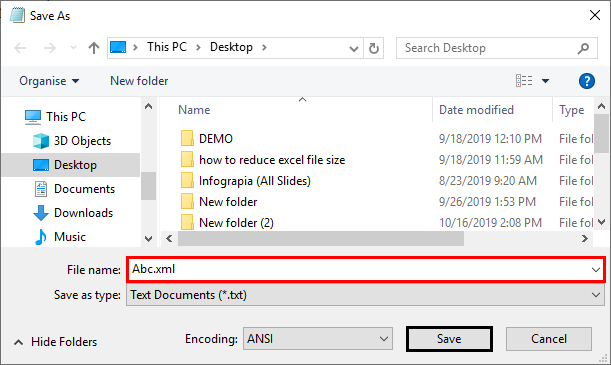
I just added the first-row data for the explanation purpose. You can add as many rows based on your choice. Once you enter the data in the notepad, save it as test.xml in the file name and save it on the desktop. Again, you can start with <record> after the </record> tag.
Later, you can create a new Excel file with the filename XML.xlsx
As you have noticed, we entered one car detail (one record) in the XML file (NOTEPAD). You have created a markup schema and saved it on your desktop.
Step 2 – How to Add this Markup Schema to New Excel File
In the Developer tab, click on Source in the XML section.
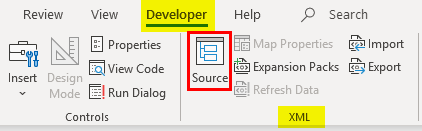
XML window pane appears; click on XML Maps.
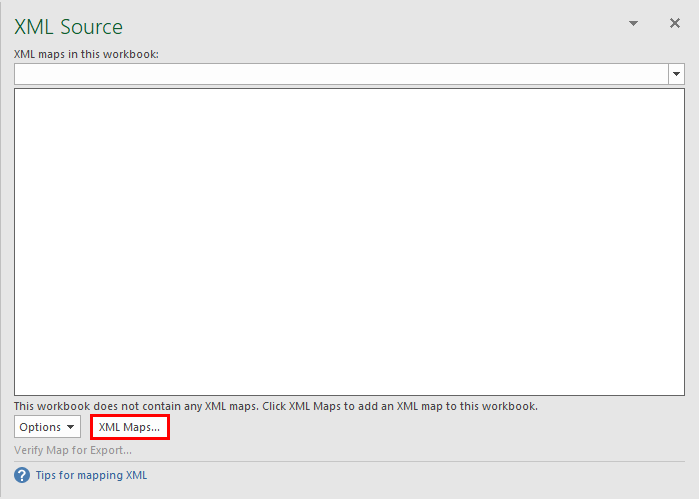
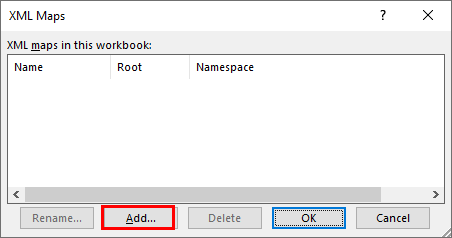
XML Maps window appears; in that, Click Add in the resulting window.
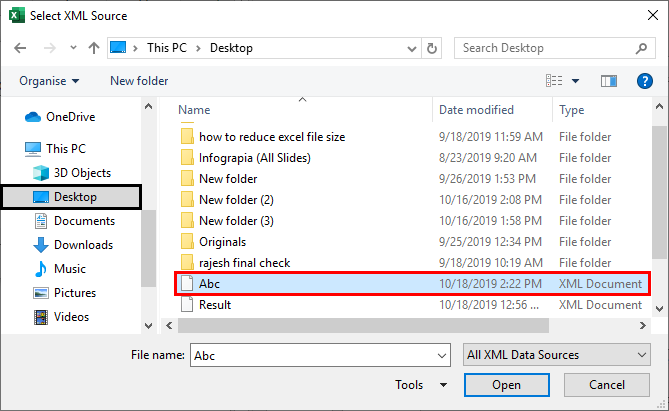
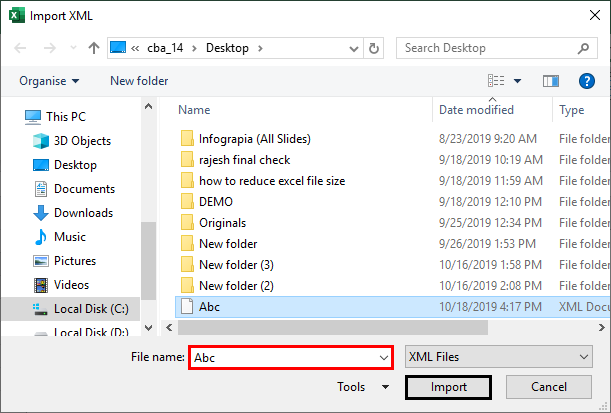
Then you can navigate to your XML file on the desktop, which you saved as Abc.xml, and you can select it.
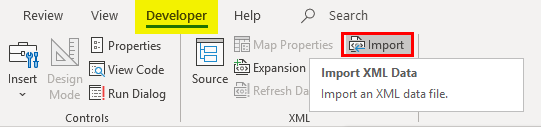
Due to Excel version issues in my system, I am uploading other .xml files with another option. The other option in the developer tab is to select Import in the Home tab.
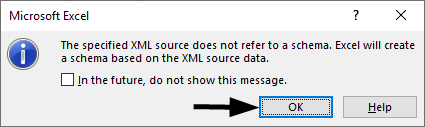
Once you select a .xml file on the desktop, a popup appears; click Ok.
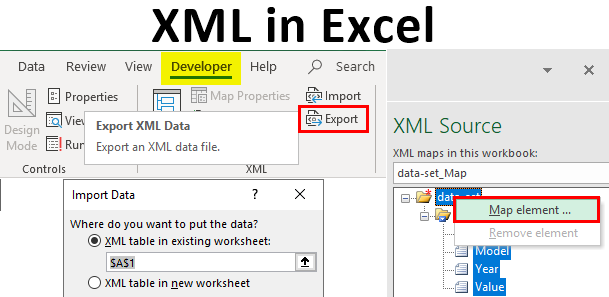
To import this Excel data, right-click on the XML file name and select the MAP Element option.
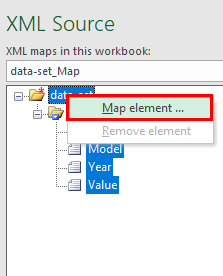
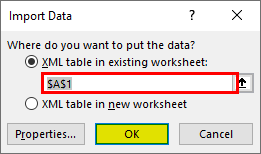
Then you will see the following popup; select the location where you want your data.
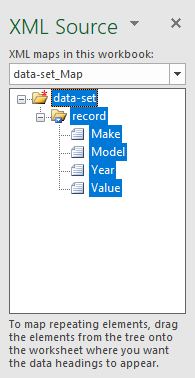
Then you will see the table headers in your Excel sheet.

Now under the developer tab, click on Import.
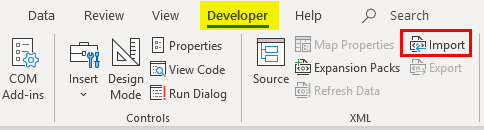
It will open a window to select the file.
Output:
Another popup asks for cell reference, where you want the data placed.
The import .xml file type appears as shown earlier. Similarly, the Export feature in the developer option will be available in your spreadsheet containing XML file data; otherwise, an Export option will be greyed out.
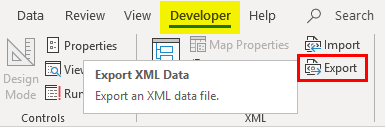
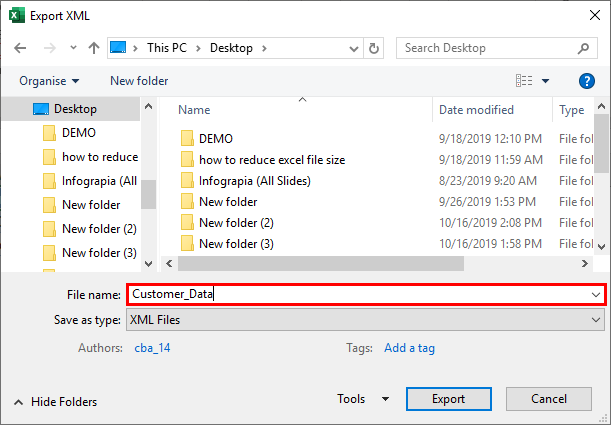
Here, I opened an Excel file containing XML data; I can export it and save it as a .xml file type anywhere with an export option in the Developer tab.
Things to Remember About XML in Excel
- Every bit of data you enter has to start and end with an identical tag, i.e., start with < Record> Data </Record> (End with).
- Tag names are case sensitive, i.e., capitalization in the end tag should be the same as the beginning tag.
- The XML file should always begin and end with a root tag. There can only be one root tag in a file. In the example above, the root tag is <Record>.
- You can have an empty tag, i.e., mention or put the slash at the end of the title instead of the beginning: <Record> </Record>.
Recommended Articles
This is a guide to XML in Excel. Here we discuss How to Import & Export XML Data files, practical examples, and a downloadable Excel template. You can also go through our other suggested articles –
