Updated June 13, 2023
Excel VBA XLUP
VBA XlUP is a snippet that is used to find out the last row of the given data set in an Excel table. So how this snippet or code or statement does works in VBA. It loops through each instance of the row and adds each instance to the outcome. The loop stops when it reaches the last used cell, and the number of instances the loop executes is the last row of the data.
So this snippet works similarly to the keyboard shortcut we use in the Excel worksheet: CTRL + Down Arrow. This is also known as the range-end property method.
How to Use VBA XLUP in Excel?
The following examples will teach us how to use XLUP Property in Excel by using the VBA Code.
Example #1
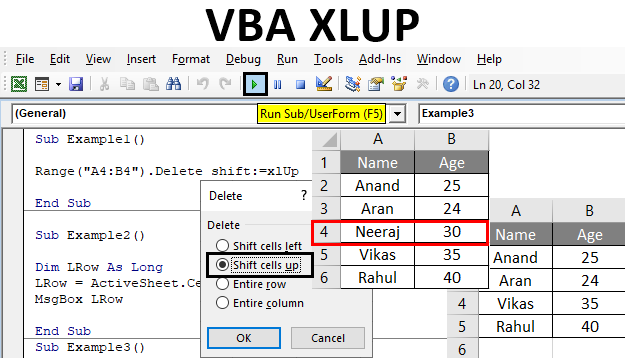
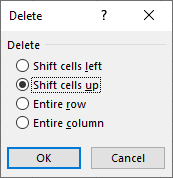
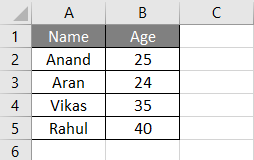
Let us begin with the first example, where we will use the worksheet method of removing data from cells using the keyboard shortcut CTRL + -. When we do this operation on cells with data, Excel gives us certain options, like what we want to shift cells or the rows up, left, right, or below. For example, let us see the data we have below,
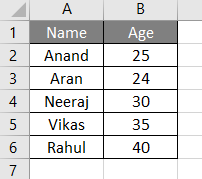
So let us delete the cell range A4:B4 using the XlUP method. For this, follow the below steps:
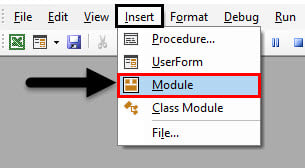
Step 1: Insert a new module inside Visual Basic Editor (VBE). Click on Insert tab > select Module.
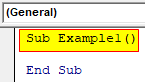
Step 2: Now write the sub-procedure for VBA XLUP.
Code:
Sub Example1()

End Sub
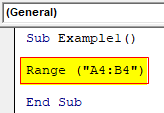
Step 3: We will use the range property method to decide which range we want to delete, which is A4:B4.
Code:
Sub Example1()

Range("A4:B4")

End Sub
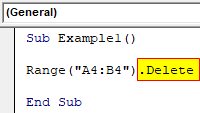
Step 4: We can use the.Delete property method to delete the data from these two cells.
Code:
Sub Example1()

Range("A4:B4").Delete

End Sub
Step 5: When we do the same in Excel to remove the cell data, we get these options.
Code:
Sub Example1()

Range("A4:B4").Delete shift:=xlUp

End Sub
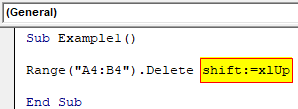
Step 6: Since we want to shift the cells up when the cell data is deleted, we will use Shift Statement with the XlUP snippet.
Step 7: Run this code by hitting the F5 or Run button. We can see the changes in our data.
Example #2
We can also use the XlUP End snippet to find out the last row in the data. In this example, let us operate the same data in sheet 1 and find out the last row. For this, follow the below steps:
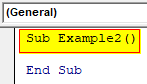
Step 1: Let us begin with another sub-procedure in the same Module.
Code:
Sub Example2()

End Sub
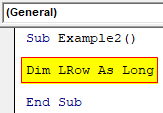
Step 2: Let us declare a variable that will hold the value for our last row. Since the number of rows in Excel exceeds the integer value, we will use the long data type.
Code:
Sub Example2()

Dim LRow As Long

End Sub
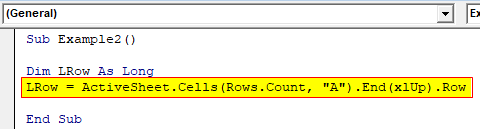
Step 3: Now, in the variable, we will store the value of the last row. We can choose any column to find the last row with data, but using the column with a unique index number, such as the unique name in this data, is preferred, so we will use column A.
Code:
Sub Example2()

Dim LRow As Long
LRow = ActiveSheet.Cells(Rows.Count, "A").End(xlUp).Row

End Sub
Step 4: Now, we can use the Msgbox function to display the value of the last row stored in the variable.
Code:
Sub Example2()

Dim LRow As Long
LRow = ActiveSheet.Cells(Rows.Count, "A").End(xlUp).Row
MsgBox LRow

End Sub

Step 5: Run this code by hitting the F5 or the Run button placed at the uppermost ribbon of Visual Basic Editor.
Example #3
In the above example, we have used the XlUP Snippet for the last row, but we can also find out the last column using a type of this snippet. In this example, we can use the same data from sheet 1. For this, follow the below steps:
Step 1: So let us declare another procedure in the same Module.
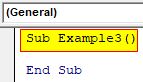
Code:
Sub Example3()

End Sub
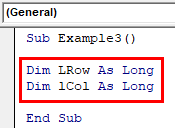
Step 2: We need to declare two variables, one for the row and another for the column.
Code:
Sub Example3()

Dim LRow As Long
Dim lCol As Long

End Sub
Step 3: In the first variable, we will store the value of the last row by finding the last used cell in the column.
Code:
Sub Example3()

Dim LRow As Long
Dim lCol As Long
LRow = Cells(Rows.Count, 1).End(xlUp).Row

End Sub

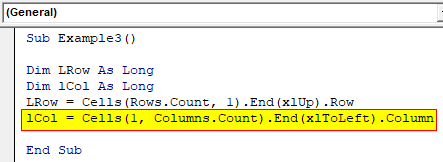
Step 4: Similarly, in the second variable, we will store the value of the last column by finding the last blank cell in a row.
Code:
Sub Example3()

Dim LRow As Long
Dim lCol As Long
LRow = Cells(Rows.Count, 1).End(xlUp).Row
lCol = Cells(1, Columns.Count).End(xlToLeft).Column

End Sub
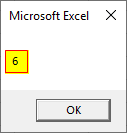
Step 5: Now, we can display both the last row and the last column using the Msgbox function.
Code:
Sub Example3()

Dim LRow As Long
Dim lCol As Long
LRow = Cells(Rows.Count, 1).End(xlUp).Row
lCol = Cells(1, Columns.Count).End(xlToLeft).Column
MsgBox "Last Row: " & LRow & vbNewLine & "Last Column: " & lCol

End Sub
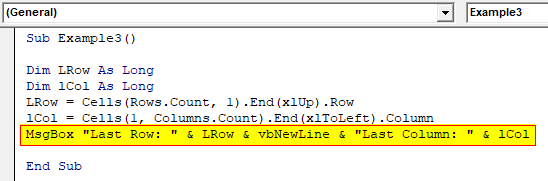
Step 6: When we press F8, we can see how this procedure works.
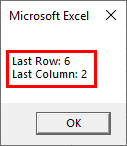
To explain, we used column A to find out the last cell, which was in the sixth position; thus, the previous row was 6, and in a row where the last cell is the last column, hence the column position.
Explanation of VBA XlUP:
As we have learned from the above examples, the XlUP snippet can be used daily. We can use it to remove data, or we can use it to find the last row. But apart from the usage, there are some demerits of using this, such as we can find the last row or the last column at a time. But if we are to find the last used cell, we have to use two different statements for row and column, and by referring to them, we can find the last used cell.
There are two uses which are explained in the examples above:
- First, which is used with the shift statement to delete the data from a cell range using the Shift property.
- The second application uses the End statement to find the last row of the property.
Things to Remember
There are a few things that we need to remember about VBA XlUP, and they are:
- VBA v is a snippet used to find out the last row of the property.
- This snippet can only be used in a single row.
- It is pretty simple to the keyboard shortcuts involving CTRL + Down Arrow.
Recommended Articles
This is a guide to the VBA XLUP. Here we discuss how to use the XLUP in Excel VBA to move the cells to a deleted cell position and find the last used row, along with practical examples and a downloadable Excel template. You can also go through our other suggested articles –
