Updated May 25, 2023
Excel VBA Set Range
To set the range in VBA, select the cell where we want to put the required content or move the cursor to the chosen cell. This helps us in building a code where we can select the partition we want. If we do not set the range, it will automatically choose the current cell where the cursor is placed. Excel VBA Set Range helps us choose the range per user requirements.
In Excel, which is a common fact that whatever we do, contains a cell or table. Whether it has numbers or words, everything goes into the cell. It becomes very important for us to know the fact that choosing a cell where we want to place or the type of cell contact could be done easily. For that, we have the VBA Set Range, which helps us to put any value in any cell using the VBA code, where we can select the cell we want.
How to Use Set Range in VBA Excel?
We can choose a cell using a Range object and cell property in VBA. For example, if we want to choose cell A1 from any worksheet, we can use RANGE Object, as shown below.
As per the syntax of RANGE Object, it requires only Cell1, Cell2 as Range. If the number of cells exceeds 1, we can choose a colon instead of typing the cell name separated by commas (“:“). For example, if we want to select the cell from A1 to C5, we can use the format as RANGE(“A1:C5”) instead of typing each cell into the Range syntax brackets.
Example #1
We will see the example where we will select the range to put anything we want. For this, follow the below steps:
Step 1: Insert a new module inside Visual Basic Editor (VBE). Click on Insert tab > select Module.

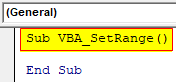
Step 2: Write the subprocedure for VBA Set Range as shown below.
Code:
Sub VBA_SetRange()

End Sub
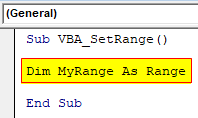
Step 3: Declare the variable using DIM as Range object as shown below.
Code:
Sub VBA_SetRange()

Dim MyRange As Range

End Sub
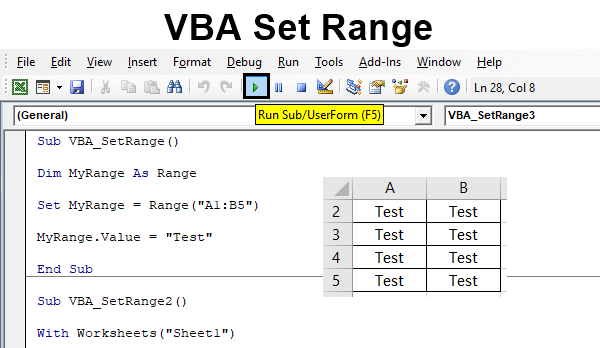
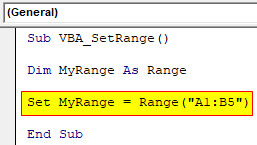
Step 4: Further setting up the range object with the declared variable MyRange, we will then choose the cell which want to include. Here those cells are A1 to B5.
Code:
Sub VBA_SetRange()

Dim MyRange As Range

Set MyRange = Range("A1:B5")

End Sub
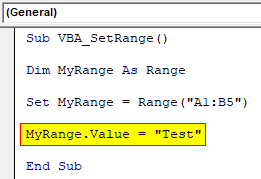
Step 5: Let’s consider a text which we want to insert in the selected range cells as TEST as shown below.
Code:
Sub VBA_SetRange()

Dim MyRange As Range

Set MyRange = Range("A1:B5")

MyRange.Value = "Test"

End Sub
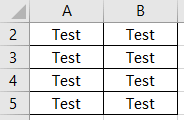
Step 6: Once done, run the code after compiling. We will see the chosen cell range A1: B5 has now text as TEST as shown below.
Example #2
There is another way to apply VBA Set Range. In this example, we will see how to set Range in different cell range and choosing the different text into the 2 or more different cell Range. For this, follow the below steps:
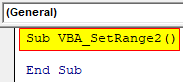
Step 1: Open a module and directly write the subprocedure for VBA Set Range.
Code:
Sub VBA_SetRange2()

End Sub
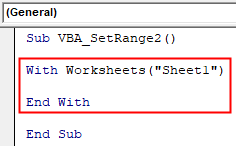
Step 2: Open With-End With loop choosing the current worksheet as Sheet1.
Code:
Sub VBA_SetRange2()

With Worksheets("Sheet1")

End With

End Sub
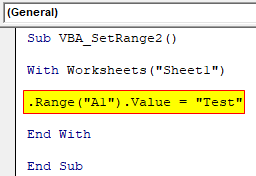
Step 3: Let’s select the cell range choosing cell A1 and putting the value in the cell range A1 as TEST as shown below.
Code:
Sub VBA_SetRange2()

With Worksheets("Sheet1")

.Range("A1").Value = "Test"

End With

End Sub
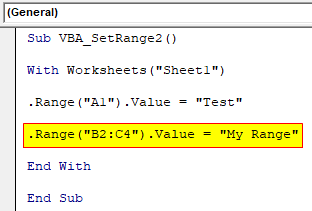
Step 4: Similar to the above-shown step, let’s choose another cell range from cell B2 to C4, choosing the value as MY RANGE as shown below.
Code:
Sub VBA_SetRange2()

With Worksheets("Sheet1")

.Range("A1").Value = "Test"

.Range("B2:C4").Value = "My Range"

End With

End Sub
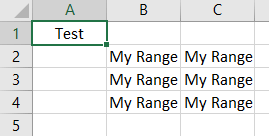
Step 5: Now we can run the code if there is no error in compilation found. We would see both the cell of the selected range A1 and cells B2:C4 as shown below with chosen texts.
Example #3
There is another simplest way to choose the VBA Set Range which is the simplest way. For this, follow the below steps:
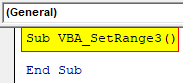
Step 1: Again open the module and write the subprocedure, preferably in the name of VBA Set Range.
Code:
Sub VBA_SetRange3()

End Sub
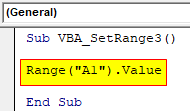
Step 2: Choose the cell where you want to set the Range. We have chosen cell A1 as shown below.
Code:
Sub VBA_SetRange3()

Range("A1").Value

End Sub
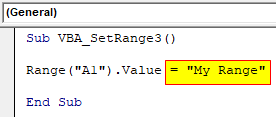
Step 3: Put the name or value which we want to insert in the select Range cell. Here we are choosing MY RANGE again.
Code:
Sub VBA_SetRange3()

Range("A1").Value = "My Range"

End Sub
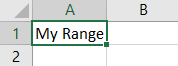
Step 4: Now, if we run this code, we will see that cell A1 in the current worksheet will have the range value as MY RANGE as shown below.
Pros of VBA Set Range
- It is very easy to implement, and also very important to know the way to set the Range in VBA.
- We can choose and set more than 1 Range value.
Things to Remember
- VBA Set Range is not limited to the examples which we have seen above. There are many ways to execute.
- RANGE in VBA is an Object, and CELLS are the property that may contain anything.
- We can use CELLS properties as well to set the Range in VBA.
- If we use CELLS instead of RANGE, then we would only be able to set one cell, whereas, with the help of the RANGE object, we can choose any range or combination of cells.
- It is always advised to save the Excel file in Macro and enable Excel format after writing the VBA Code to avoid losing the written code in the future.
Recommended Articles
We hope that this EDUCBA information on “VBA Set Range” was beneficial to you. You can view EDUCBA’s recommended articles for more information.
