Updated June 5, 2023
Excel VBA Insert Column
In Excel, if we want to insert a column, there are multiple ways of doing it. We can click right and select Insert Column from the drop-down menu list or using Ctrl + Shift + Plus (+) Key together. But what if we automate this process as well by creating a macro through VBA? This is quite helpful when creating a macro of a huge coding structure or adding a column or multiple columns, which is also a task to perform. VBA has an Entire Column, and the Insert function inserts a new column.
How to Insert Column in Excel VBA?
We will learn how to insert a column in Excel using VBA code with a few examples.
Example #1 – VBA Insert Column
We have a table of 2 columns and 11 rows, as shown below. Now we will automate the process of inserting columns in different ways.
For this, follow the below steps:
Step 1: Insert a new module in VBA from the Insert menu option, as shown below.
Step 2: Start a subcategory in the name of the performed function, like VBA Insert Column or any other name, as shown below.
Code:
Sub VBAColumn1()

End Sub
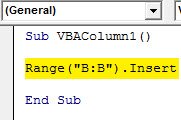
Step 3: First, select the Range of cells or complete columns where we want to insert a column, followed by the Insert command as shown below. The Insert command will enable inserting any row, column, or cell in the selected Range column or cell.
Code:
Sub VBAColumn1()

Range("B:B").Insert

End Sub
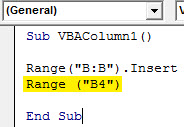
Step 4: Now select the cell range as a reference from where we want to insert a column, as shown below.
Code:
Sub VBAColumn1()

Range("B:B").Insert
Range ("B4")

End Sub
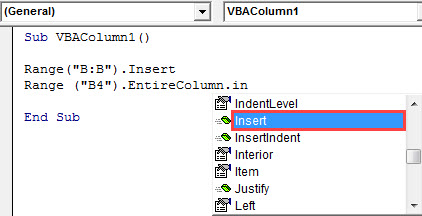
Step 5: As discussed in the explanation, we will use the Entire Column with the function Insert as shown below. This will enable the column to get inserted.
Code:
Sub VBAColumn1()

Range("B:B").Insert
Range("B4").EntireColumn.Insert

End Sub
Step 6: Now compile the code by pressing the F8 functional key and then click on the Play button to run the complete code, which is below the menu bar as shown below. We will notice between column1 and column2, two new blank columns will get inserted, as shown below.
Example #2 – VBA Insert Column
There is another method of inserting a column. This method includes a combination of various commands.
Step 1: Insert a new Module from the Insert menu.
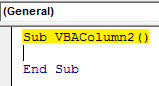
Step 2: And write a subcategory in the name of the Performed function as shown below or in any other name.
Code:
Sub VBAColumn2()

End Sub
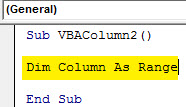
Step 3: With the help of the dimension variable DIM with any alphabet or name, define it as Range, let’ say column, as shown below.
Code:
Sub VBAColumn2()

Dim Column As Range

End Sub
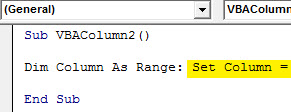
Step 4: Now following the Range, use a Set function with a defined dimension Column as shown below, followed by an equal sign (“=”).
Code:
Sub VBAColumn2()

Dim Column As Range: Set Column =

End Sub
Step 5: Use the Application function, which is built-in VBA with a defined Range of complete Column B.
Code:
Sub VBAColumn2()

Dim Column As Range: Set Column = Application.Range("B:B")

End Sub

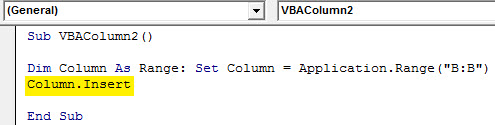
Step 6: Use the Column variable with the Insert function, as shown below.
Code:
Sub VBAColumn2()

Dim Column As Range: Set Column = Application.Range("B:B")
Column.Insert

End Sub
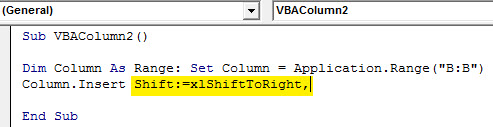
Step 7: We can shift to insert a column in the right or left direction with the help of the Shift command. Usually, the column is inserted from the reference selected cell or column in the right direction.
Code:
Sub VBAColumn2()

Dim Column As Range: Set Column = Application.Range("B:B")
Column.Insert Shift:=xlShiftToRight,

End Sub
Step 8: Finally, select the origin reference format from the right or below, which is for a Column or Row, depending on the insert type.
Code:
Sub VBAColumn2()

Dim Column As Range: Set Column = Application.Range("B:B")
Column.Insert Shift:=xlShiftToRight, CopyOrigin:=xlFormatFromRightOrBelow

End Sub

Step 9: Now it is completed. We can compile the code and run it. As shown below, a new column between Colum1 and Column2 will be added.
Example #3 – VBA Insert Column
This example is another straightforward way to insert a column in VBA.
Step 1: Insert a new Module
Step 2: Add a subcategory in the name of VBA Insert Column as shown below.
Code:
Sub VBAColumn3()

End Sub
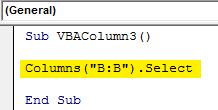
Step 3: First, select the column or cell reference where we want to add a column with the help of Select, as shown below.
Code:
Sub VBAColumn3()

Columns("B:B").Select

End Sub
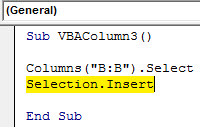
Step 4: Use the Selection command and the Insert function in the second line, as shown below.
Code:
Sub VBAColumn3()

Columns("B:B").Select
Selection.Insert

End Sub
Step 5: At last, select the position where we want to shift the inserted new column, either right or left, with the help of the Shift function. The selection of placing a new column is all up to the individual’s requirement.
Code:
Sub VBAColumn3()

Columns("B:B").Select
Selection.Insert Shift:=xlToRight

End Sub

Step 6: This completes our code. Now we can compile the code to find if there is any error. If there is no error found, then run the code. A new column will be added between column1 and column2, as shown below.
Example #4 – VBA Insert Column
In this example, we will learn how to add new columns after each already-standing column.
Step 1: Now insert a module from the insert menu.

Step 2: Then, add a subcategory named VBA Insert Column with a sequence of numbers.
Code:
Sub VBAColumn4()

End Sub
Step 3: Now, use DIM to define a variable in any name. We have used Column as Integer (In case of numbers are used)
Code:
Sub VBAColumn4()

Dim Column As Integer

End Sub
Step 4: To a column after each standing filled column, we will select and use column (2) to add a new column, as shown below.
Code:
Sub VBAColumn4()

Dim Column As Integer
Columns(2).Select

End Sub
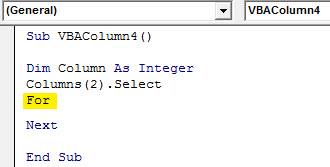
Step 5: Open a For-Next loop, where we will write the conditions to insert a column after one another, as shown.
Code:
Sub VBAColumn4()

Dim Column As Integer
Columns(2).Select
For

Next

End Sub
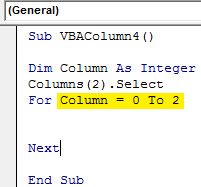
Step 6: We have only 2 columns in our sample data so we could add only a new column of those columns. So we are using a 0 to 2 range of sequence columns.
Code:
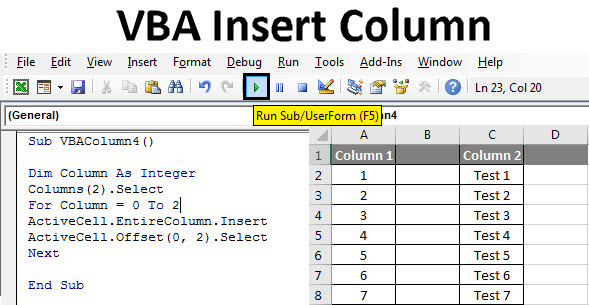
Sub VBAColumn4()

Dim Column As Integer
Columns(2).Select
For Column = 0 To 2

Next

End Sub
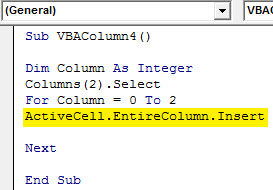
Step 7: With the help of the ActiveCell function, use EntireColumn to insert, as shown below.
Code:
Sub VBAColumn4()

Dim Column As Integer
Columns(2).Select
For Column = 0 To 2
ActiveCell.EntireColumn.Insert

Next

End Sub
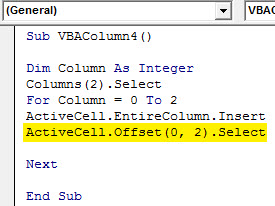
Step 8: With the help of the ActiveCell function, use Offset to place the newly added column. We are using 0 and 2nd positions.
Code:
Sub VBAColumn4()

Dim Column As Integer
Columns(2).Select
For Column = 0 To 2
ActiveCell.EntireColumn.Insert
ActiveCell.Offset(0, 2).Select

Next

End Sub
Step 9: Now compile and run the code if no error is found. We will see after column1 and column2, new columns are added.
Pros of Excel VBA Insert Column
- It is helpful as quickly add a new column in any range of cells.
- It is easy to implement even if the code structure is huge.
- If we are working on a huge code, a new column becomes necessary to complete the code; using the above examples will make the task easy.
Things to Remember
- If you use example-4, select column range until the table is applicable.
- Saving the file in macro enable Excel and saves the code.
- Insert only applicable and required columns to avoid unnecessary columns getting added.
Recommended Articles
This is a guide to VBA Insert Column. Here we discuss how to insert Columns in Excel using VBA code, practical examples, and a downloadable Excel template. You can also go through our other suggested articles –
