Counter in Excel VBA
There are various ways of counting in MS Excel. We can use inbuilt functions such as Count, CountIf, CountA, CountBlank which are there in Excel. But these functions will not work properly in VBA and has limitations as well. To overcome this, we have many functions and commands and the process by which we can execute VBA Counter. VBA Counter is used for counting the cell, counting cell content and also used as Count Down timer when where we can implement the timesheet to measure any task.
With the help of VBA Counter, we can count the cells with their color indices as well. This color index can font color or cell background color and bold values as well.
How to Create a Counter in Excel VBA?
Below are the different examples to create a counter in Excel using VBA code.
VBA Counter – Example #1
We have some random number data in column A. All the mentioned values are random and have no connection such as in sequence or series. Now with the help of the VBA Counter process, we will count the top and bottom-most value numbers and get the output in cell D2 and D3.
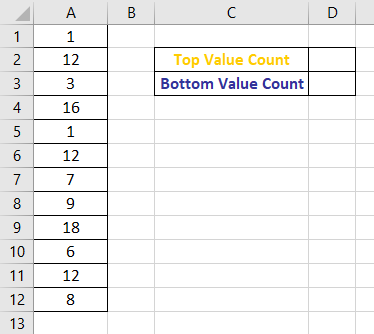
We will count the number and simultaneously color them as per the color text in cell C2 and C3.
For this, follow the below steps:
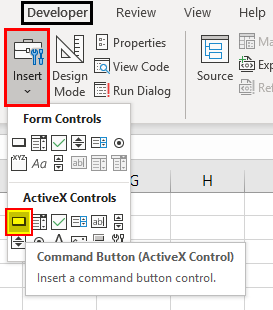
Step 1: Create a Command button that is available in the Developer tab under the Insert menu’s Active X Control as shown below.
Step 2: Now create a button as shown below.
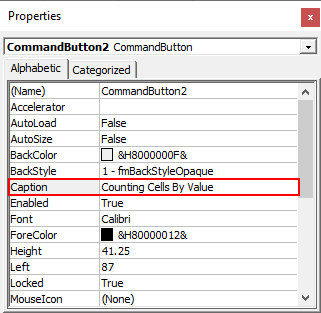
Step 3: Click right on the created button and go to the Properties option.

Step 4: Change the caption of the button which defaults as CommandButton2 to any desired name. Here, we have changed that to “Counting Cells By Value”.
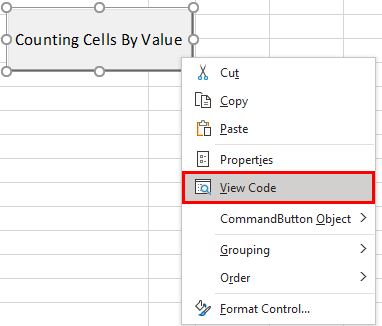
Step 5: Once done, right-click on the button created and select the option View Code to get the VBA window.
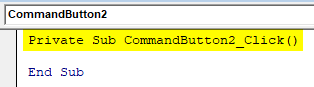
Visual Basic Editor is opened now and by default, a subroutine is already created for the command button.
Code:
Private Sub CommandButton2_Click()

End Sub
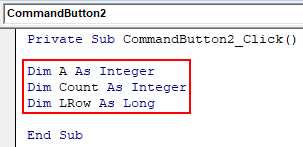
Step 6: Now we need to declare 3 variables. Declare the first variable where we will store the numbers and second variable by which we will use the counter as integers as shown below. And the 3rd variable will be as Long to count the numbers stored in each row.
Code:
Private Sub CommandButton2_Click()

Dim A As Integer
Dim Count As Integer
Dim LRow As Long

End Sub
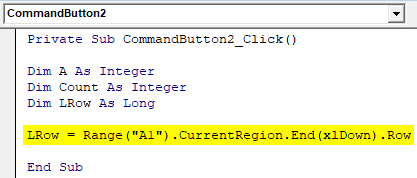
Step 7: Now we will select the first cell of the sheet which is A1 as our range. From here we will be selecting the cells till it has the numbers.
Code:
Private Sub CommandButton2_Click()

Dim A As Integer
Dim Count As Integer
Dim LRow As Long

LRow = Range("A1").CurrentRegion.End(xlDown).Row

End Sub
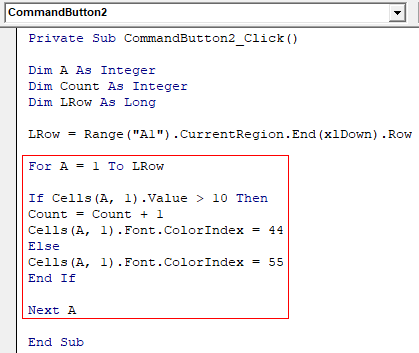
Step 8: Now we will open and write the condition in For loop for, if the cell has the value greater than 10 then cell font color will be changed to Yellow and for the value less than 10, the cell font color will be changed to Blue with the color indices 44 and 55 respectively.
Code:
Private Sub CommandButton2_Click()

Dim A As Integer
Dim Count As Integer
Dim LRow As Long

LRow = Range("A1").CurrentRegion.End(xlDown).Row

For A = 1 To LRow

If Cells(A, 1).Value > 10 Then
Count = Count + 1
Cells(A, 1).Font.ColorIndex = 44
Else
Cells(A, 1).Font.ColorIndex = 55
End If

Next A

End Sub
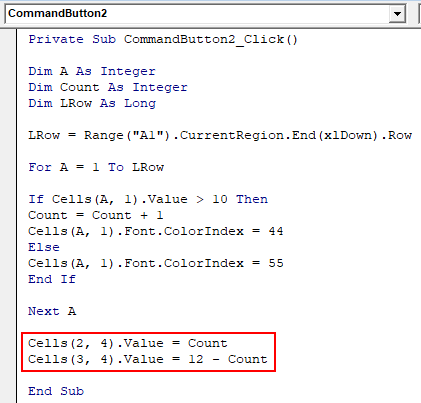
Step 9: Now to see the output of the values from cell A1 till the end, we will select the cells as discussed above by the below code.
Code:
Private Sub CommandButton2_Click()

Dim A As Integer
Dim Count As Integer
Dim LRow As Long

LRow = Range("A1").CurrentRegion.End(xlDown).Row

For A = 1 To LRow

If Cells(A, 1).Value > 10 Then
Count = Count + 1
Cells(A, 1).Font.ColorIndex = 44
Else
Cells(A, 1).Font.ColorIndex = 55
End If

Next A

Cells(2, 4).Value = Count
Cells(3, 4).Value = 12 - Count

End Sub
Step 10: Now run the code by pressing the button.
We will see, the cells containing the numbers less than 10 are highlighted in blue color. And the one greater than 10 is highlighted in Yellow.
VBA Counter – Example #2
In this example, we will use VBA Counter to measure the time by which we can measure the take we do. Suppose, if we need to measure the time required to complete any task, then the process we will be seeing here is the best to implement.
For this, follow the below steps:
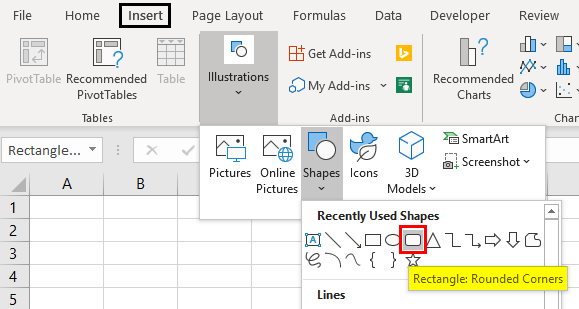
Step 1: Create the 2 tabs of any shape from Insert menu Shapes options as shown below. We are selecting Rectangle: Rounder Corners.
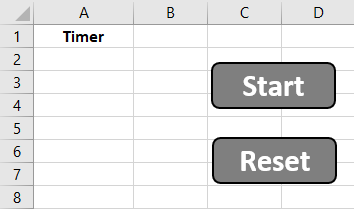
Step 2: Create 2 buttons and name them as Start and Reset by which we will start the timer and clear the time.
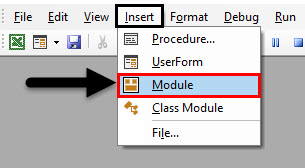
Step 3: Now go to VBA and open a Module from the Insert menu.
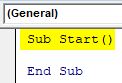
Step 4: In that write the subcategory of Start timer as shown below.
Code:
Sub Start()

End Sub
Step 5: Consider a word for the Next row such as NextRow where we will select the worksheet in which we want to implement the code. Here, our sheet is Sheet2. And here we will count the Rows from +1 cell which is cell A2 till we have cursor file the value.
Code:
Sub Start()

NextRow = ThisWorkbook.Sheets("Sheet2").Cells(Rows.Count, 1).End(xlUp).Row + 1

End Sub

Step 6: Now to get into the next row we will use vertex format where 1 in the bracket is for Y-axis.
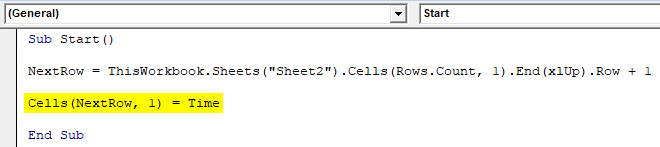
Code:
Sub Start()

NextRow = ThisWorkbook.Sheets("Sheet2").Cells(Rows.Count, 1).End(xlUp).Row + 1

Cells(NextRow, 1) = Time

End Sub
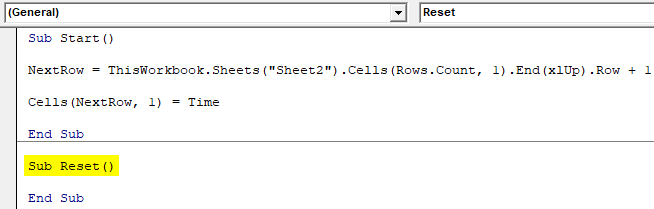
Step 7: Write the code for Reset below the same Start code.
Code:
Sub Reset()

End Sub
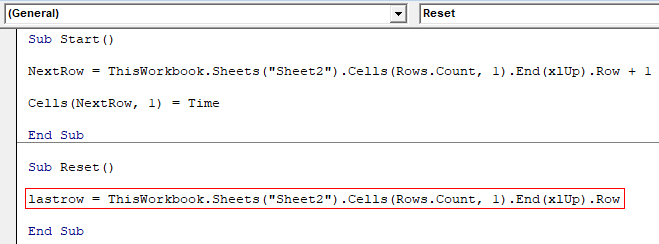
Step 8: Now for reset, we will keep the same code as Start but the keyword will get changed to LastRow and we remove +1 just so we don’t have to get into another row.
Code:
Sub Reset()

lastrow = ThisWorkbook.Sheets("Sheet2").Cells(Rows.Count, 1).End(xlUp).Row

End Sub
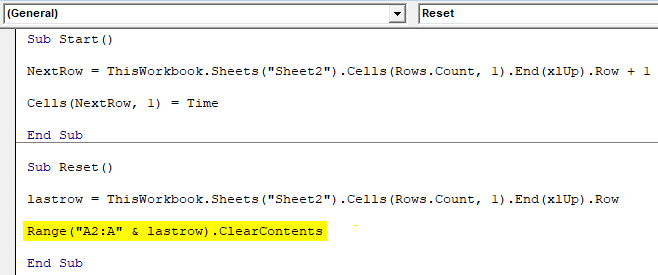
Step 9: Now to clear the data in column A’s last cell to the first cell first select the range of cells with function ClearContents.
Code:
Sub Reset()

lastrow = ThisWorkbook.Sheets("Sheet2").Cells(Rows.Count, 1).End(xlUp).Row

Range("A2:A" & lastrow).ClearContents

End Sub
Now close the VBA window.
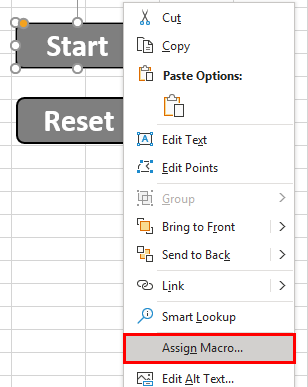
Step 10: Right-click on the Start tab and select the Assign Macro option.
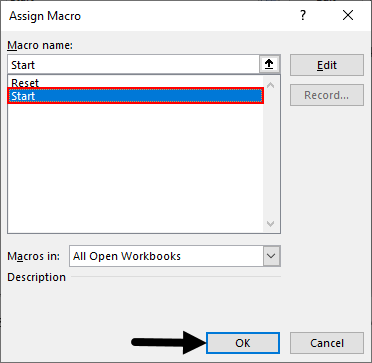
Step 11: Select the Start sub coding which we did above.
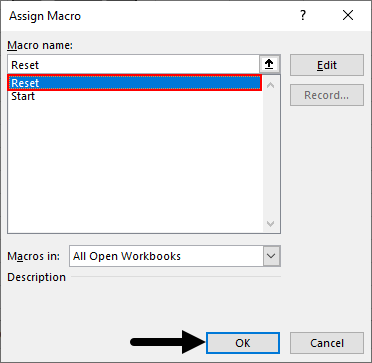
Step 12: Same do for the Reset button as well. Assign the Reset sub-code to the Reset button and click on Ok and exit from the design mode to execute the code.
Step 13: Now click the Start button first. We will get the Start time as 3:51:33.
Step 14: Now again click on the Start button 2-3 times to get multiple time-lapse. We will see, there is a gap of a few seconds in each iteration.
Step 15: Now after that, we will test the Reset button. Click on Reset. We will see, the data is now cleared and ready for another time count laps.
Pros of Excel VBA Counter
- It is very easy to implement the time laps counter as we saw in example-2.
- VBA Counter has many implementation types, this is not just limited to the examples we have seen.
Things to Remember
- It is always better to assign the code for any button when we have performed 2 or more types of code in one process.
- Exit design mode once code assignment and execution are done from the Developer tab.
- We can also create a live time counter where we can see the countdown of time or watch time in real.
- Save the macro in Macro enable excel file format so that we would not lose our code.
Recommended Articles
This is a guide to VBA Counter. Here we discuss how to create VBA Counter in Excel using VBA code along with practical examples and downloadable excel template. You may also look at the following article to learn more –
