Updated February 23, 2023

Introduction to UiPath Installation
There are two types of UiPath installation available, i.e., custom and quick. We can also install UiPath on the windows environment as per our need. There are three types of UiPath installation packages available, i.e., automation developer, attended robot, and unattended robot. To install UiPath on our system, we require a minimum of 4GB of memory to install it. Also, we required high-resolution pixels for our display.
UiPath installation Performing overviews
- To install UiPath on our system, we require the software and hardware resources below.
- To install UiPath, we required a clock speed of at least 1.4 GHz processor, and 32 bits should be used. We can also use a 1.8GHz 64bit setup which was highly recommended.
- To install UiPath, we require 8GB of RAM is suggested. A minimum of 4GB is required.
- It will not work on a screen that is less than 1024×768 pixels. The Studio Backstage view is incorrectly presented on such displays when Studio is run.
- RPA’s or UiPath’s purpose is to create software robots or artificial intelligence, digital workers who can execute people’s tasks.
- RPA enables anyone to set up computer software or a robot to mimic and integrate human activities engaging with digital systems to complete a business process.
- UiPath Studio is a bot development and execution platform. It is built on VB.Net but has a graphical user interface (GUI), making designing RPA bots in UiPath easier for users with little or no programming experience.
- The robot runs the UiPath studio-created workflow. The robots can work either unattended or attended to.
- UiPath Orchestrator is a tool that allows us to create and manage UiPath; it’s a web application that can be used to monitor and manage robots and deploy and schedule them, with centralized work queues for business exception handling.
- We can also install the enterprise version, a 60-day free trial.
- Using the UiPath robot can run the workflow which the studio created. To install UiPath, we require the .net framework is installed in our system.
Step-By-Step Guide UiPath installation
The below steps show the step-by-step installation of UiPath as follows.
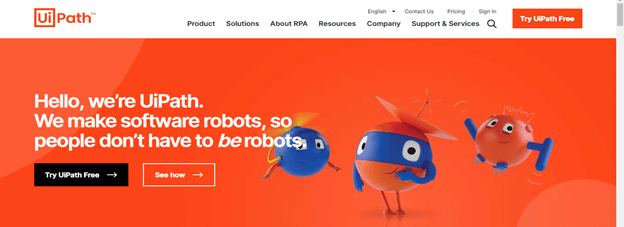
- The first step is to go to the official UiPath website and click on try UiPath for free –
In this step, first, we are opening the official website of UiPath; after going on this website, click on try UiPath free.
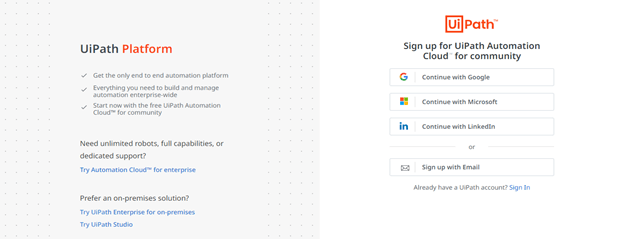
- The second step is to sign up on the UiPath website –
In this step, we are signing up on the UiPath website with an email ID. If we already have an account on UiPath, we do not need to sign up again; we can directly sign in to the UiPath website.
We can sign in to UiPath using Gmail, Microsoft, and LinkedIn.
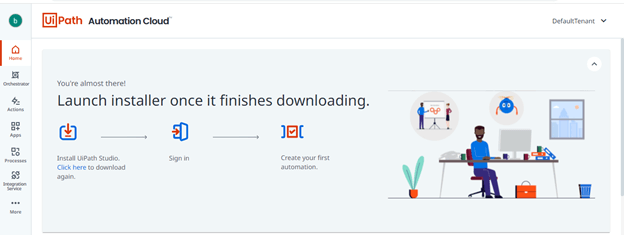
- After successful sign-in, download the UiPath studio –
In this step, we are downloading the UiPath studio software from the UiPath website. The approximate size of UiPath studio software is 850 MB.
We have downloaded this UiPath studio software for the Windows operating system.
- After downloading the software, open the installer file by using the administrator user –
In this step, we install UiPath studio in the windows operating system. We are using administrative users for installing UiPath studio software as follows.
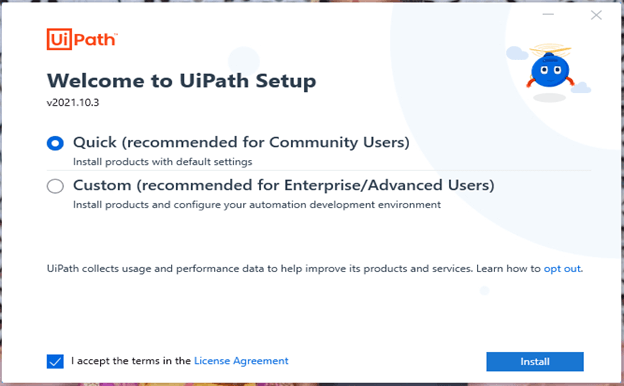
- After opening the installer, read and accept the license agreement –
In this step, we accept the license agreement to install UiPath in our system.
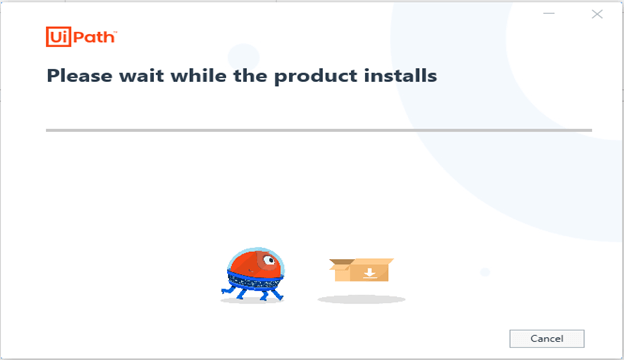
- After installing the license agreement, install the UiPath and sign in to the UiPath website.
In this step, we are signing into the UiPath website. After installing UiPath, it will ask for a sign-in to open UiPath.

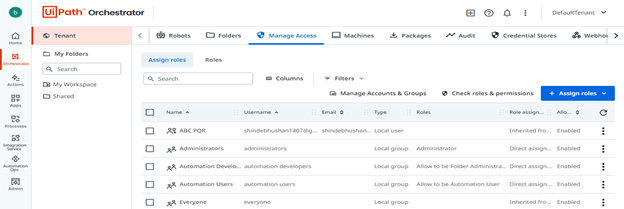
- Check the managed access of users –
In this step, we are checking the managed access of users as follows. First, we can see the ABC user we created when installing UiPath software in our system.
Custom UiPath installation
The below step shows custom UiPath installation as follows. We are using the UiPath installer for installing the custom UiPath installation.
- Open the UiPath installer –
To open the UiPath installer, we need to double-click on the installer. After double click on the installer, it will open the installation wizard windows.
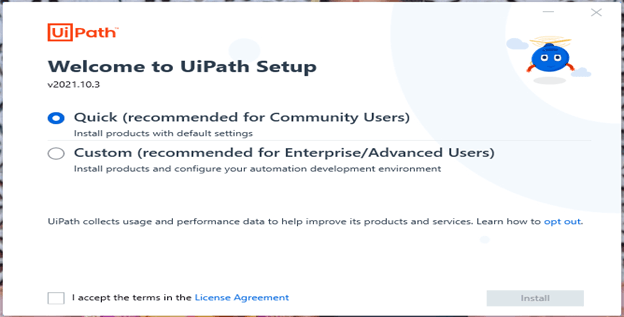
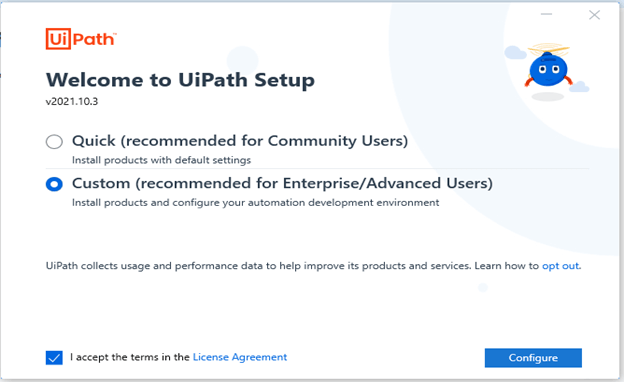
- Select the custom UiPath installation, read the license agreement, and accept it –
In this step, we select the custom UiPath installation, read the license agreement, and accept the same.
In the below example, we choose a custom UiPath installation to install the UiPath software in our system.
Custom UiPath installation will configure advanced installation options and select which components to install. For Enterprise users, this is the preferred solution.
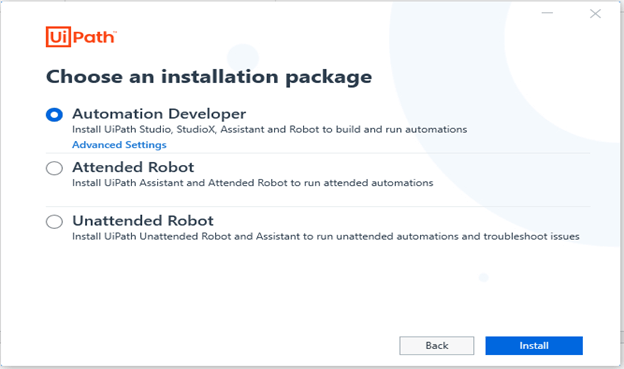
- Choose installation package –
After selecting the UiPath installation, we choose the package in this step. Below are the installation packages available for UiPath installation as follows.
- Automation developer
- Attended robot
- Unattended robot
- The automation developer will install the UiPath studio, robot, and assistant to run the automation.
- The attended robot will install the attended robot and UiPath assistant to run the automation.
- The unattended robot will install the UiPath unattended robot and assistant to run the automation and troubleshoot the issues.
- We have selected the automation developer installation package to install the custom UiPath software.
- Sign in to the UiPath website –
After choosing the installation package, we install the UiPath in our system. After installing, we need to sign in to the UiPath website.

Conclusion
To install UiPath, we required a clock speed of at least 1.4 GHz processor, and 32 bits should be used. We can also use a 1.8GHz 64bit setup which was highly recommended. To install UiPath, we require the .net framework is installed in our system.
Recommended Articles
This is a guide to UiPath Installation. Here we discuss the three types of UiPath installation packages available, i.e., automation developer, attended robot, and unattended robot. You may also have a look at the following articles to learn more –
