Updated July 1, 2023
Introduction to Transparent Text in Photoshop
Transparent text is popularly trending in Graphic Design. By transparent text, we can manipulate a graphical effect in text and make the text look stunning in the image. Here in this article, we will discuss how to create transparent text in Photoshop Cs6 with the help of some examples.
How to Create Transparent Text in Photoshop?
Multiple methods exist to create transparent text in Photoshop to make the image look stunning. Let’s see two simple and quick methods of Transparent Text in Photoshop individually. How can we make transparent text in Photoshop?
Method #1 – Using a Clipping Mask
The first method of Transparent Text in Photoshop is shown down step-by-step.
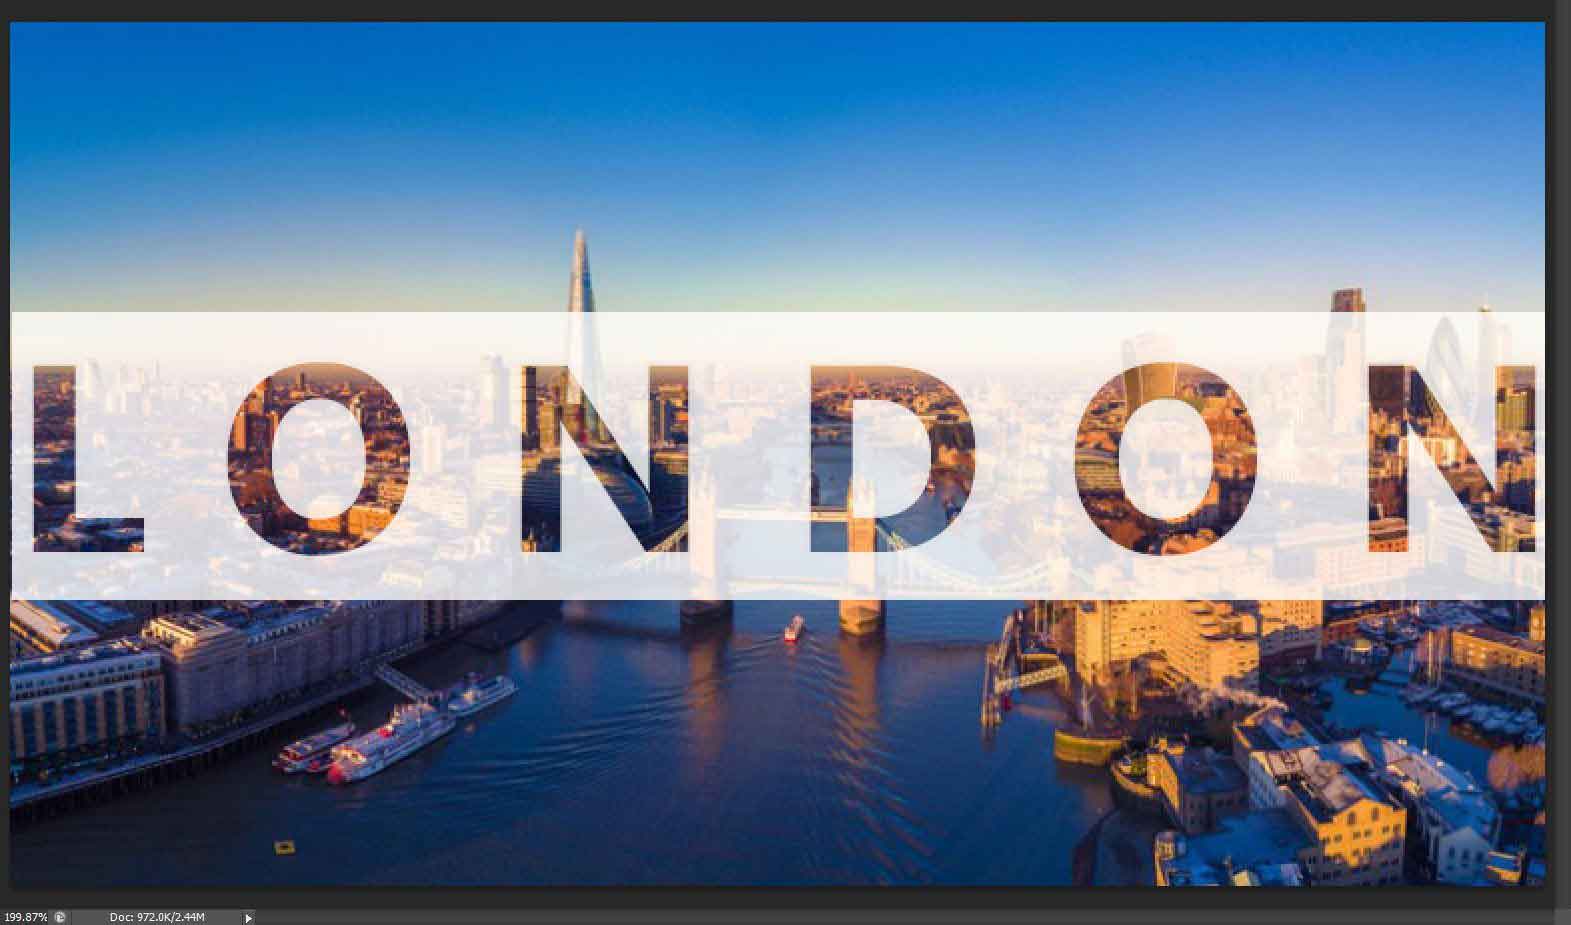
Step 1: Go to the File menu and click on Open. After clicking open, it will give a popup, as shown in the below image.
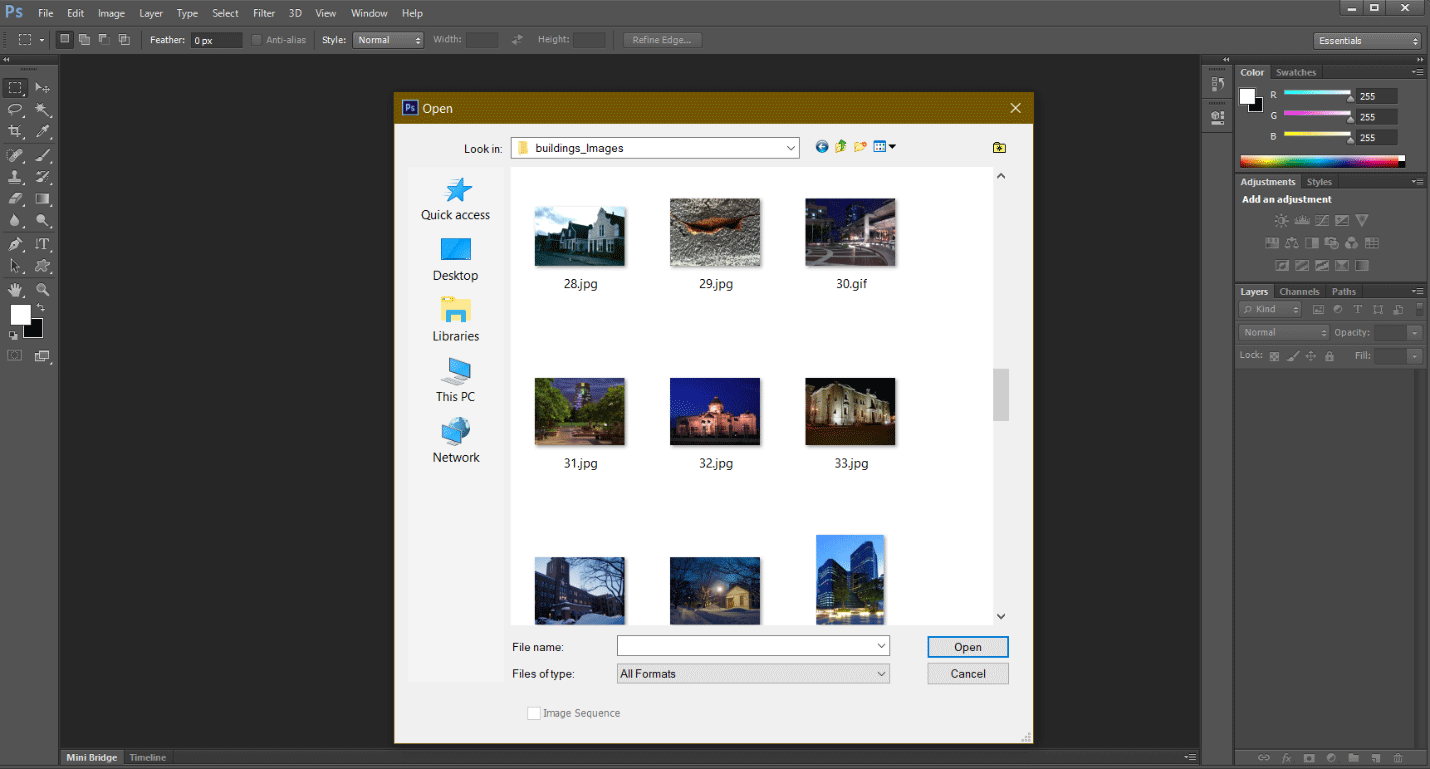
Step 2: Select the appropriate image which you want and open it.
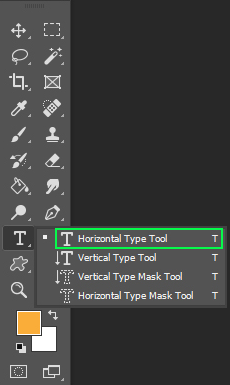
Step 3: Right-click on the text tool, select the Horizontal Type tool and write the text you want to use. I am going to write the text, i.e., London.
Step 4: Go to the Edit menu, select Free Transform, or press Ctrl + t shortcut to scale the text to whatever size you want.

Step 5: Now, create one new Layer.
There are three options to create a new layer.
- Option 1: Go to the Layer menu, click New, and select Layer.
- Option 2: Press shortcut Shift + Ctrl + N to create a layer for you.
- Option 3: Directly create a layer by clicking right down the corner side near the layer properties, as shown in the below image.
![]()
Step 6: Select the rectangle marquee tool.

Step 7: Make a selection around the text as shown in the below image.

Step 8: Now, select the background color you want; I will select the white color. Then press Ctrl + Backspace to fill the background.
Step 9: Keep the text layer upside the filled white background layer we have created now.
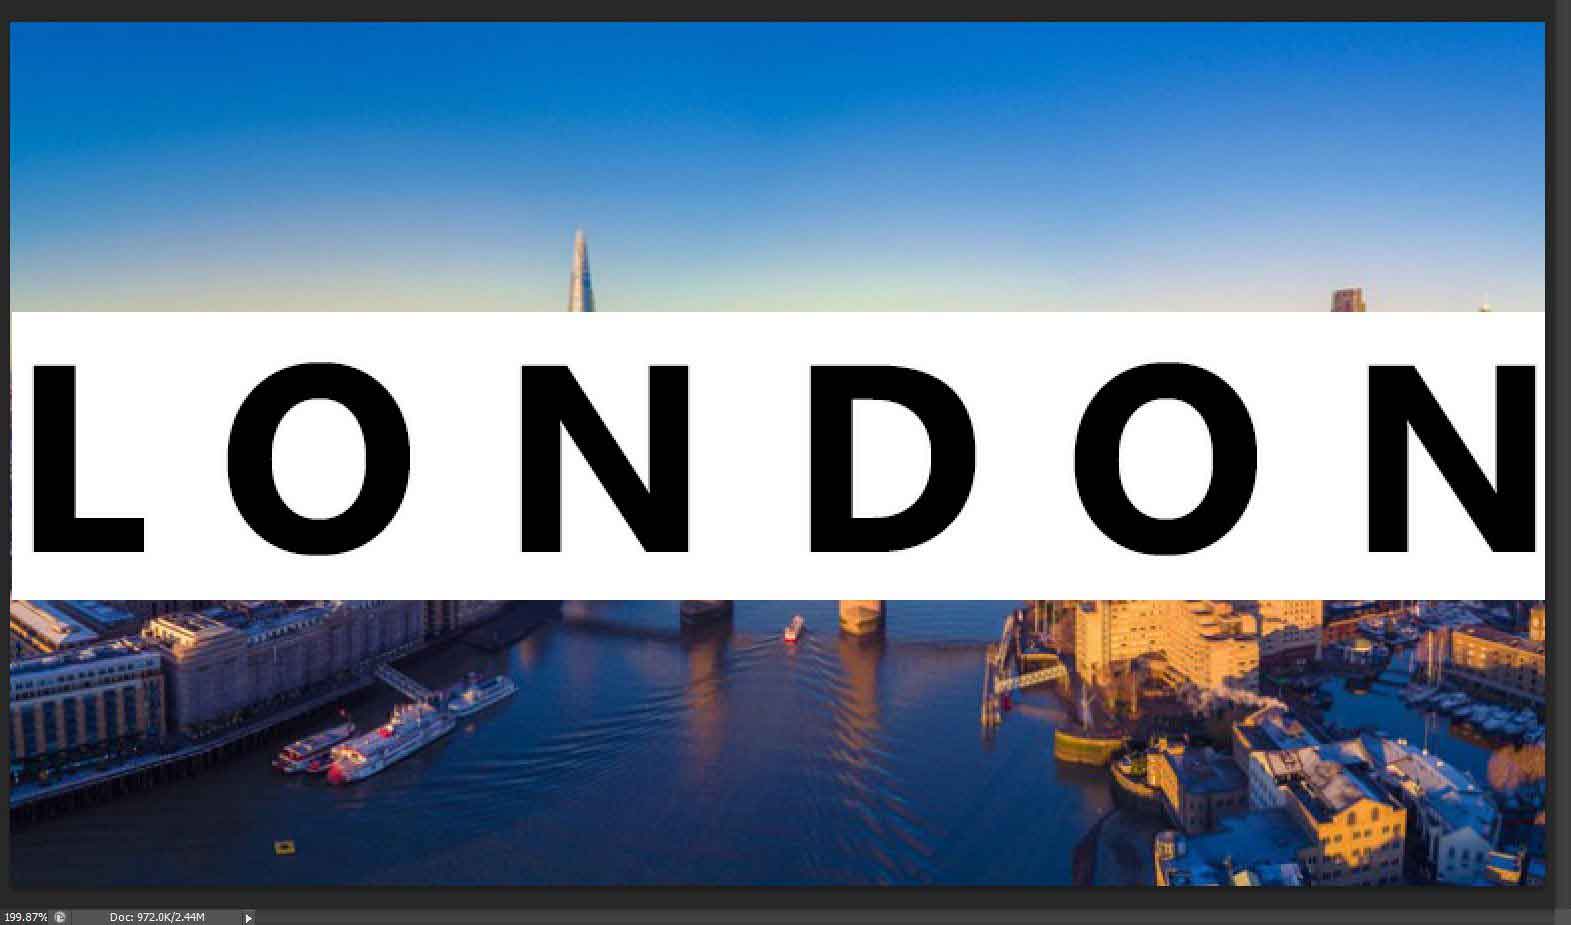
Then adjust your opacity and fill in your Filled white background layer. I have just decreased the opacity and fill a little bit.
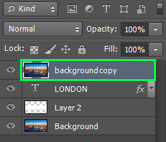
Step 10: Make one copy of the background layer by pressing the Ctrl + J; it will create a duplicate layer of the background and place that Layer upside the London text, as shown in the below image.

Step 11: Right-click on the background copy image and select the Create Clipping Mask.
Now it’s almost ready, as you can see in the image.
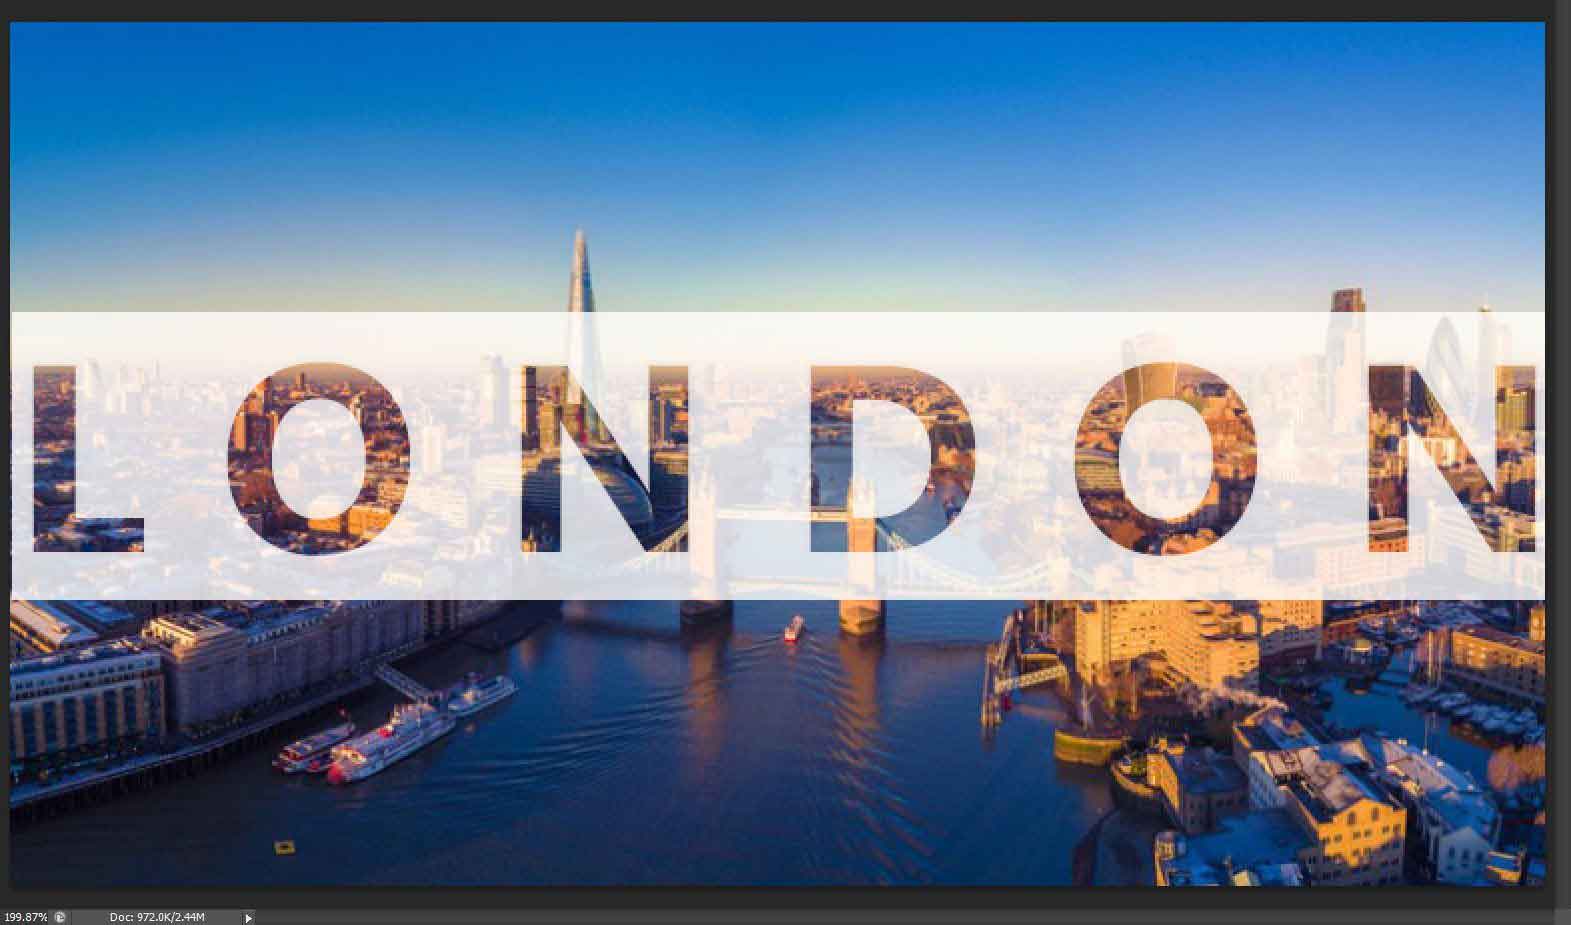
Step 12: Then go to blending mode, and after clicking blending mode, you will get Blending Multiple options; from that, you have to select a Multiply option, as shown in the below image.
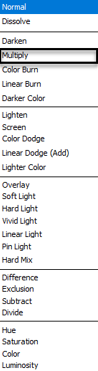
This little bit amplifies the image’s opacity to darken the shadow. The transparent text is now ready, as seen in the image below.
Method #2: Using Soft Light Method
The Second method of Transparent Text in Photoshop is shown down in step by step manner.
Step 1: Open the file, which gives you a popup, as shown in the image below. Select the appropriate image which you want.
Step 2: Double-click on the Layer and unlock the Layer.
Step 3: Right-click on the text tool and select the Horizontal Type tool.
Step 4: Click on the image wherever you want.
Step 5: Click on the Text Button.

Step 6: Go to the Edit menu, select Free Transform, or press Ctrl + t shortcut to scale the text to whatever size you want.
Step 7: Select the horizontal type tool, select the set text color, and change the text color to Black.
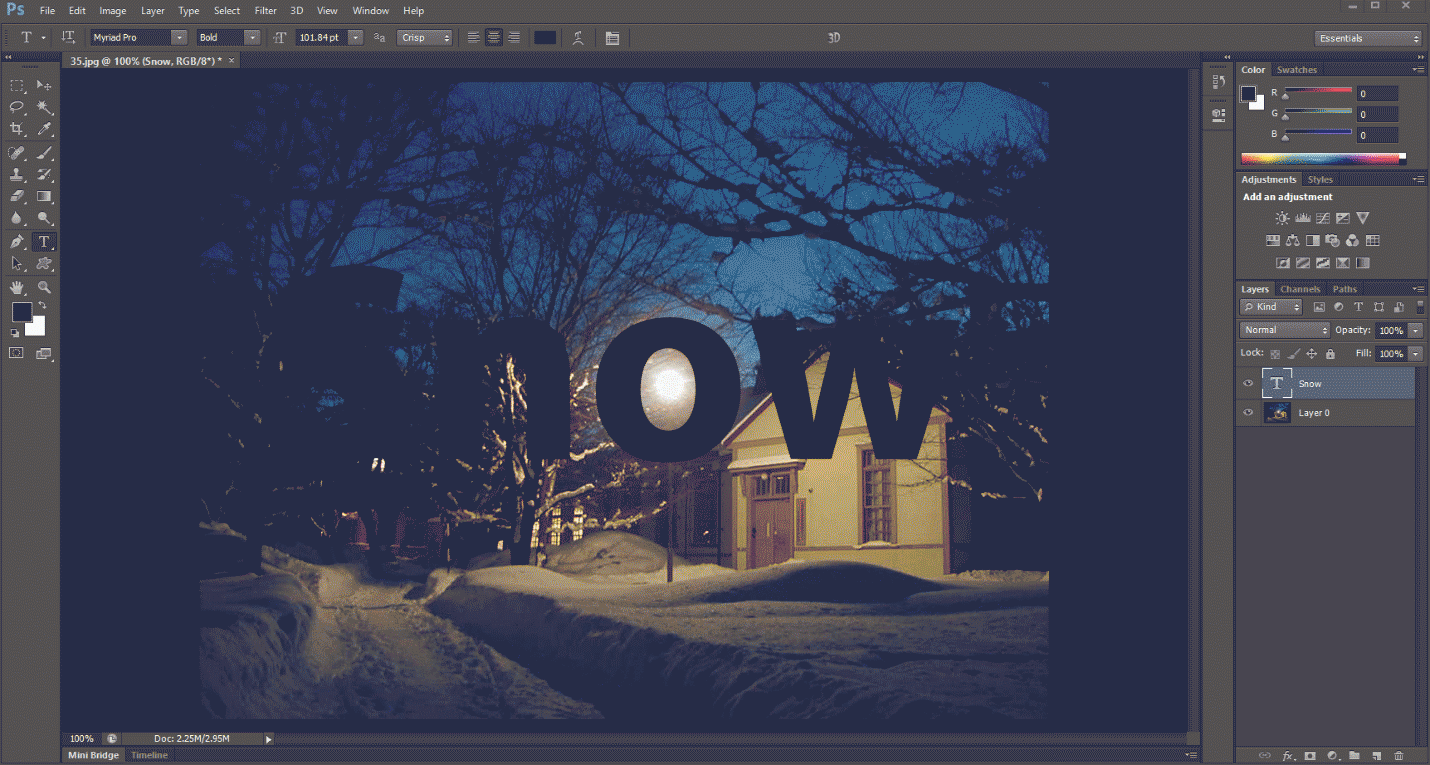
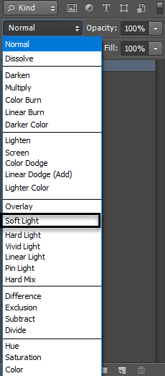
Step 8: Now go to the blending mode, and after clicking blending mode, you will get Blending Multiple options; from that, you have to select soft light, as shown in the below image.
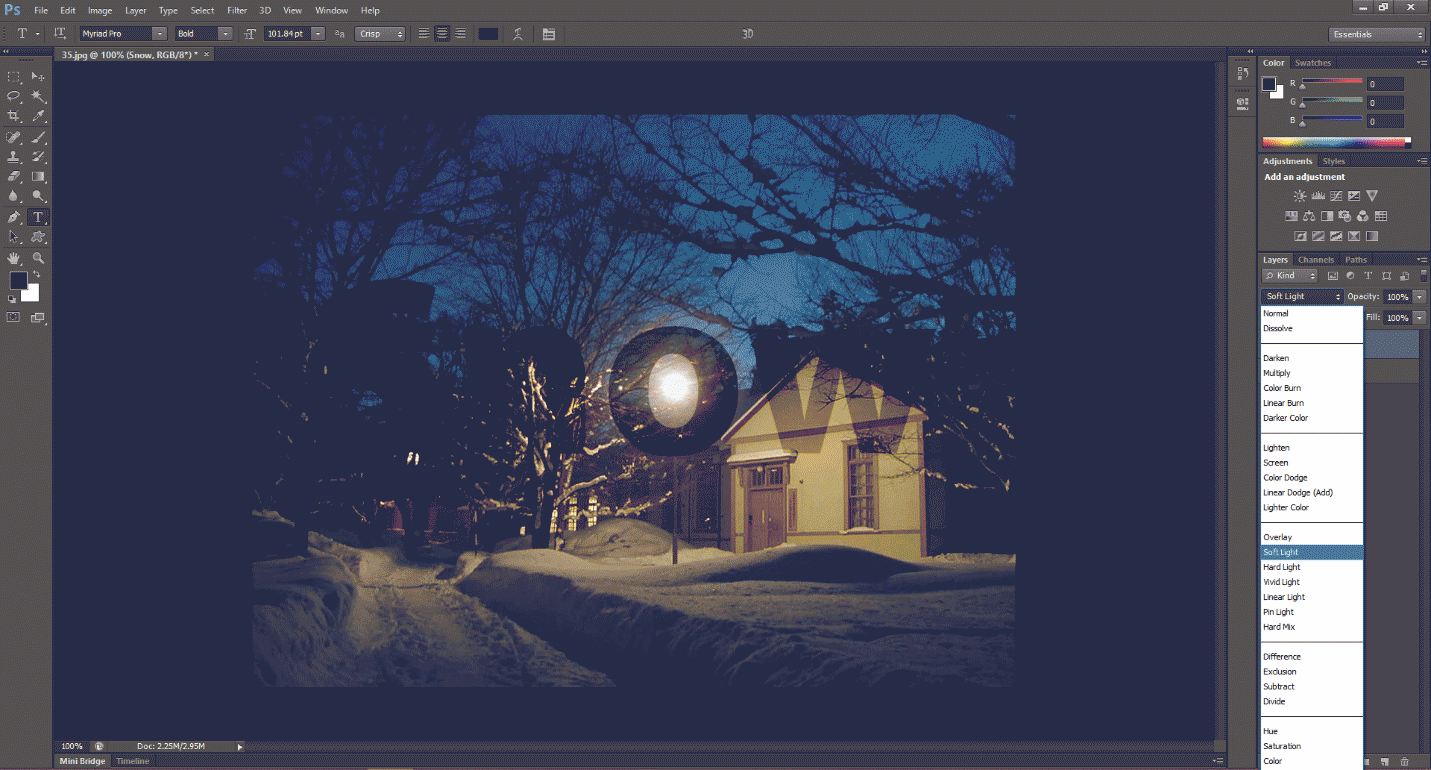
After selecting soft light, your image will look a bit transparent, as shown below.
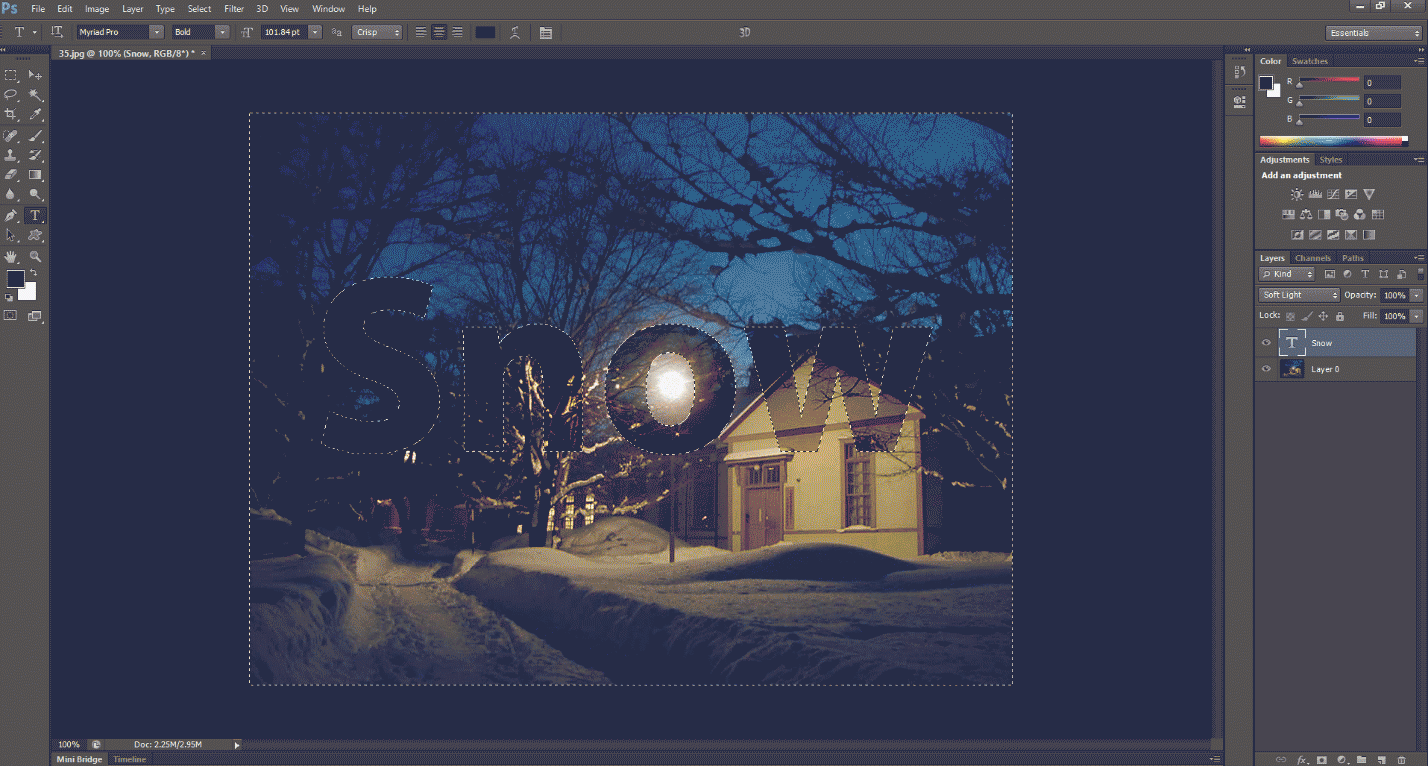
Step 9: Press the Ctrl key and click on the text layer to make the selection.
Step 10: Go to the Select menu, then click Inverse or press (Shift + Ctrl + I) to make the selection Inverse. It will select the full background except for the text. After selecting, your image will look like the image shown below.
Step 11: Go to the adjustment layer in the right-down corner, as shown in the image below, and select a solid color; after that, you have to choose the color you want. I am going to select the white color.
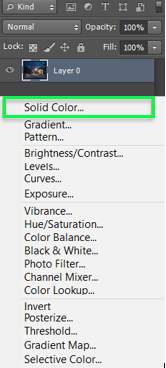
It will make a solid white background except for the text, which was not selected in the selection. And creates a new layer. After selecting the solid color, your image looks like the image shown below.

Step 10: Adjust the opacity and fill it in per your image. I will select opacity as 80% and fill as 70%, as shown in the image below.
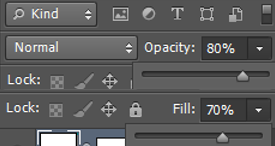
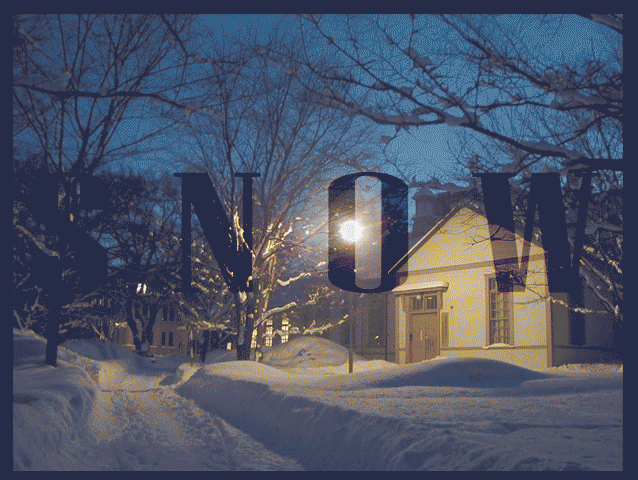
It will lighten the whitened background and display the background with transparent text.
The final image we get!!!!!!
Conclusion
This implies that we have covered all you must do in this practice when the image you need to uncover through your content is on the background layer; if you have a picture over the background layer, you must appear through the content. And there we have it! That is the way to add simple content to a Photoshop image efficiently! And make transparent text in Photoshop. We have seen two methods of creating transparent text in Photoshop. This is how you can make transparent text in Photoshop quickly and simply.
Recommended Articles
This has been a guide to Transparent Text in Photoshop. Here we discuss the Concept and two different methods to apply transparency text in Photoshop. You can also go through our other suggested articles to learn more –
