
Introduction to Transform Tool Photoshop
Photoshop is a raster image editing software developed by adobe systems as its raster graphics editing software and is widely used by graphics editing professionals. This software has different exciting features, making our work easy during our project. Transform tools are one of the features through which we can make our work smoothly in this software. Transform tool is a tool through which we can scale up, rotate, flip, and make a different type of transformation in our selected image in Photoshop software. This article will discuss how to use the transform tool in this software and how we can handle different parameters of this feature of Photoshop software. So let us start our discussion about this topic.
How to Use Transform Tool in Photoshop?
We can use this tool to make different types of transformation in that particular image, but before starting, let us look at the working screen of this software to understand this topic throughout our article better.
Step 1: At the top of the working screen, there is a ribbon we call the Menu bar, which has several menus for handling different parameters of this software during our work; below this menu bar, we have the property bar of the active tool through which we can make a change in the parameters of an active tool, below this property bar we have three sections at the left side we have tool panel which has several tools for making a different type of editing work in this software, at the center we have display window in which we can see our current work, at the right side of this section we have some panels such as color panel, layer panel and some other panels which help in our working. You can adjust all sections at your desired place according to your requirement.

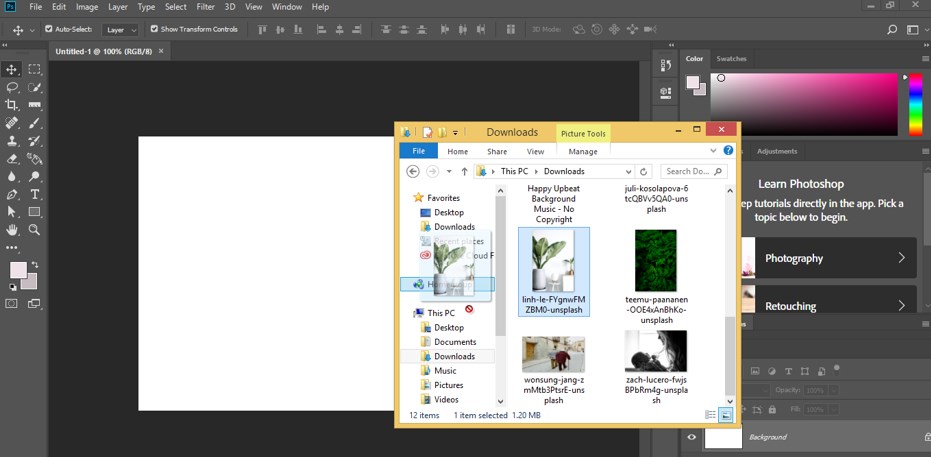
Step 2: Now, let us have an image in this software for our learning. To place an image in this software, go to the folder where you saved it and open it. Pick your desired image from that folder with the help of the mouse’s left button, then drop it in the display window area of this software by releasing the mouse button.
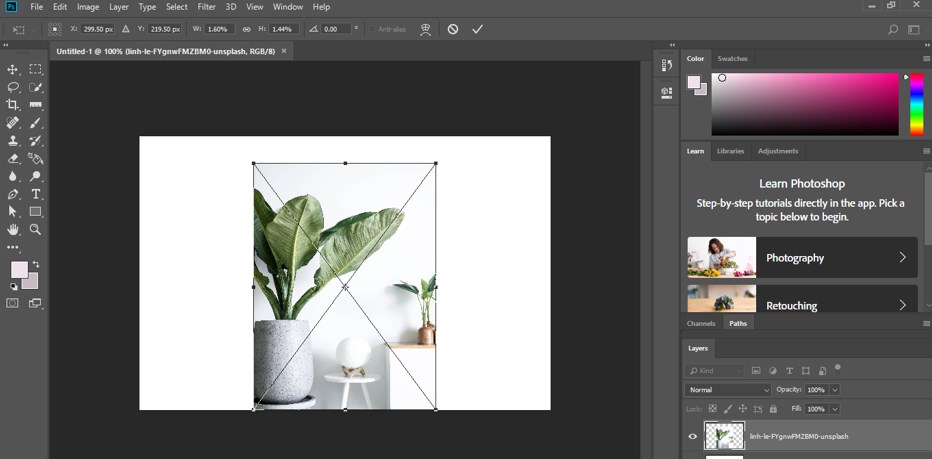
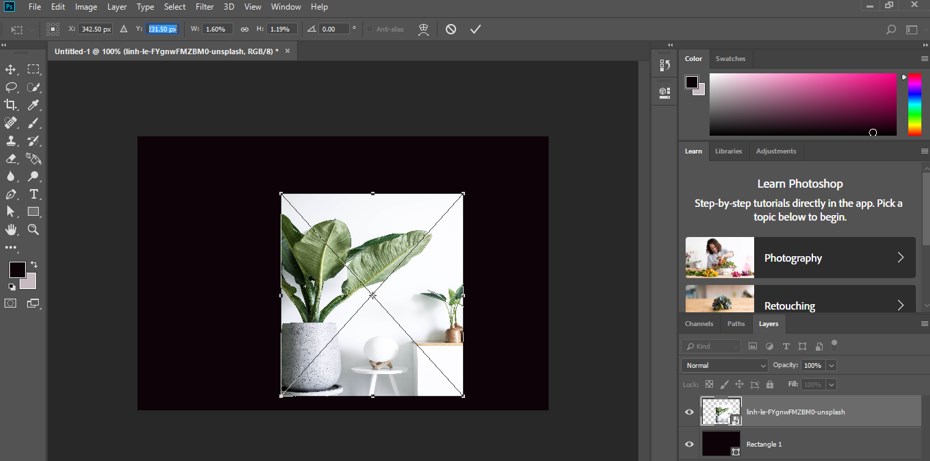
Step 3: Once you drop the image in the display window area image will drop with a bounding box of transform handling anchor points like this. By moving the anchor point of this bounding box, you can scale up or down this image. If you want to maintain the ratio of width and height of this image, hold the keyboard’s shift button during the moving anchor point of this image for scaling it. Once you do, click on this image’s checkmark or property bar to apply your settings.
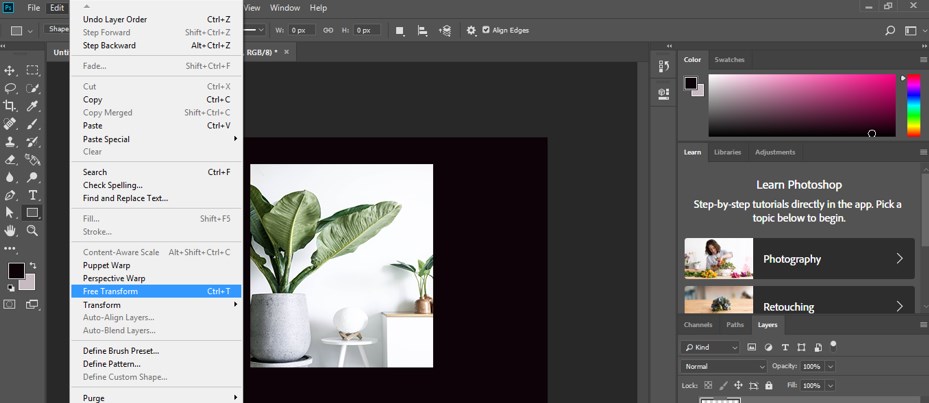
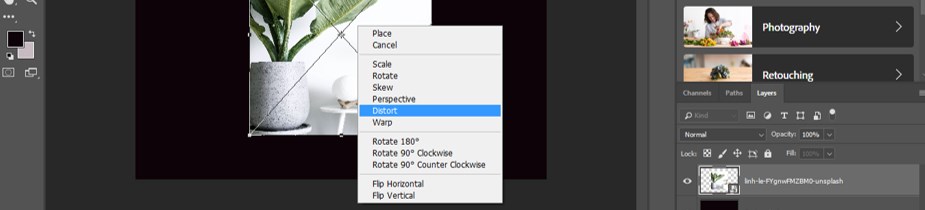
Step 4: Go to the menu bar’s Edit menu for the transform tool. Once you click on the Edit menu, a drop-down list will open; choose the Free Transform option by clicking on it.
Step 5: You can go to the Transform option and choose your desired one from the new drop-down list.

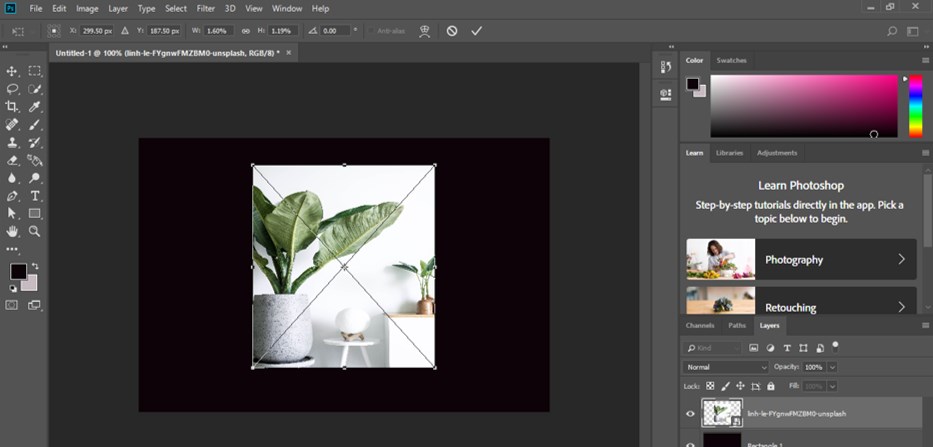
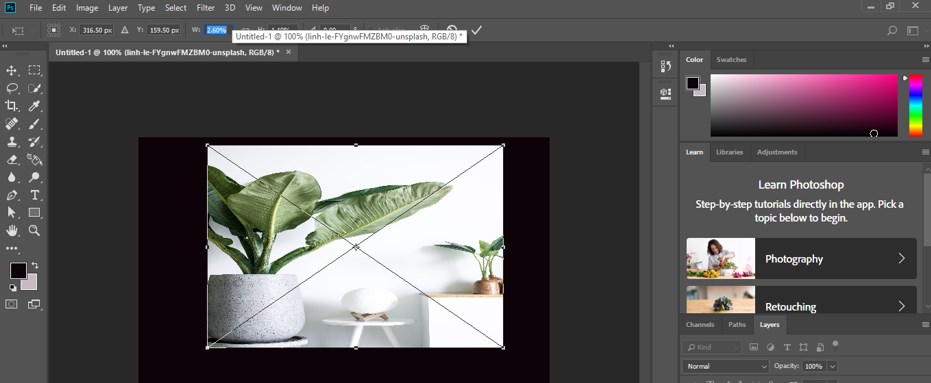
Step 6: You can press the Ctrl + T button from the keyboard, and once you click, a transform bounding box will appear on your image like this.
Step 7: You will find different transform properties on the property bar of this image. You can change the value of x to change the position of your image on the x-axis.

Step 8: You can change the value of Y to change the position of your image on the y-axis.
Step 9: You can change the value of W to change the width of your image.
Step 10: You can change the value of H to change the height of your image.

Step 11: You can change the value angle for the rotation of the image at a particular angle.

Step 12: And once you do, click on the checkmark of the property bar of this image, or you can press the enter button on the keyboard.

Step 13: If you don’t want to apply this transform to your image, click the ‘Cancel Transform’ option or press the Esc button from the keyboard.

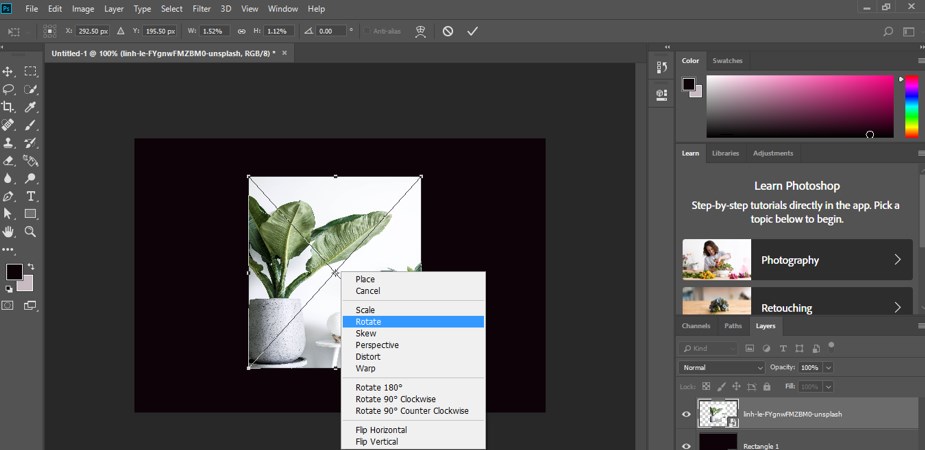
Step 14: Now, another way to handle the transform tool option is to make right-click on the image after pressing the Ctrl + T button from the keyboard. Now you can choose any one of the options of transform. You can click on the scale option for scaling your image or the rotate option for rotating your image.
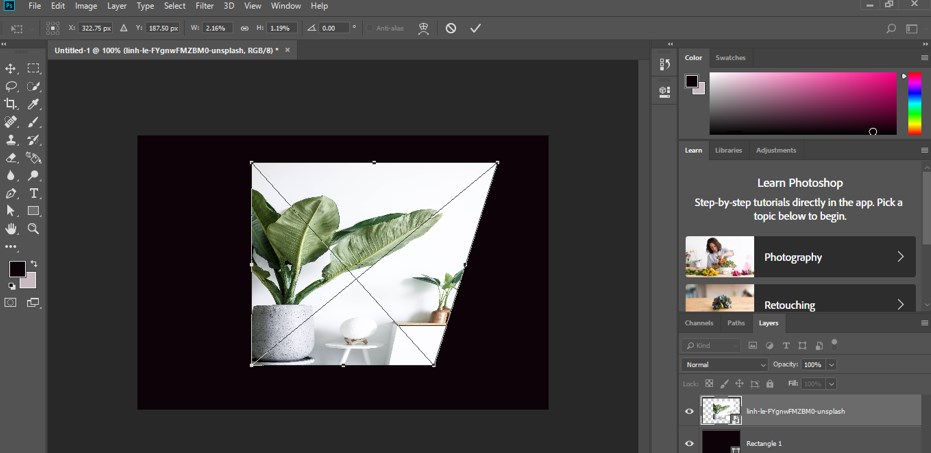
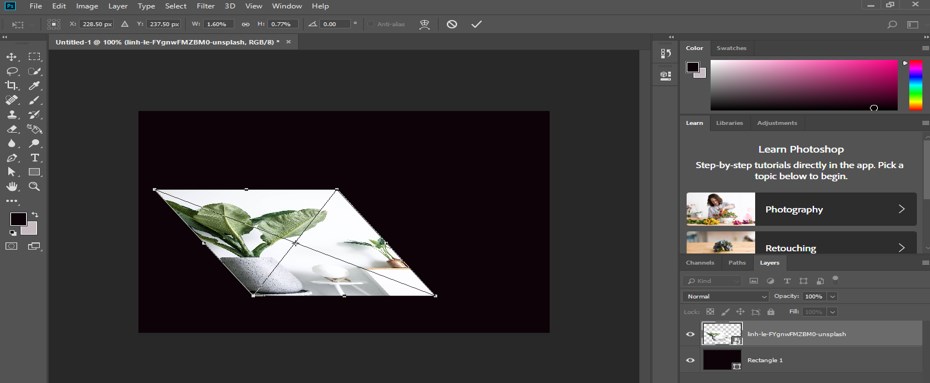
Step 15: Now click on the Skew option.

Step 16: By the skew option, you can move any anchor point of this image according to your requirement.
Step 17: Now click on the Perspective option

Step 18: Through the Perspective option, when you move the anyone anchor point of this image, the opposite anchor point of your selected anchor point will also move in the opposite direction.
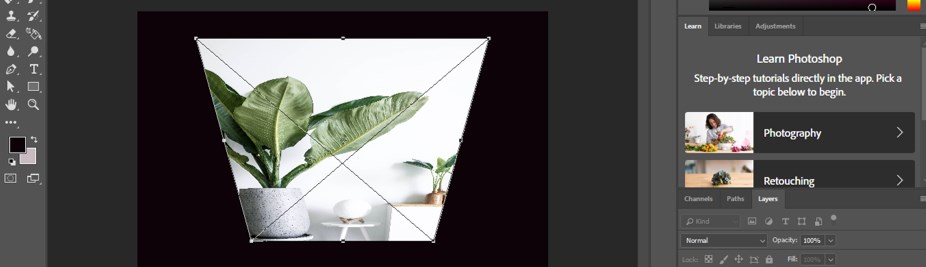
Step 19: Now click on the Distort option.
Step 20: Through distort option, you can move your image by moving the bounding box line like this.
Step 21: Now click on the Warp option of this list.

Step 22: With this warp option, you will get a bonding box with different curve handling points, and you can change the shape of the image by making a change with the help of anchor points.

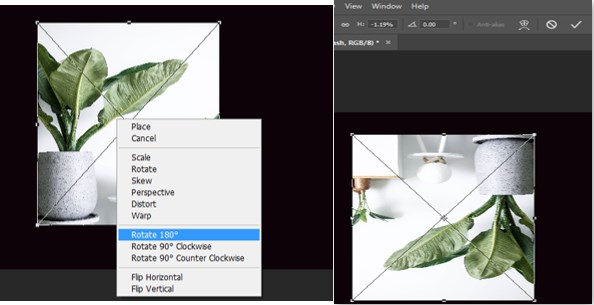
Step 23: With this option, you can rotate your image 180 degrees.
Step 24: With this option, you can rotate your image in a clockwise direction at 90 degrees without using the shift button of the keyboard.
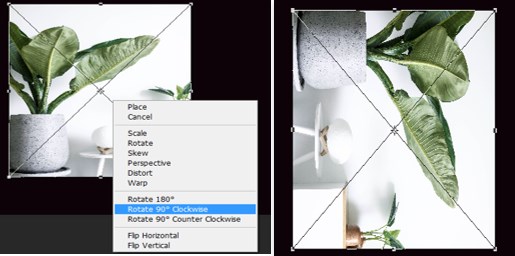
Step 25: With this option, you can rotate your image in the counterclockwise direction at 90 degrees without using the shift button of the keyboard.

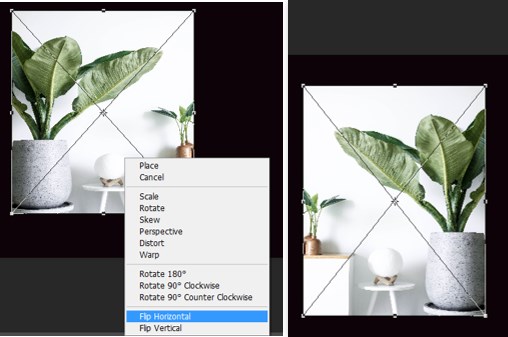
Step 26: You can flip your image horizontally by clicking this option.
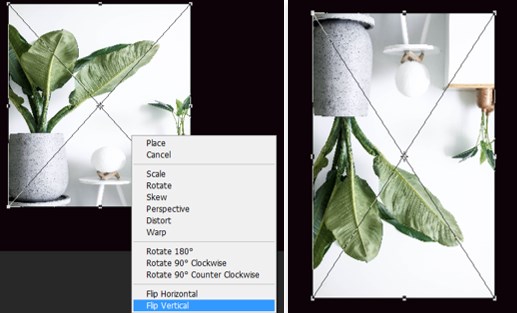
Step 27: You can flip your image vertically by clicking on this option.
In this way, you can use a transform tool in Photoshop software to make the different types of transformations in your image according to your project work.
Conclusion
Now, after this article, you can understand what the Transform tool is and how you can handle different parameters to get the best result in your work. You can have a good command of this feature of Photoshop software by practicing it.
Recommended Articles
We hope that this EDUCBA information on “Transform Tool Photoshop” was beneficial to you. You can view EDUCBA’s recommended articles for more information.
