A Comprehensive Guide to Sync Audio and Video in Filmora
Have you ever watched a video where the sound lagged behind the visuals? Frustrating, right? Proper audio-video synchronization is essential for creating professional-quality video content. Whether you are an experienced filmmaker or a beginner creating online content, ensuring that audio matches the visuals perfectly is crucial. This guide will show you how to sync audio and video in Filmora Video Editor, a user-friendly and feature-rich video editing software.
Part 1: Audio-Video Syncing: Get to Know!
Audio-video synchronization, or “sync,” ensures that the sound and visuals in a film or video match up properly. This is especially important in video editing to create a smooth flow and keep viewers engaged. When the audio and video are out of sync, it can cause confusion, disrupt the scene, and negatively affect the viewer’s experience.
Significance of Syncing in Video Editing
Imagine watching a dialogue scene in a movie where the characters’ lip movements do not match the words they are speaking or a musical where the sounds play several seconds out of sync with the band’s performance. Such scenarios highlight the crucial role of synchronization in video editing. Proper syncing ensures that audio and video align seamlessly, allowing viewers to focus on the content without being distracted by technical inconsistencies.
Whether a simple YouTube tutorial or a full-length feature film, synchronization is essential for capturing the audience’s attention and effectively delivering the intended message.
To make this process easier, tools like Filmora video editing software provide various features designed to effortlessly sync audio and video in Filmora. With intuitive controls and options like auto synchronization, Filmora enables users to achieve a professional-quality result, even with minimal editing experience.
Part 2: Step-by-Step Guide to Syncing Audio and Video in Filmora
Wondershare Filmora is an excellent tool for beginners, thanks to its straightforward interface and drag-and-drop functionality. Its simple layout, large source-swapping buttons, and various templates make it approachable and user-friendly, especially for first-time users.
However, Filmora is not just for amateurs. It boasts advanced features, including AI editing tools, audio visualization, and color matching. Additionally, it stands out from many competitors with its impressive rendering speeds, particularly on the Windows version.
How do you Sync Audio and Video in Filmora?
Follow these steps to sync audio and video in Filmora effectively:
Step 1: Open the Filmora App
- Launch the Filmora app on your device.
- When the workspace opens, look for the option to create a New Project and click on it.
- To ensure a smooth editing process, save your video and audio files in a location that’s easy to access.
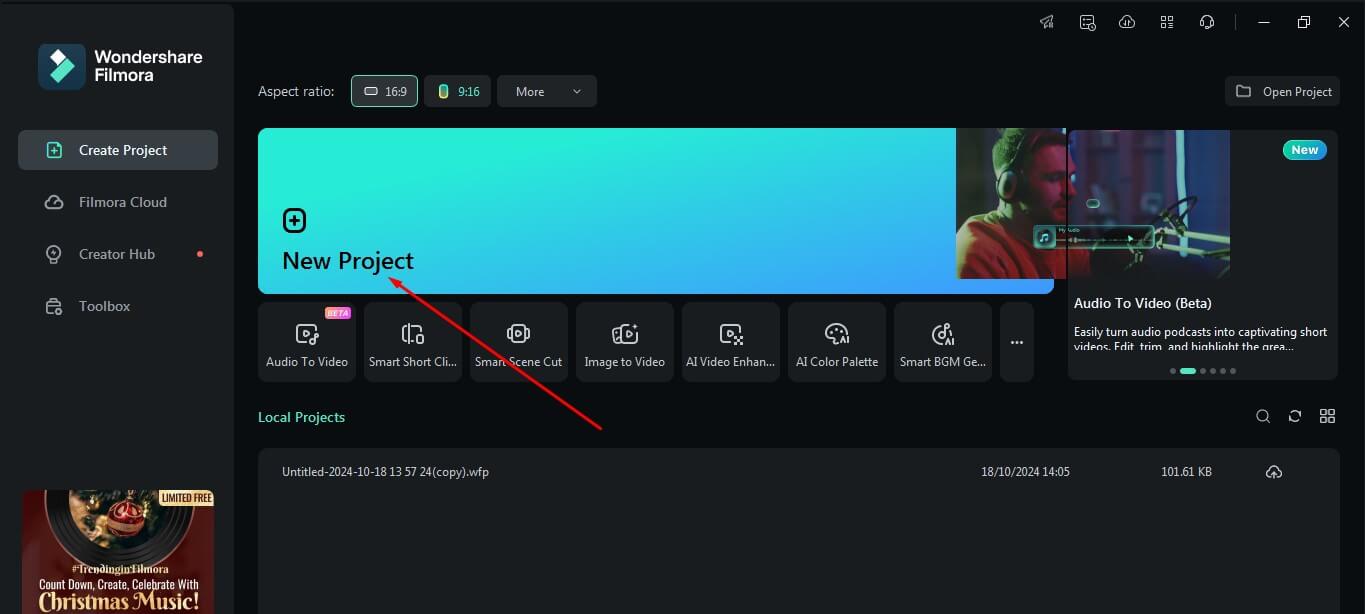
(Image Source: Filmora)
Step 2: When you create a new project, you will see an “Import Media” section. You can access all the audio and video files on your computer by clicking on this section. Another way is you can also directly click and load these files into this import bar.
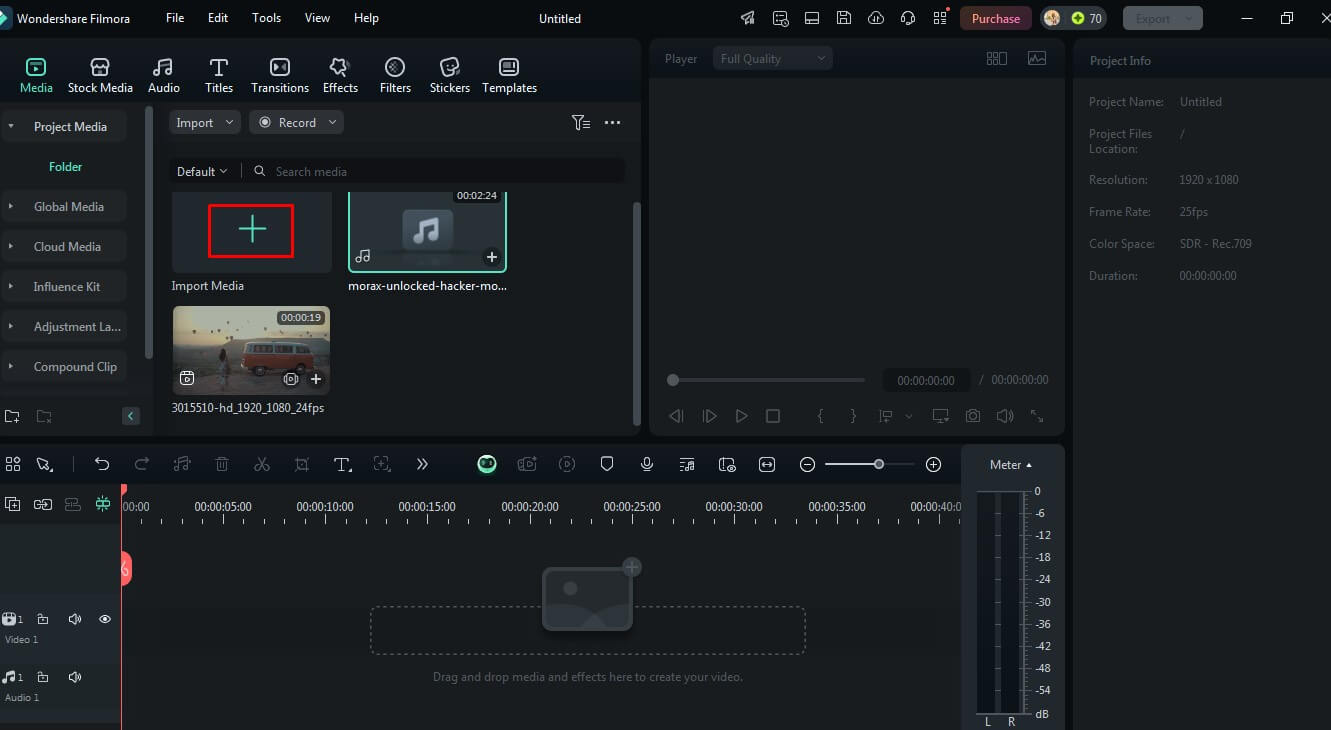
(Image Source: Filmora)
Step 3: Now, let us prepare for the files to be synchronized. To begin this process, move the video file to the timeline. Subsequently, pull down the audio using the same process below the video on the panel.
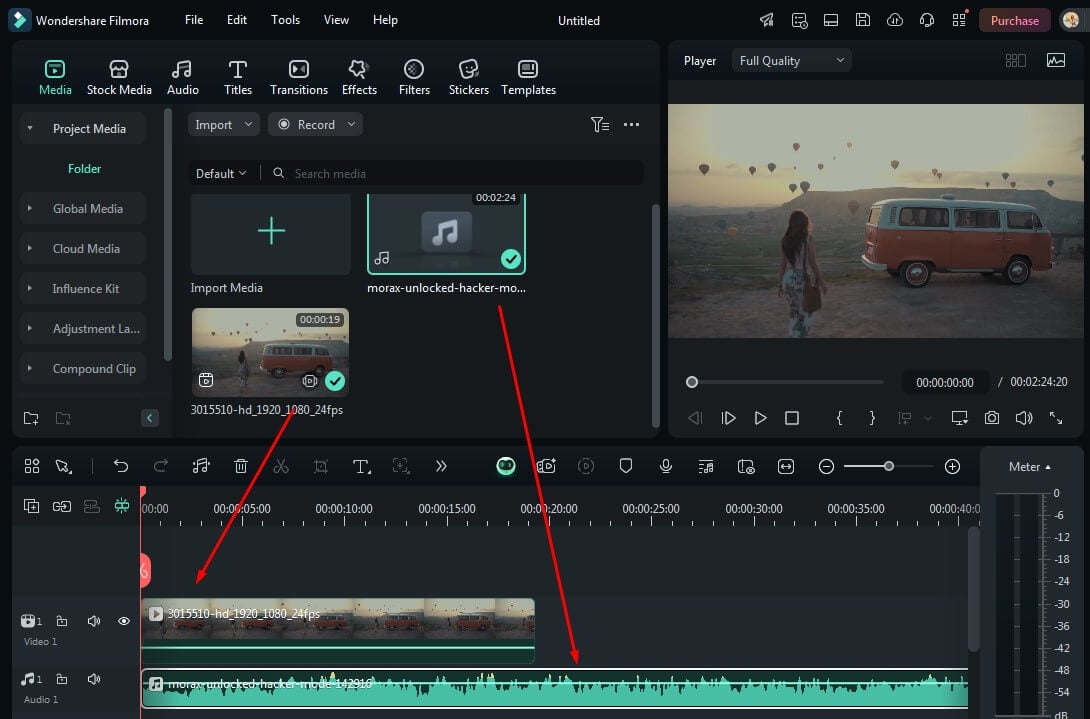
(Image Source: Filmora)
Step 4: Now that both files are on the timeline, select the video and audio clips together. Right-click on the desired clips, and click on ‘Auto-Synchronization’. Filmora has a built-in feature that helps synchronize the audio and video by detecting waveform patterns.
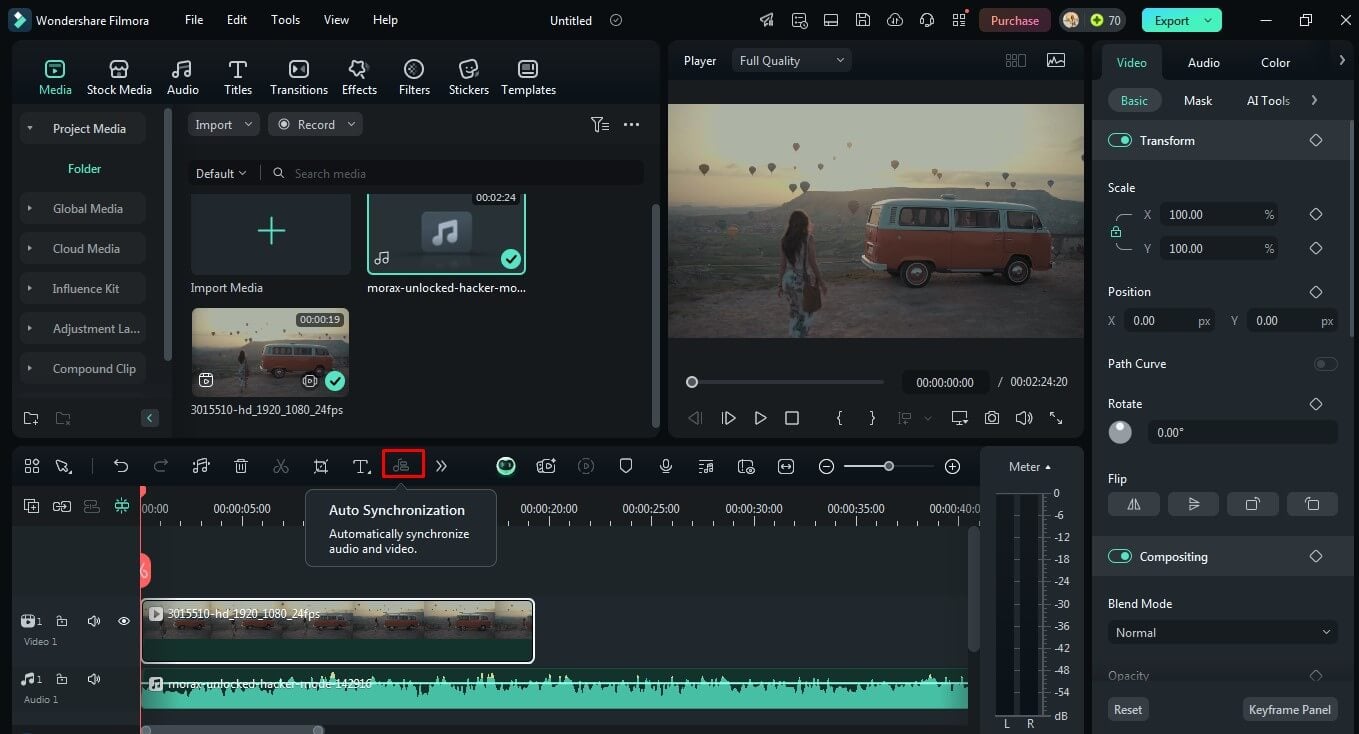
(Image Source: Filmora)
Step 5: When you do this, Filmora will begin to sync your files, and you will see the “Synchronization in process” message on the screen. Wait until the completion of the process.
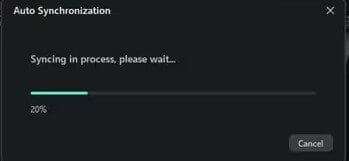
(Image Source: Filmora)
Step 6: Once you sync your audio and video clips perfectly, you can export and share them with the world. Finally, click on the Export button, choose your preferred format, and finally save your video in order to share it with the world.
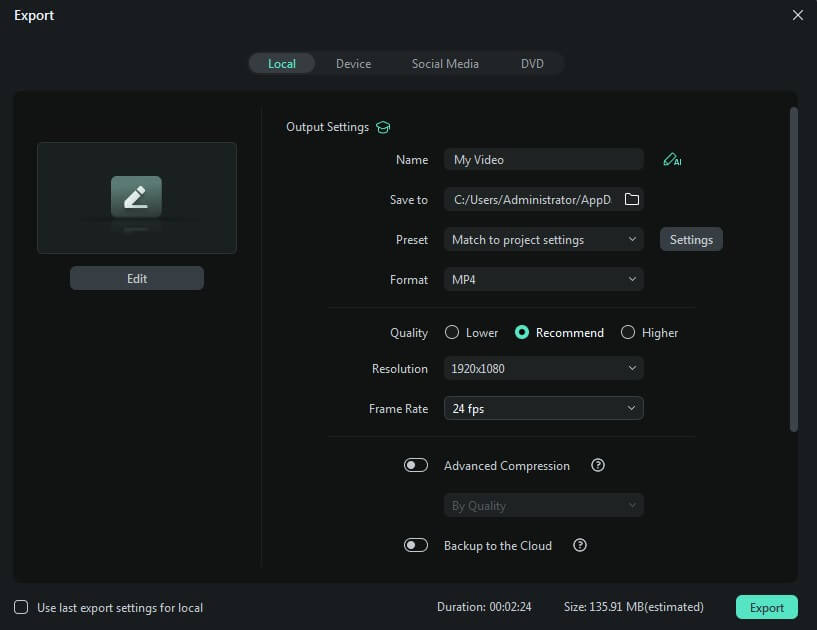
(Image Source: Filmora)
Following the process outlined here, you will realize that audio-video synchronization is not just a task but an art form. To sync audio and video in Filmora, all you need is your footage and the power of Filmora’s editing tools. Capture the magic, and watch as your videos come to life with perfectly synchronized movements, elevating your content to a new level. Spice up your creations and make every frame count with the seamless sync provided by Filmora’s advanced features.
Part 3: Troubleshooting Common Sync Issues
Sync issues can happen even to the most experienced video editors. Recognizing these problems early allows you to fix them before they affect your work and helps keep your final project looking professional.
Common Signs of Audio-Video Sync Issues
- During the conversation, you may notice the lips moving even when the speaker is not talking.
- Low levels of coordination between the sound and the events.
- Sound effects appear ahead of time or are delayed getting in, thus confusing the audience.
To identify these sync problems after editing, it is advisable to play the timeline in full-screen mode and pay attention to the details. Generally, if you find yourself wondering whether the audio corresponds to the video imagery, then that is a video sync issue.
Solutions for Sync Issues
1. Use Filmora’s Audio Sync Tool
If you observe that the audio has fallen out of sync with the video, use the auto-synchronization tool to move the audio either forward or backward until the two are synchronized.
2. Manual Adjustments
At other times, minor adjustments are necessary. Scroll to the timeline and use the cursor to position the audio waveform precisely at a certain point.
Tips for Avoiding Sync Issues in Future Projects
- Always check the source files before editing to ensure you are using high-quality audio tracks.
- When editing video, use markers available in Filmora to help you more noticeably line up your sounds and video clips.
By following these troubleshooting steps, you will ensure that your projects always look professional and your imagination is the only thing holding them back.
Final Thoughts
Audio-video synchronization is a vital skill in video production. You can effortlessly sync audio and video in Filmora, ensuring professional-quality results every time. Following these steps can elevate your projects and engage your audience effectively. With Filmora’s intuitive features and tools, syncing audio and video is no longer a challenge but an art.
Frequently Asked Questions (FAQs)
Q1. Does Filmora have limitations on how long an audio or video clip can be?
Answer: Filmora does not limit video length. But long files may slow your video editing software. They require more resources.
Q2. How can I ensure that my videos stay in sync when exported?
Answer: Always preview your project. When you export and publish it on your channel, it will avoid timing issues. Check for sync issues between the sound and pictures. For large projects, consider producing a short reference clip.
Q3. Is there a specific frame rate I should maintain for better sync?
Answer: Maintaining a consistent frame rate is crucial for syncing audio and video effectively. Typical frame rates include 24 fps, 30 fps, or 60 fps.
Recommended Articles
We hope this guide helped you sync audio and video in Filmora. For more video editing tips and tricks, check out these recommended articles.
