
Overview of Smooth Tool in Illustrator
Smooth Tool in Illustrator is one of the tools that the user widely uses. The smooth tool is used for making the curvy and rough edges of the artworks and objects that are generally present in the vector-based program smooth and glossy. The smooth tool also helps the user control the amount of smoothness needed to be added to the object with the properties and function available to edit the object. With this smooth tool, the user can make pencil sketches and drawings look smoother and glossier without any rough edges.
How to Use Smooth Tool in Illustrator?
Below are the steps to turn straight lines into beautiful curves.
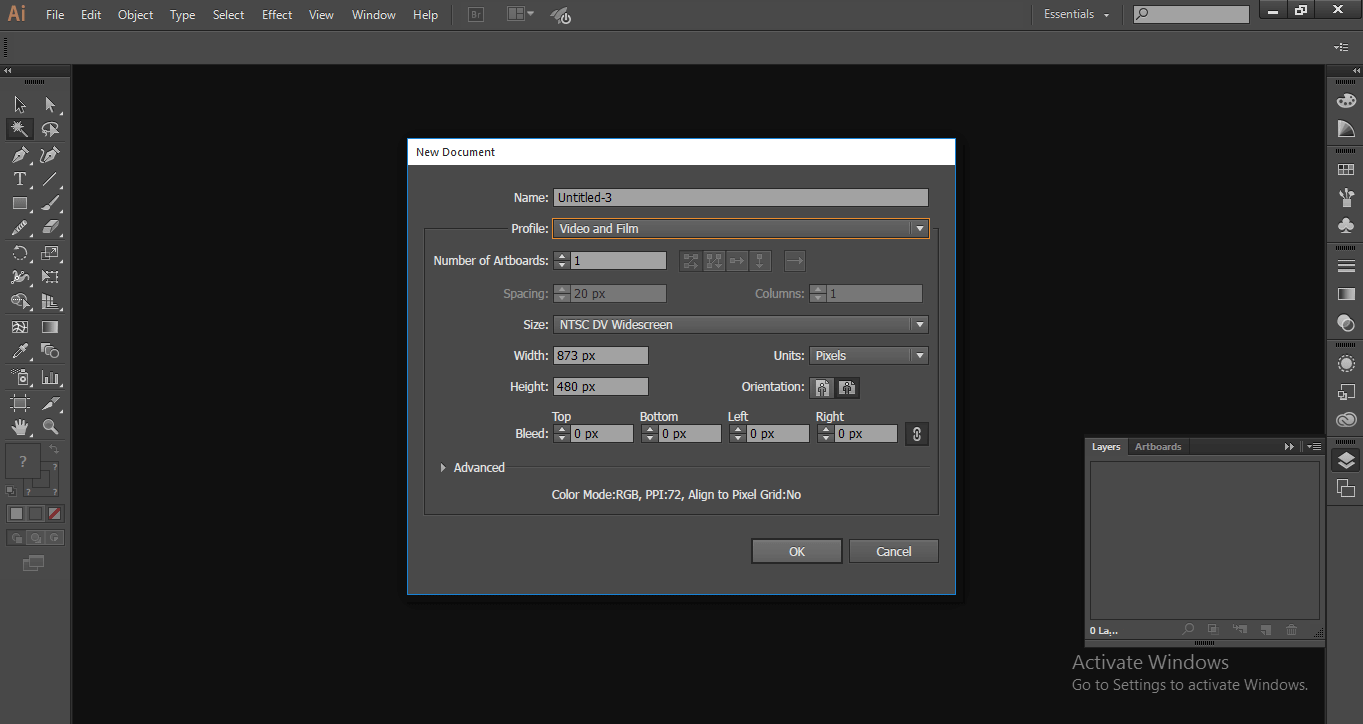
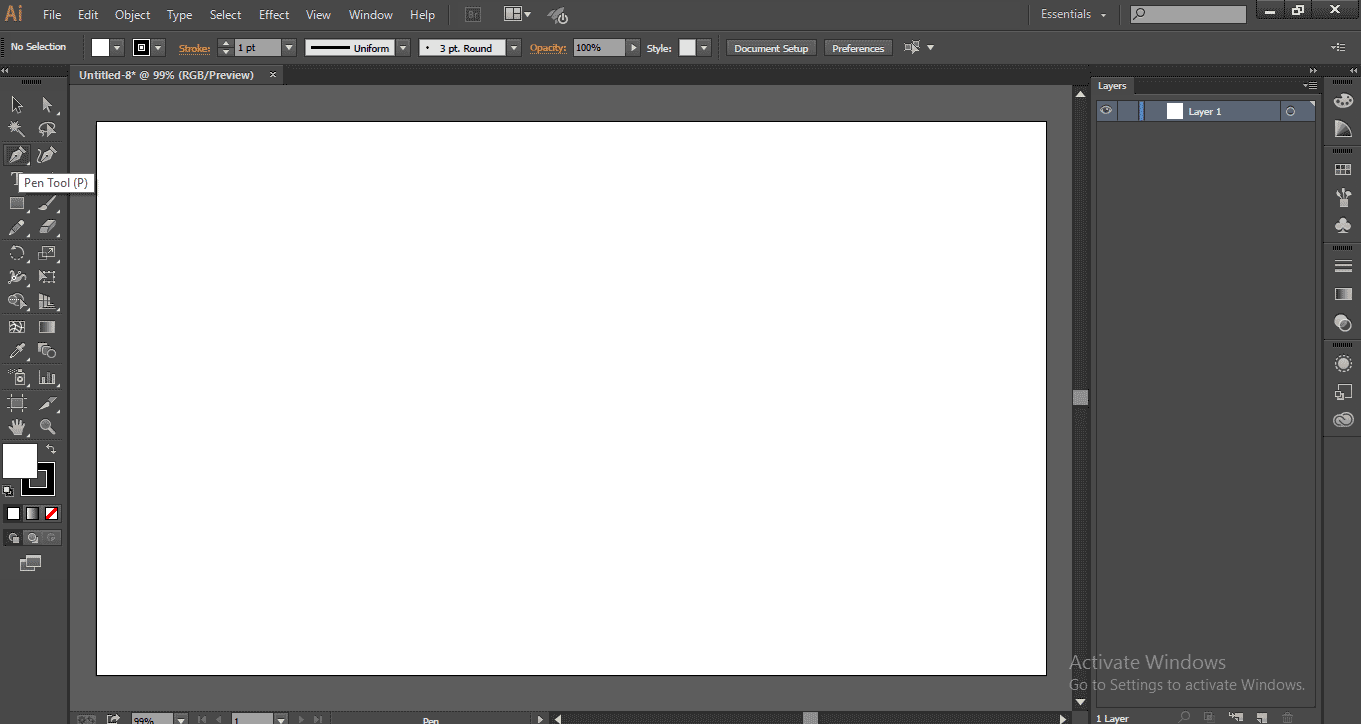
Step 1: Open a New File.
Step 2: Go to Tools and select a pencil tool; we can also use N as a shortcut key for the pencil tool.
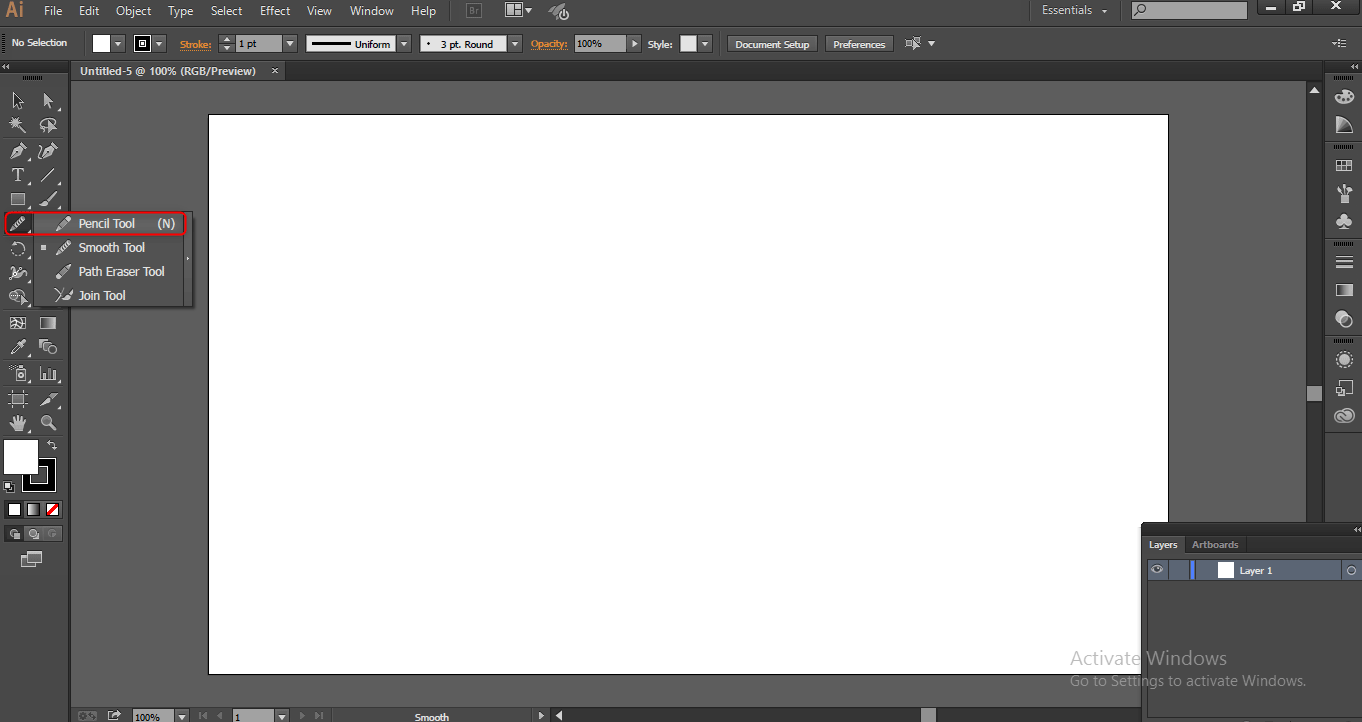
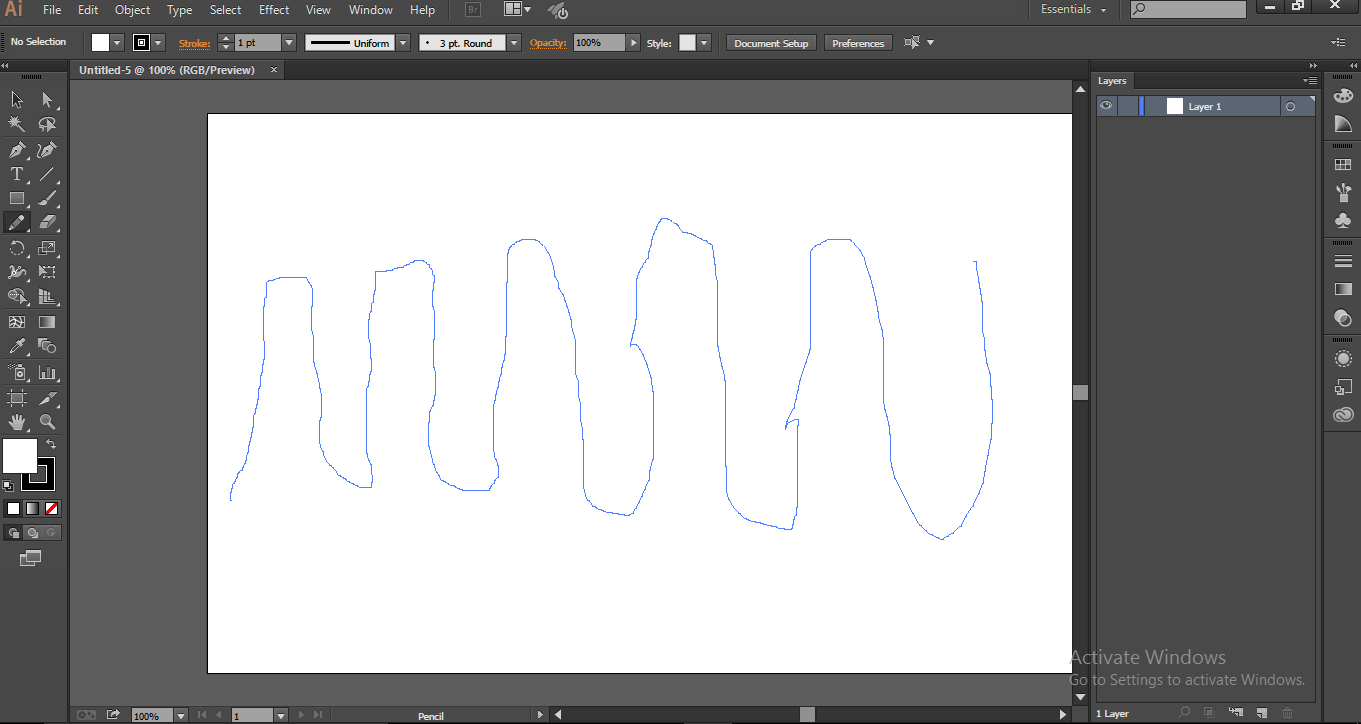
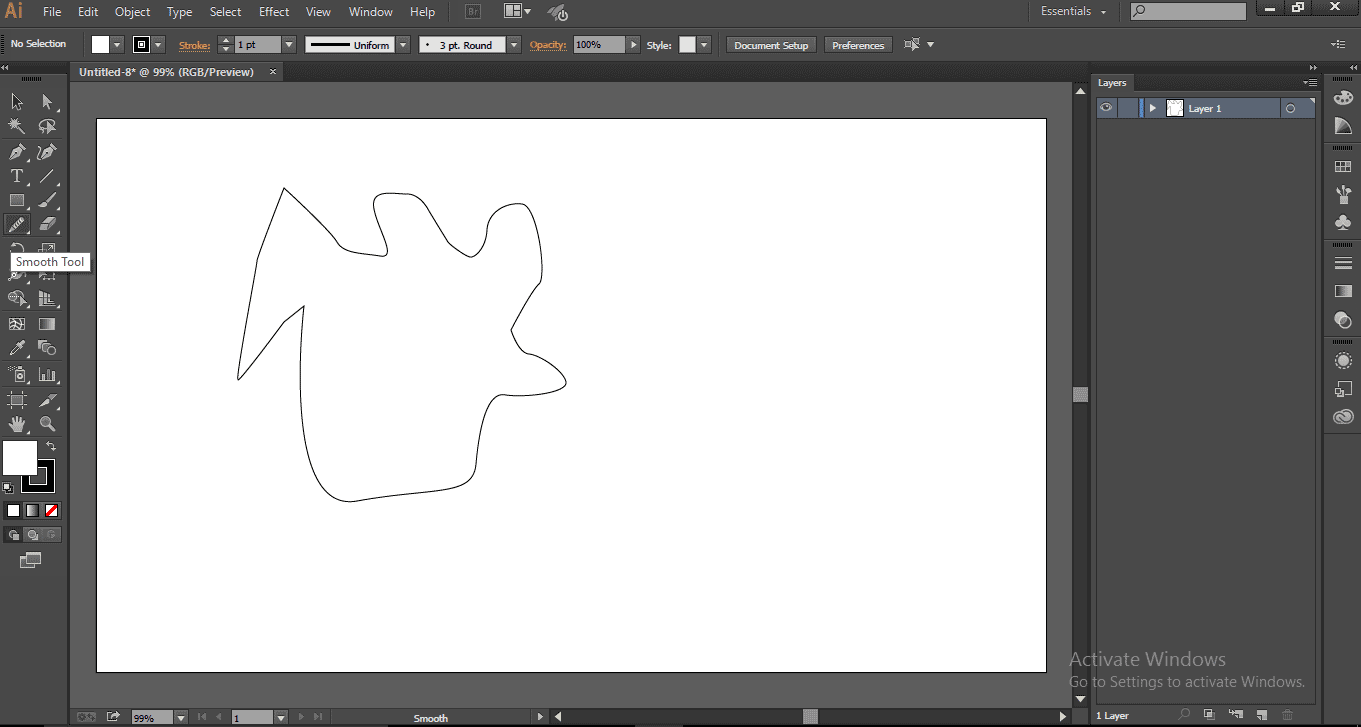
Step 3: Here, I am going to draw lines with the help of the Pencil Tool.

The line we draw is so uneven and not good in shape and edges, so we are going to clear the rough edges and make this good shape with the help of the smooth tool.
Step 4: After drawing lines, we can find some points in the lines.

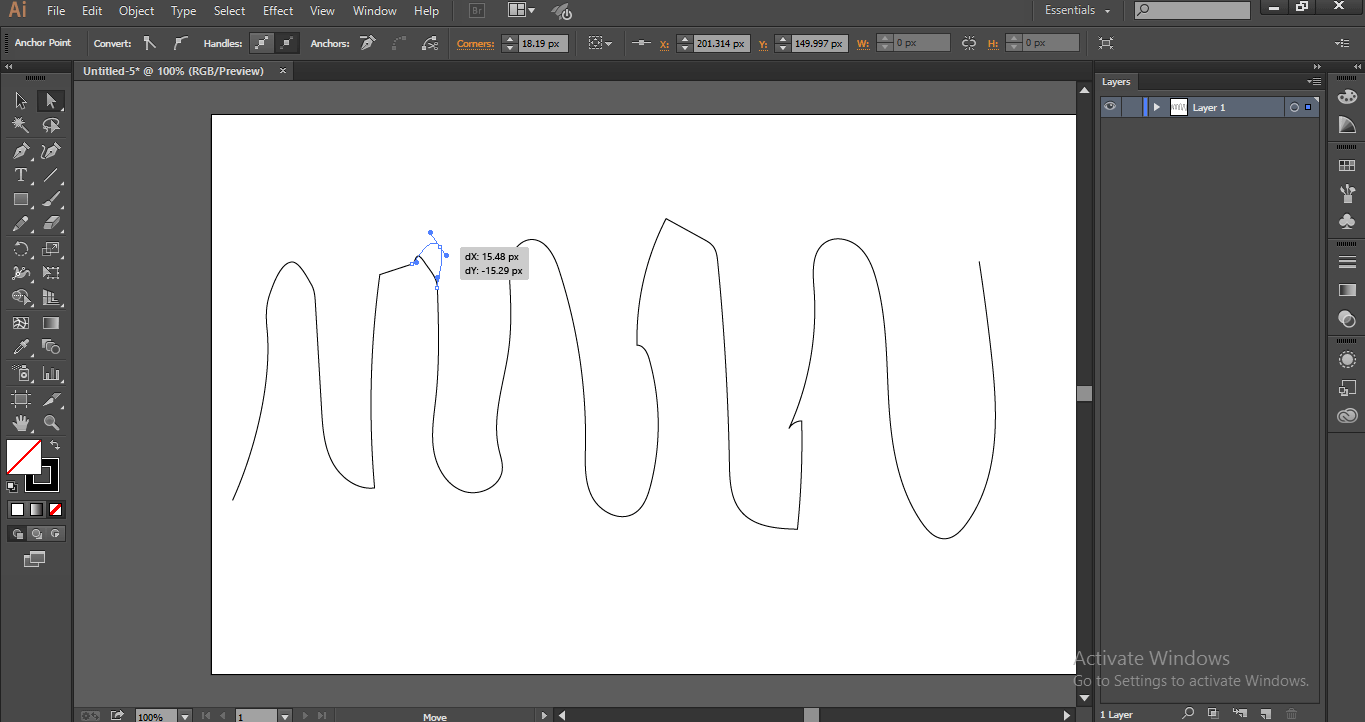
Step 5: Here, we have another option to get fine edges with the help of the direct select tool; a shortcut for this tool is A.
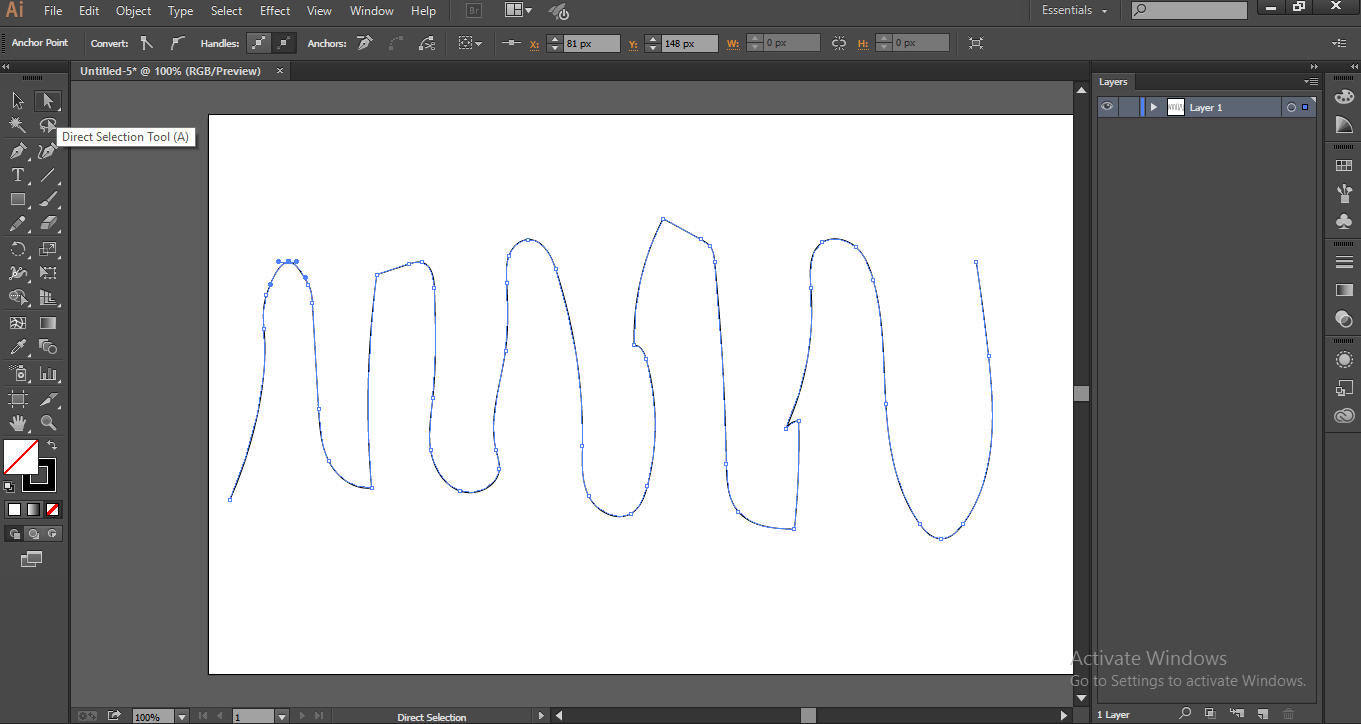
By using this tool, we can move and adjust the points to get fine edges
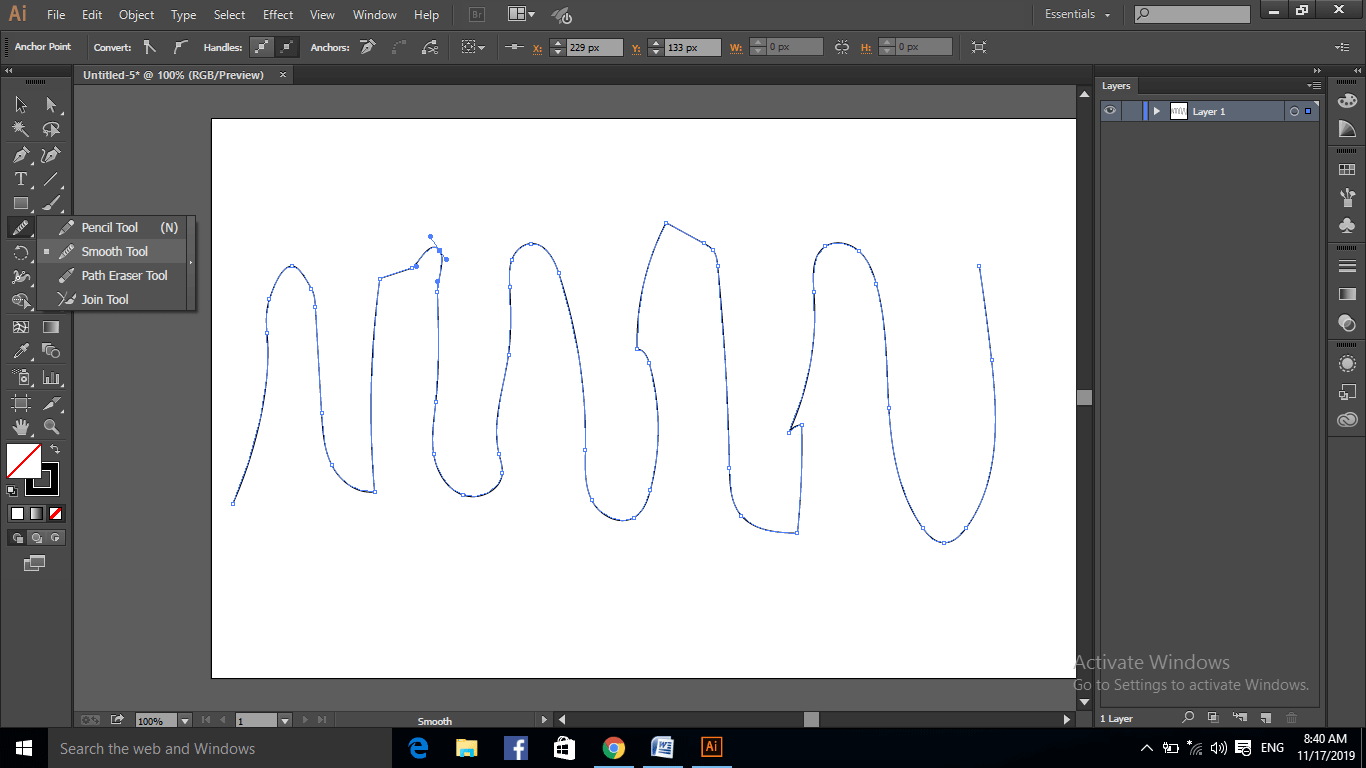
Step 6: We can’t tell that the smooth tool and the direct select tool is the same because we can adjust the edges smooth with the direct select tool, but we can’t smooth the line and rough edges for that process, we need to use the smooth tool, So select smooth tool, go to tools and hold the pencil tool we can get options in that we can select smooth tool.
Step 7: We have another option to select the smooth tool, select a brush tool from the toolbar and hold ALT, then it acts as a smooth tool till we finish the smoothing we need to hold alt once we release the ALT key it became as the brush tool.
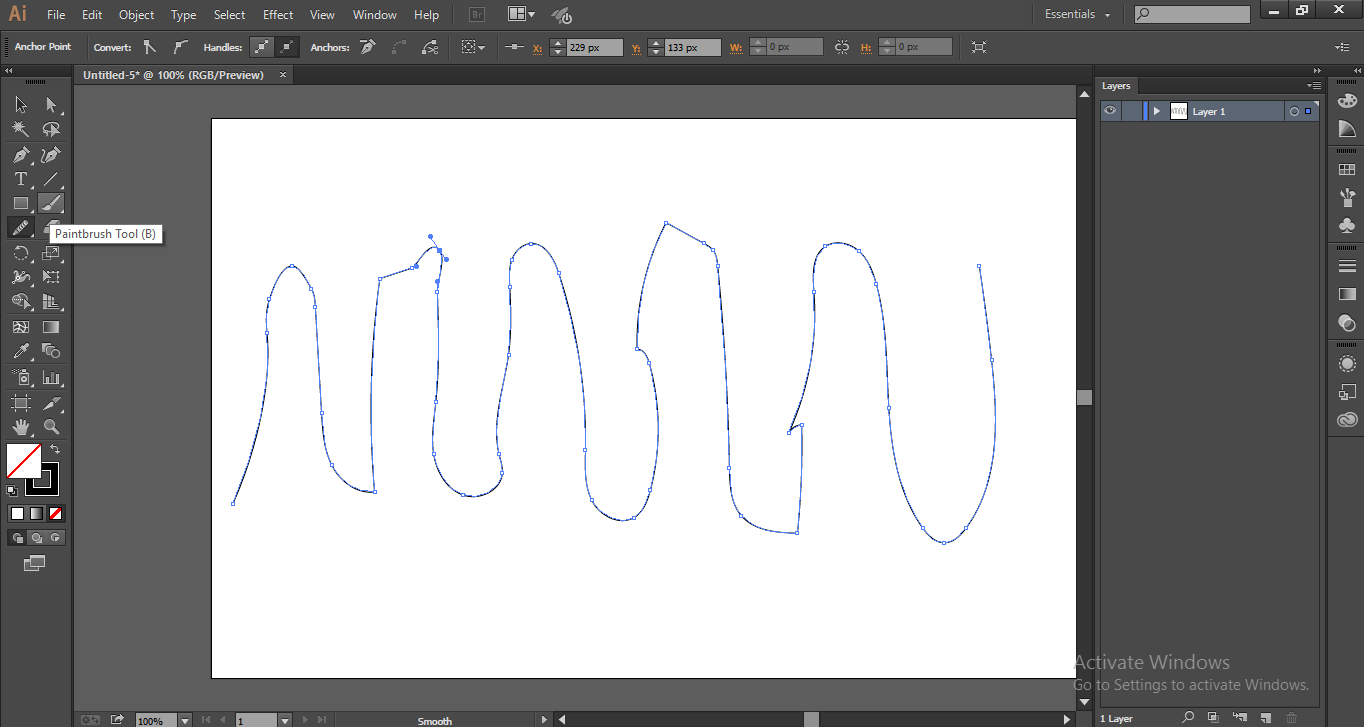
Now hold ALT, then it will act as a smooth tool.
Step 8: Let’s see how to use the Smooth tool. Just hold click and draw the lines on the rough edges then we can find line get smooth continue this until we get smooth edges.

In the starting line, we can find the difference.
Step 9: Here, I am drawing the top edge to get a smooth and fine edge, and I continue drawing this process till we get the correct edges.
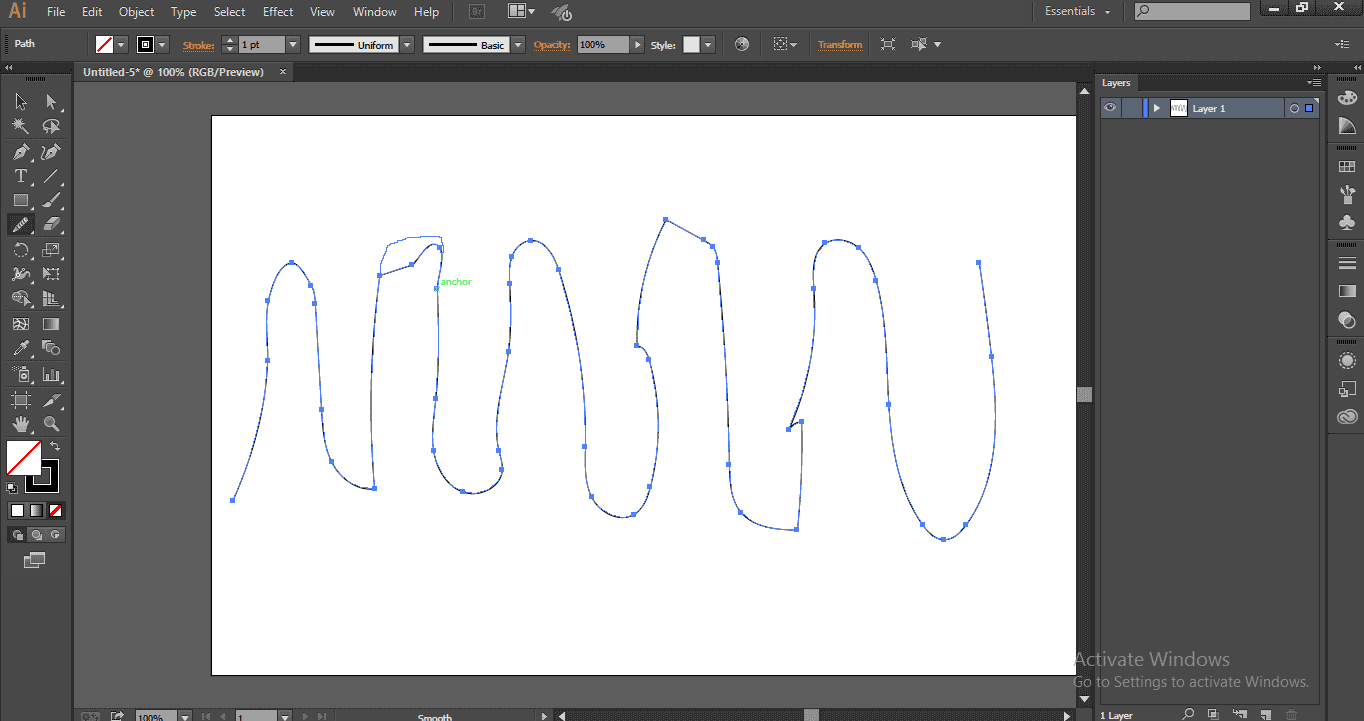
Whenever we draw a line with a smooth tool, we can find the anchor points adjusting the positions and making the edges smooth, some new anchor points created, and some points are deleted while we draw with the Smooth tool.

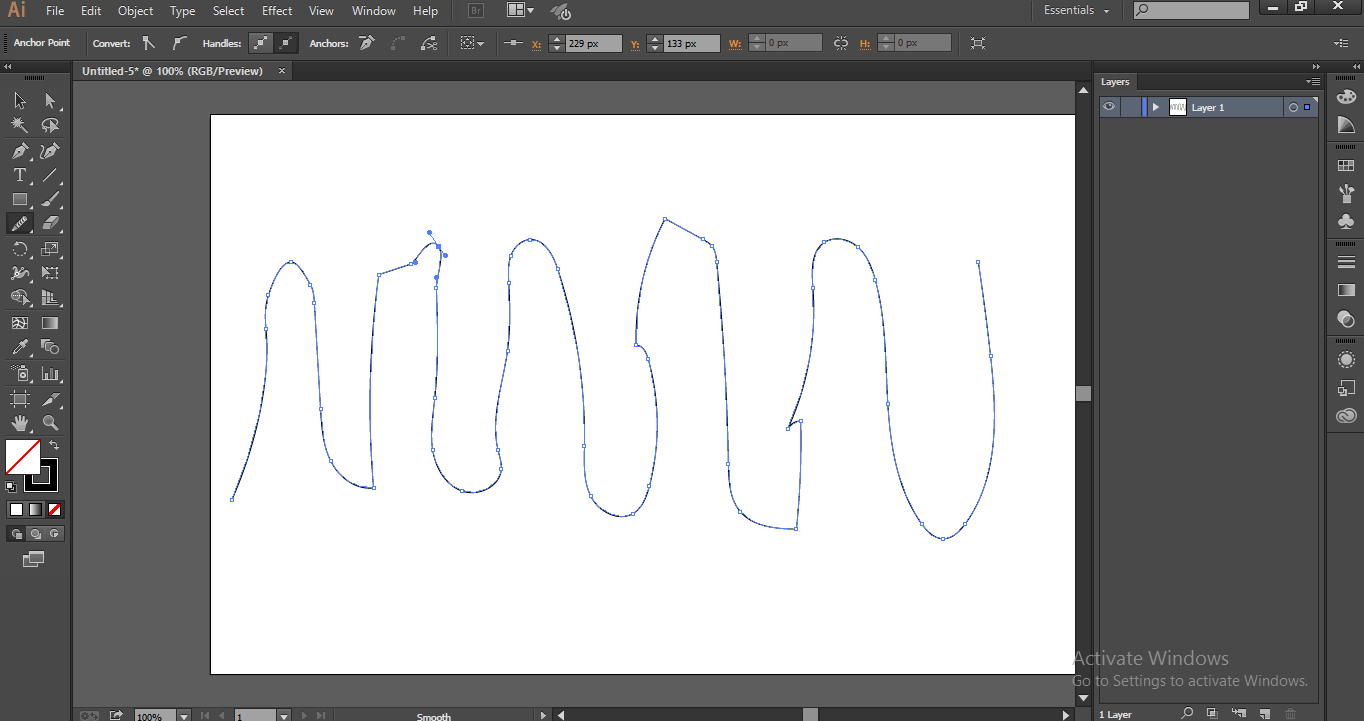
Step 10: Here, I draw smooth lines to the entire lines continuously till I get good shapes with smooth; we can see the difference in the two images.
The above image is raw lines which we draw at first, and the below image is after applying a smooth tool.
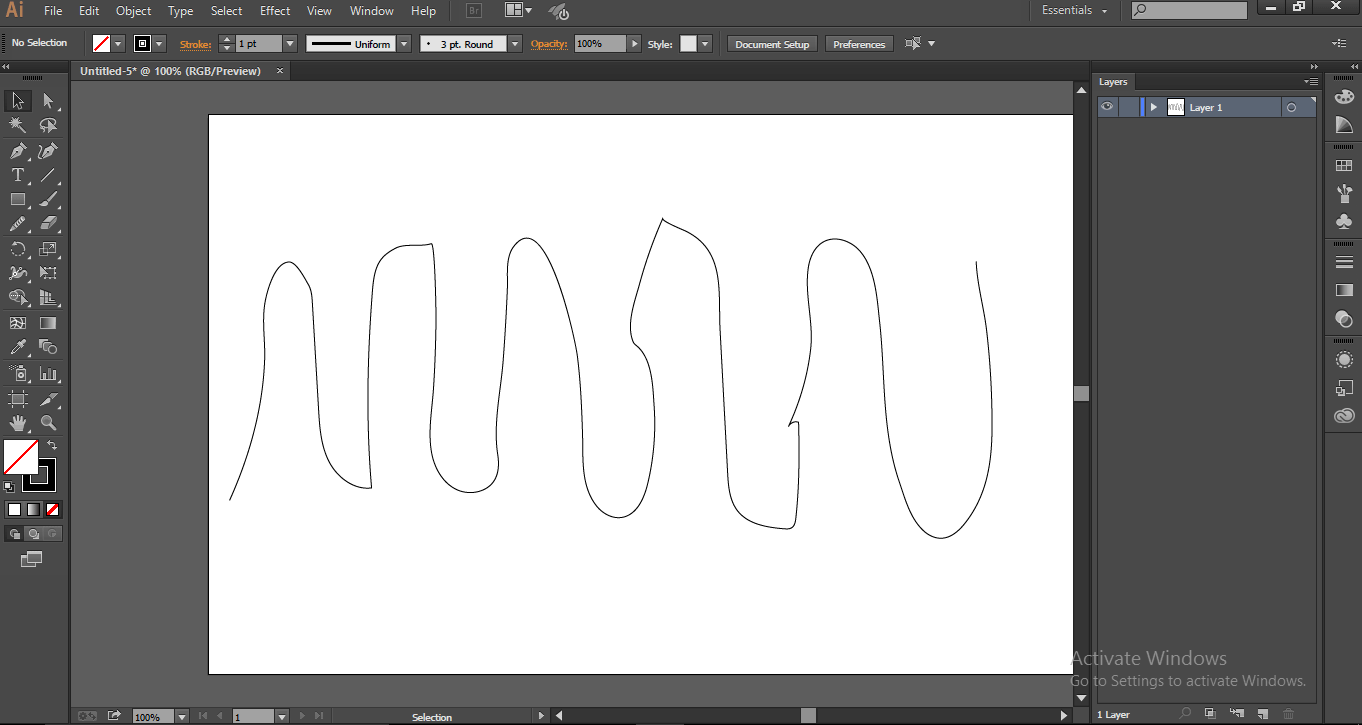
See both the images carefully we can find the difference after applying the smooth tool; we got smooth and straight line rounded edges, before using smooth edges, we have uneven lines with rough edges and corners are uneven, while drawing with the smooth tool, the anchor points adjust and give us smooth lines, fine edges and each curve is so smooth and even.
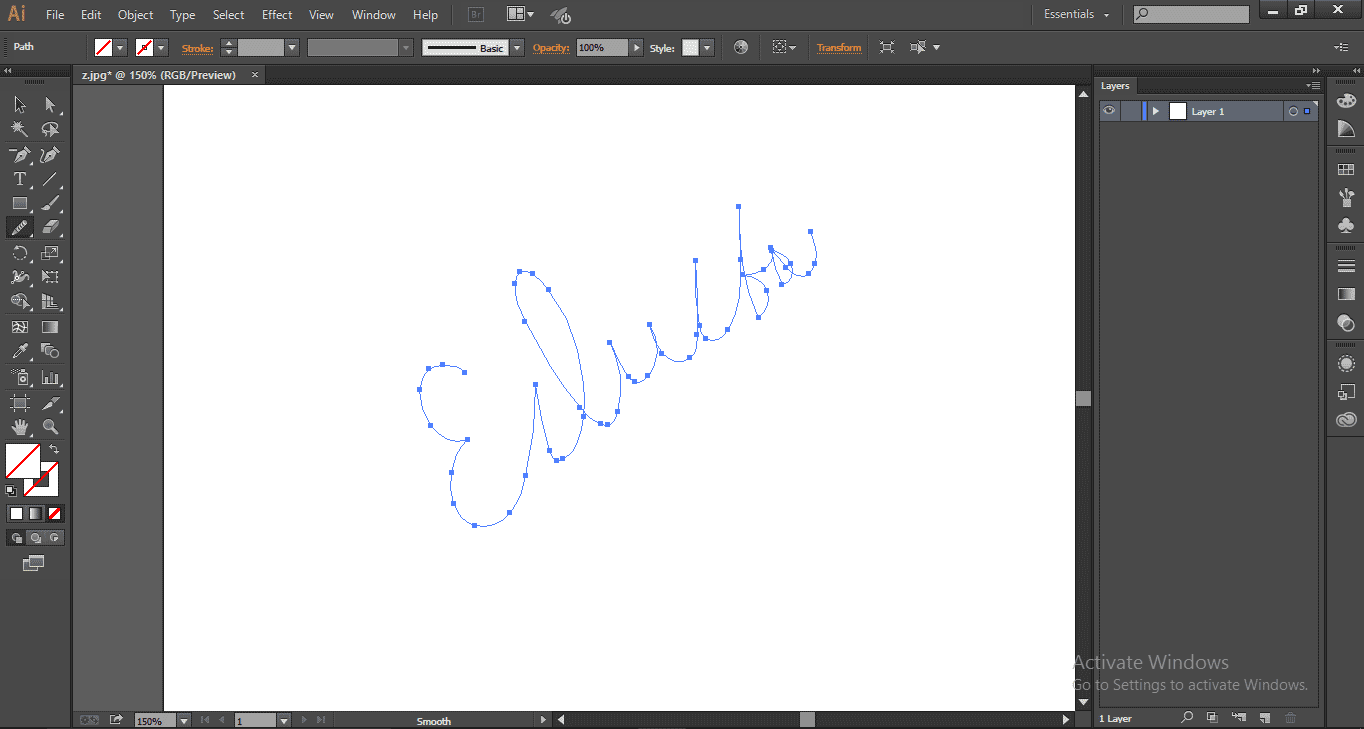
Step 11: Let’s try drawing a signature with the help of Pen Tool.
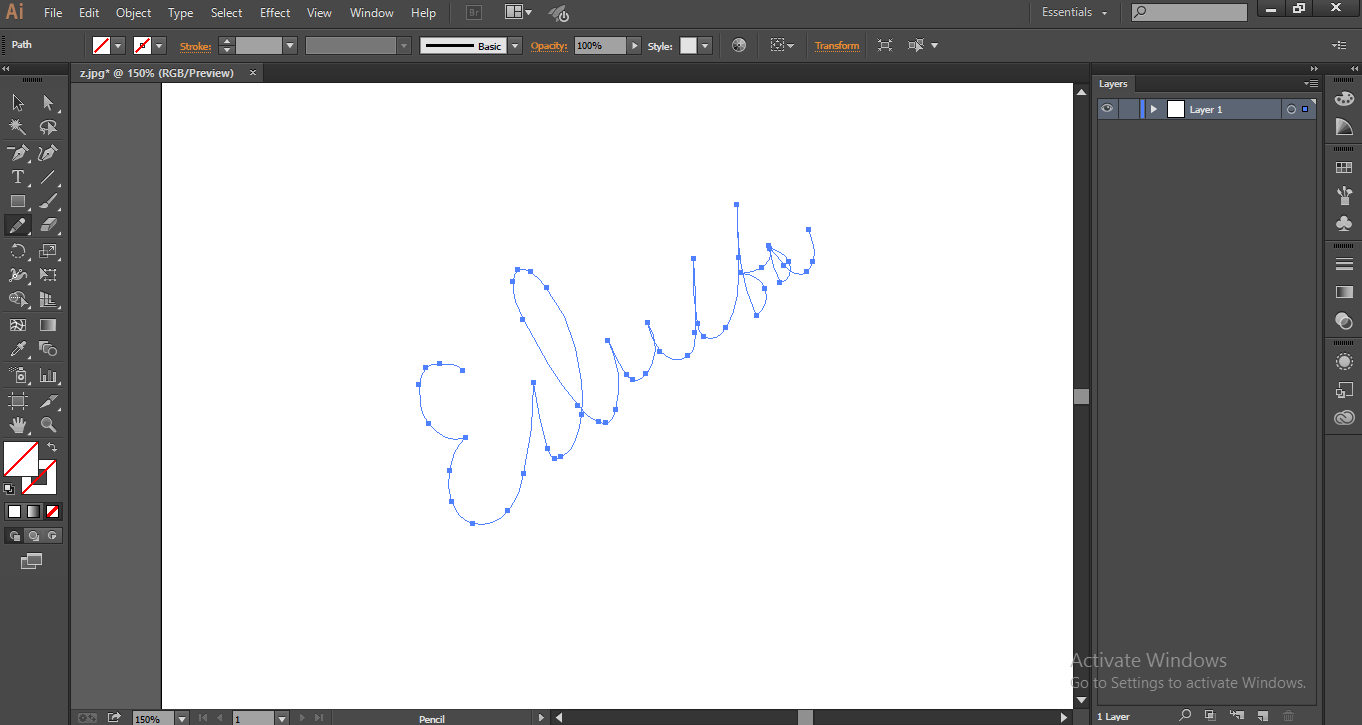
Step 12: We got unwanted curves and missed the shapes in between, so select the Smooth Tool to learn this.
Step 13: Zoom the image to find the curves.
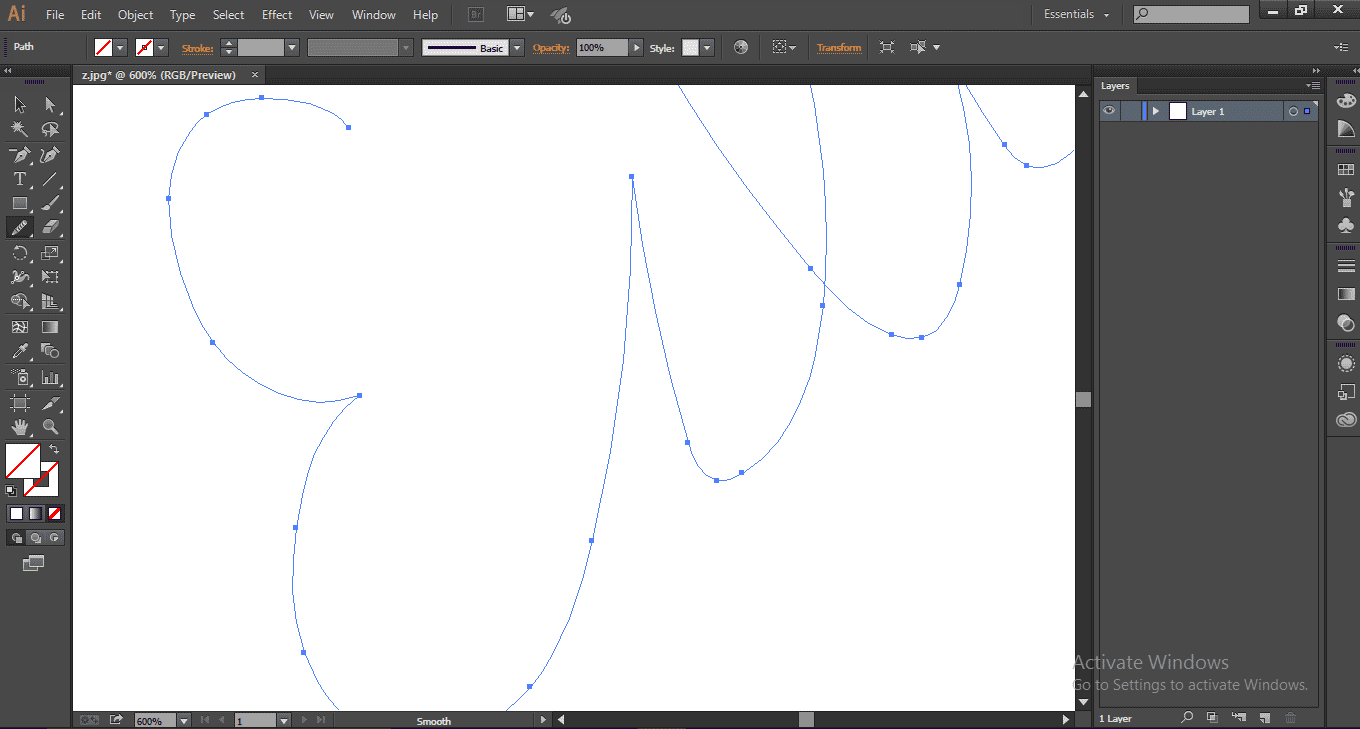
Step 14: Start drawing on each path and curve to get smooth.
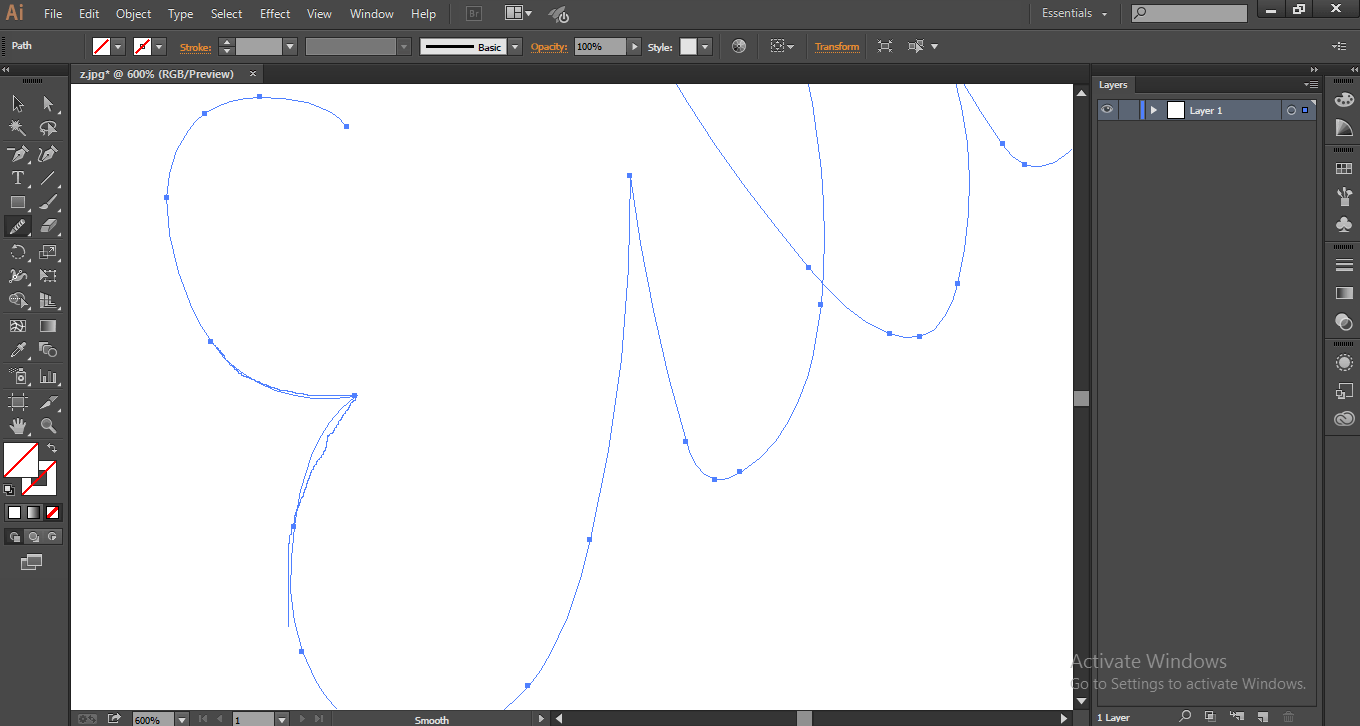
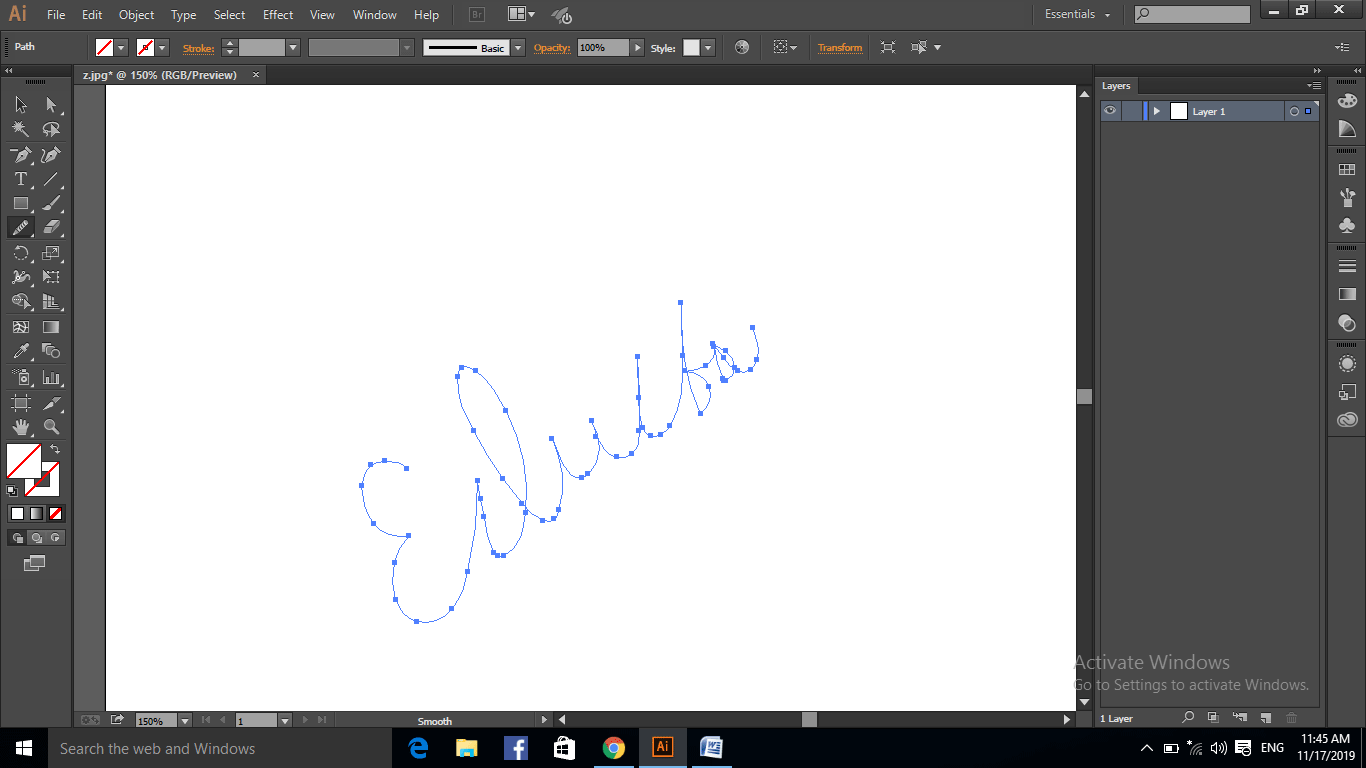
Step 15: Continue the drawing till we get the entire signature to look clear and good.
Up to now, we try drawing now let’s see how it works with the pen tool; while we are creating some drawings or characters with the pen tool, we miss the shape in between that places we ignore that time, and after finishing the drawing, we select the smooth tool, and we can adjust the shapes clearly also we can reconnect in between or break the shape with the help of a smooth tool.
Let’s see how it works.
Step 16: Select the pen tool in the toolbar; the shortcut for the pen tool is P.
Step 17: Just draw a shape with the help of pen tool hope if you have free hands of pen tool you can draw well, I drew a rough shape just for experiment purpose only.
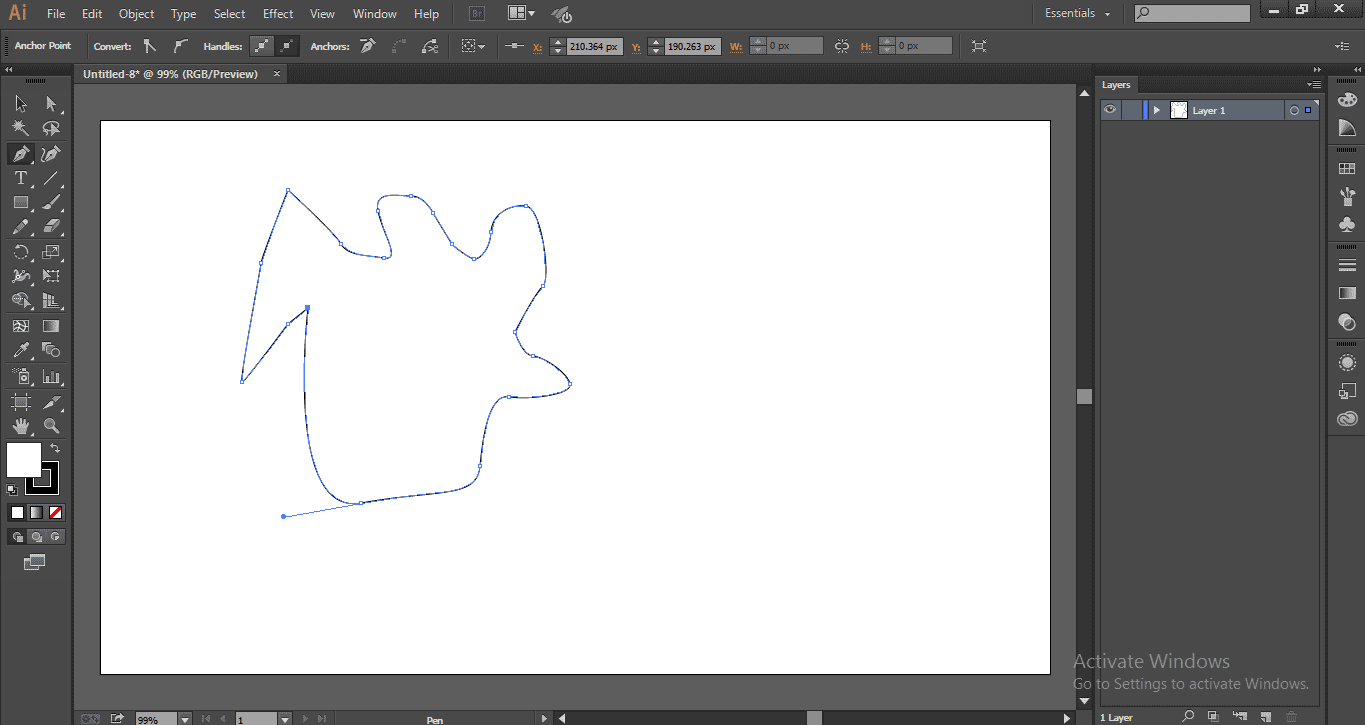
Here is a rough shape with a lot of curves and uneven we are going to make this shape better by using the smooth tool. Here I have drawn with the smooth tool; half of the shape has been drawn; let’s see the difference.
Step 18: Select the smooth tool.

Step 19: Here, I draw with the smooth tool; half of the shape has been drawn; let’s see the difference.
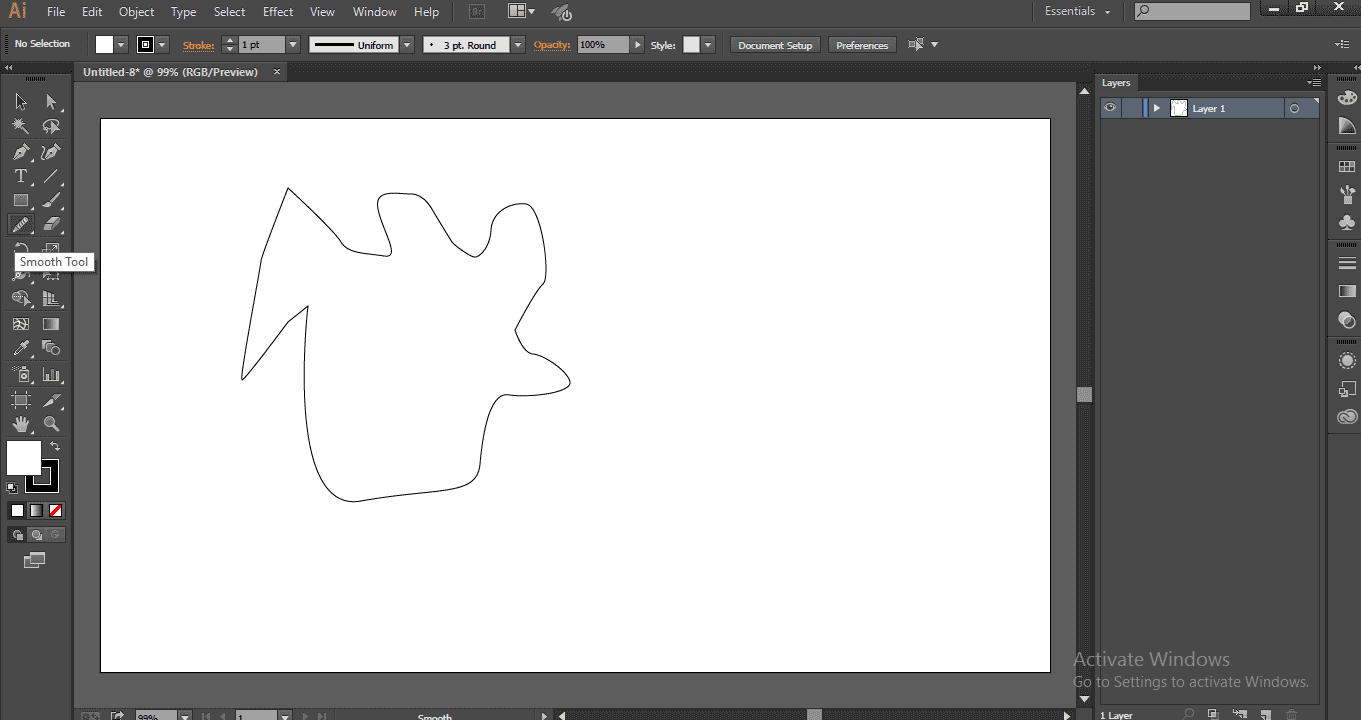
We can find the difference in the bottom shape where I applied the smooth tool, adjusted the key points, and made some smooth and fine edges; the sharp edges in the first image were adjusted, and we can see the difference in the second image.
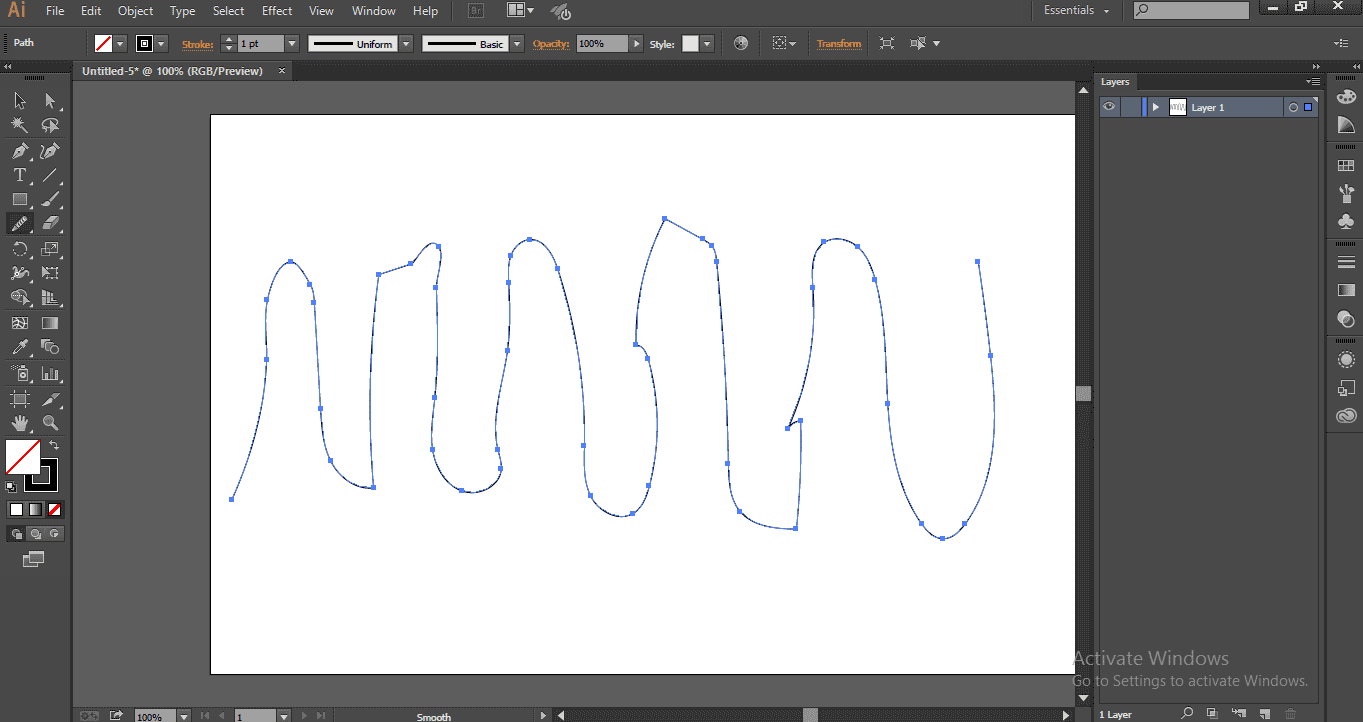
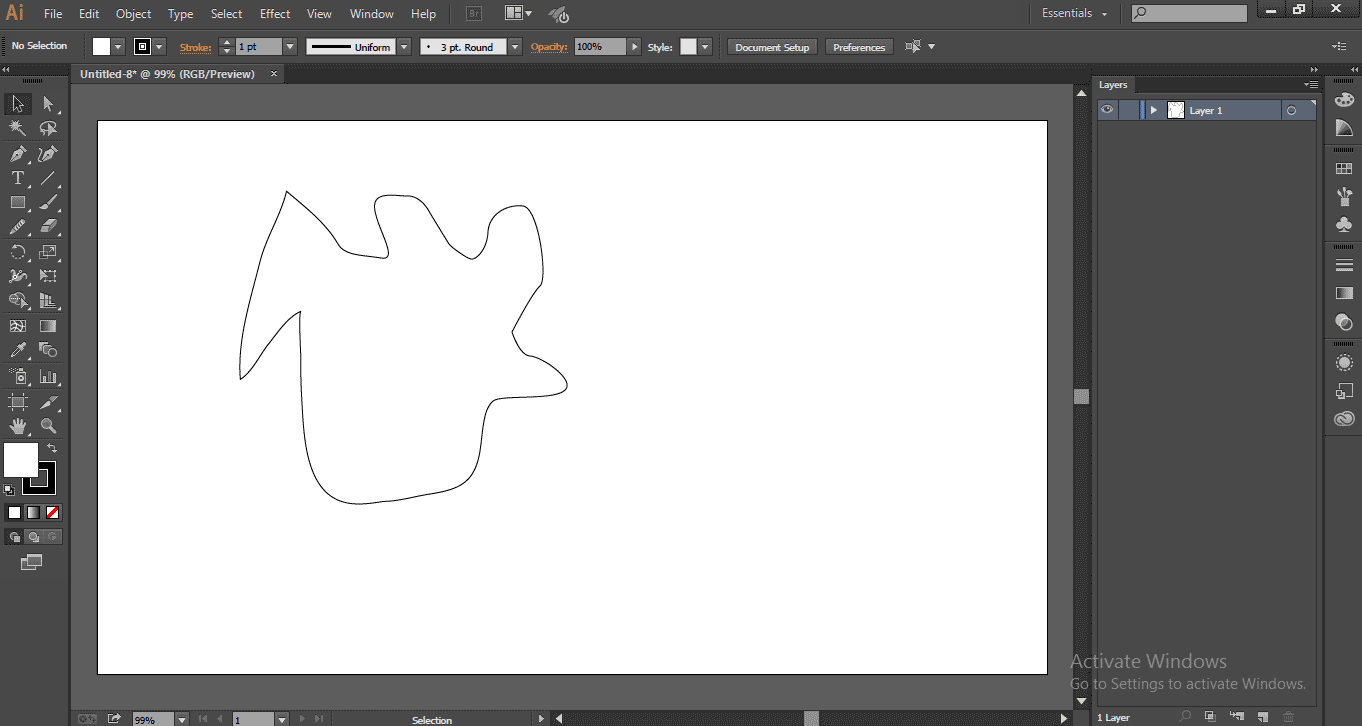
Step 20: Here, we finished smoothing the whole shape now; let’s see the difference.

See the difference of the two images before and after smoothing; a lot of changes can be seen after making it smooth, and with every sharp edge now got smooth edges, the structure looks good.
Such magic can be done with the help of a smooth tool that is easy to use.
Conclusion
In this process, we draw a shape with the pencil tool and make the shape smooth with the help of the Smooth Tool, and we try smoothing the signature which draws with the pencil tool and at last, we saw how to make a pen tool shape smooth by using the smooth tool.
Recommended Articles
This is a guide to Smooth Tool in Illustrator. Here we discuss an Overview of Smooth Tool and the process to Use the Smooth Tool in Illustrator. You can also look at our other related articles to learn more –
