Introduction to Smart Objects in Adobe Photoshop
Adobe Photoshop is a vast and enormous photo editing program consisting of thousands of tools and functions with an interactive and simple approach. Even a school student today knows how to work on Photoshop. Technology and skills have gone a long way and are developing and growing with each passing day. As a result, Adobe Photoshop is the most demanded program amongst editors, hobbyists, creative designers, fashion designers, and even fresher.
One such function of Adobe Photoshop is the use of Smart Objects. The topic may seem quite complex at first, but when we go deeper and in detail, we see that Smart Objects help the designers to a great extent and simplify the working of the software. Smart objects are simply any layer that has data and information stored in them in the form of raster or vector images but are non-destructive in nature. Therefore, anything that can be edited and modified without any limitations with an infinite number of times without losing the quality of the image or without getting pixelated is a Smart Object Layer.
How to Use Smart Object in Photoshop?
In Photoshop, we have two types of Smart Objects. One is embedded, and one is linked. While both are useful and have some unique functions, they can also sometimes create limitations in creating a smart object.
The following example will show how to create and use the Smart Object.
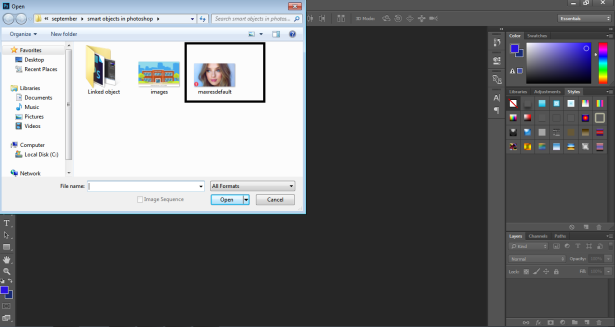
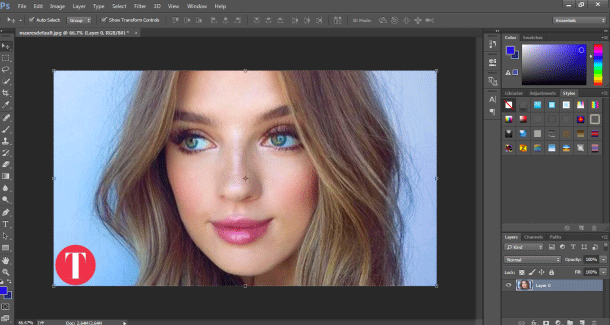
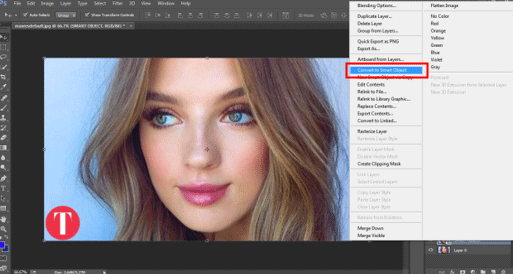
Step 1: Open Photoshop and place an image as shown in the below image.
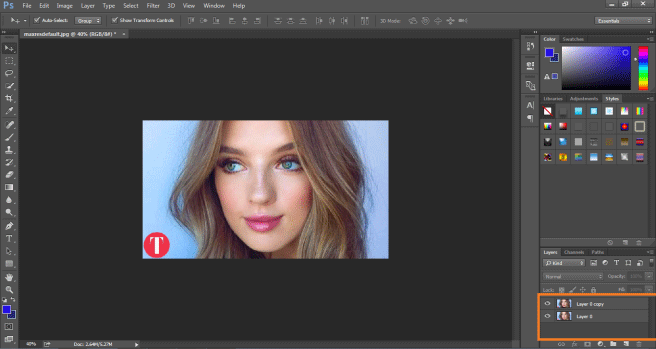
Step 2: Create a copy of the same image by pressing the Alt command.
Step 3: And click on the same layer.
Step 4: Right-click on the layer and click on Convert This Layer into a Smart Object. This will create a smart layer of the image.
Step 5: Now, Click the letter C to increase the canvas size as shown in the image.
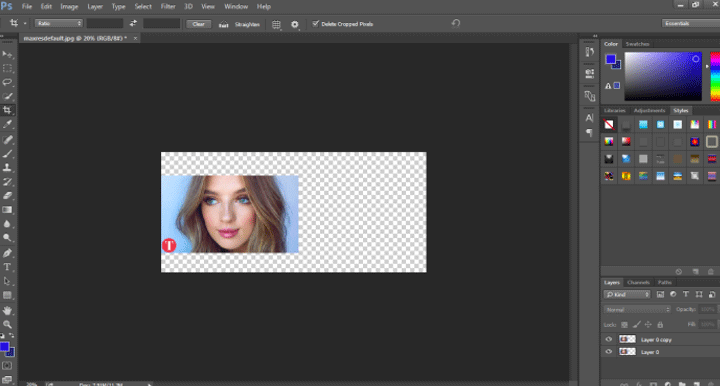
Step 6: Place the smart object on the right and the raster layer on the left.
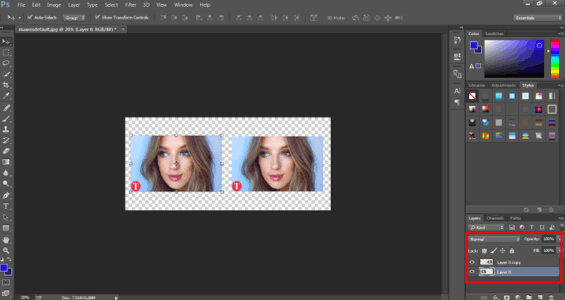
Step 7: Select both layers and transform the same to 20% of the original size.

Step 8: Again, transform both layers to 100% of the original size.
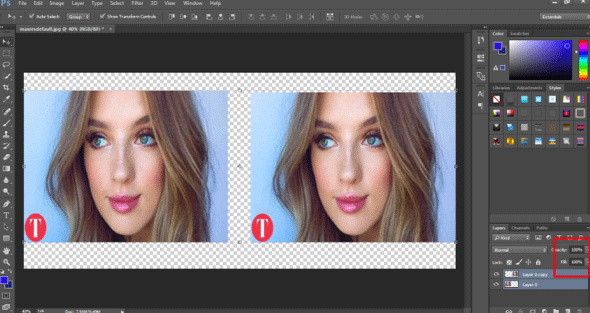
Step 9: It will show that the image on the left has been pixelated and lost its original content, while the Smart Object Layer remains Intact and retains its originality.
![]()
- Thus, when a normal raster layer is transformed, it is pixelated and loses its originality while, if it is used as a Smart Object, it retains its origin. This example helps us to understand how to create and transform a smart object with easier options and tool selections.
Benefits and Limitation of Smart Object in Photoshop
Some of the benefits and limitations of the smart object are:
- Smart Objects can also be used with Vector graphics, and information, such as Illustrator or Corel Draw Files, can be placed in Photoshop as Smart Objects without rasterizing the artwork.
- Smart Objects helps the user to apply filters and effects that are non-destructive in nature. These filters can be edited at any point in time using Smart Filters.
- The linked Smart Objects are so useful that they can edit all the linked smart objects when only one is edited.
- The most important advantage of Smart Object is that it helps in the editing of images with Non-destructive transform techniques. We can scale, rotate, transform or even apply any effect or filter that is reversible in nature at all times.
- These Smart Objects are limited when it comes to editing a group of pixels or pixel data. We need first to rasterize the image contents to apply paint, brush or burning effects. So, the Smart Objects are not usable in the case of editing with pixels.
How to Link Smart Object in Photoshop?
As said earlier, there are two types of Smart Objects in Photoshop. Embedded and Linked. When we place a normal image on the canvas and convert the same to a Smart Object, it converts itself to an Embedded Image. This type of Smart object doesn’t change its original data or contents when edited in Photoshop. While, when we place a Linked Smart Object, the original contents of the image are changed.
An example to show how to link a Smart object is given below-
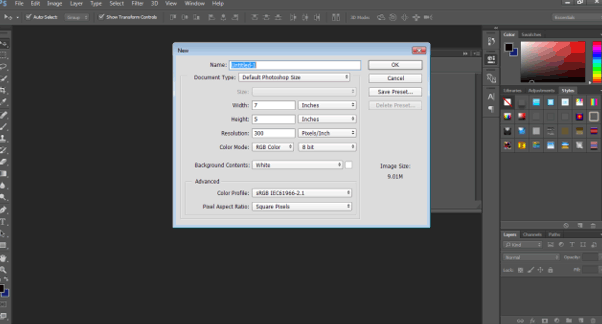
Step 1: Open Photoshop with a default Photoshop Size.
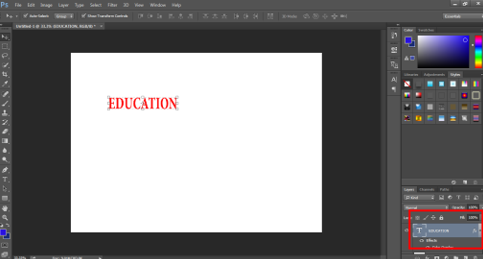
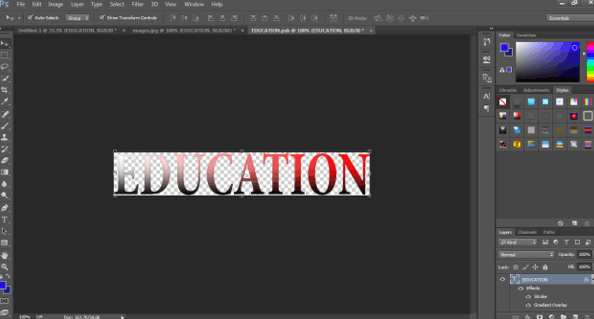
Step 2: Using the text tool, write down EDUCATION on the canvas.
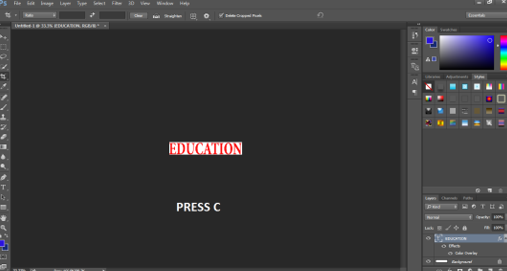
Step 3: Press C and adjust the canvas size according to the text as shown in the image.
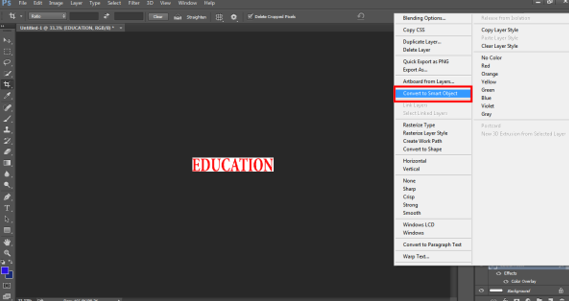
Step 4: Give the text color and select the option convert to same to Smart Object.
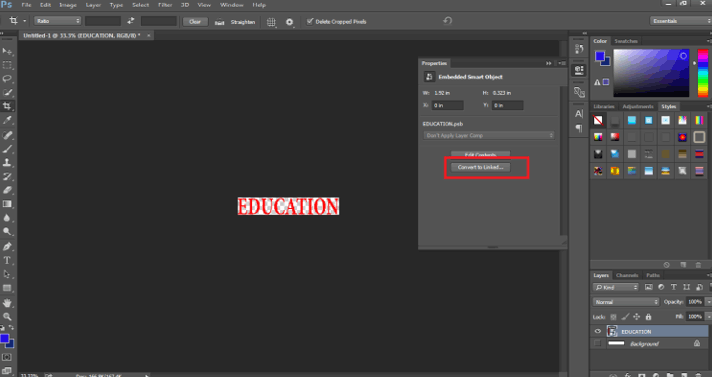
Step 5: Go to Windows and click on Properties.

Step 6: Using this panel, click on CONVERT TO LINKED on the panel as shown in the image.
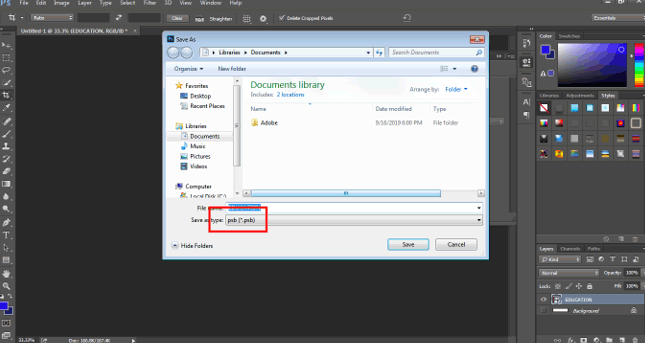
Step 7: Save the file in the .PSD format.
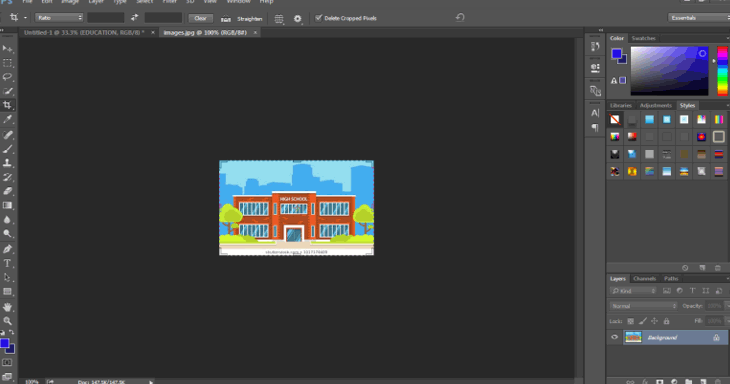
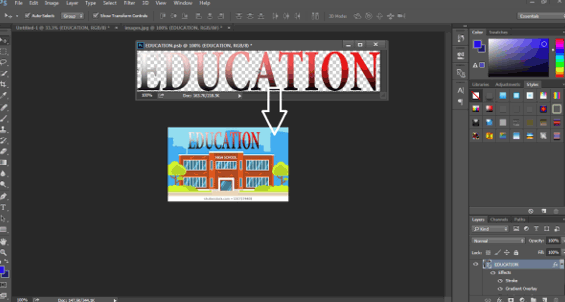
Step 8: Now, open another image, just as shown in the image below.
Step 9: Place the EDUCATION Smart Object on this image.
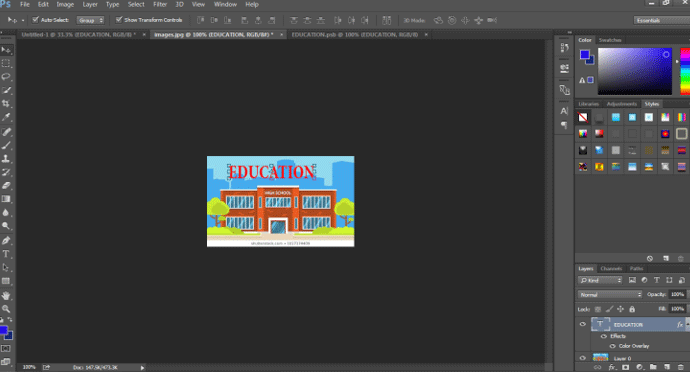
Step 10: Now, open the EDUCATION smart object and try to change the color of the text.
Step 11: As soon as you save this modified, linked Smart object, you will see that the EDUCATION Smart Object has also been changed on the other image.
This shows that any linked smart object can be edited at once by just editing one of the smart objects.
Conclusion
This is brief information about using and creating Smart objects. Using these examples and theories, we can easily learn and understand Smart Objects and their functions. Some of the advantages and disadvantages are also listed here for a detailed overview.
Recommended Articles
This is a guide to Smart Objects in Photoshop. Here we discuss the basic concept, how to create smart objects in photoshop, along with the benefits and limitations of smart objects. You can also go through our other related articles to learn more –
