Introduction to SketchUp Offset
SketchUp Offset is like a child tool in the tool family of this software, but it plays a major role in the 3D model that means it is a very small tool with simple features, and you can perform it with just in few clicks, but it get invokes in the creation of different type parts of any 3D structure in SketchUp. It also makes complexity easy of doing any particular task so that you can do that task very quickly in place of doing that traditionally. So there are some simple characteristics of this tool that you can easily learn throughout this article. So let us get started.
How to use the Offset tool in SketchUp?
Using offset tools in SketchUp is not a big deal, but you have to use them properly to get your desired result, and in this article, I will explain how you can use them in a defined way.
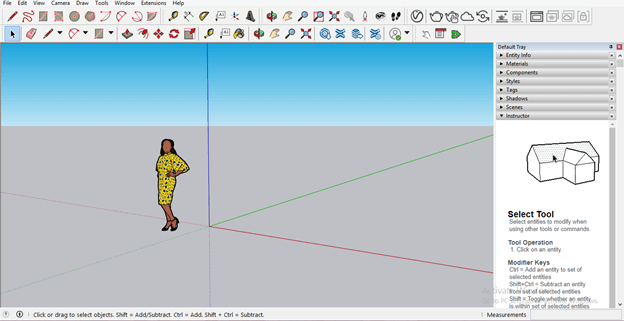
Before starting our discussion, let us have a look at the User interface of this software so that you can understand this article clearly. At the top of the user interface of this software, you will have a Menu bar, and this bar has several menus for making the different types of settings during working on this software. Below this, the Tools panel/bar, which is the fully customized panel, means you can adjust tools in this panel according to your requirement. Below this tool panel, we have a display window area in which we can see our working, and at the right side of this working window, there is different tab such as Materials tab, Components tab, and so on. Finally, at the bottom of the user interface, the Measurements box is in the right corner, where you can enter values for designing your model.
You can find this tool with this icon in the tool panel section, which is at the top of the working window.
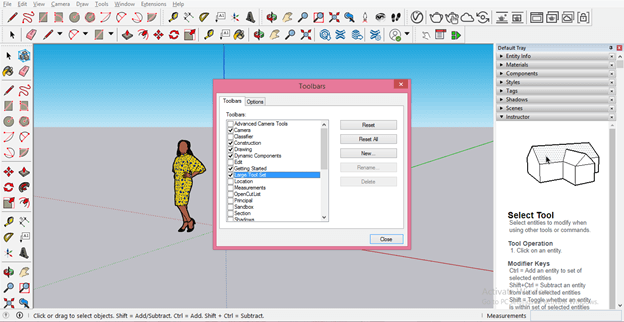
Or, if you have enabled a Large tool Set from the Toolbars option of the View menu of the menu bar, then you will have this tool on the left side of the working window with the same icon.
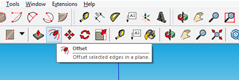
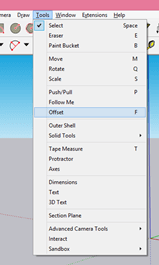
There is one more way through which you can access this tool which is the Tools menu of the menu bar, so go to the menu bar and click on it, then select the Offset option of the drop-down list. You can also use the shortcut key of it, which is the F button of the keyboard.
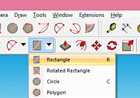
Now let us start learning about this tool. So take the Rectangle tool from the Shape tool of the tool panel or press the R button on the keyboard.
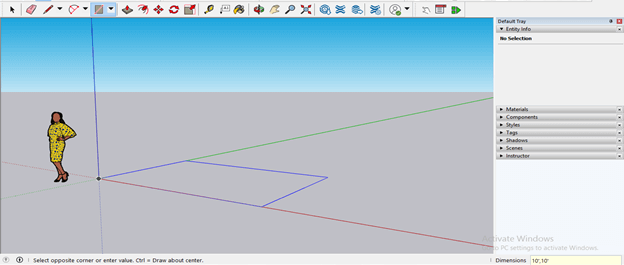
And draw a rectangle like this. You can draw a freehand rectangle for practicing on this offset tool. I will draw a 10’ x 10’ rectangle.
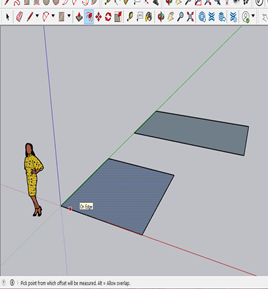
I will draw one more rectangle and then take the offset tool. You can see it will highlight the surface on which I move this offset tool cursor.
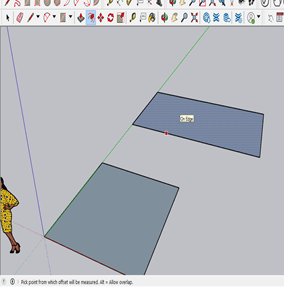
So for using the offset tool, just go to that surface on which you want to use it and select any edge, then drag its mouse cursor. Then, you drag the mouse cursor in the inward direction or outward direction according to offset direction.
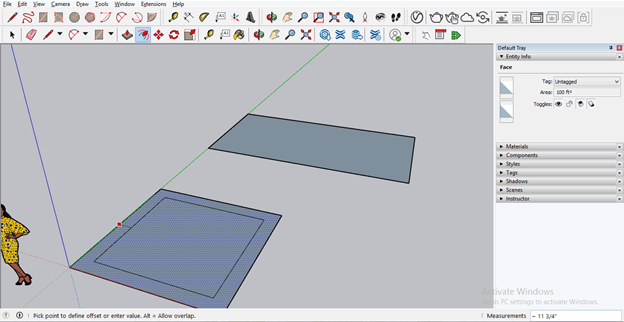
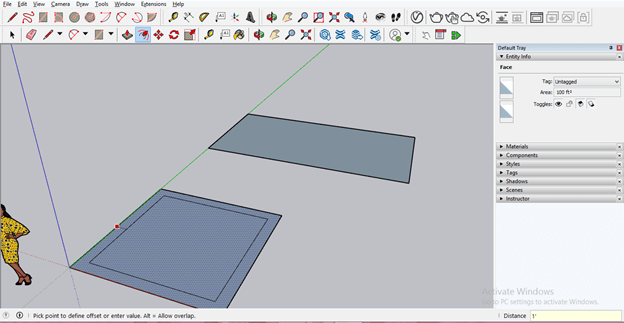
I will drag the mouse cursor in an inward direction and enter 1’ as the offset value, and it will offset this rectangle at a distance of 1’, and the new rectangle will be inside of source rectangle.
You can also offset any shape in an outward direction. Just draw the mouse cursor in an outward direction and enter your desired value.
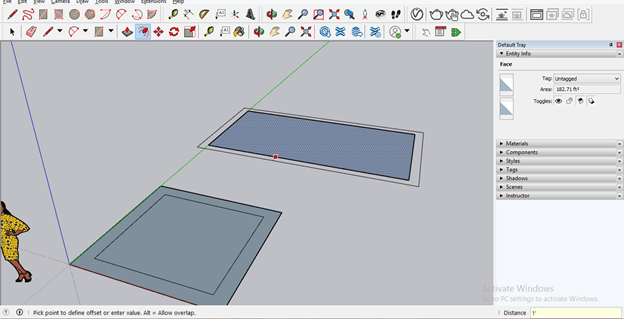
In the same way, you can do multiple offsets and just drag the mouse cursor of the offset tool in your desired direction and then enter the desired value. Of course, offset values may be different for each different offset, but if you want to repeat the last offset value, then just select the desired component that you want to offset and make a double click.

After offsetting, you can see if the offset rectangle sides are connected or in a closed shape, then you can extrude it with the help of the Push/Pull tool of the tool panel.
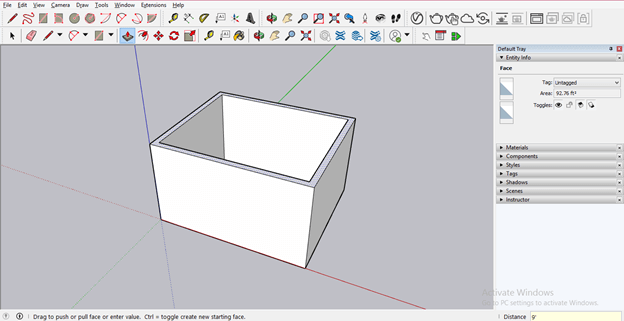
I have made this door and window in this house model by using rectangle and push/pull tool of tool panel and now if you want a side border around the door area, then if you use offset tool to offset it will offset the whole surface of the house on which this door is.
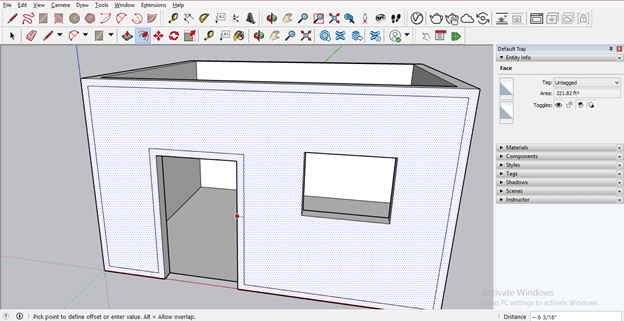
So the solution is that for proper offsetting of this door area for making is a border, you have to select each edge of this area one by one by holding the shift button of the keyboard with the Select tool.
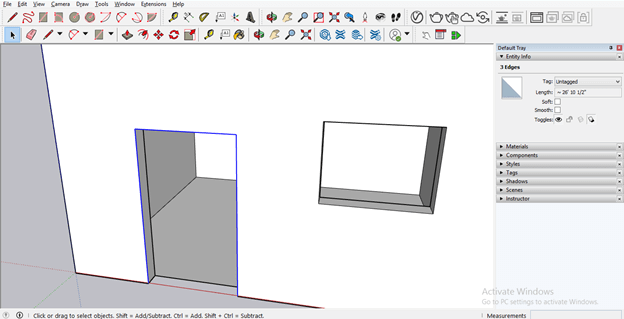
And then offset it at your desired distance by entering an offset value. For example, I will drag the mouse cursor of the offset tool in an outward direction then enter 5’’ as my offset value.

And with the help of the Push/Pull tool, you can extrude it like this. Of course, you do it with other techniques, but the offset tool makes it easy to do.

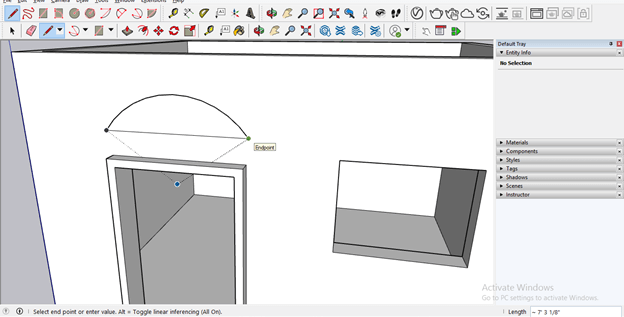
Now let us take 3 Point Arc tool and draw an arc like this.
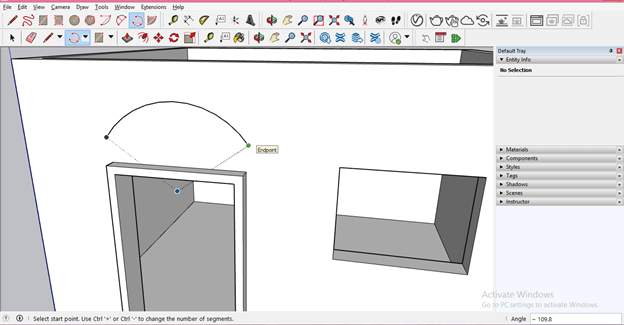
Now take the Line tool and close this arc area by joining both endpoints of this arc.
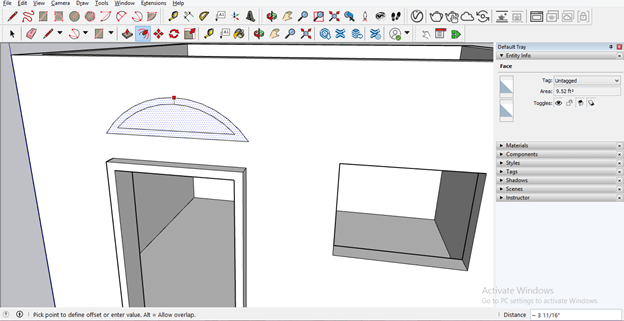
You can offset custom shapes also in the same way as this; just select that custom shape and offset it inward or outward according to requirement.
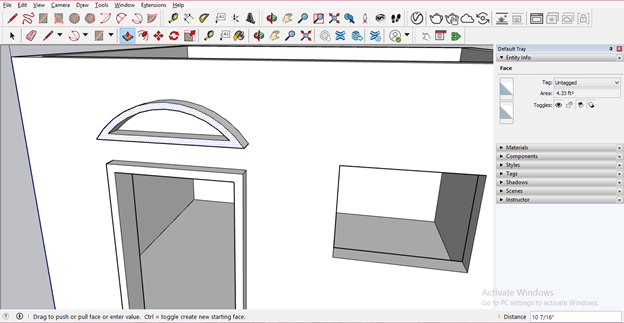
And I will extrude that offset area like this to have a structure.
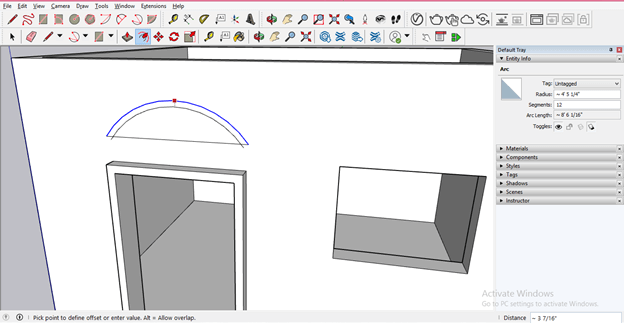
You can also offset a single line or arc, such as I will select this arc with the select tool.
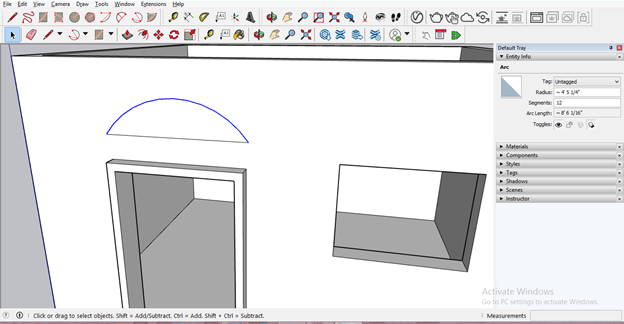
And then take the offset tool and offset it in an inward direction of this arc.
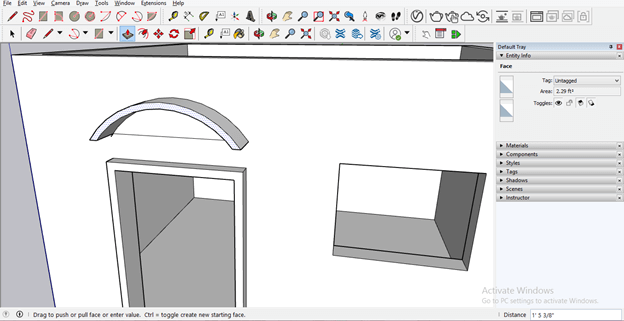
And by extruding it with the Push/Pull tool, we can get this type of shading for any structure. Make sure that the offset path will make a closed area so that you can push or pull it for a different purpose.
Conclusion
We discussed some of the use for using the Offset tool to create a different type of 3D component, and now you have good knowledge about the offset tool and how it works for creating any shape. So now you can practice on it for exploring it more and more.
Recommended Articles
This is a guide to SketchUp offset. Here we discuss the use of the Offset tool to create a different type of 3D component. You may also look at the following articles to learn more –
