
Introduction to SketchUp 2D
SketchUp 2D means you can create the 2D drawing in this software as well, although it is 3D modeling software. There are some of the 2D tools through which you can create a 2D drawing plane to start creating a 3D model that and those tools are Line tool, Arc tool, 2D Shape tools, Freehand tool, and so on. You need to be attentive while working on 2D in SketchUP because there are three-axis active during this process. You just have to keep some points in your mind and after that creating a 2D drawing in SketchUp becomes an easy task for you.
How to work with 2D in SketchUp?
You can create the 2D drawing in this software in different ways here; I will tell you the very easy and understandable way, but before we start creating a 2D drawing, let us find what tools are there those works for 2D drawing and how we can use them. There is a tool panel at the top of the SketchUp, and in this panel, you will find some 2D shapes.
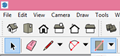
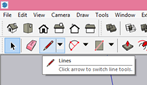
Such as the Line tool with the pencil icon, Arc tool next to it, and Shape tool next to the arc tool.

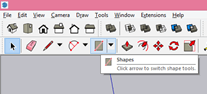
In the Shapes tool, you will find Rectangle, Rotated Rectangle, Circle, and Polygon.

Let’s create a rectangle with the help of the Rectangle tool of Shapes tool. You can make this tool active by pressing the R button on the keyboard.
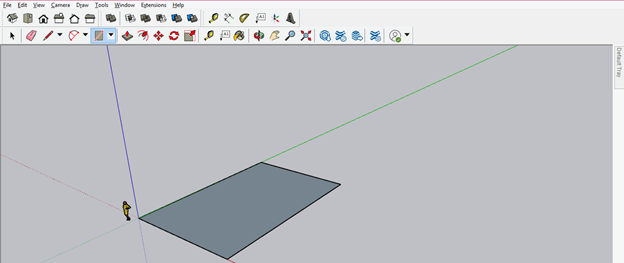
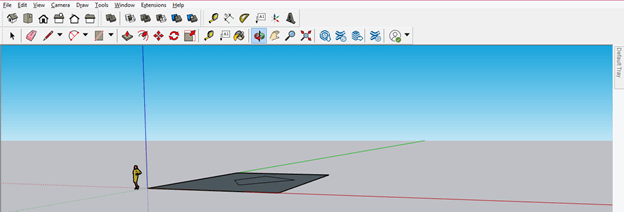
And then, I will make the random shape on this rectangle with the help of the Line tool of the tool panel. So you can see it look like that this random shape is drawn on the same plane of the rectangle.
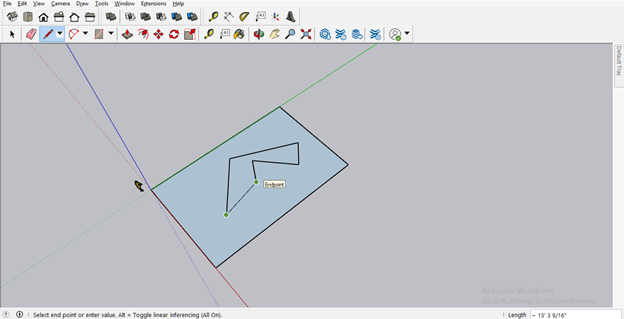
But when you change the view, you can see it is not perfectly drawn on the same plane; some lines are drawn in another plane.
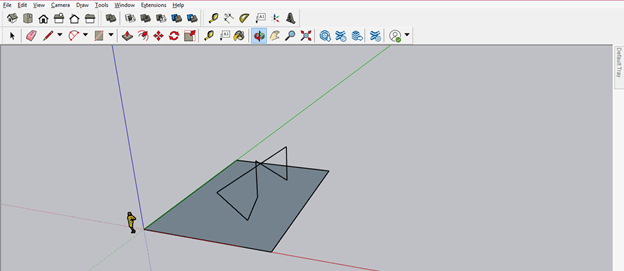
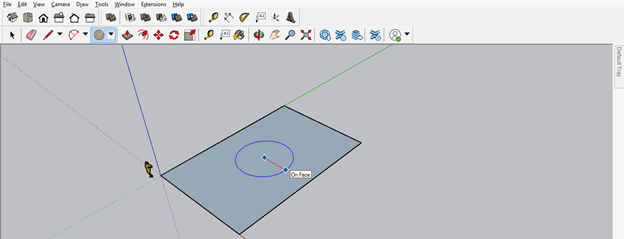
So during drawing anything with the Line tool or Freehand tool, make sure you create points on the same plane, and you can understand it by recognizing the ‘On Face’ highlight with that point.
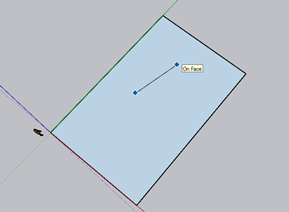
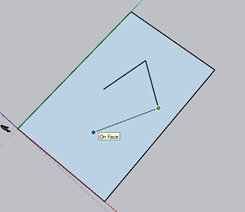
Now you can see it is perfectly on the same plane of drawn rectangle.
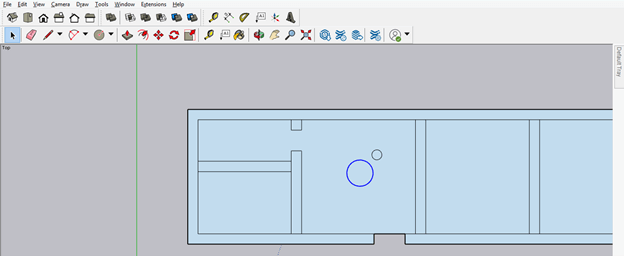
You can draw another shape in the same way for making any geometry. For example, I will draw a circle with the help of a circle tool.
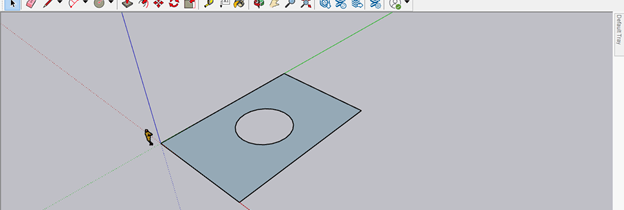
And then select the area inside this circle with the select tool.

And press the delete button of the keyboard for subtracting this area from the rectangle shape.
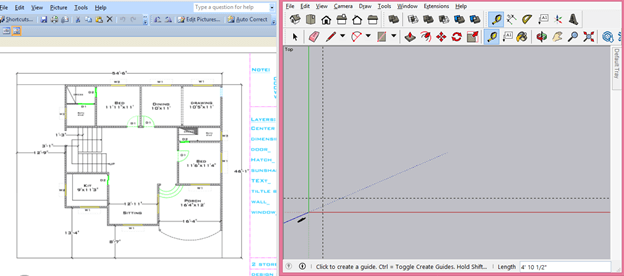
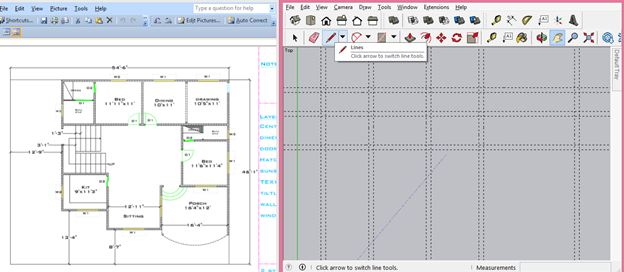
Now let me tell you how you can work with 2D for creating drawing of any floor plan of architecture. This is a 2D drawing of the autocad floor plan, which I will use for reference to the 2D drawing for SketchUp. I have downloaded it from the internet.
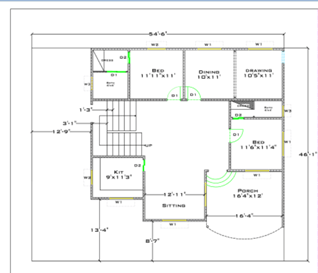
Now I will place this drawing side by side to this software and switch to a top view in software.

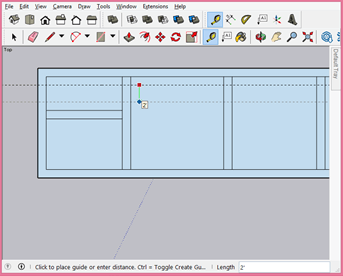
And take a Tap Measurement tool from the tool panel.

Now with the Tape tool, create two guidelines. One is horizontally, and the second is vertical. Next, I will start to draw this 2D drawing from the intersection point of these lines.
I am not taking all dimensions of this layout as it is. I am just explaining to you how you can work with 2D drawing so suppose the thickness of the wall of this layout is 1’.
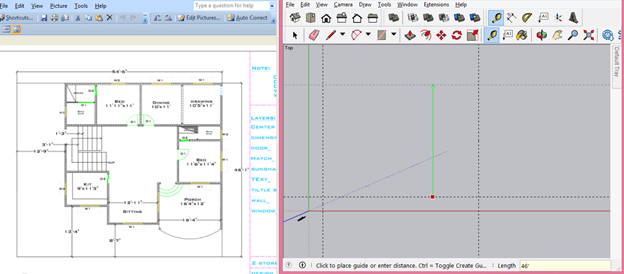
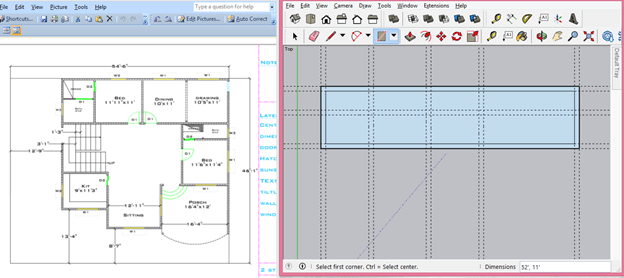
Now I will first outline this layout which is approximate 54’ x 46’, and so I will create a guideline at 54’ distance from the vertical reference line. I will enter 54’ in the measurement box at the bottom right corner of this software.

And 46’ from the horizontal reference line.
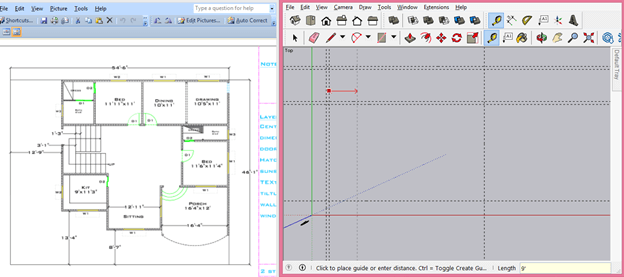
Now I will start drawing from the top left corner of the layout so that I will start from the top intersecting point of these two lines. But, first, take a reference line at the thickness of the wall, which is 1’.

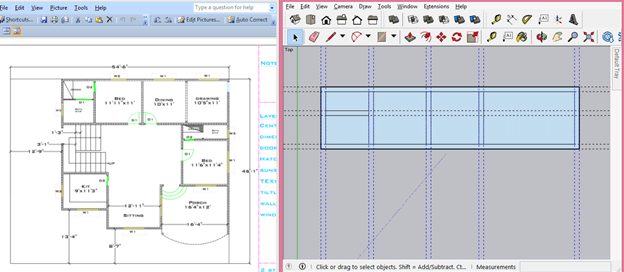
Then do the same from another side of this layout for adding wall thick there too. Now suppose the first room is 11’ x 9’, so I will create a guideline at a distance of 11’ from the top horizontal line.

Do the same from the vertical guideline and this time draw the line at a distance of 9’.
I will add a wall at a distance of 4’ in this room and also provide wall thickness to it of 1’.
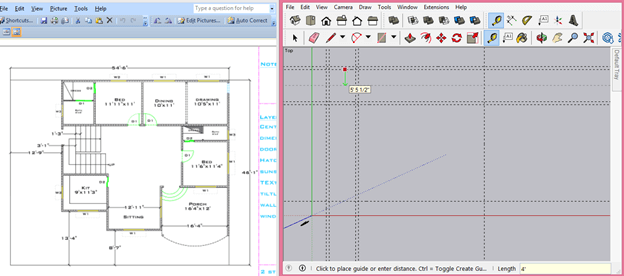
I will create guidelines for the top portion of this layout according to mentioned dimensions. Now you can take the Line tool for creating this layout.
And start drawing like this.

Or you can also do this with the rectangle tool. So draw a rectangle around the corner points of these rooms.

And then draw one rectangle again from the corner points of wall thickness.
Draw rectangle for adding sections in the room according to the layout.

You can now delete these guidelines by selecting them and then pressing the Delete button on the keyboard. I will suggest you delete guidelines after creating one section of the layout so that it will not be confusing for you.
Now for adding the door, I will take a new references line at 1’ from the wall.
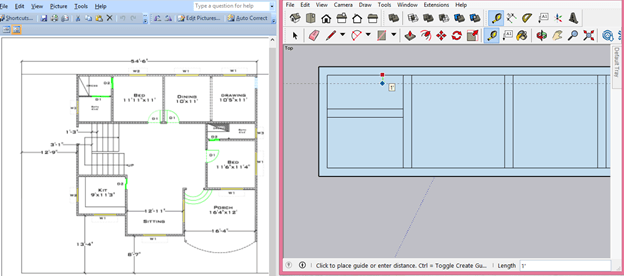
Suppose the door is 2’ x 7’, so I will add another reference line at a distance of 2’.
And you can draw a rectangle here for the door.

You can take more reference lines for creating another door of the layout plane and then take the Eraser tool from the tool panel.
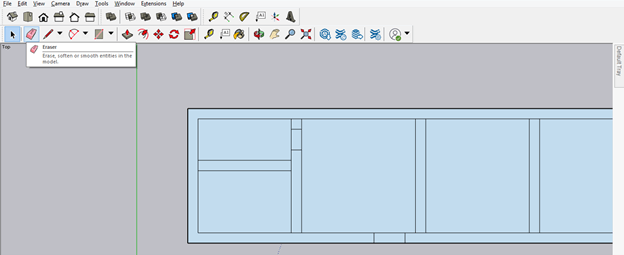
And erase the lines of the door area like this.

You can draw other shapes by using other 2D tools of this software for creating another object in this layout.
I told you some of the steps for creating a 2D drawing of some portion of this layout, and you can complete this drawing in the same way.
Conclusion
I am sure now you can understand how you can work with 2D in SketchUp? And what are the important points you have to keep in your mind while working on any 2D drawing? I will suggest you start to practice 2D tools and planes so that you can understand how you can work in the same plane without making things messed up.
Recommended Articles
This is a guide to SketchUp 2D. Here we discuss how you can work with 2D in SketchUp, along with the important points that will help you during working on any 2D drawing. You may also have a look at the following articles to learn more –
