Updated August 16, 2023
Separate text in Excel (Table of Contents)
Introduction to Separate Text in Excel
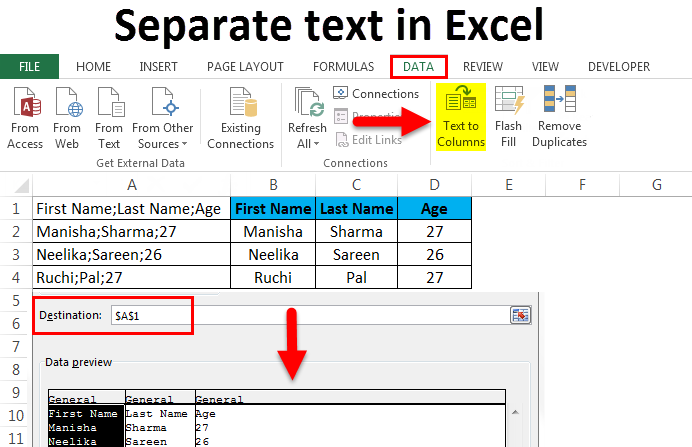
To Separate Text in Excel, we can use the Text to Column option in the Data menu tab under Data Tools. We can also use this option with shortcut keys ALT + A + E simultaneously once we select the data we want to separate. Once we select the data and click on Text To Column, we would have two ways to separate. The first is Delimited, and the other is Fixed Width. Using Delimited, we can choose the criteria by which we want to separate a text, and with the help of Fixed Width, we can simply choose the width of the text from where we want to split it.
We sometimes encounter situations where all the data is clubbed into one column, with each segregation in the data marked by some kind of delimiter such as –
- Comma – “,”
- Semicolon – “;”
- Space – “”
- Tab – “
- Some other symbol
We could also have all the data in a single column with a fixed number of characters marking the segregation in the data.
When data is received or arranged in any of the formats shown above, it becomes difficult to work with because it is not formatted into a proper row and column format. But if we see carefully, in the first screenshot, the columns (as they should be) are separated by semicolons – “;” i.e., for the first row, the first column is the “First Name”, the second column is “Last Name”, and the third column is “Age”. Semicolons separate all the columns. This holds for the rest of the rows. Therefore, we can split the data into a proper row and column format based on the strategic delimiters in the data. Similarly, the second screenshot shows that all the data has been clubbed into a single column. However, upon closer observation, we see that the columns (as they should be) can be differentiated based on their lengths.
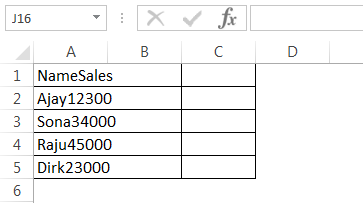
The first column is “Name”, followed by “Sales”. We see that the length of “Name” is 4 and the length of “Sales” is 5. This holds true for all the rows in the table. Therefore, we can separate text data in Excel into columns based on their Fixed Lengths. With Excel, we have a solution to these kinds of problems. Two very useful features of Excel are the “Text to Columns” or the “Split Cell”, which helps to resolve these kinds of formatting issues by enabling data re-arrangement or data manipulation/cleaning since it becomes really difficult to work with a lot of all the data in a single column.
What is Text to Columns?
Typically, when we get the data from databases, CSV, or text sources, we encounter situations as shown above. We have a very handy feature in Excel called “Text to Columns” to resolve these kinds of problems.
It can be found in the Data tab and the “Data Tools” section.

The shortcut from the keyboard is Alt+A+E. This will also open up the “Text to Columns” feature. Let us see some examples to understand how “Text to Columns” will solve our problem.
Examples of Separate text in Excel
Below are the different examples of separating text in Excel:
Example #1
Split First Name, Last Name, and Age into separate text columns in Excel (using delimiters) :
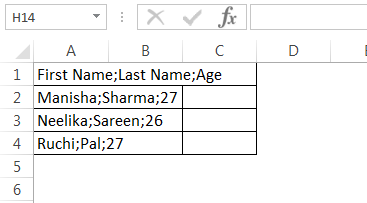
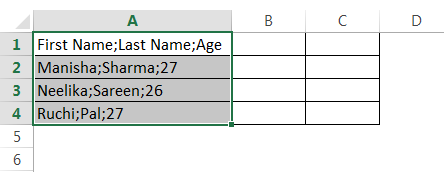
Let us consider a situation where we have received the data in the following format.

We have “First Name”, “Last Name”, and “Age” data all clubbed into one column. Our objective is to split the data into separate text columns in Excel.
To split the data into separate text columns in Excel, we need to follow the following steps:
Step1 – We will first select the data column:
Step 2 – We will navigate to the “Data” tab and then go to the “Data Tools” section and click on “Text to Columns”.
This will open up the “Text to Columns” wizard.
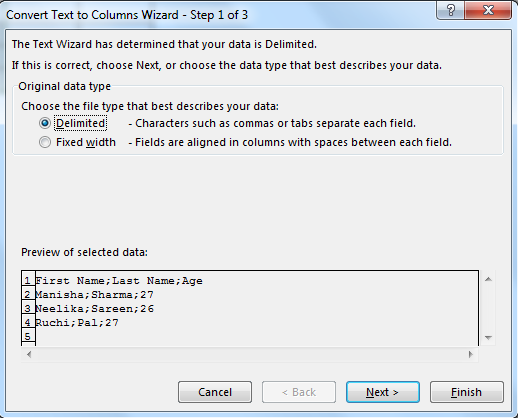
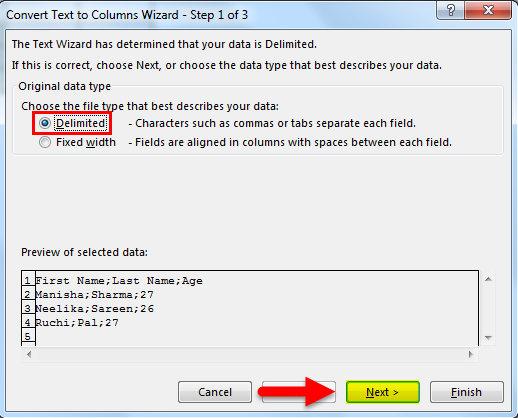
Step 3 – Now make sure that we click “Delimited” to select it and then click “Next”.
Step 4 – After this, in the next tab, deselect “Tab” first.
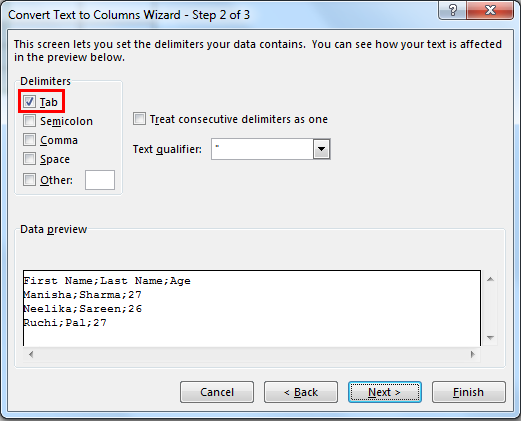
Then select “Semicolon” as the delimiter.
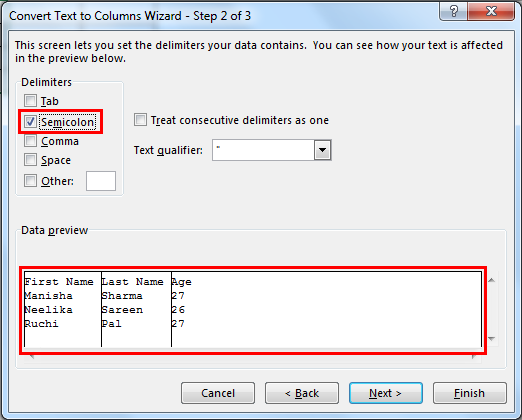
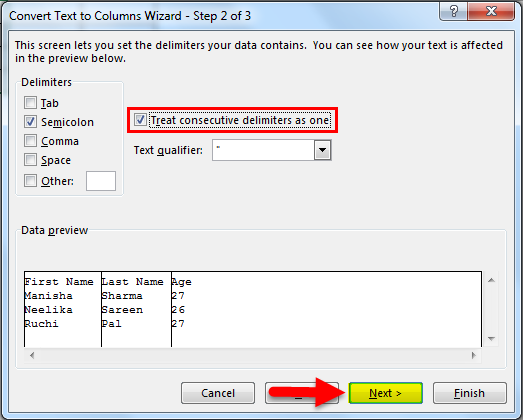
When we select “Semicolon”, we see that the columns are demarcated in the text preview. When multiple successive delimiters exist, we can select the “Treat consecutive delimiters as one” option. Following that, we can click on the “Next” button.
Step 5 – Next, we shall look at the section describing the column data format. We can choose to keep the data as either :
- “General” – This converts numeric values to numbers, date values to dates, and remaining as text.
- “Text” – Converts all the values to text format.
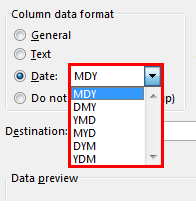
- “Date” – Converts all the values to Date format (MDY, DMY, YMD, DYM, MYD, YDM)
- Ignore Column – This will skip reading the column.
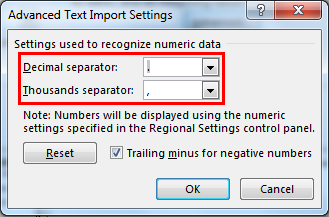
Next, we shall look at the “Advanced” option.
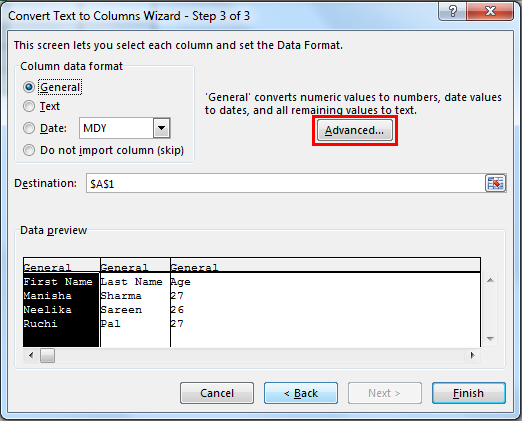
“Advanced” allows us to choose the decimal separator and the thousands separator.
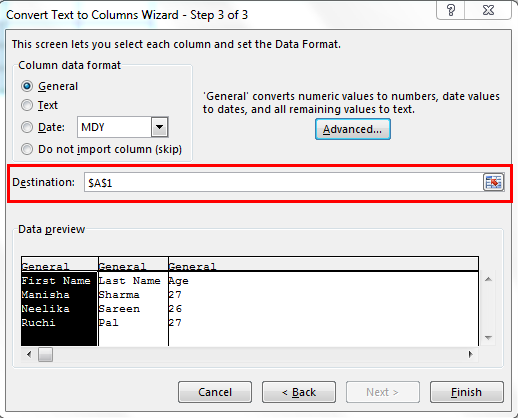
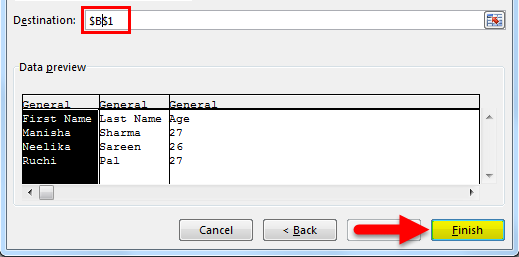
Next, we shall select the destination cell. Now, if we do not modify this, then it will overwrite the original column with “First Name”, the adjacent cell will become “Last Name”, and the cell adjacent to that will become “Age”. If we keep the original column, we must mention a value here (the next adjacent cell).
After this, we shall click on “Finish”.
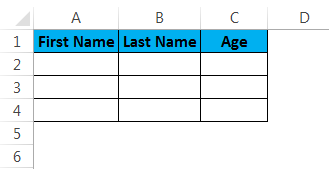
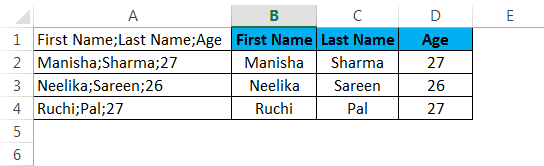
Our result will be as follows:
Example #2
Split Name and Sales into separate text columns in Excel (using Fixed Width):
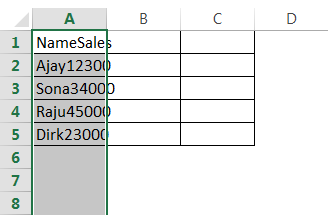
Suppose we have a scenario where we have data, as shown below.

As we can see, the entire data has been clubbed into one column (A). But here, we see that the data format is a bit different. We can make out that the first column (as it should be) is “Name,” and the next column is “Sales”. “Name” has a length of 4, and “Sales” has a length of 5. Interestingly, all the names in the rows below also have a length of 4, and all the sales numbers have a length of 5. We can split the data from one column to multiple columns using “Fixed Width” since we do not have any delimiters here.
Step 1 – Select the column where we have the clubbed data.
Step 2 – We will navigate to the “Data” tab and then go to the “Data Tools” section and click on “Text to Columns”.
This will open up the “Text to Columns” wizard.
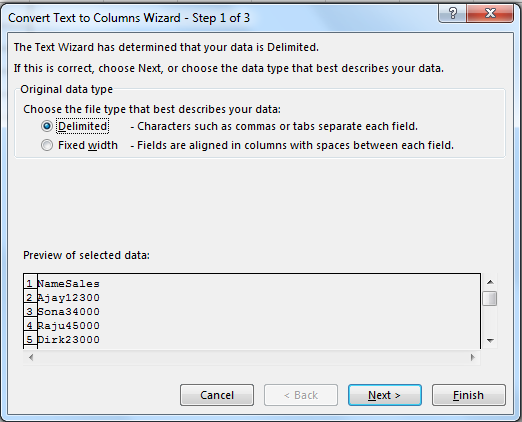
Step 3 – Now make sure that we click “Fixed width” to select it and then click “Next”.

Step 4 – In the next screen, we shall have to adjust the fixed-width vertical divider lines (called Break Lines) in the Data Preview section.
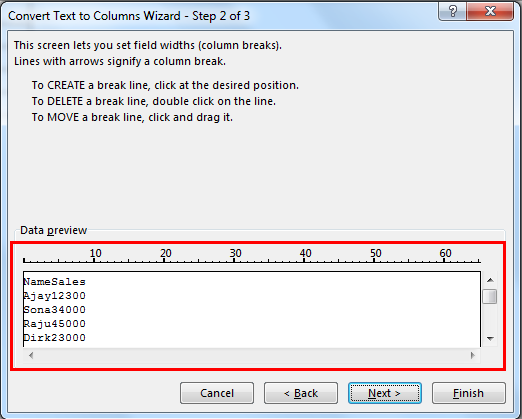
This can be adjusted as per user requirements.
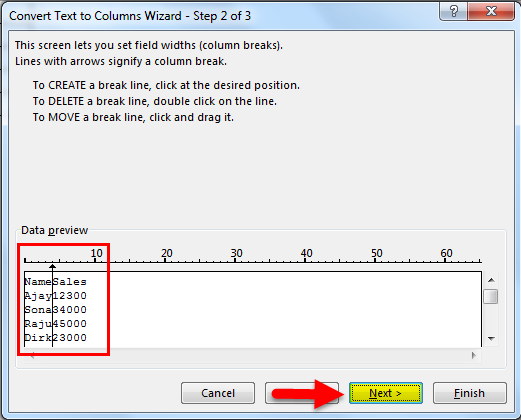
We must click on the exact point where the first column width ends. This will bring the Break Line at that point.
Step 5 – Next, we shall look at the section describing the column data format. We can choose to keep the data as either –
- “General” – This converts numeric values to numbers, date values to dates, and remaining as text.
- “Text” – Converts all the values to text format.
- “Date” – Converts all the values to Date format (MDY, DMY, YMD, DYM, MYD, YDM)
- Ignore Column – This will skip reading the column.
Next, we shall look at the “Advanced” option.
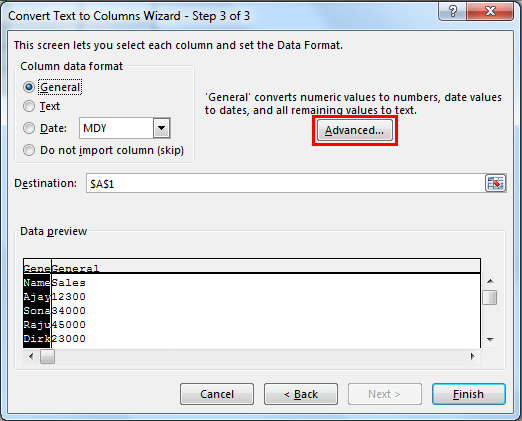
“Advanced” allows us to choose the decimal separator and the thousands separator.
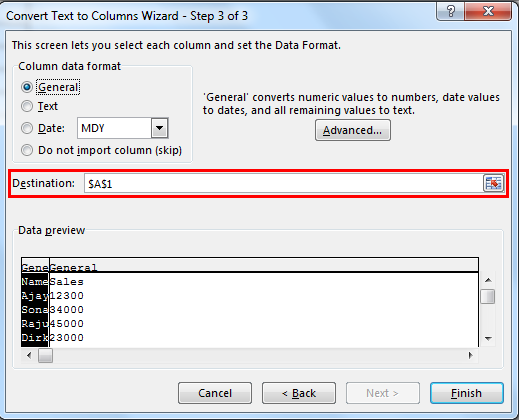
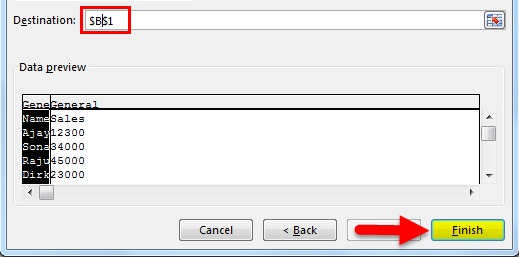
Next, we shall select the destination cell. If we do not modify this, it will overwrite the original column with “Name”; the adjacent cell will become “Sales”. If we keep the original column, we must mention a value here (the next adjacent cell).
After this, we shall click on “Finish”.
Our result will be as follows:
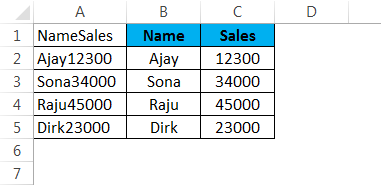
We can also use the same logic to extract the first “n” characters from a data column.
Things to Remember about Separate Text in Excel
- We should stop using complicated formulae, copy-paste to split a column (separate the clubbed data from a column), and start using Text to Columns.
- Excel will split the data based on the character length in the Fixed-Width method.
- In the Delimited method, Excel will split the data based on a set of delimiters such as commas, semicolons, tab,s, etc.
- Easily access Text to Columns by using the Keyboard shortcut – Alt+A+E.
Recommended Articles
This has been a guide to Separate text in Excel. Here we discuss the Separate text in Excel and how to use the Separate text in Excel, along with practical examples and a downloadable Excel template. You can also go through our other suggested articles –
