Updated June 16, 2023
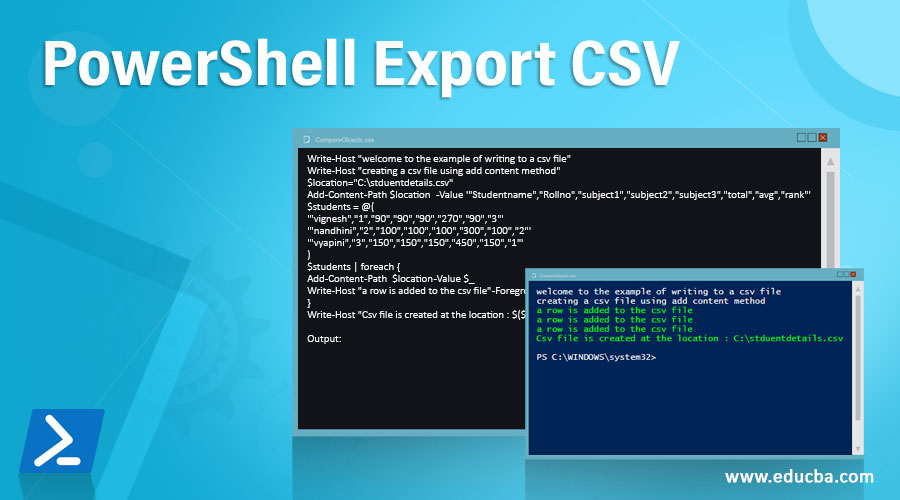
Introduction to PowerShell Export CSV
One of the most effortless ways to organize information into an easy-to-read format is by using a comma-separated value (CSV) file. A CSV file can be likened to a spreadsheet but without all the additional features and complexities.; it comprises a line of headers demonstrating the column title and ensuing values for each column, all isolated by a comma. There are multiple ways in PowerShell to export data into a csv. The add-content cmdlet can store values in a csv, but the most appropriate would be to use the Export-Csv cmdlet.
Syntax and Parameters
Below are the syntax and parameters for PowerShell Export CSV:
Syntax
Export-Csv -InputObject <PSObject> [[-Path] <String>] [-LiteralPath <String>] [-Force] [-NoClobber] [-Encoding <Encoding>] [-Append] [[-Delimiter] <Char>] [-IncludeTypeInformation] [-NoTypeInformation] [-QuoteFields <String[]>] [-UseQuotes <QuoteKind>] [-WhatIf] [-Confirm] [<CommonParameters>]
Export-Csv -InputObject <PSObject> [[-Path] <String>] [-LiteralPath <String>] [-Force] [-NoClobber] [-Encoding <Encoding>] [-Append] [-UseCulture] [-IncludeTypeInformation] [-NoTypeInformation] [-QuoteFields <String[]>] [-UseQuotes <QuoteKind>] [-WhatIf] [-Confirm] [<CommonParameters>]
Parameters
- Append: This argument indicates that the output must be added to the file’s existing contents. The contents will be rewritten if this parameter is not utilized. The information sort of this parameter is a switch. The default esteem is none.
- Confirm: This parameter is utilized for security purposes. When this cmdlet is executed, it will prompt the user for confirmation before proceeding. This will prevent any mishaps from happening. The information sort of this parameter is a switch. Cf is the other way of denoting this parameter. The default esteem is none.
- Delimiter: This denotes the symbol or character used to differentiate values. For a csv file, by default, it is a comma(,). Other marks, such as; or:, can also be used. The information sort of this parameter is char.
- Encoding denotes the encoding mechanism used to export values to a csv file. The information sort of this parameter is encoding. The default type of encoding used is UTF8NoBOM. The other values are utf7,utf8, and utf32, which denote encoding in utf7,8 and 32 formats, respectively. Ascii, which denotes a 7-bit character set encoding format. The other types are bigendianunicodes, OEM, utf8BOM, and utf8NoBOM.
- Force: When there is a need to overwrite an existing csv, this parameter can be used. The parameter does not take pipeline input and does not allow wildcard characters. The default value is none for this parameter.
- IncludeTypeInformation: This denotes the datatype of the column and the values that will be stored. In other words, the header contains the type. The sorting of this parameter’s information is reversed. The parameter does not accept pipeline input and does not allow the use of wildcard characters. Its alias is ITI. The information sort of this parameter is PSObject. The esteem value is none for this parameter.
- LiteralPath: This denotes the location where the exported csv will be stored. The path can’t contain wild card characters. This parameter has two aliases PSPath and LP. None is the value of this parameter’s esteem.
- NoClobber: When there is a need not to overwrite an existing file, this parameter must be used. The esteem value for this parameter is none.
- Path: This parameter is a mandatory one. This denotes the storage location where the file will be stored. The information sort of this parameter is a string. The esteem value is none.
- QuoteFields: This denotes the field name of the columns that need to be enclosed within double quotes. The information sort of this parameter is string[]. The parameter doesn’t acknowledge pipeline input, and wild card characters are not allowed. The esteem value is none. The alias for this parameter is QF.
- UseQuotes: It is used when there is a need for a quotation. It can have either of the three values. Never, consistently and as needed. The parameter does not support pipeline input, and the use of wildcard characters is not allowed. The esteem value is always.
Examples to Implement PowerShell Export CSV
Below are the examples mentioned:
Example #1
Code:
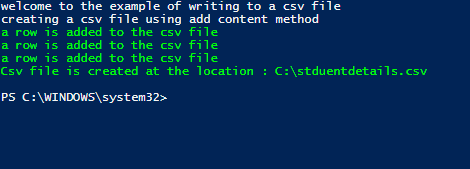
Write-Host "welcome to the example of writing to a csv file"
Write-Host "creating a csv file using add content method"
$location="C:\stduentdetails.csv"
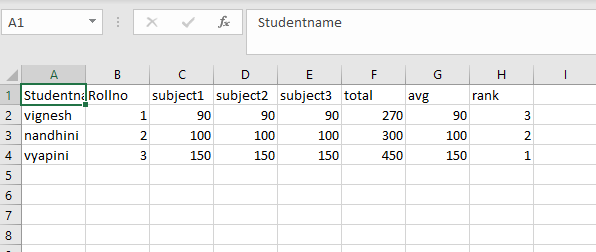
Add-Content -Path $location -Value '"Studentname","Rollno","subject1","subject2","subject3","total","avg","rank"'
$students = @(
'"vignesh","1","90","90","90","270","90","3"'
'"nandhini","2","100","100","100","300","100","2"'
'"vyapini","3","150","150","150","450","150","1"'
)
$students | foreach {
Add-Content -Path $location -Value $_
Write-Host "a row is added to the csv file" -ForegroundColor Green
}
Write-Host "Csv file is created at the location : $($location)" -ForegroundColor Green
Output:
Example #2
Creating and appending to a csv
Code:
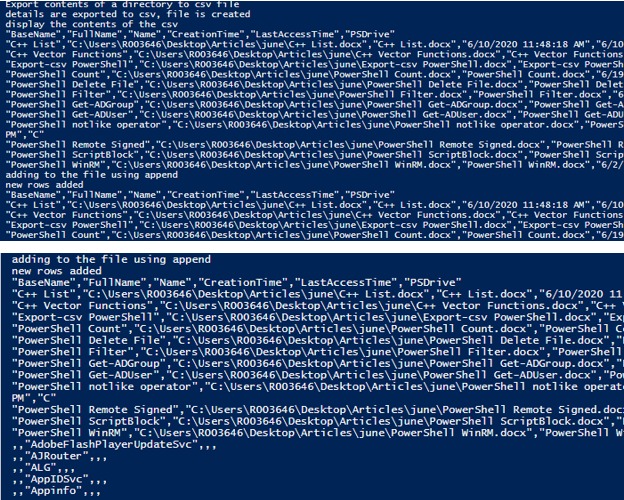
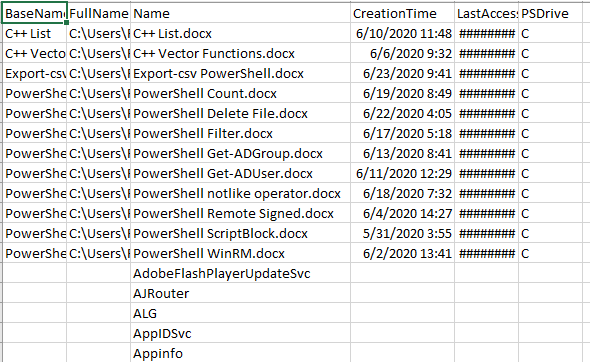
Write-Host "Export contents of a directory to csv file"

Get-ChildItem -Path C:\Users\R003646\Desktop\Articles\june  -Recurse | Select-Object BaseName, FullName, Name,CreationTime,LastAccessTime,PSDrive | Export-Csv -Path c:\test.csv -Encoding ascii -NoTypeInformation

Write-Host "details are exported to csv, file is created"

Write-Host "display the contents of the csv"

Get-Content -Path c:\test.csv

Write-Host "adding to the file using append"

Get-Service | Select-Object -First 5 | Foreach-Object {

$_ | Select-Object Name, status,DisplayName | Export-CSV -Path C:\test.csv -Append -Force

}

Write-Host "new rows added"

Get-Content -Path c:\test.csv
Output:
Conclusion
Thus, the article covered in detail about export-CSV cmdlet in PowerShell. It also explained, with a few examples, how to create a csv file and how to append a new row to it. To learn more in detail, writing sample scripts and practicing them is advisable.
Recommended Articles
We hope that this EDUCBA information on “PowerShell Export CSV” was beneficial to you. You can view EDUCBA’s recommended articles for more information.
