Updated August 25, 2023
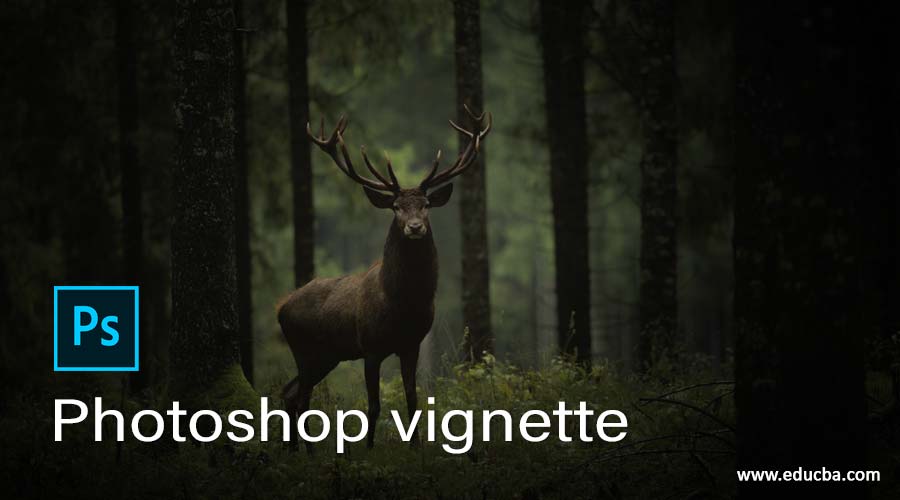
Introduction to Photoshop Vignette
In this article, we are going to learn how to create a vignette in photoshop. Vignette basically serves two purposes. The first is to focus the attention of the viewer away from the edges and towards the subject. Another usage is to separate or distinguish the image from the background. In reality, the vignette is the limitation of the camera lens or an unintended side effect. The amount of vignette depends on the aperture and the focal length of the camera. In this article, we are going to convert a perfect image to give it a vignette artistic effect in photoshop.
Steps of Photoshop vignette
Here are the following steps mention below
Step #1
Let’s start by opening an image in photoshop from the file menu or by dragging it in the application. You can download an image to apply the vignette from any stock photo website, or you can snap your own photo as it works great with real-life picture.

Step #2
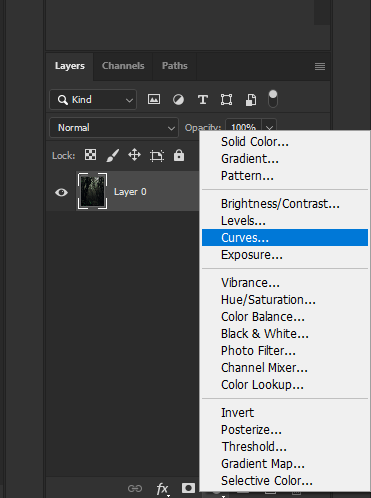
Add a solid color to the layers panel.
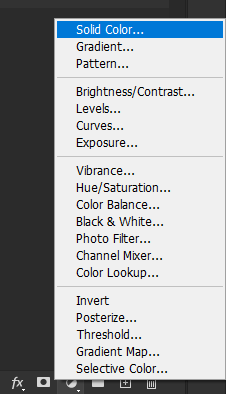
Step #3
Select the color and set it to black and select the entire layer using ctrl + a
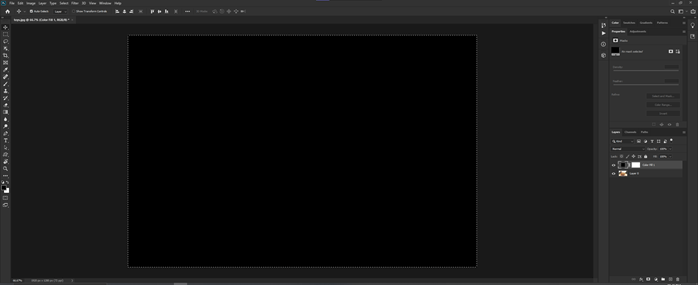
Step #4
Now we have to contract the selection, to do that, go to Modify -> Contract
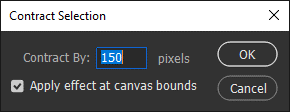
Step #5
In the contract selection panel, set it by 150px since the image is 1920 px by 1280 px and check the apply effect at canvas bounds.
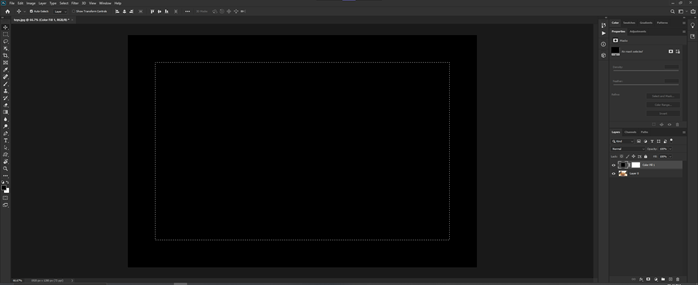
Step #6
As you can see that the selection is contracted 150 px from the edges.
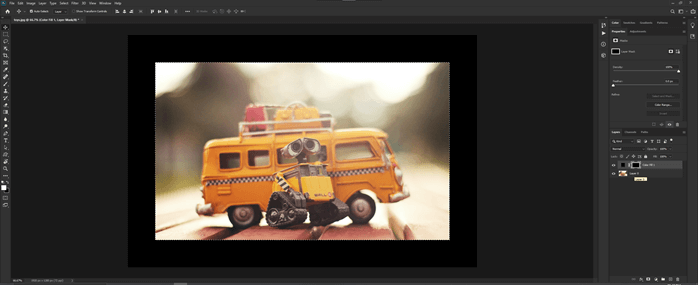
Step #7
Delete the selection by pressing the delete key.
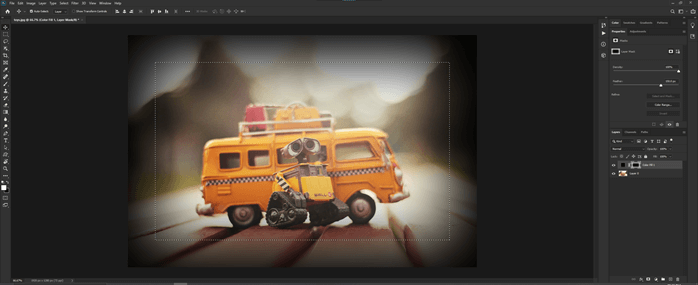
Step #8
Now change the feather value to get the vignette effect. We have set the value equal to the contract value, which is 150px, and it works fine for this image.
Step #9
If you feel that the effect is too intense, then reduce the opacity of the layer mask. In our case, we have set it to 80%
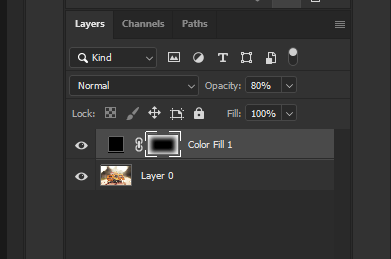
Step #10
Double click on the black color, and now we can change the color of the vignette effect as we can see that now it is blue in color.

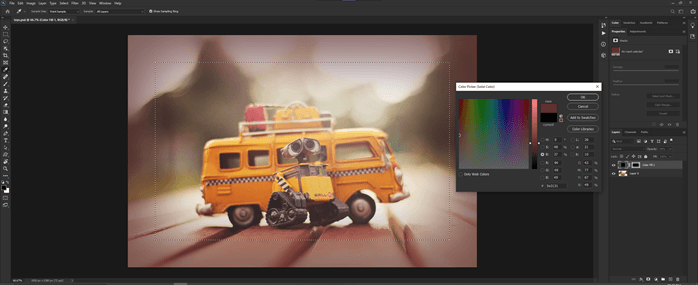
Step #11
Another method to change the color of the vignette is to pick it directly from the image using the color picker as shown.

Step #12
After selecting the hue or the color, if you want to make it light or dark, then click on the B, which is brightness and drag the slider to make the color light or dark.
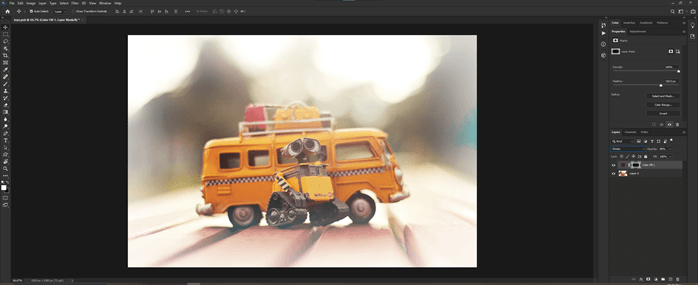
Step #13
To create a more artistic effect, what we can do next is change the blending mode. Setting the blending mode to divide gives us a different effect, as shown.
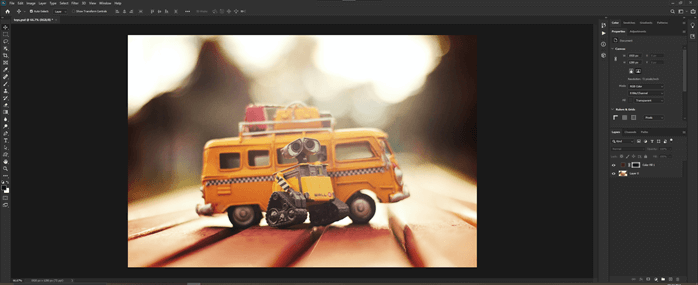
Step #14
By setting the blending mode to overlay, we get this effect. So as you can see that we can change our composition drastically by just adding a vignette.
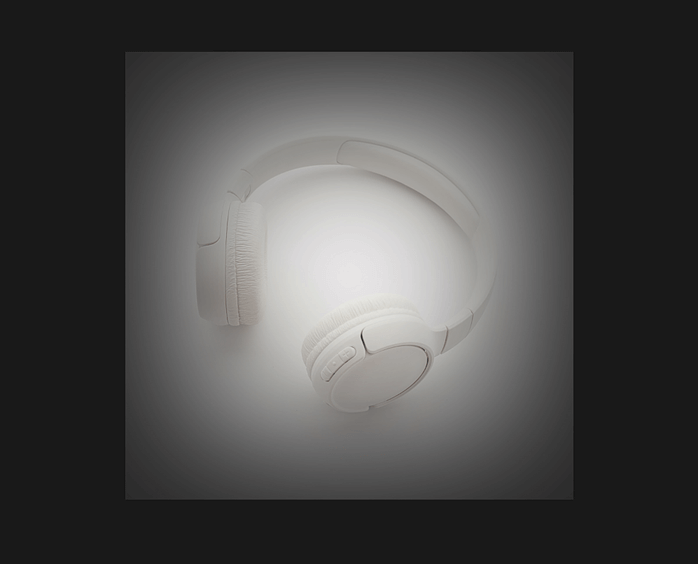
Step #15
Until now, we have seen how to give some artistic flair by using a vignette; now, we will look at a practical use for why we should use this effect. For this, let’s analyse the following image. Since the image has a black background, it looks good.

Step #16
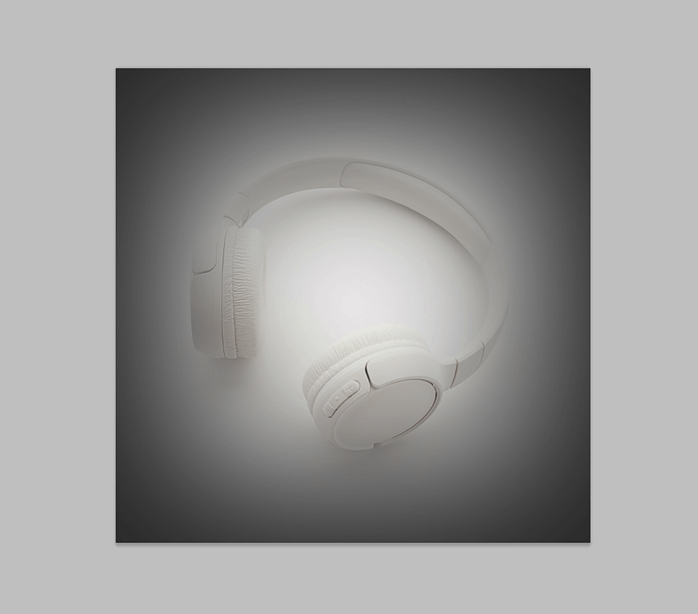
If the background is changed to white, then there is very little focus on the product or the subject. This will be detrimental if you put it as a product image on a website. If the background of the website is white, then this product would look pale. Similarly, if the image is black and the website is also black in the background, then the product will not be focused. So, this is a practical use of this effect.

Step #17
We have created a solid color layer using the same process as earlier, then select all and contract the selection. Then delete it and apply feathering; we get the effect as shown. We can see this on a black background.
Step #18
Now let’s see the same image on a light background, and like magic, the focus is still on the product.
Step #19
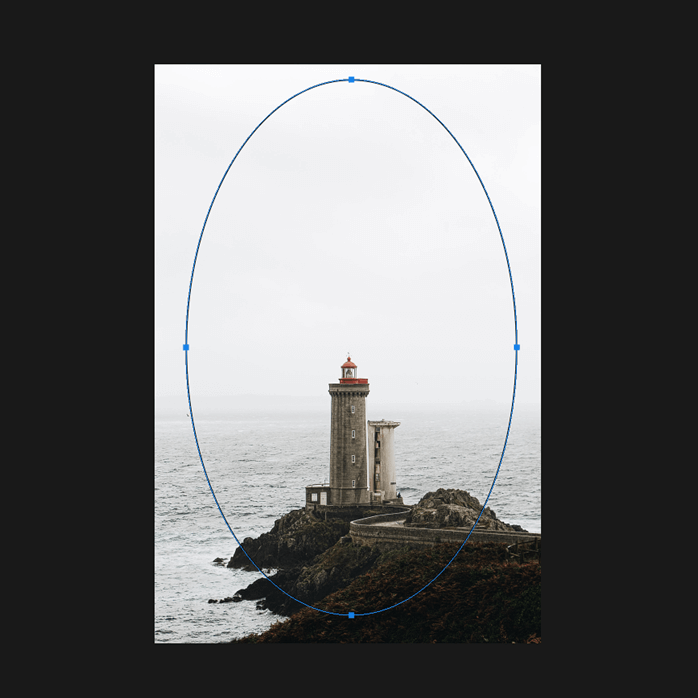
Another method of creating this effect is by using the ellipse tool. Draw an ellipse as shown.
Step #20
Set the fill to black and stroke to none.
Step #21
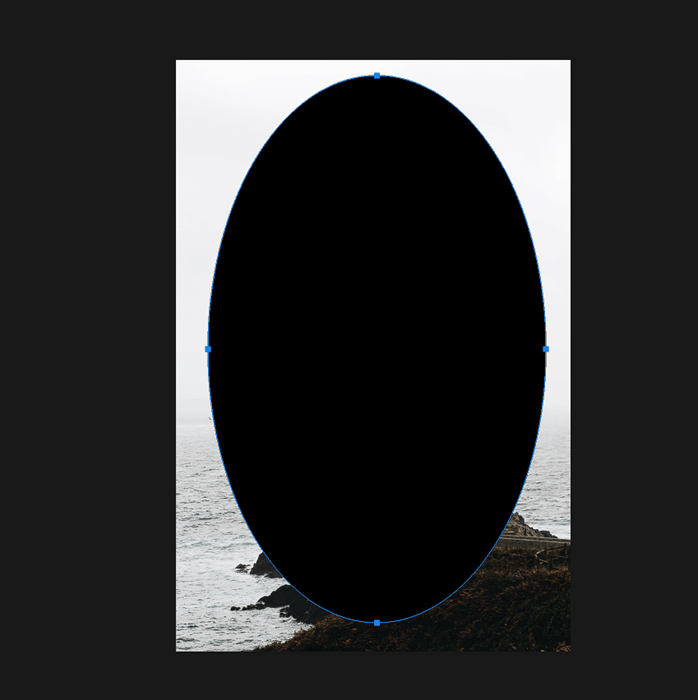
Then use the path operation Subtract Front Shape.
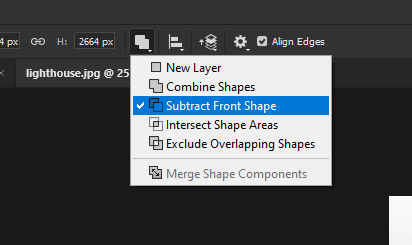
Step #22
This will create the following shape.

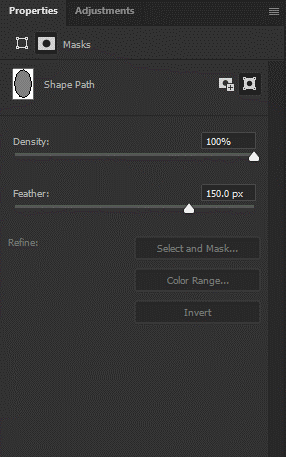
Step #23
Set the feathering as shown.
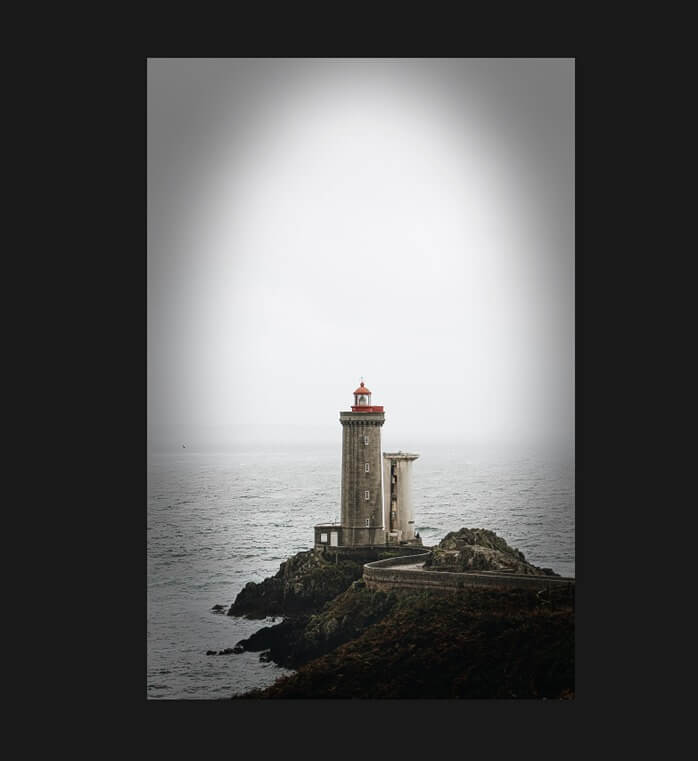
Step #24
This will give this effect.
Step #25
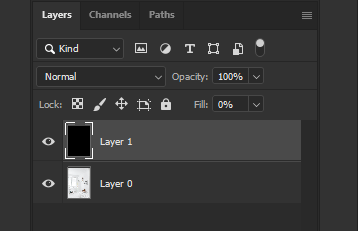
Another method is to create an empty layer
Step #26
Fill it will black by pressing alt + backspace
Step #27
Set the fill to 0
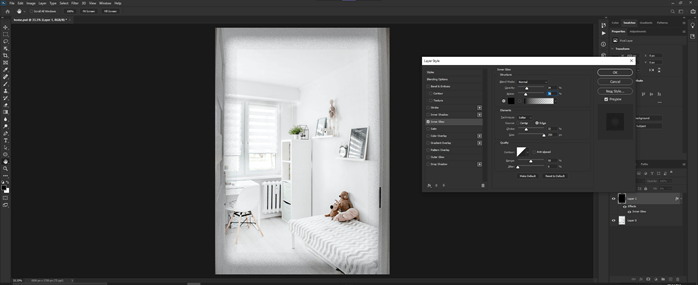
Step #28
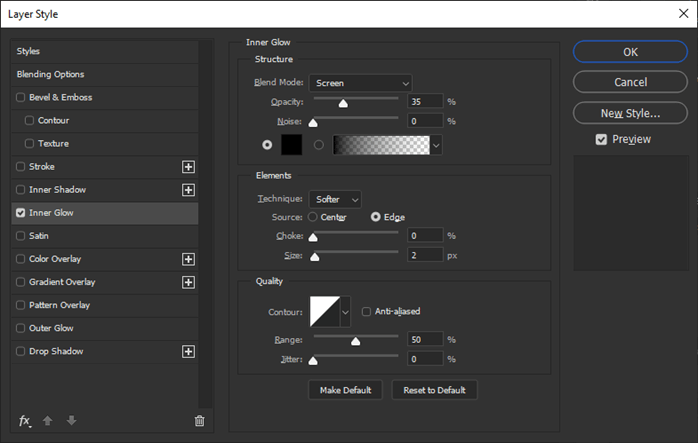
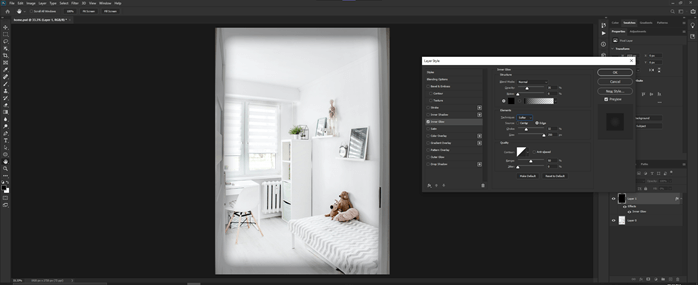
Then right-click the layer, blend options and tick inner glow, and set the color to black instead of white.
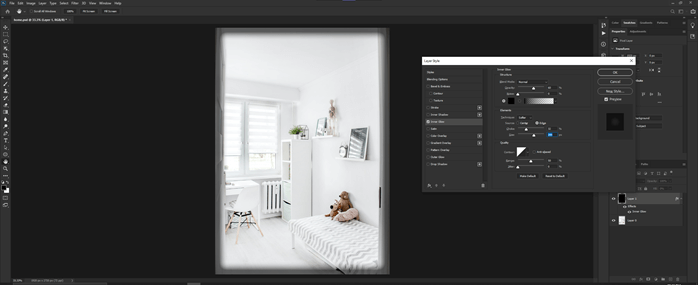
Step #29
Then change the chock and size to get the following effect.
Step #30
We can even add noise for the added effect.
Step #31
Adjust the opacity, noise and choke to get some old film effect.
Step #32
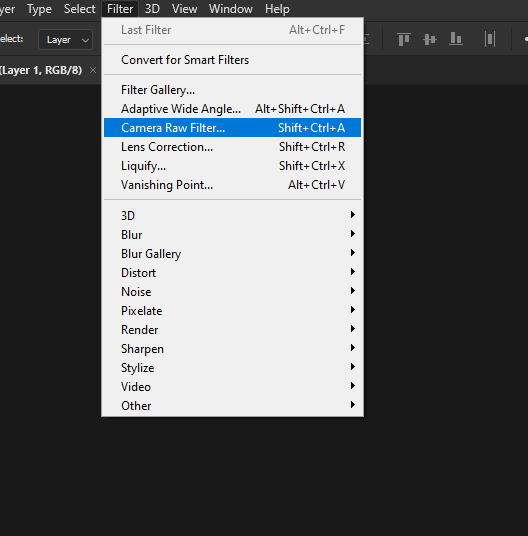
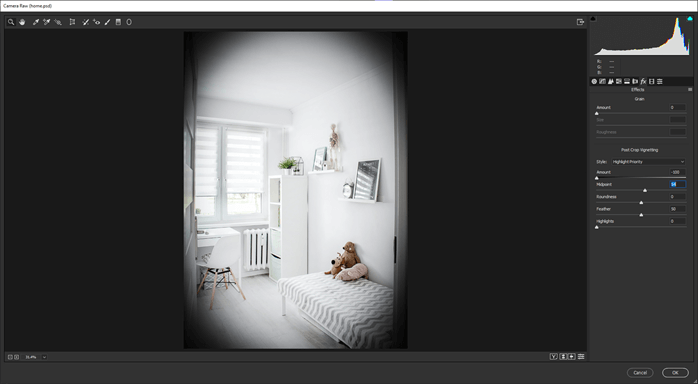
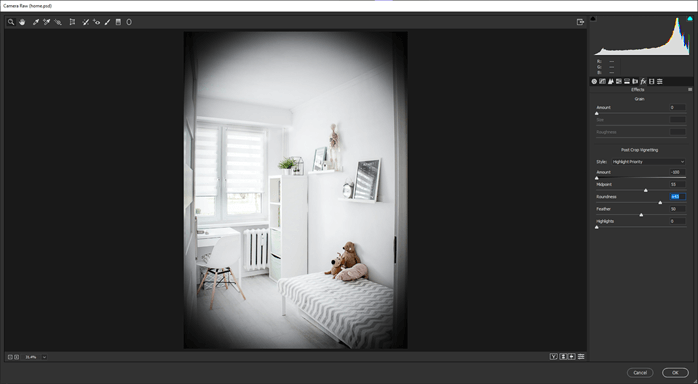
The next method is to use the camera raw filter in the filter menu or press Shift + Ctrl + A
Step #33
Go to the Effects tab and change the amount to a negative value, which will make the effect darker. Increase the amount to make the effect lighter.
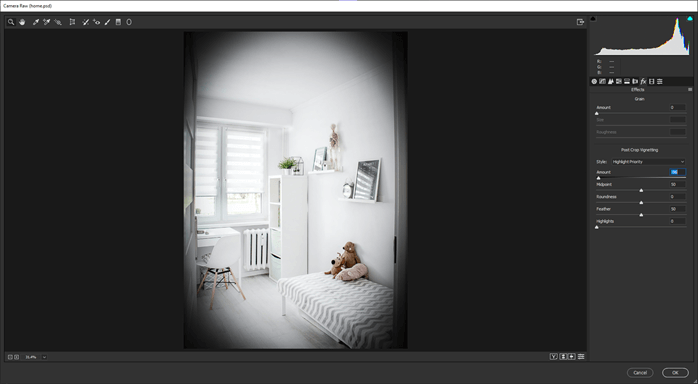
Step #34
Change the midpoint to increase or decrease the radius of the vignette. Decreasing the midpoint value deepens the effect, and increasing the midpoint flatten the effect.
Step #35
Change the roundness. If you increase, then it makes the vignette more rounded, and if you decrease the value, then it will be narrower.
Step #36
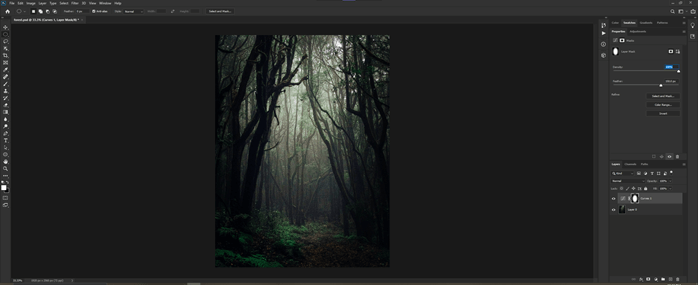
Let’s look at a dark image with other methods to create a vignette.
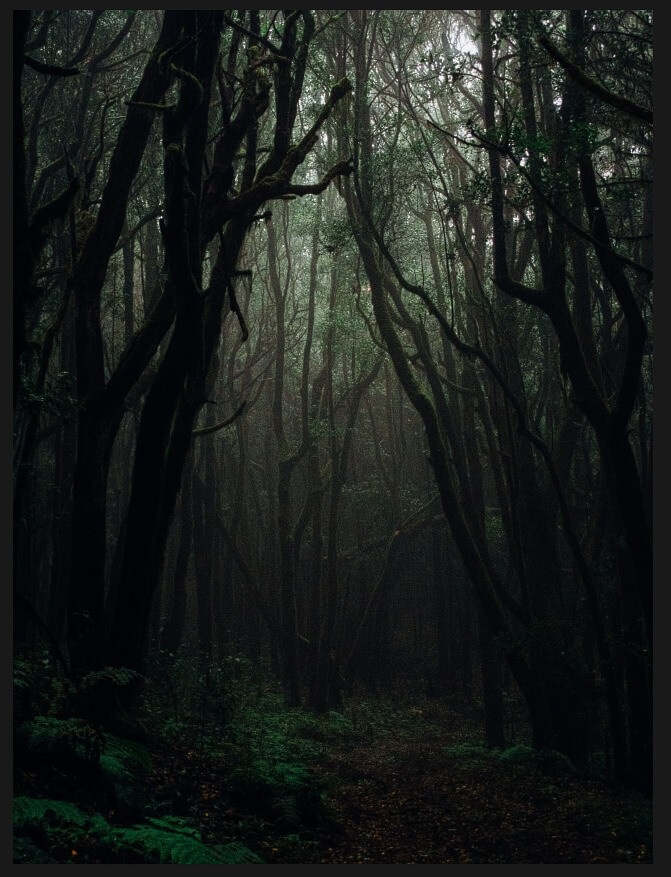
Step #37
Using the ellipse marquee tool, draw an ellipse as shown.
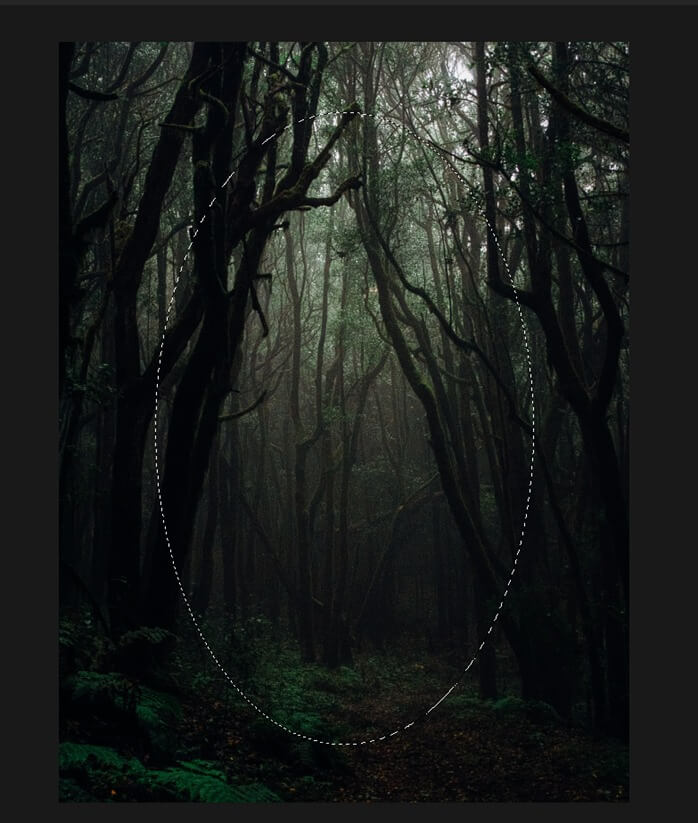
Step #38
Create a curves layer from the layers panel.
Step #39
Adjust the curves in the property panel
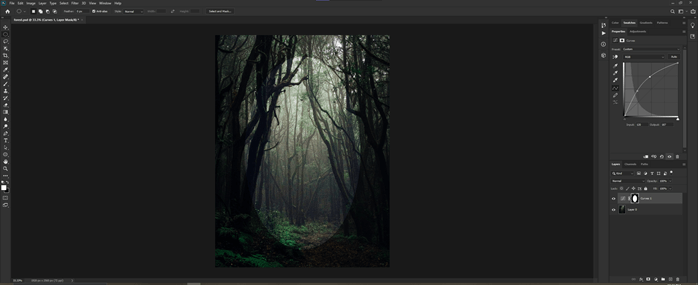
Step #40
Then use a feather in the property panel to create the effect.
Conclusion
In this article, we have done a vignette effect in photoshop using various methods. The first method was to contract the solid color. Then we have seen how the effect has its practical use on black and white backgrounds and, at last, using curves layer.
Recommended Articles
This is a guide to Photoshop vignette. Here we discuss how the effect has its practical use on black and white backgrounds step by step. You may also have a look at the following articles to learn more –
