EDUCBA

EDUCBA

MENUMENU
  • Free Tutorials
  • Free Courses
  • Certification Courses
  • 280+ Courses All in One Bundle
  • Login
Home Design Design Tutorials Photoshop Tutorial Halftone in Photoshop
Secondary Sidebar
Photoshop Tutorial
  • Basics and Advanced
    • What is Photoshop?
    • Install Adobe Photoshop
    • Introduction to Photoshop
    • Career in Photoshop
    • Uses of Photoshop
    • Adobe Photoshop Commands
    • Is Photoshop Free?
    • Website Layout in Photoshop
    • Adobe Photoshop
    • Top Features in Adobe Photoshop
    • Adobe Photoshop Elements tools
    • Free UI Kits For Photoshop Download
    • Layers Panel in Photoshop
    • Photoshop Moon Brushes
    • Ripple Effect Photoshop
    • Action in Photoshop
    • Photoshop Color Match
    • Photoshop color picker
    • Photoshop split toning
    • Photoshop GIF
    • Photoshop Extend Background
    • Photoshop template flyer
    • Photoshop content aware fill
    • Photoshop Overlays
    • Photoshop vignette
    • Photoshop Textures
    • Photoshop liquify
    • Photoshop automate
    • Photoshop presets
    • Layer effects in Photoshop
    • Photoshop hologram effect
    • Vintage Effect Photoshop
    • Vaporwave Photoshop
    • Photoshop Polaroid
    • Pixel Effect Photoshop
    • Photoshop Creative
    • MP4 to GIF Photoshop
    • Templates in Photoshop
    • Night Effect in Photoshop
    • Photoshop Sun Effect
    • Photoshop Gold Gradient
    • Perspective Correction in Photoshop
    • VHS Effect Photoshop
    • Halftone in Photoshop
    • Puppet Warp in Photoshop
    • Photoshop Cheat Sheet
    • Resize Object in Photoshop
    • Distortion Effect Photoshop
    • Clone Stamp Tool in Photoshop
    • Fisheye Effect in Photoshop
    • Vanishing Point in Photoshop
    • Fix Perspective in Photoshop
    • Warp Image Photoshop
    • Transform Tool Photoshop
    • Photoshop Straighten Image
    • Glitch Effect in Photoshop
    • Photoshop Cinemagraph
    • Stamp Effect in Photoshop
    • Typography in Photoshop
    • Photoshop Distort Effect
    • How to Print in Photoshop?
    • Morphing in Photoshop
    • Glow Effects in Photoshop
    • Tree Brush Photoshop
    • 3D Text Effect in Photoshop
    • Shiny Effect Photoshop
    • Photoshop Font Effects
    • Metallic Effect Photoshop
    • Ice Effect in Photoshop
    • Dispersion Effect in Photoshop
    • Healing Brush Tool in Photoshop
    • Crop Tool in Photoshop
    • Artboard in Photoshop
    • Fire Effect in Photoshop
    • Photoshop Versions
    • Portrait Effect in Photoshop
    • Quick Selection Tool in Photoshop
    • How to Highlight Text in Photoshop?
    • How to Change Text Color in Photoshop?
    • Change Color in Photoshop
    • Filters in Photoshop
    • Change Hair Color in Photoshop
    • How to Change Shirt Color in Photoshop?
    • Watercolor Brushes in Photoshop
    • How to Blend Images in Photoshop?
    • Plastic Effect in Photoshop
    • Ruler Tool in Photoshop
    • How to Fill Color in Photoshop?
    • How to Delete Background in Photoshop?
    • Plugins in Photoshop
    • Photoshop Mixer Brush Tool
    • Color Replacement Tool in Photoshop
    • Eraser Tool in Photoshop
    • Motion Effect in Photoshop
    • How to Make Logo in Photoshop?
    • Lasso Tool in Photoshop
    • Reflection Effect in Photoshop
    • Metal Text Effect in Photoshop
    • Gold Text Effect in Photoshop
    • Smart Objects in Photoshop
    • Text Effects in Photoshop
    • Layers in Photoshop
    • 3D Text in Photoshop
    • Selection Tool in Photoshop
    • Patch Tool in Photoshop
    • Eyedropper Tool in Photoshop
    • Rectangle Tool in Photoshop
    • Background Eraser Tool in Photoshop
    • Rain Effect in Photoshop
    • Oil Paint Filter in Photoshop
    • Clipping Mask in Photoshop
    • Burn Tool in Photoshop
    • Paint Bucket Tool in Photoshop
    • Snow Effect in Photoshop
    • Mirror Effect in Photoshop
    • Adobe Photoshop Alternatives
    • Transparent Text in Photoshop
    • Sharpen Tool in Photoshop
    • Custom Shape Tool in Photoshop
    • Adobe Photoshop Tools
    • Red Eye Tool in Photoshop
    • Adobe Photoshop Shortcut Keys
    • Pencil Tool in Photoshop
    • Blur Tool in Photoshop
    • Smudge tool in Photoshop
    • Sponge Tool in Photoshop
    • Magic Wand Tool in Photoshop
    • Move Tool in Photoshop
    • Line Tool in Photoshop
    • Photoshop Interview Questions

Related Courses

Photoshop Training Course

Adobe Premiere Pro Training Course

Design Training Course

Halftone in Photoshop

By Preeti PrajapatiPreeti Prajapati

Halftone in Photoshop

Introduction to Halftone in Photoshop

Photoshop is an image editing software that works with raster images. Image editing professionals widely use it for their professional editing work. We can create a very good effect on our image in this software. Halftone is a type of effect through which we can create an illusion on our image of disintegrated pixels. This article will discuss how we can create this effect on our image and use them for our project work. We also analyze the parameters of the creation of this effect to use it very easily and apply it to our image with our own ideas. So let us start our discussion.

How to Use Halftone Effect in Photoshop?

We can use this effect on our image by following a few simple steps and get knowledge about the handling of parameters of this feature. But before starting, let us have a quick look at the working screen of this software so that we can understand this topic in a better way.

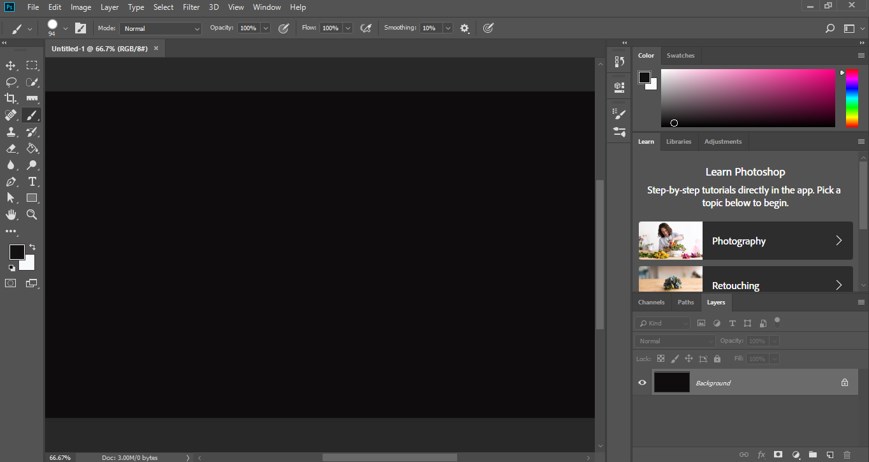
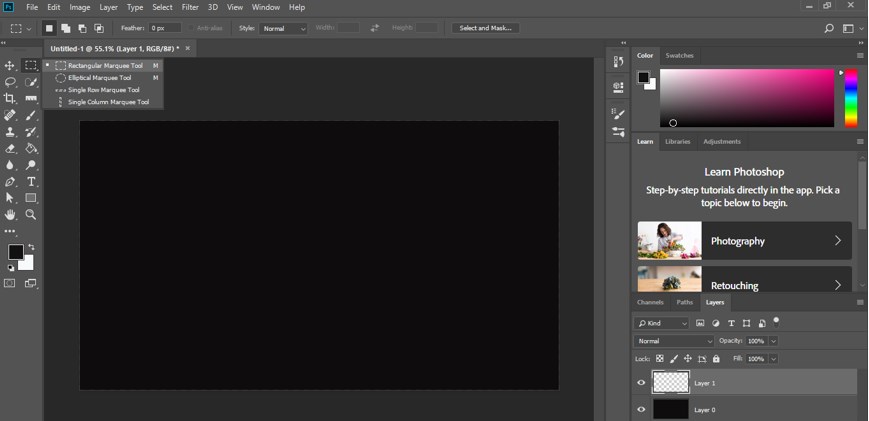
Step 1: At the top of the working screen, a Menu bar has a number of menus for handling parameters of this software; below this bar, we have another bar that is a property bar of active tool or active image. Below this property bar, we have three sections in which at the left corner we have a toolbar, at the center, we have a display window, at the right corner, we have some panels such as color, layer panel, and some others.

working screen

Start Your Free Design Course

3D animation, modelling, simulation, game development & others

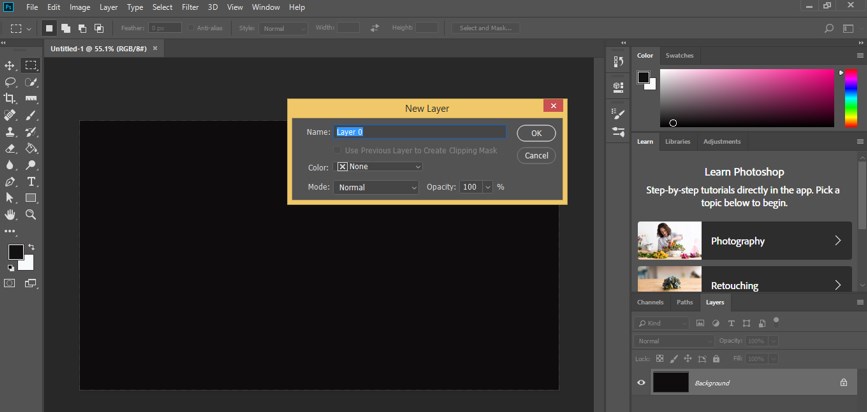
Step 2: We have created a document in this software which is as a background layer, so for making it an editable layer, make double click on it, and a dialog box will be open like this. You can name this layer by entering the name in the Name box. Now press the Ok button of this dialog box.

dialog box

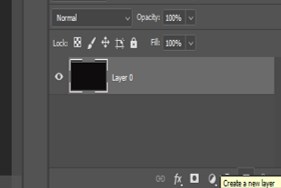
Step 3: Now go to the bottom of the layer panel and click on the ‘create new layer’ button for creating a new layer in the layer panel.

new layer

Step 4: Now select this new layer by click on it, which is named Layer 1, in the layer section and go to the tool panel of this software. Take the Rectangular Marquee tool by click on its icon.

tool panel

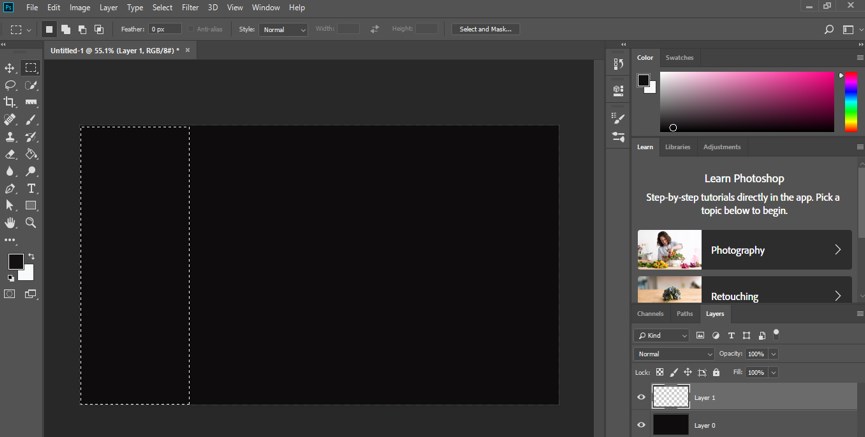
Step 5: Now, make a selection like this with the marquee tool on Layer 1.

marquee tool

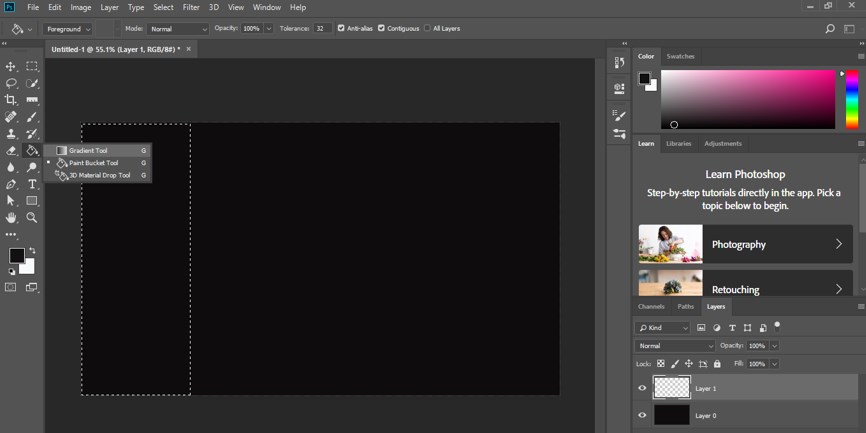
Step 6: Now again, go to the tool panel of this software and take the Gradient tool by click on it.

Gradient tool

Step 7: Go to the property bar of the gradient tool and click on ‘click to edit the gradient option’ with a mouse button.

gradient option

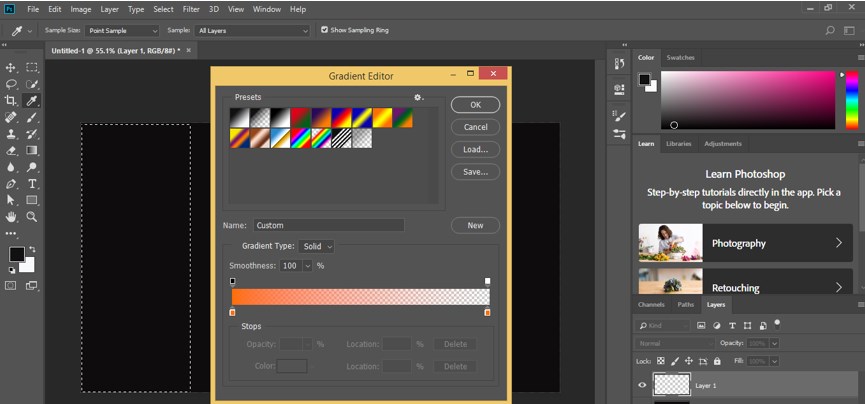
Step 8: Once you make click on it, a gradient editor box will be open.

box

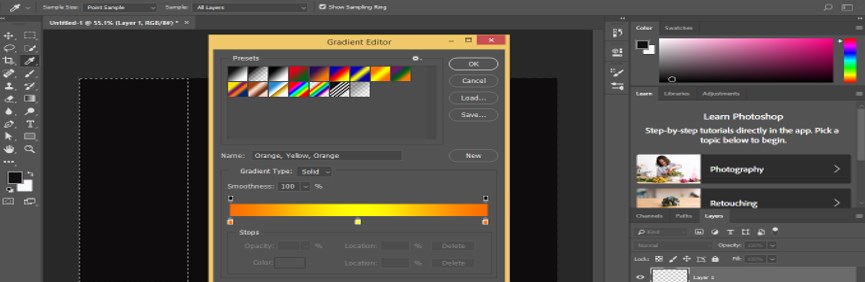
Step 9: Now delete mid color stop on the gradient scale by dragging it in a lower direction and click on Opacity stop.

mid color stop

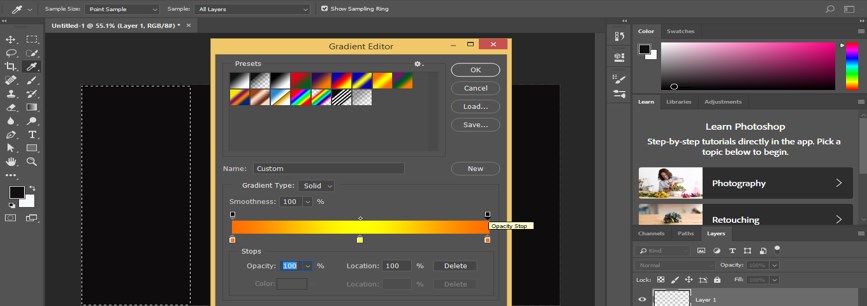
Step 10: Decrease the value of the opacity of this stop as 0. So that one side of the gradient becomes transparent like this.

opacity

Step 11: Now drag the point of gradient tool on this selection in the horizontal direction for filling this type of gradient in this selection of marquee tool.

Halftone in Photoshop - 11

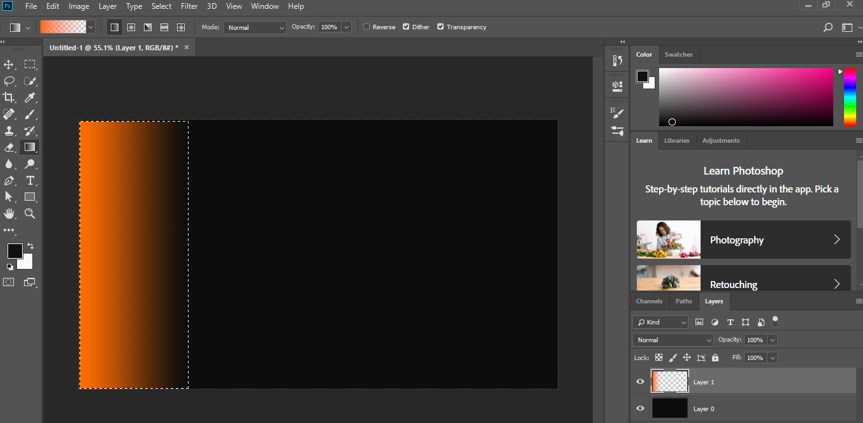
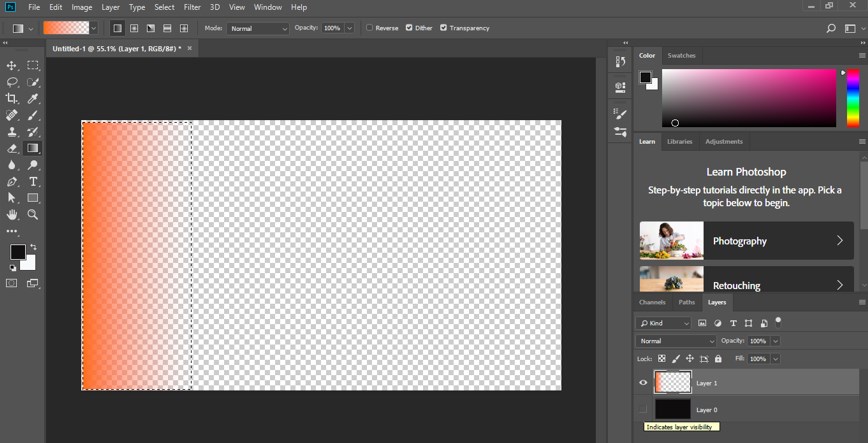
Step 12: When you off the background layer (layer 0) from the layer panel of this software, by click on the eye button of this layer, you can see the effect of gradient on your layer.

Halftone in Photoshop - 12

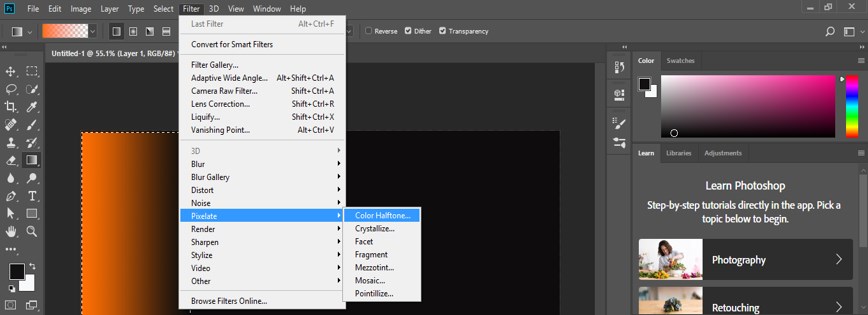
Step 13: Now go to the Filter menu of the menu bar of this software and go to the Pixelate option of the drop-down list. Now choose the Color Halftone option from the new drop-down list.

Halftone in Photoshop - 13

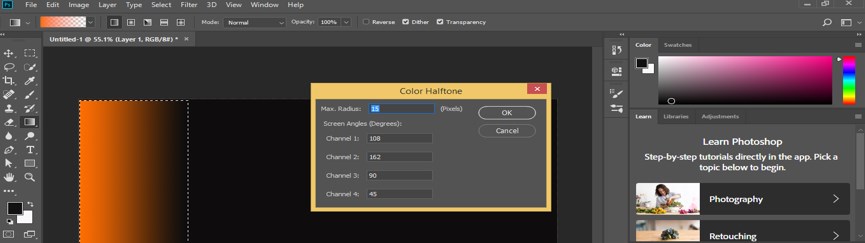
Step 14: Now, a dialog box of Halftone will be open. Set the radius of pixels of halftone from the Max radius option of this box and remain in other settings as it is. Now press the Ok button of this box.

Halftone in Photoshop - 14

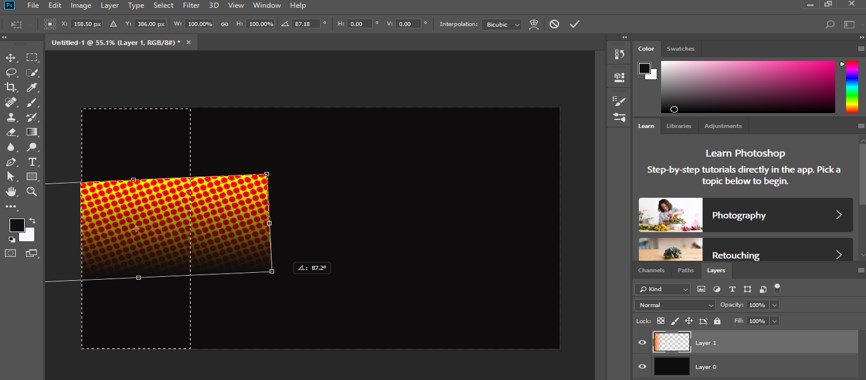
Step 15: And halftone effect will created on your selected area like this.

Halftone in Photoshop - 15

Step 16: You can make a change in this selection at any time of your work by moving or rotating it by using the transforms property of it.

Halftone in Photoshop - 16

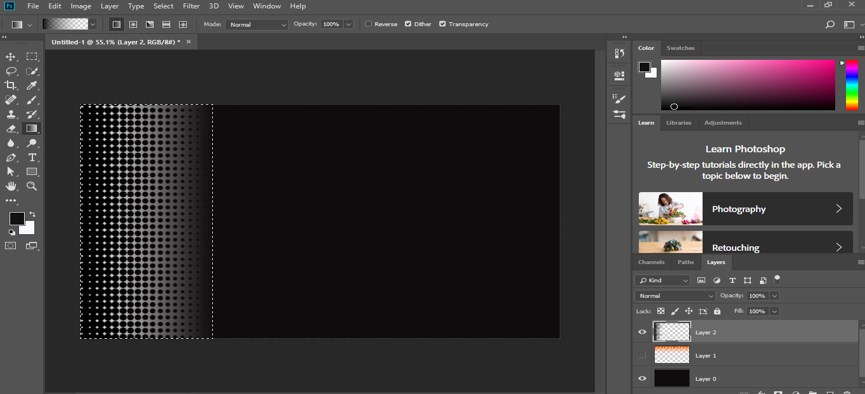
Step 17: You can also create this effect with black and white colors by following the same steps.

Halftone in Photoshop - 17

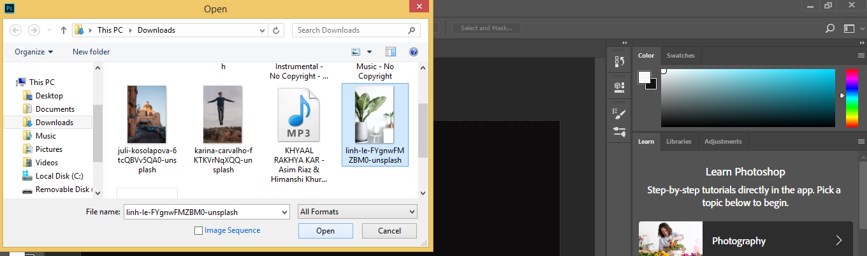
Step 18: Now, let us understand this effect on any image. So let us place an image in this software. Go to the File menu and click on it. Choose the Open option from the drop-down list.

Halftone in Photoshop - 18

Step 19: Now, a dialog box will be open, choose your desired image by click on it from the folder where you have saved your image, then click on the Open button of this dialog box.

Halftone in Photoshop - 19

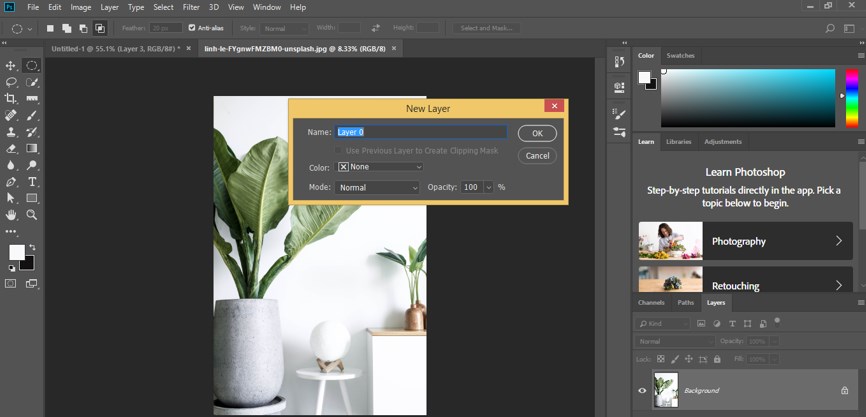
Step 20: Now, your image will open in a new tab of this software as a background layer. Now go to the layer panel and make double click on this layer for making it an editable layer. A dialog box will open, name your layer according to you, then press the Ok button of this box.

Halftone in Photoshop - 20

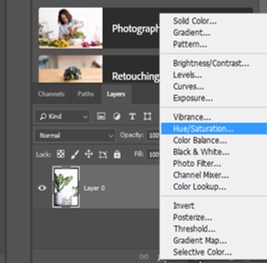
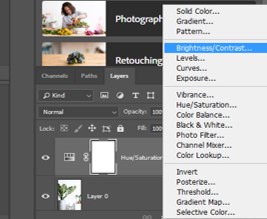
Step 21: Now go to the bottom of the layer panel and click on the Adjustment layer button. Choose the Hue/Saturation option from the drop-down list.

Halftone in Photoshop - 21

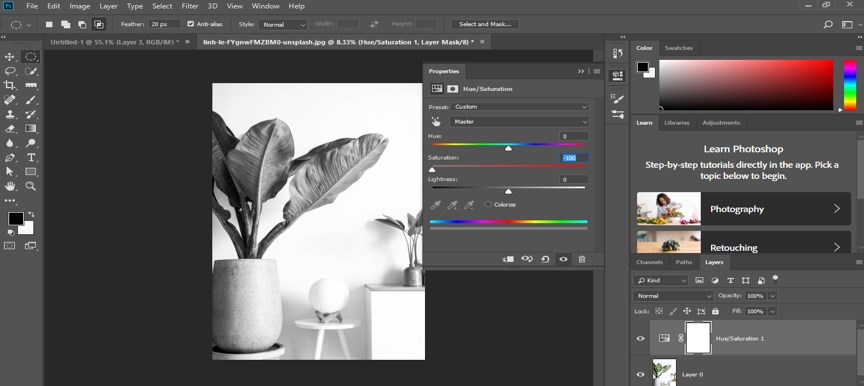
Step 22: Make the Saturation value as negative on the slider of the Saturation option of this Hue/Saturation box for making our image black and white.

Halftone in Photoshop - 22

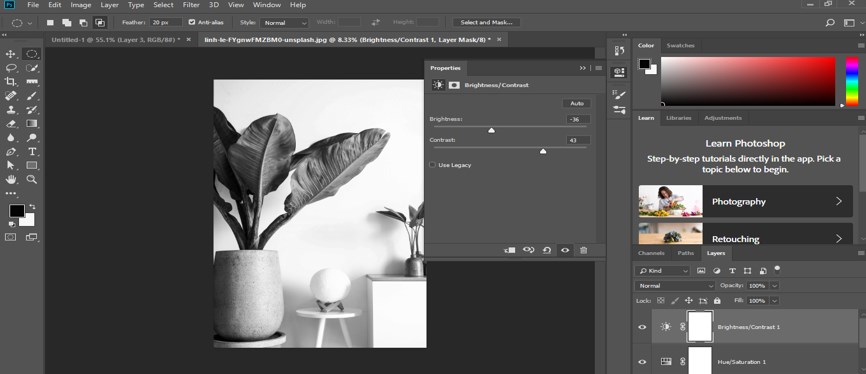
Step 23: Now again, go to the adjustment layer button of the layer panel and click on it. Choose the Brightness/Contrast option from here.

Halftone in Photoshop - 23

Step 24: Set the value of Contrast up to 50 in the Brightness/Contrast box so that the halftone effect can show its result clearly.

Halftone in Photoshop - 24

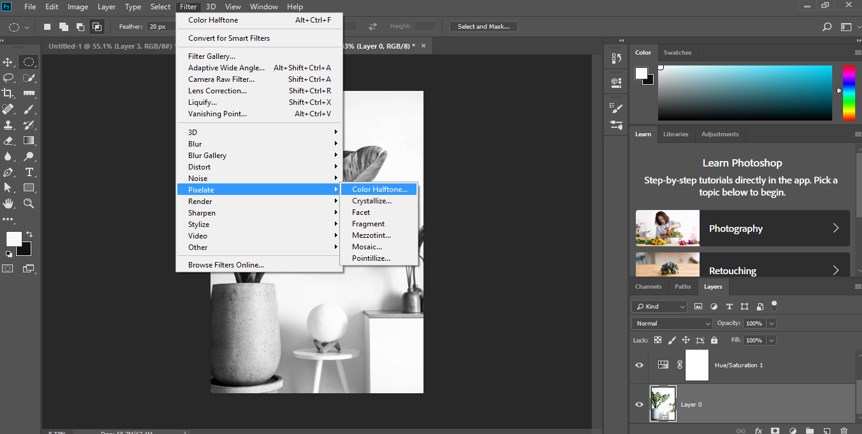
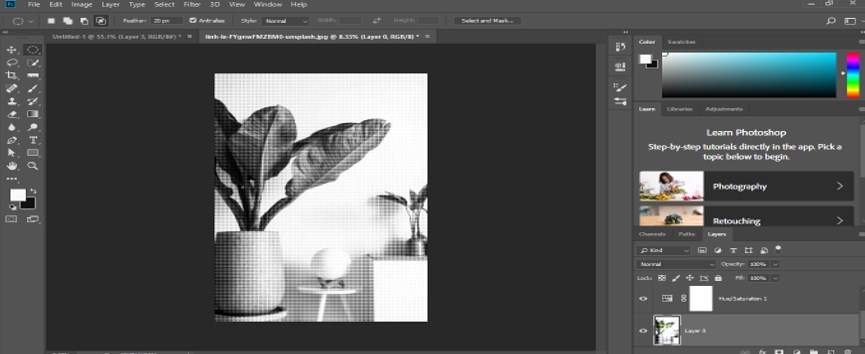
Step 25: Now go to the layer panel and select Layer 0 by click on it, which is the image layer, then go to Filter Menu of the menu bar and click on it. Go to the Pixelate option of the drop-down list, then click on the Color Halftone option of the new drop-down list.

Halftone in Photoshop - 25

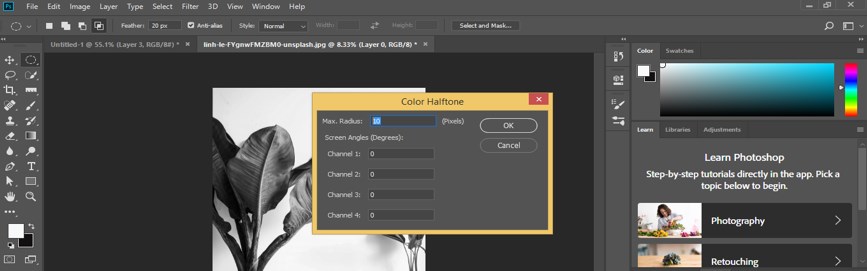
Step 26: A Color Halftone box will be open. Set the radius value as 10, then press the Ok button of this dialog box.

Halftone in Photoshop - 26

Step 27: Once you make a click, your image will disintegrate in pixels like this.

Halftone in Photoshop - 27

Step 28: You can see the pixels effect on your image by zoom in it like this.

Halftone in Photoshop - 28

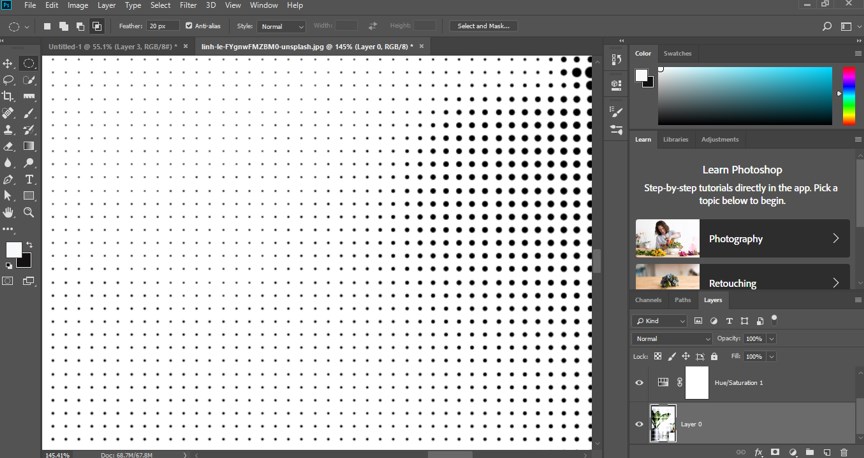
In this way, you can create a halftone effect on your image and use it in your project work for different purposes.

All in One Design Bundle(280+ Courses, 100+ projects)
AutoCADHoudiniAdobe Premiere ProPhotoshop
SolidworksVFX Visual EffectsCorelDrawUnreal Engine
Price
View Courses
280+ Online Courses | 100+ projects | 2000+ Hours | Verifiable Certificates | Lifetime Access
4.6 (64,783 ratings)

Conclusion

Now, after this article, you can understand what the halftone effect is in Photoshop software and how you can easily handle the parameter of creating this type of effect on your image. Keep practicing on these types of effects of this software so that you can add plus point to your image editing skills.

Recommended Articles

This is a guide to Halftone in Photoshop. Here we discuss an introduction, how to use Halftone in Photoshop in a step-by-step manner. You can also go through our other related articles to learn more –

  1. Typography in Photoshop
  2. Plastic Effect In Photoshop
  3. Rain Effect In Photoshop
  4. Gold Text Effect In Photoshop
Popular Course in this category
Photoshop Training (10 Courses, 12+ Projects)
  10 Online Courses |  12 Hands-on Projects |  80+ Hours |  Verifiable Certificate of Completion
4.9
Price

View Course

Related Courses

Adobe Premiere Pro Tutorial (4 Courses, 7+ Projects)4.9
All in One Design Bundle (280+ Courses, 100+ projects)4.8
0 Shares
Share
Tweet
Share
Primary Sidebar
Footer
About Us
  • Blog
  • Who is EDUCBA?
  • Sign Up
  • Live Classes
  • Corporate Training
  • Certificate from Top Institutions
  • Contact Us
  • Verifiable Certificate
  • Reviews
  • Terms and Conditions
  • Privacy Policy
  •  
Apps
  • iPhone & iPad
  • Android
Resources
  • Free Courses
  • Photoshop Tutorial
  • 3ds Max Tutorial
  • All Tutorials
Certification Courses
  • All Courses
  • Design Course - All in One Bundle
  • Photoshop Course
  • Maya Course
  • Unreal Engine Course
  • Unity Course
  • DaVinci Resolve Course
  • Pro Tools Course

ISO 10004:2018 & ISO 9001:2015 Certified

© 2022 - EDUCBA. ALL RIGHTS RESERVED. THE CERTIFICATION NAMES ARE THE TRADEMARKS OF THEIR RESPECTIVE OWNERS.

EDUCBA
Free Design Course

Banner Creation, Object Selection, Sky Replacement, Advance Filters & others

*Please provide your correct email id. Login details for this Free course will be emailed to you

By signing up, you agree to our Terms of Use and Privacy Policy.

EDUCBA Login

Forgot Password?

By signing up, you agree to our Terms of Use and Privacy Policy.

EDUCBA
Free Design Course

3D animation, modelling, simulation, game development & others

*Please provide your correct email id. Login details for this Free course will be emailed to you

By signing up, you agree to our Terms of Use and Privacy Policy.

EDUCBA

*Please provide your correct email id. Login details for this Free course will be emailed to you

By signing up, you agree to our Terms of Use and Privacy Policy.

Let’s Get Started

By signing up, you agree to our Terms of Use and Privacy Policy.

This website or its third-party tools use cookies, which are necessary to its functioning and required to achieve the purposes illustrated in the cookie policy. By closing this banner, scrolling this page, clicking a link or continuing to browse otherwise, you agree to our Privacy Policy

Loading . . .
Quiz
Question:

Answer:

Quiz Result
Total QuestionsCorrect AnswersWrong AnswersPercentage

Explore 1000+ varieties of Mock tests View more