Updated August 25, 2023
Introduction to Photoshop presets
In this article, we are going to learn how to use and create photoshop presets. Presets are mostly used to import gradient, swatches, brushes, pattern etc. Generally, when we migrate to a new version of photoshop, these presets are helpful as we can import all the custom settings to the new version of photoshop. In this article, we will look at what exactly are the presets provided by photoshop. How to export a custom preset and how to import them. Also, we will look at what is the preset for a while creating pdf. Then we will look at presets for the duotone effects.
Steps of Photoshop Presets
Here are the following steps mention below
Step #1
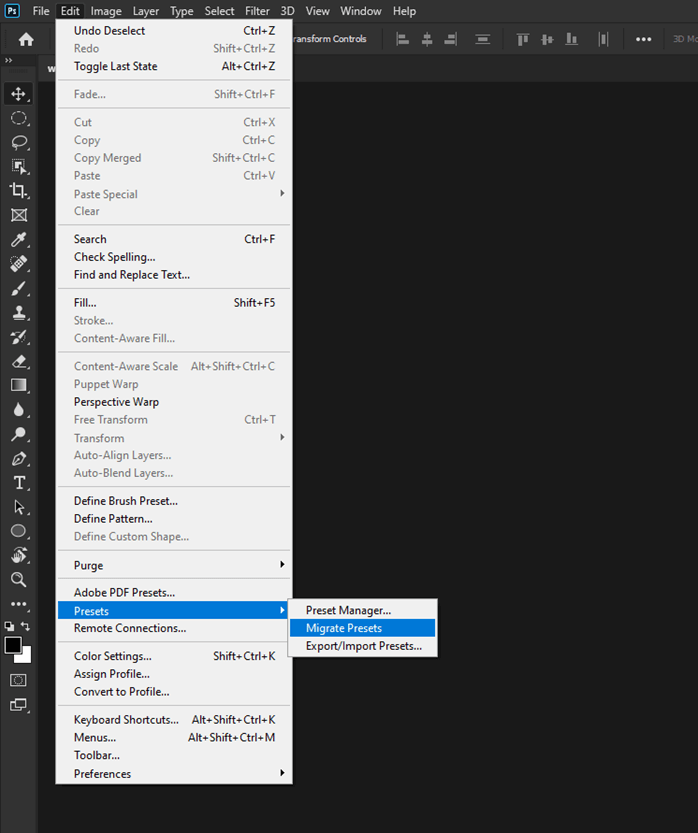
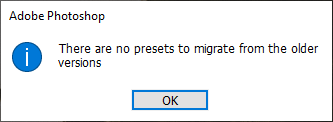
Go to Edit -> Presets -> Migrate Presets if you have any previous version of photoshop installed. Since there are no presets installed in this machine, we will get a popup that there is no previous version of photoshop installed. This will restore all the presets, which we will look at next separately.
Step #2
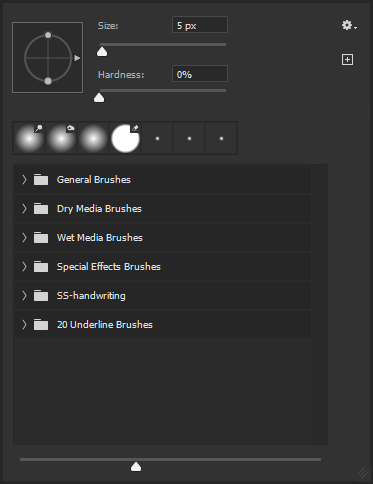
This is the presets of the brush tool, which comes by default in photoshop
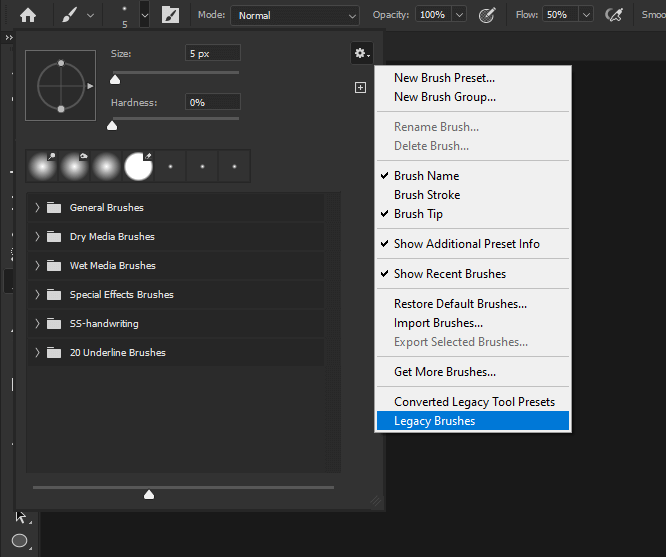
Step #3
Then in options of brush panel, select legacy brushes
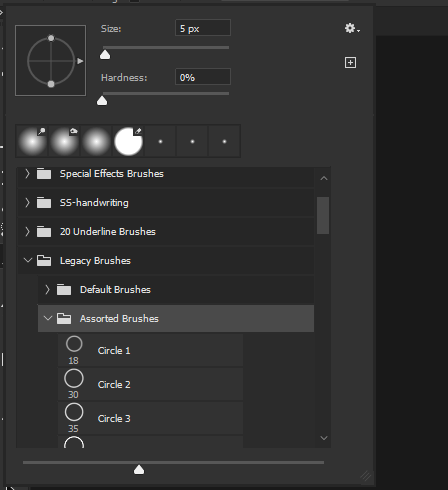
Step #4
Now, as you can see that the legacy brushes are restored.
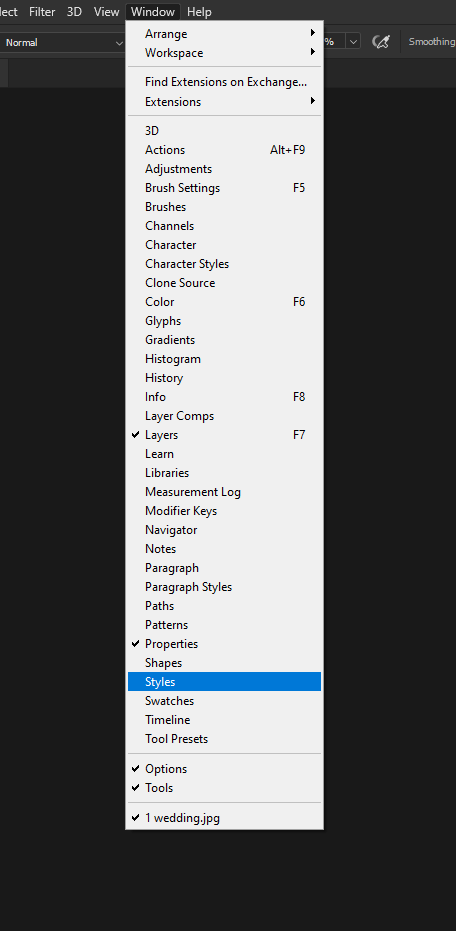
Step #5
Now let open the style panel from the windows menu.
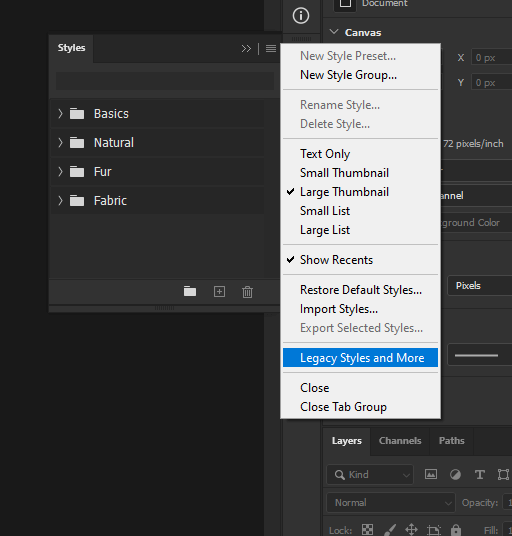
Step #6
So we can look at the presets in the style panel, and we can also choose legacy styles and more in the options menu.
Step #7
Then we get the additional styles from the previous versions.

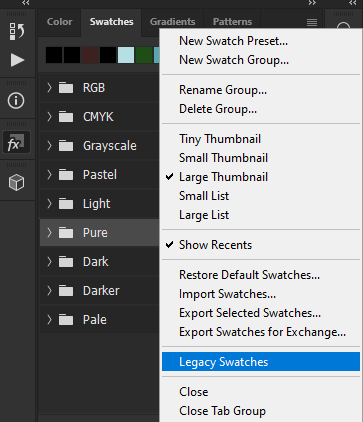
Step #8
Now let’s look at the swatches panel, and there is the preset swatch according to the color combination.

Step #9
There are similar options as previous panels to turn on legacy swatches.
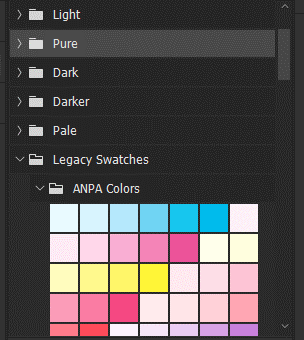
Step #10
So, these are the presets for the legacy swatches.
Step #11
Next, we look at the shape panel from the windows menu.
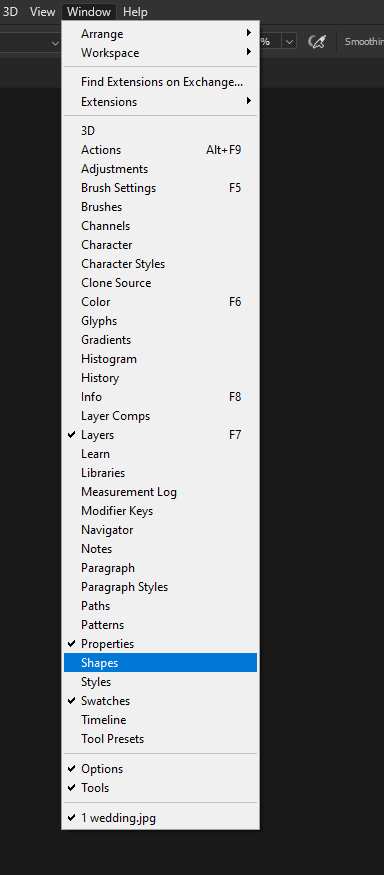
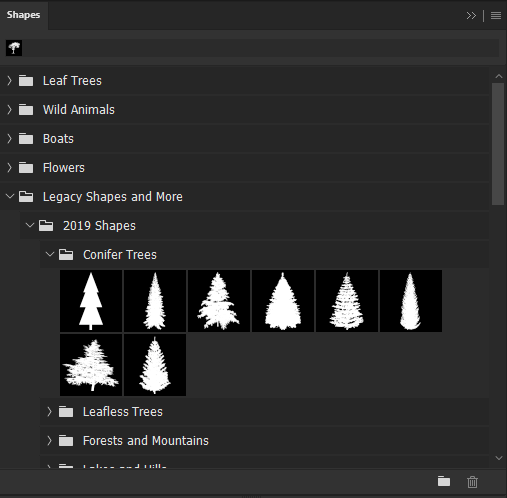
Step #12
We get the shape presets, which are organized into folders.

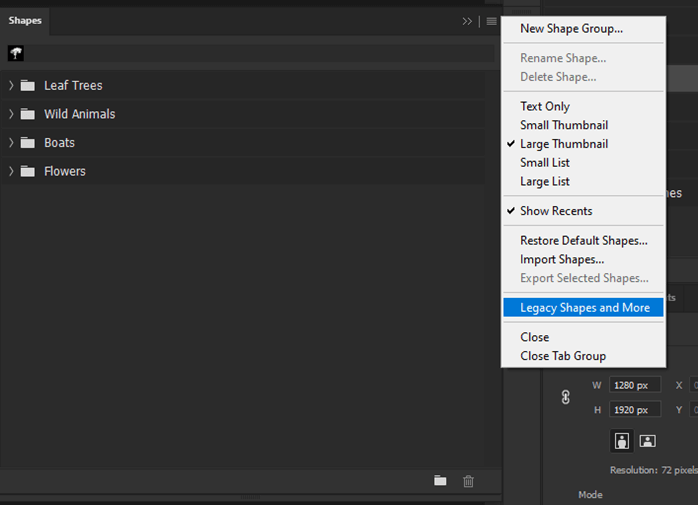
Step #13
Even here, there is an option to turn on legacy shapes and more.
Step #14
As we can see, there is a whole bunch more of shapes.
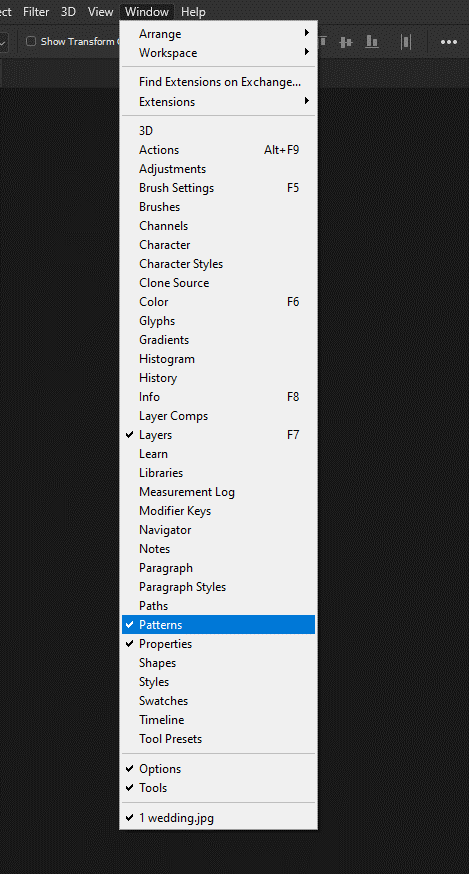
Step #15
Then there is pattern presets in photoshop, which can be accessed from the windows menu.
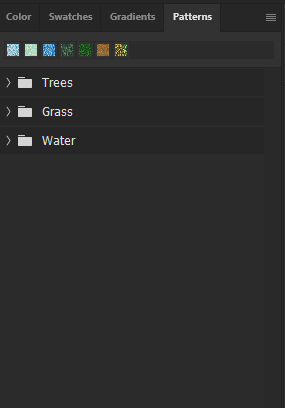
Step #16
As we can see, we have patterns organized into folders.
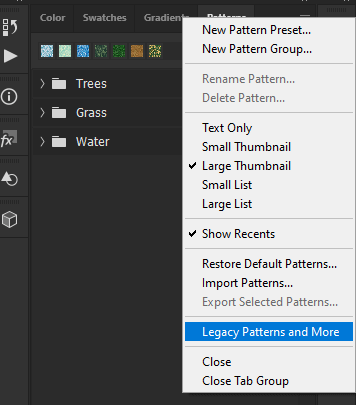
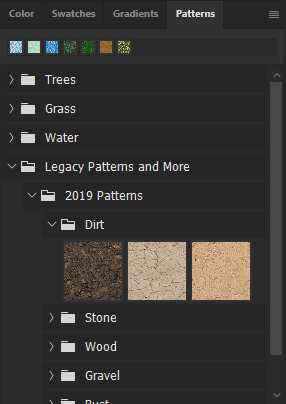
Step #17
We can turn on legacy patterns on in here.
Step #18
There we see all the legacy patterns.
Step #19
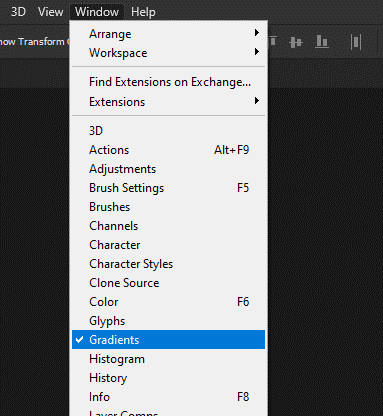
Now open at the gradient panel from the windows menu.
Step #20
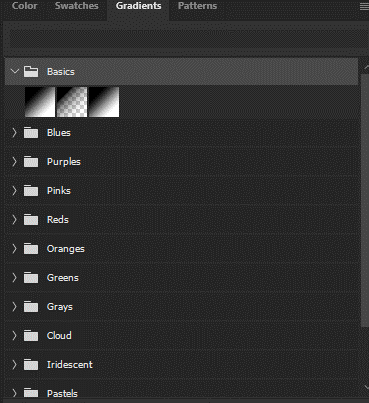
Here again, we can see various presets for gradient arranged neatly in the folder. If you create some custom one, then it will appear below it.
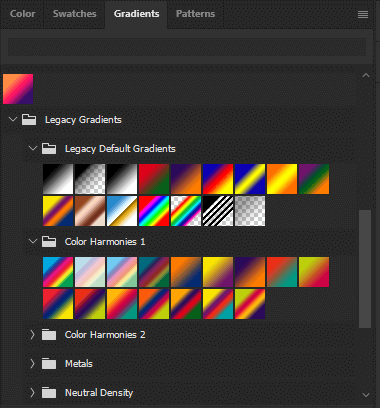
Step #21
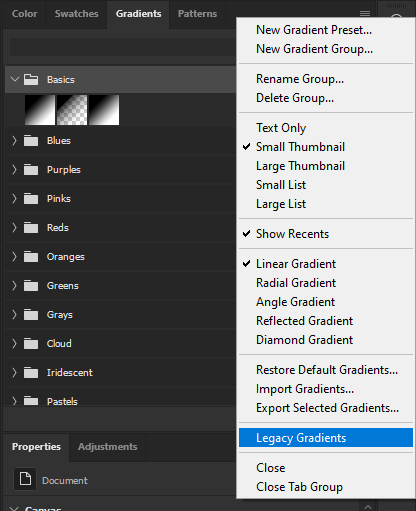
Let’s turn on the legacy gradients to see what it has in store.
Step #22
As we can see, there are the legacy gradients in the previous versions.
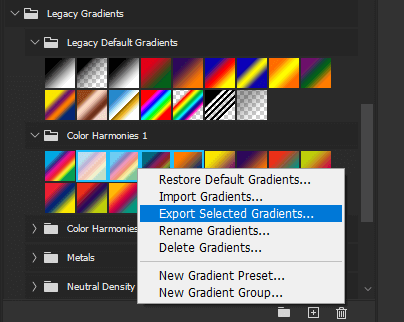
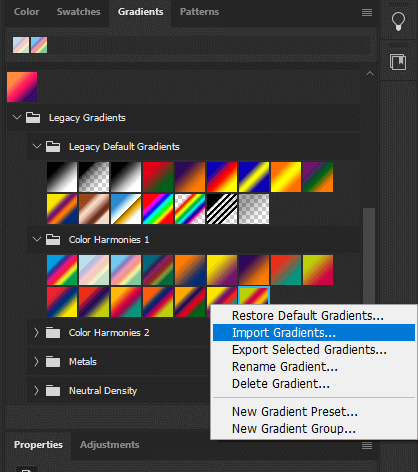
Step #23
Let’s try to export some gradient presets by selecting by ctrl or shift-clicking multiple gradients and then right-click and select Export selected gradient.
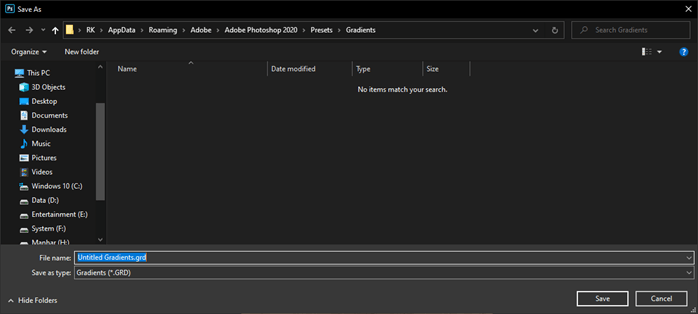
Step #24
By default, it is saved in the gradient folder inside of preset, but we can change its location and change it to desktop as it can keep track of what gradients we have.
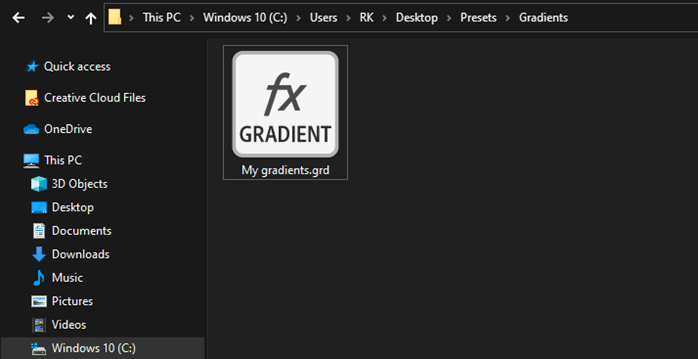
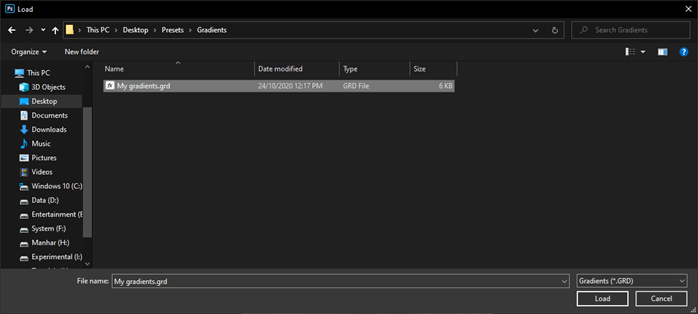
Step #25
We have created a new folder on the desktop, created the gradient inside it, and gave it a name.

Step #26
So the exported gradients now are in this file, and it has an extension of .grd.
Step #27
Now suppose you are on a different machine or different version of photoshop and it does not have those gradients, then there are two ways to import those gradients. The first is to double click on the exported file; in this case, it is “My gradient.grd”. And another option is to go inside the gradient panel and click on import gradient.
Step #28
Then browse to the preset where it is saved and click load.
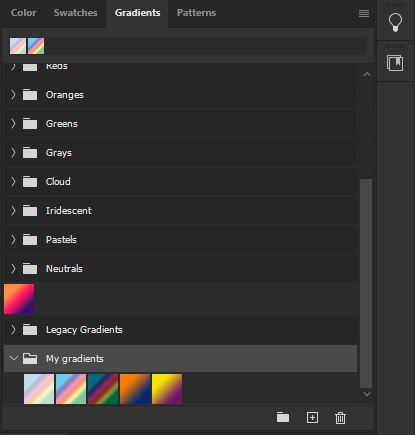
Step #29
As we can see, the gradients are loaded with the group of the name given to the exported file. This method holds true for all the other types of presets like brush, swatches, pattern and many more. What changes is the extension of the exported file, but importing is the same for all as you can either double click it or import from the respective panel.
Step #30
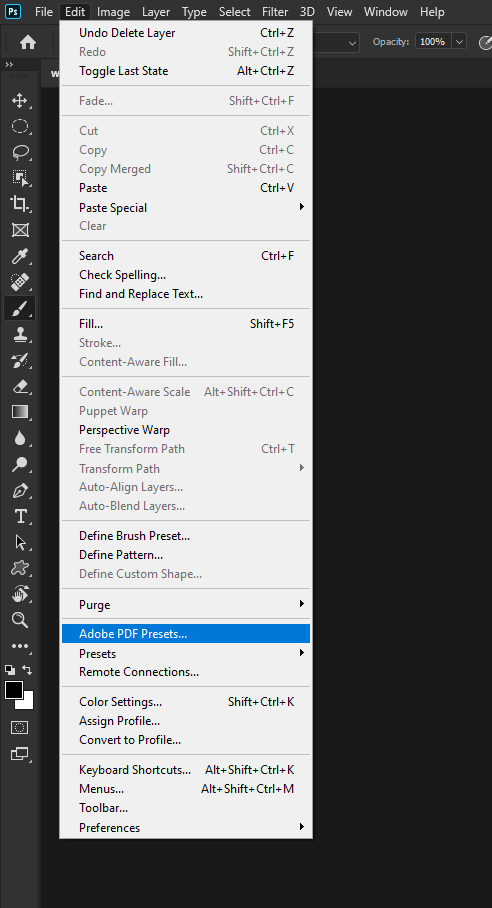
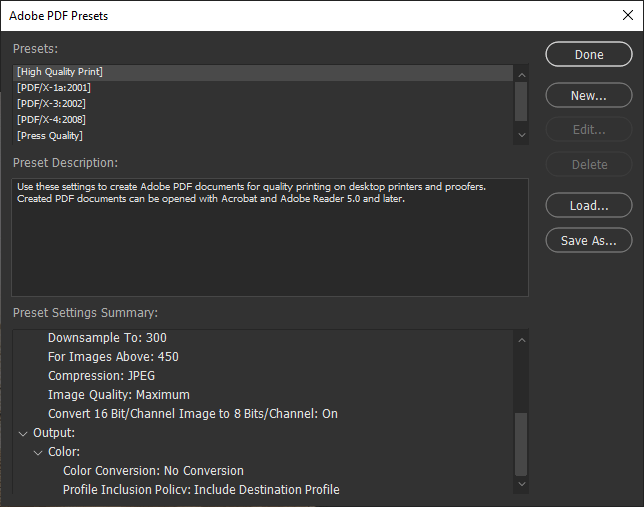
Now go to Adobe PDF Presets from the Edit menu.
Step #31
Here we can see the existing adobe presets. Here we have options to create a new preset or load an existing one, or save as and modify the existing preset.
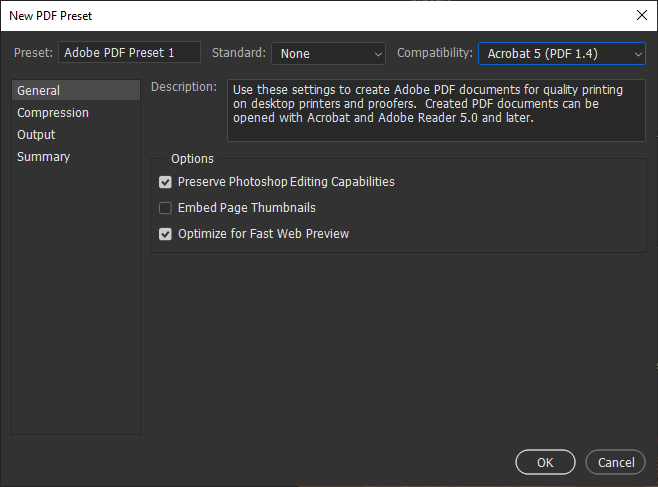
Step #32
First, you can give it a name, set a pdf standard, and set the compatibility, indicating how much of the backward compatibility the file would be with the acrobat versions. Then, in the general tab, you could give descriptions. There is an option to preserve the photoshop editing capability, which will definitely increase the file size and some options for optimization and thumbnail options.
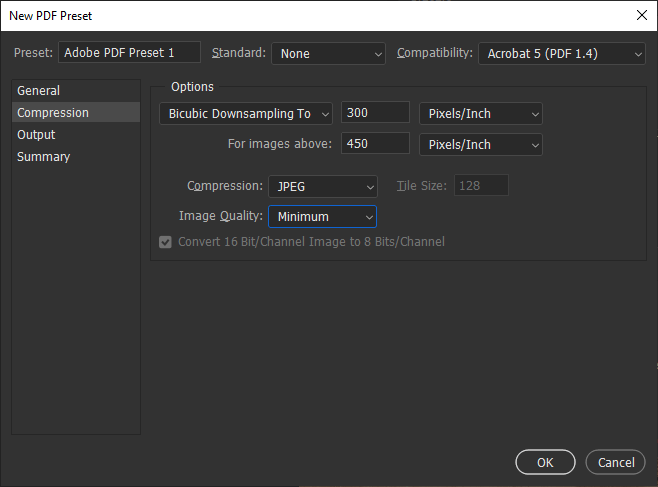
Step #33
Then in compression, you have options of how to compress the images to reduce the file size. There are various algorithms for down sampling images to a specific pixel per inch if they are above a specific pixel per inch. There is also an option if you do not want to down sample. You can also select the compression type and image quality to further reduce the file size.
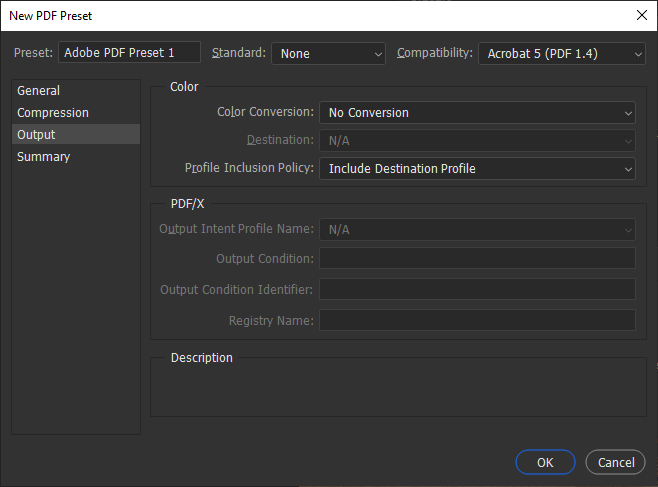
Step #34
In the output tab, you can indicate if there is any color conversion and profiles to be used.
Step #35
Summary give the gist of the entire options selected in all the previous tabs.
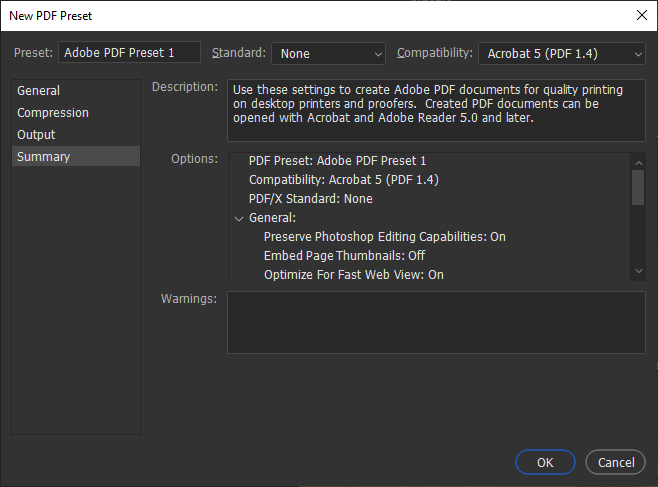
Step #36
Now let’s look at some duotone presets. For this, first, we need to convert the existing image into grayscale to remove the rgb components. There will be a warning to discard color information so click ok.
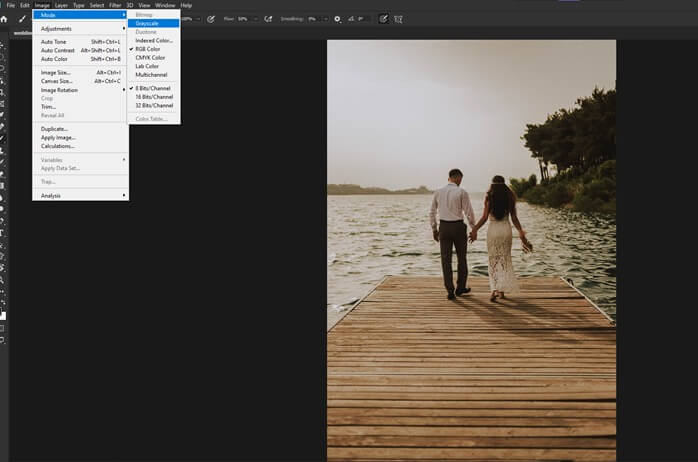
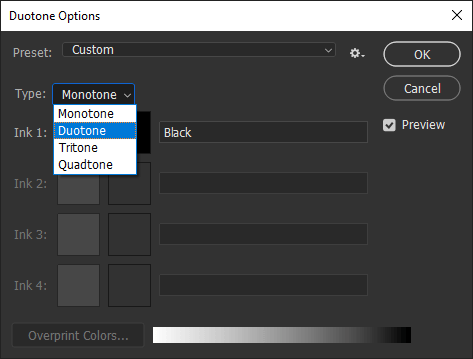
Step #37
Then we can go to image mode duotone, and in options, we can select manually the type of preset.
Step #38
Another option is to select the preset and get a duotone effect.

Conclusion
In this article we have, we have seen a various type of presets which are used in photoshop for various purposes. Presets are mostly the custom saved settings that are very handy when moving to a different work environment or different photoshop versions. We have also seen the duotone presets.
Recommended Articles
This is a guide to Photoshop presets. Here we discuss how to use and create photoshop presets with various type of presets through steps. You may also have a look at the following articles to learn more –
