Updated August 25, 2023

Introduction to Photoshop Polaroid
Polaroid is an effect through which you can create aged Photos look on your Photo by using some features and tools of this software such as colorization, fading up some areas, adjusting some parameters of polarized tools. You can create this effect forgive your Photo different look for making fun with it so let us learn how we can create this type of effect for our Photos and also analyze some important parameters this effect. We will understand it by an example and learn the management of color correction, management of blending modes, and some other important graphical management. So let us start. In this topic, we are going to learn about Photoshop Polaroid.
How to Create a Polaroid Effect in Photoshop?
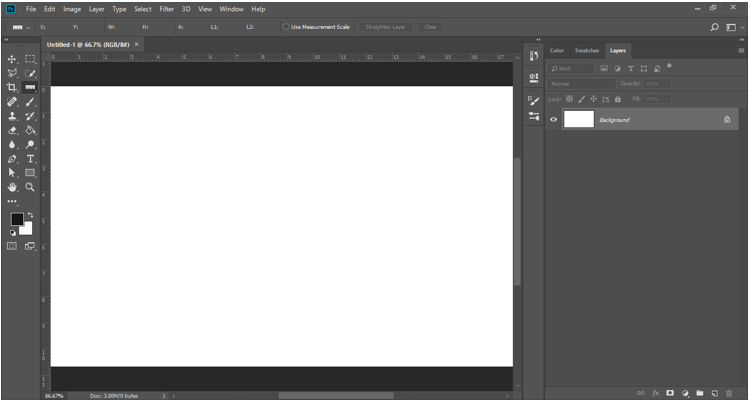
We can create a Polaroid effect in Photoshop by just making some colorization and also by using some tools of this software. But before starting I think we should have a look at the working screen of this software so that we can better understand this topic throughout this article.
At the top of the working screen, there is a Menu bar that has several menus for managing different parameters of this software. Below this bar, we have a Property bar of active tool or active image for making changes in the parameters of that tool or image. Below this bar, we have three sections in which on the left side we have Tool panel, at the center we have display window, at the right side, we have some tabs such as color tab, swatches tab, layer panel, and some others. You can adjust all these sections anywhere on the working screen of this software as per your choices.
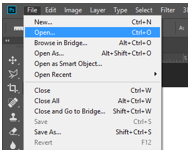
Now let us have an image for our learning about this topic. I will take a downloaded image for this purpose you can take your image for this work. For placing an image go to the File menu of the Menu bar and click on it. Choose Open option from the drop-down list of this menu.
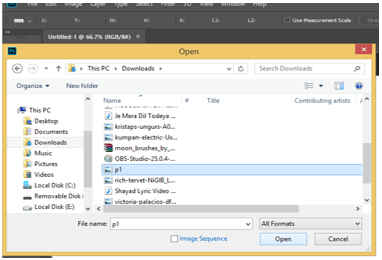
This type of dialog box will be open. Go to your desired folder and choose your desired image from there by click on it. Once you have chosen make click on the Open button of this dialog box.
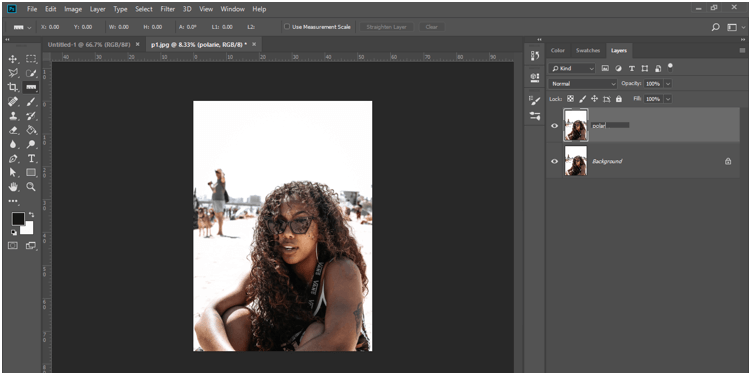
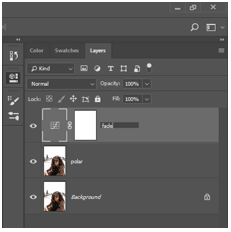
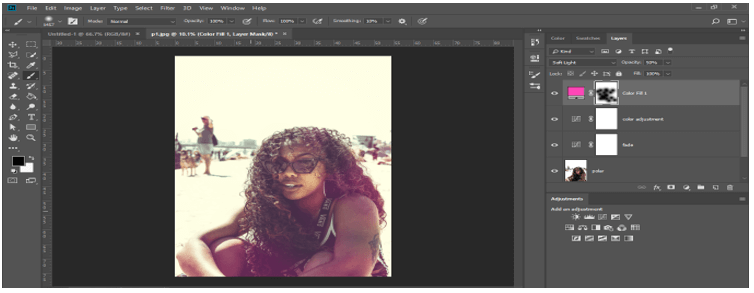
Your image will place like this in a new tab of this software if you have already opened any file. Now let us make a copy of this image so that our original file will not damage during our work. For making copy select background layer and press Ctrl + J button of the keyboard. Let us name this copy layer for our better understanding. I will name it as Polar. You can name it according to you.
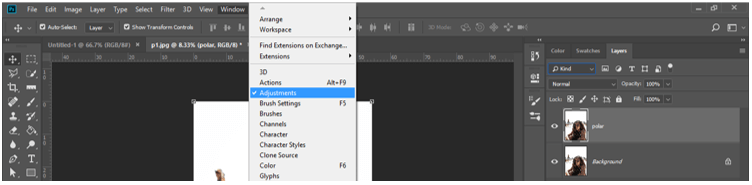
Now go to Window menu of this software and click on it then choose Adjustments option from the list.
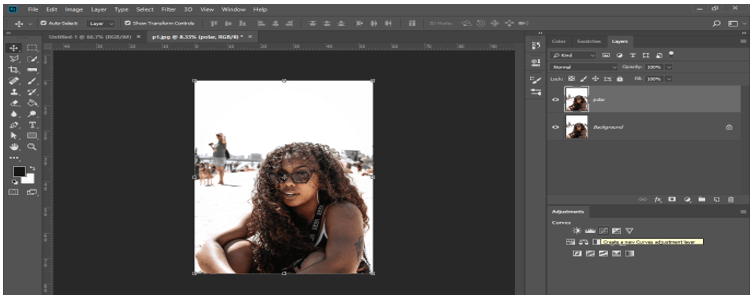
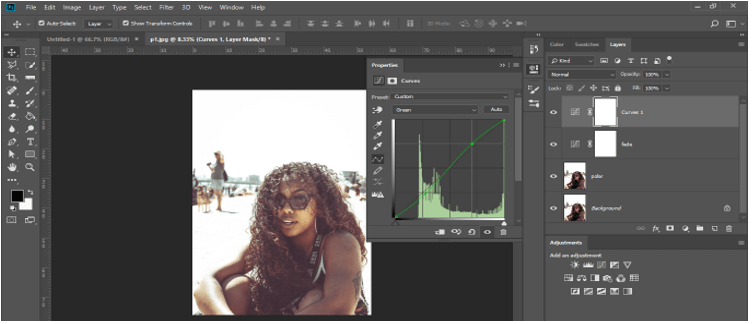
Now the Adjustment tab will be open in the layer panel section of this software. Click on ‘create a new curve adjustment layer button’ of this tab for the color curve value of this photo.
Now adjust the curve line of this curves box like this for fading your photo a little bit.
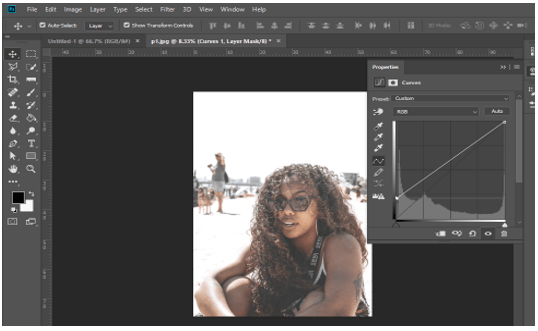
Now add one point at the lower part of the curved line and two points at the upper part of the line and adjust them like this.
Name this layer as per your choice.
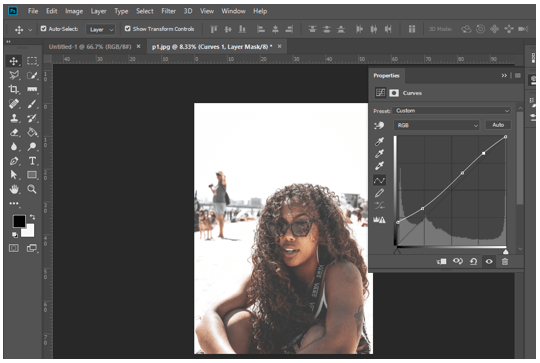
Now again take Curve option from the adjustment layer button.
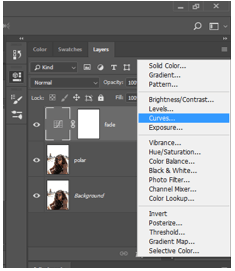
In this curve box, we will set all color curves one by one.
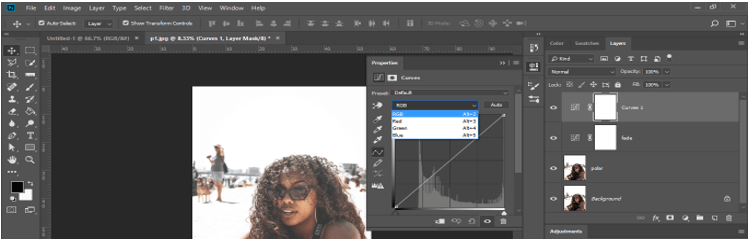
Now choose Red color in option and adjust the curve of this color like this for giving the red color effect a little bit on this photo.
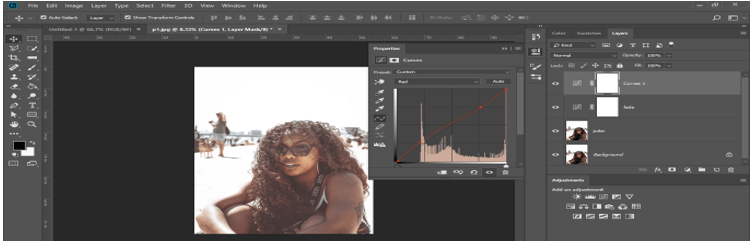
Now choose Green color in option and do the same with the curve of this layer as we did in the red color curve.
Now choose the Blue color in color option and adjust the curve of this layer like this.
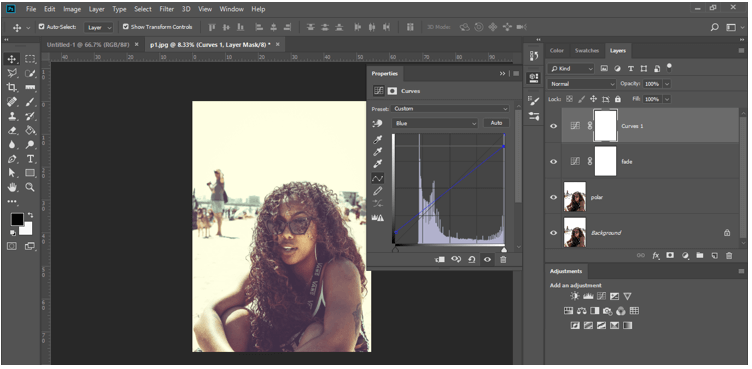
Now name this layer as Color Adjustment. You can name it according to you.
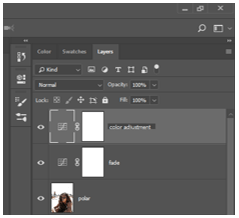
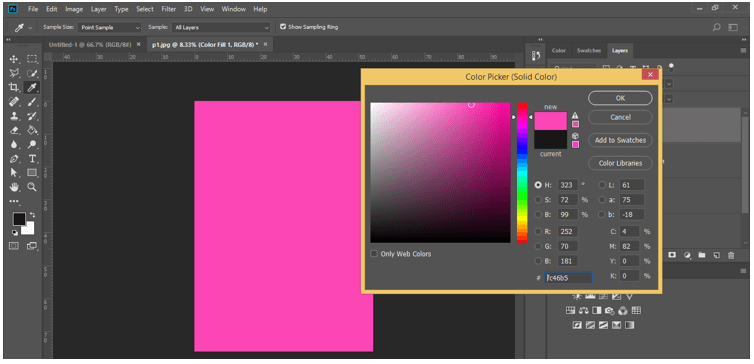
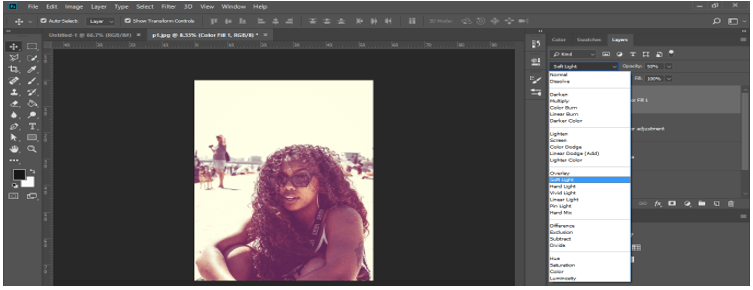
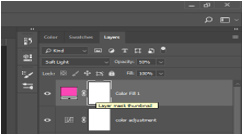
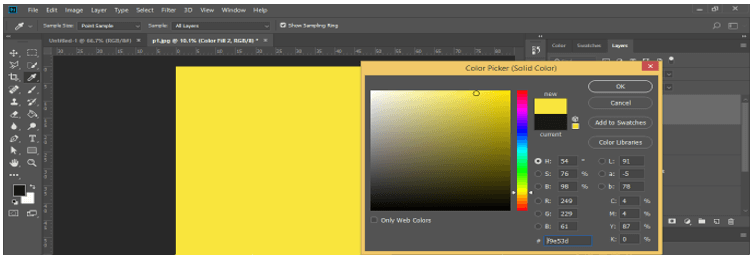
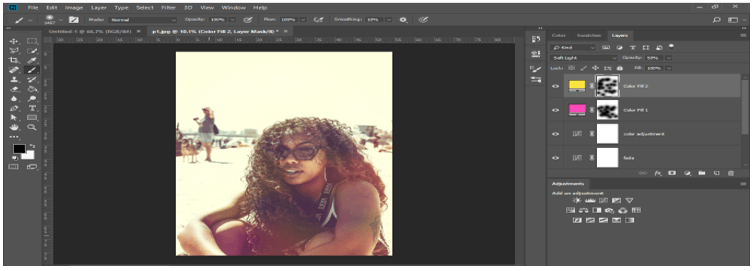
Now again click on the Adjustment layer button of the layer panel and choose the Solid color option from the list.

Now choose a bright pink color as a solid color for this layer.
Now decrease the opacity of this layer as 50 % and choose Soft light option in the mode option of this layer.
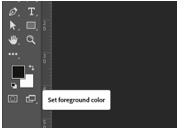
Now make sure you have black color as the foreground color in the color box of the tool panel.
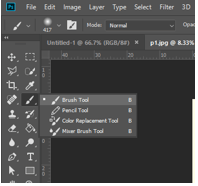
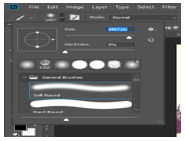
Now take a brush tool from the tool panel.
Now select the Layer Mask of the solid layer by click on it.
Take a soft brush and increase the size of the brush.
Now make a random click on your photo with the brush for coloring it with a brush like this for the clearing effect of this solid layer at that click.
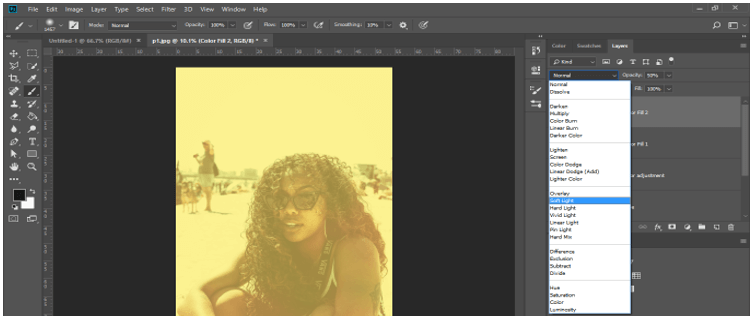
Again take a solid layer and choose the bright yellow color as a solid layer color.
Decrease the opacity of this layer as 50% and choose Soft light option as mode option of this layer.
Now select the layer mask of this layer and do the same with the brush tool as we did with the previous solid layer which means make a random click with the brush tool on your photo for the clearing effect of this solid layer at that click.
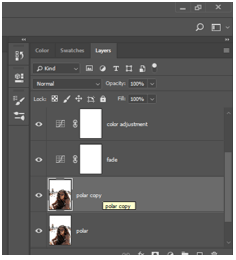
Now make a copy of the Polar layer. For making copy select this layer and press the Ctrl + J button of the keyboard.
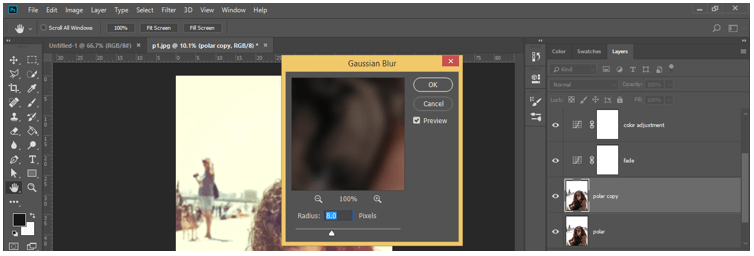
Now select this copy layer and go to the Filter menu of the menu bar then click on it. Go to Blur option of the list and choose the Gaussian Blur option from a new list.

Now set the value of blur radius as 8.0.
Now adjust the opacity of this blur layer according to how much smoothness you want on your image. I will set it up to 60 % as per my choice.

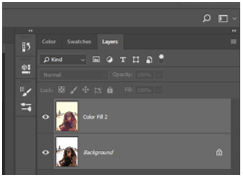
Now select layers in the layer panel and press the Ctrl + E button of the keyboard for merging them in a layer one by one.
This is your final Polaroid effect image. You can set it in the Photos frame according to your choice for giving it a more real old photo look.

Conclusion
Now after this article you can understand what Polaroid effect in Photoshop and how you can create it on your Photos for getting a vintage look to your image. You can try it for your image by getting ideas from this article.
Recommended Articles
This is a guide to Photoshop Polaroid. Here we discuss how to create a Polaroid Effect in Photoshop by using different tools. You may also have a look at the following articles to learn more –
