Adobe Illustrator Pathfinder
Pathfinder Tool in Illustrator is the perfect tool to help you make a last-minute job look easy. The tool is capable of manipulating shapes and paths that you can use to speed up your workflow. Mastering the tool is important as it lets you create complex shapes very easily. In this guide, we will go over the basics of the tool to help you pick up skills that you can use to create precise shapes and paths in your illustrations and speed up your workflow.
Getting Started with Pathfinder
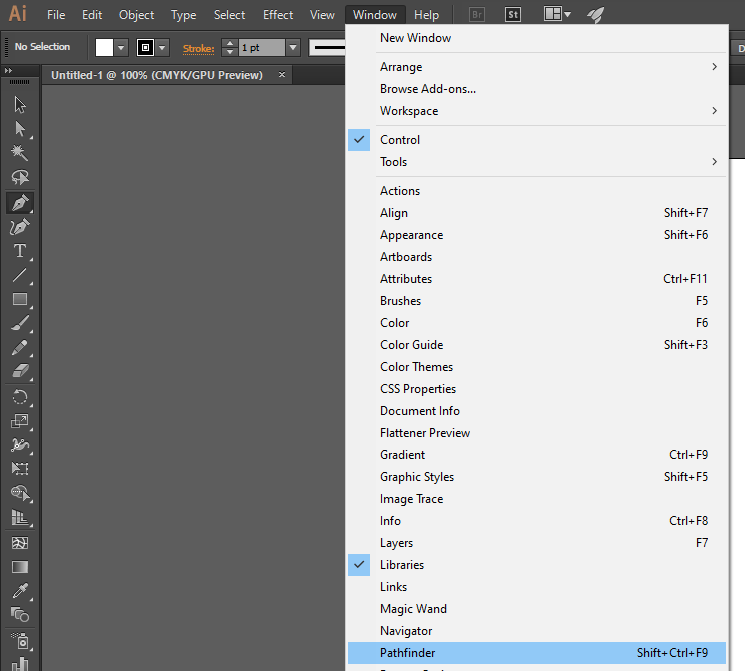
To access the Pathfinder Tool, you can head to the Window dropdown menu and find the Pathfinder tool. Alternatively, you can also press Shift + Ctrl + F9 to access the tool.
We can make use of the top row of buttons to make paths using the tool. You can either make both paths and compound paths using the tool. If you want to make compound shapes, you can choose from the buttons in the rows located in the tool while pressing Alt or Options key. From the menu displayed below, choose the shapes you want to use.
Shape Modes in Pathfinder Tool in Illustrator
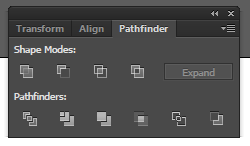
The tools used to edit shapes are located in the top row of the Pathfinder menu.
- Add to Shape Area / Unite: You can use this option to add areas of selected components with the geometry.
- Subtract from Shape Area / Minus Front: This option helps you cut out the shape of a component from the geometry behind it.
- Intersect Shape Areas: You can use selected areas of a component to clip the geometry similar to a mask tool.
- Exclude: You can use this option to invert the geometry. The option lets you turn holes into filled regions and vice-versa.
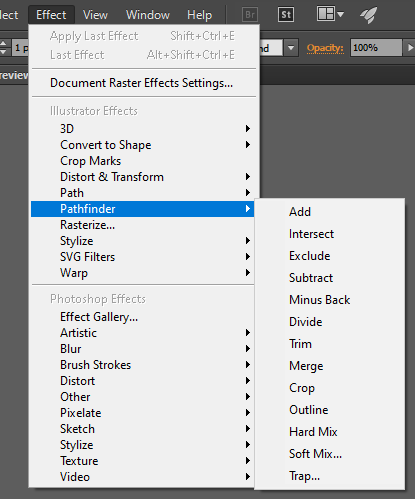
Applying Effects in Pathfinder
If you want to use your overlapping objects to create new shapes, the Pathfinder tool lets you do that. You can make use of the Pathfinder Panel or the Effects menu to get access to all the effects.
Effects Menu
The effects available from the Effect Menu can only be applied to layers, text objects or groups. Once you apply an effect, you will still be able to select your original objects and edit them. You can also make use of the Appearance panel to remove or modify any effect you want.
Pathfinder Panel
If you apply effects from the Pathfinder panel, they can be applied to layers, groups or a combination of objects. You can make use of the panel to edit the final shape and create a complex combination of shapes if you want. The objects are automatically grouped when you apply effects from the panel.
What Does each Effect do?
Here is a quick rundown of all the Pathfinder effects.
- Add: This option lets you accurately trace the outline of all objects and treats them as a singular merged the object.
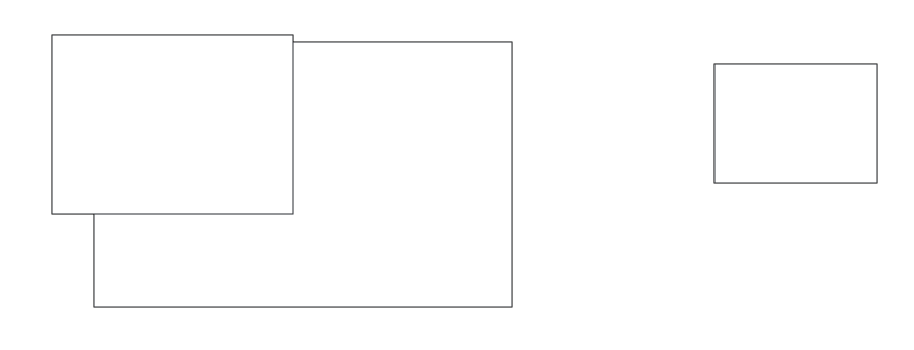
- Intersect: The Intersect tool lets you trace the outline of a region in your illustration, even if other objects overlap it. Here is an example of two objects before and after being intersected.
- Exclude: Non-overlapping areas of objects can be traced, and it also makes all the overlapping areas transparent. If you overlap an even number of objects, the overlap becomes transparent. However, selecting an odd number of objects will make the overlap filled.
- Subtract: The frontmost object from your shapes is removed from the backmost object. The tool is handy for deleting areas of illustrations by stacking the order in which they appear.
- Minus Back: The frontmost object has all the objects behind it removed. This option is used for deleting areas of an illustration by making adjustments to the stacking order.
- Divide: You can use this option to separate component-filled faces from a piece of artwork. A face in this context is defined as any area that is not divided by line segments. To make the most of the Divide tool in the Pathfinder panel, you should use Group Selection or Direct Selection. Both options will allow you to manipulate faces to either preserve or delete unfilled objects using the command.
- Trim: You can remove part of a hidden filled object. All strokes that do not merge with the selected objects of the same color are removed.
- Merge: The merge tool is used to remove parts of hidden filled objects. It can also remove strokes from overlapping or adjoining objects that have been filled using the same color.
- Crop: You can break down a piece of artwork into component-filled faces. Once each part has been cropped out, you can also delete parts of the artwork that do not fall within the boundary placed at the top. Extra strokes are also automatically removed.
- Outline: The outline option lets you divide an object into edges or line segments. You should use this command for preparing any type of artwork that needs overprinting objects or traps.
- Hard Mix: This option lets you combine colors and automatically chooses the highest value of all selected color components.
- Soft Mix: All underlying colors are made visible by overlapping your artwork. The setting also lets you divide an image into multiple components’ faces. You can specify the amount of visibility you want from the overlapping colors.
- Trap: The trap option automatically compensates for any gaps in your artwork. The two adjoining colors in each gap are merged to perfect your illustration. Here is an example below.

Combining Objects
You can combine objects to create compound shapes. These shapes are fully editable and can be created using two or more objects. The Pathfinder tool makes it easy to create complex shapes because you can manipulate the shape, location, appearance and stacking order of all included shape paths.
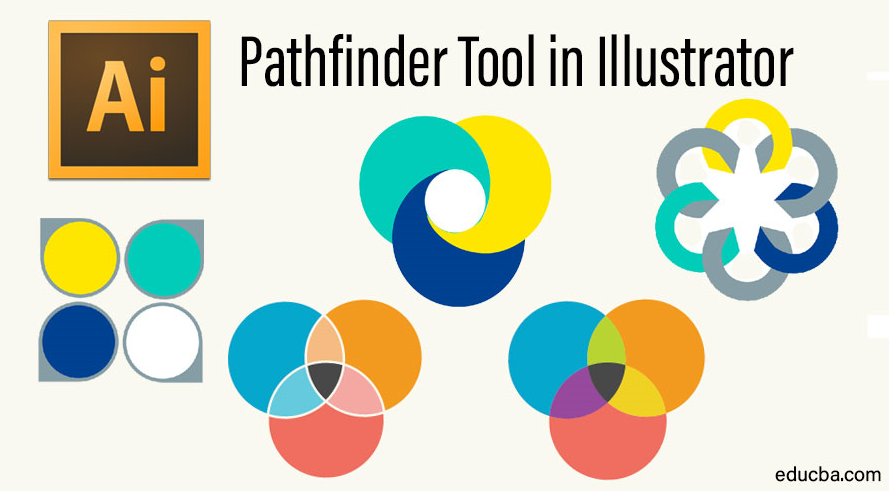
Simply create multiple shapes and use the Add, Exclude and Intersect options from the Pathfinder tool to create a compound shape. Combining objects lets you work on the whole compound shape instead of working on all individual shapes used to create your final compound shape. If you want to target a specific component, you can still do so from the Layers menu. Here are a few examples of compound shapes.
Conclusion – Pathfinder Tool in Illustrator
The Pathfinder tool in Illustrator offers full creative freedom and lets you create custom shapes suited to your needs. Making use of all the available Effects for the Pathfinder tool will let you create precise compound shapes.
Recommended Articles
This has been a guide to Pathfinder Tool in Illustrator. Here we discuss how to access the Pathfinder panel and how to combine objects using the Pathfinder tool in illustrator. You can also go through our other related articles to learn more –
