Updated August 25, 2023
Introduction to MP4 to GIF Photoshop
MP4 to GIF is a process in which we convert an mp4 file into an image file by settings different parameters of this software, and GIF works as video files even though it has an image file extension. For converting mp4 file into GIF in this software, we have to manage some important features of this software, and by using some tools of this software, we can make a good GIF for our project work. You can convert any mp4 video footage into a GIF by selecting a range of frames of video footage for GIFs. We will discuss the process of converting mp4 into GIF through an exciting example so let us start.
How to Convert MP4 into GIF in Photoshop?
We can do this work in this software by following a few simple steps and making some important parameter changes. But before starting, we should have a look at the working screen of this software so that we can better understand this topic throughout this article.
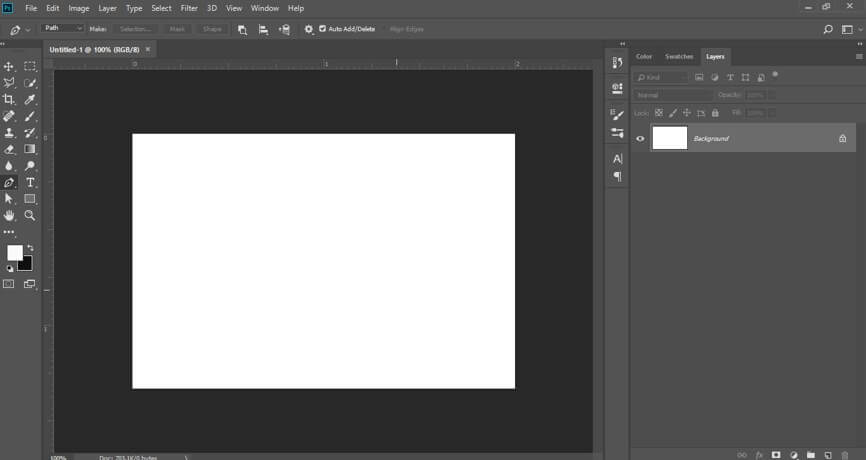
Step 1: At the top of the user screen, a Menu bar has a number of menus through which we can make a different type of parameter management in this software. Below this menu bar, we have a Property bar through which you can make changes in the parameters of active tools or images. Below this bar, we have three sections in the user screen of this software that is at the left side; we have a tool panel which has different tools for making our work easy in this software, at the center, we have a display unit in which we can see our current working, at the right side, there are some tabs such as color, swatches and layer panel. You can manage all these sections as per your choice anywhere on the user screen of this software.
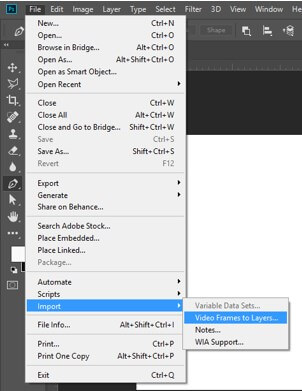
Step 2: For learning about this topic, we have to import video footage in this software. So for importing video footage, go to the File menu of the menu bar of this software and click on it. A drop-down list will be open. Go to the Import option of this list. Click on the ‘video frame to layer’ option of the new drop-down list.
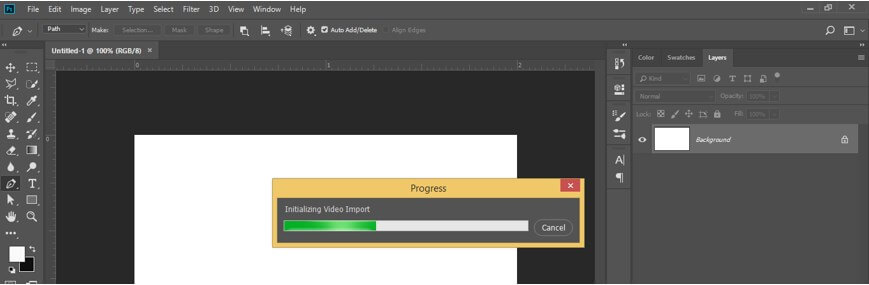
Step 3: It will take some time for starting importing the process of your video footage.
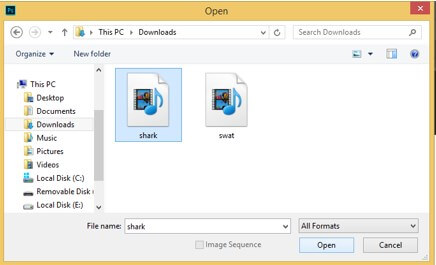
Step 4: Now, a dialog box will be open. Go to that folder where you have saved your video footage and selected it by click on it. Once you chose to click on this dialogue box’s Open button for importing this video in this software.
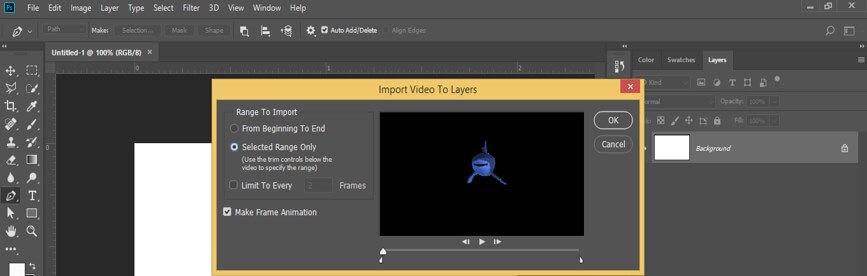
Step 5: Now ‘Import Video to Layers’ dialog box will be open. Click on the radio button of the ‘Selected Range only’ option for choosing a range for your GIF from this video footage. I have taken this video footage from the internet; you can also download it for your learning or take your own video footage for this purpose.
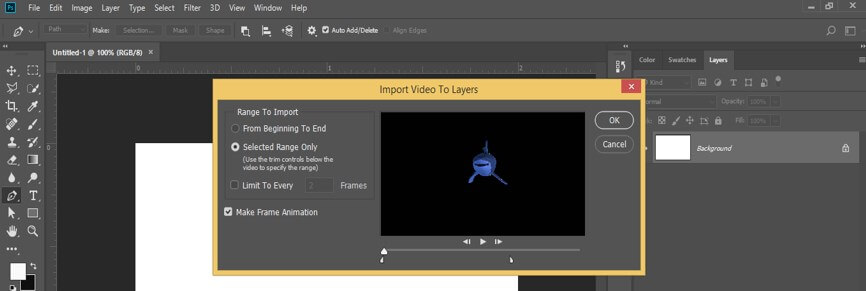
Step 6: Now, move the slider of the video play scale for choosing a range. I will set the end slider at this point. You can set it according to you. Once you set, then press the Ok button of this box.
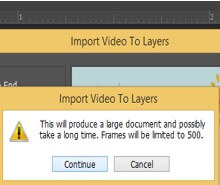
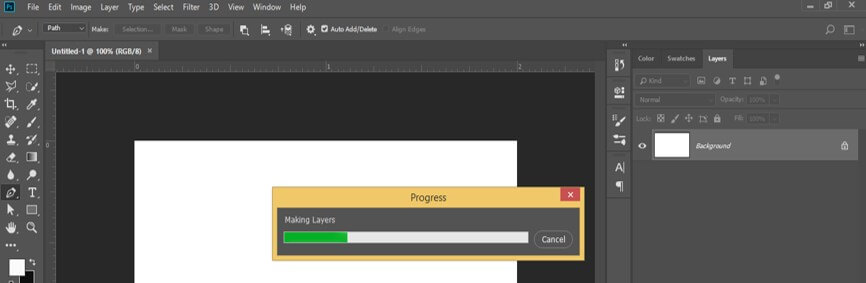
Step 7: It will again show a dialog box and ask you whether you want to continue or not, so click on the Continue button of this dialog box.
Step 8: It will again take some time for making layers of your selected range of frames.
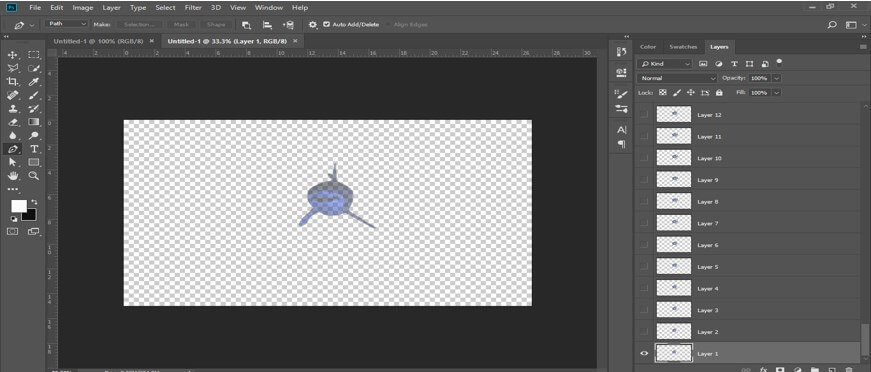
Step 9: After completion of the process, it will separate your selected range into each frame in the layer panel of this software like this. My video footage has a transparent background, so that it will import with a transparent background. You can take a video that has a background.
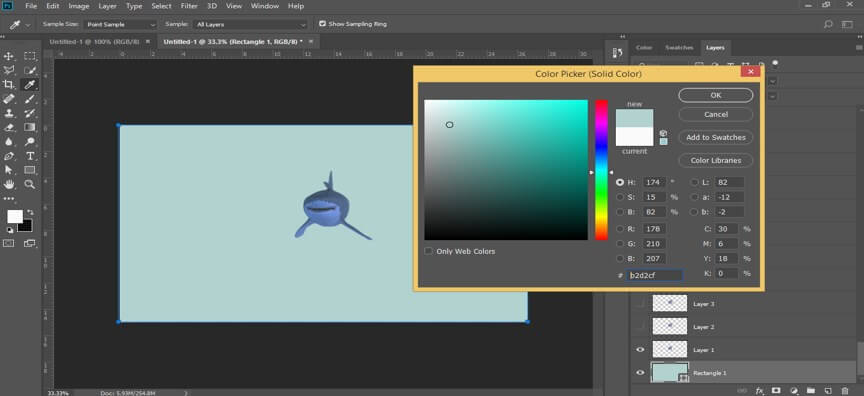
Step 10: Or you can add background as per your choice and place that background below to all layers of this video footage.
Step 11: Now again, go to the File menu of the menu bar and click on it. Go to the Export option of the drop-down list, choose the ‘Save for Web..’ option from the new drop-down list.

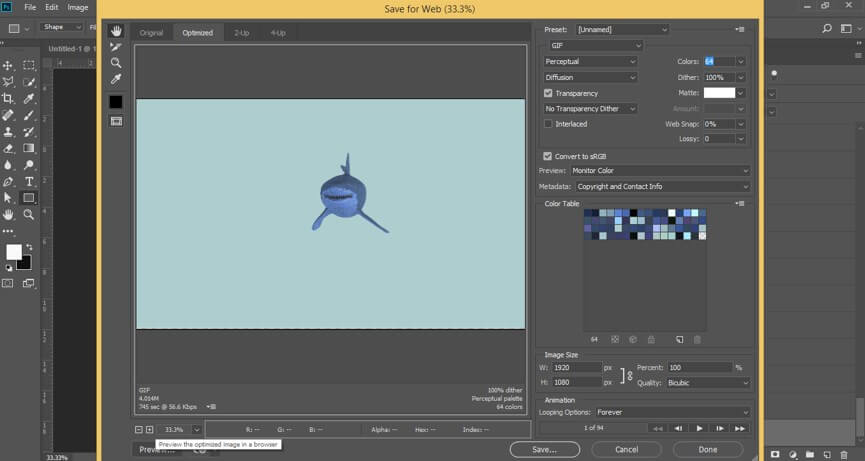
Step 12: A dialog box will be open like this. It may take some time for the opening of this dialog box.
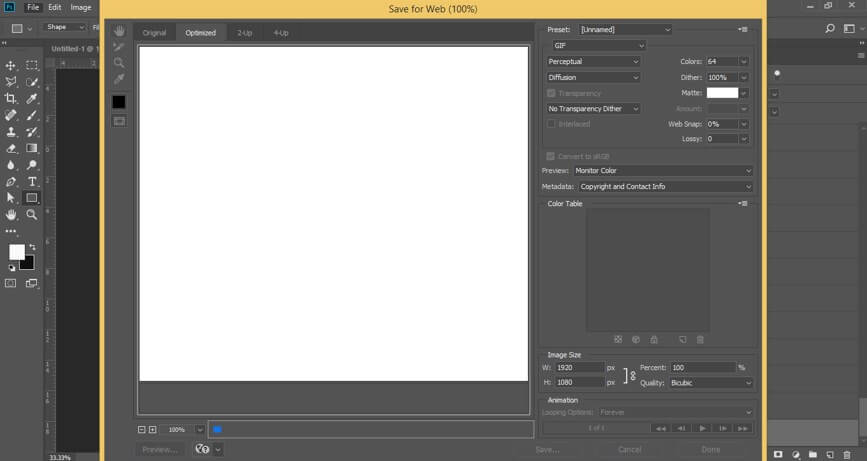
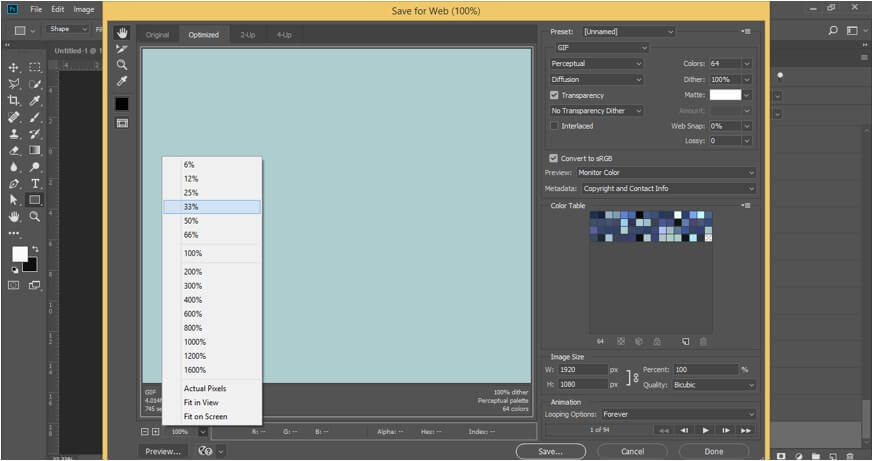
Step 13: You can decrease the percentage of your video footage from this option for proper video display and fast processing during setting parameters of GIF as per your choice.
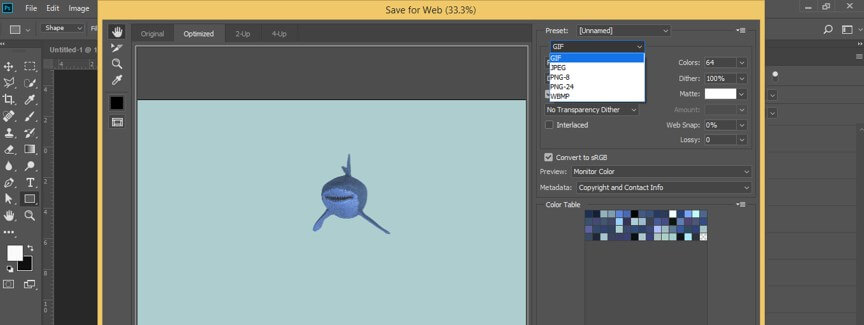
Step 14: Now, choose GIF in this option for making this video as GIF.
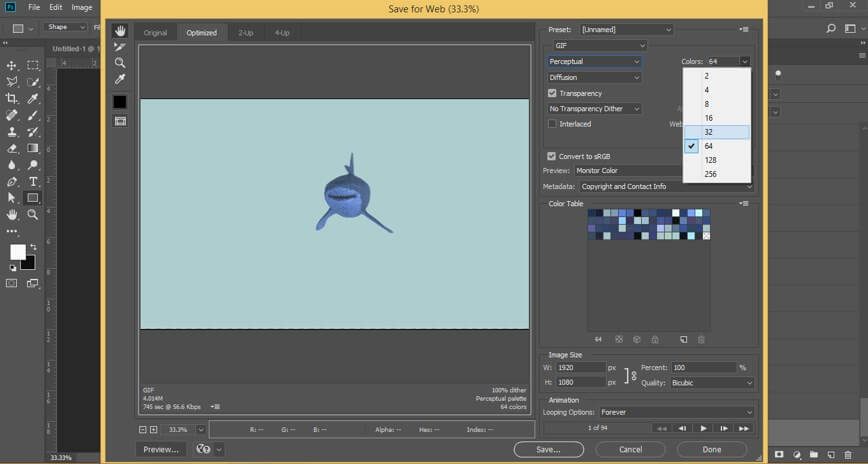
Step 15: You can minimize the color range of video footage for decreasing file size from this option. For example, I will choose 32 values, then let us see what will happen.
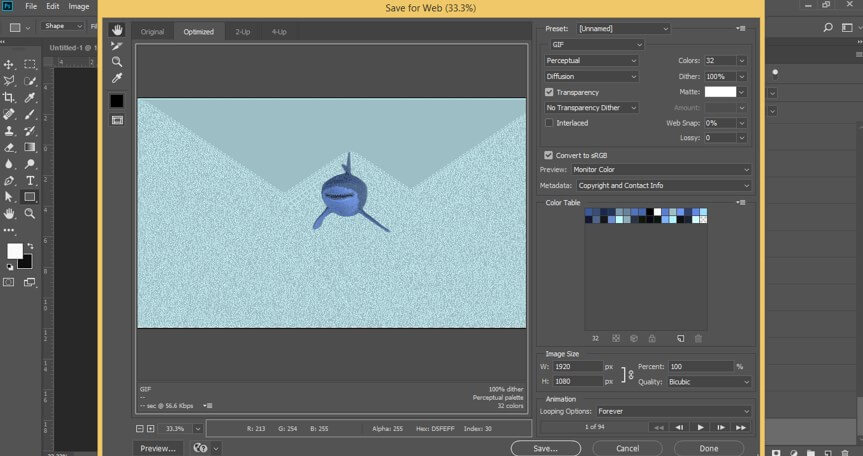
Step 16: It will again take a few sec for changing to this value. Now GIF image will become blurring like this. So choose the proper color range according to the quality of your GIF.
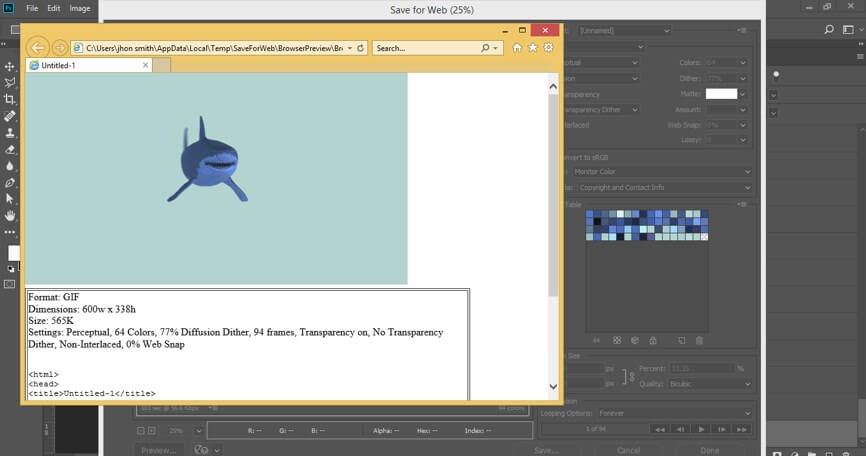
Step 17: You can see the preview of your GIF by click on the Preview button of this dialog box. That means it will show you how your GIF will look on a web page.
Step 18: Once you click on the Preview button, a window will open like this, and you can see all parameters and a preview of your GIF here.
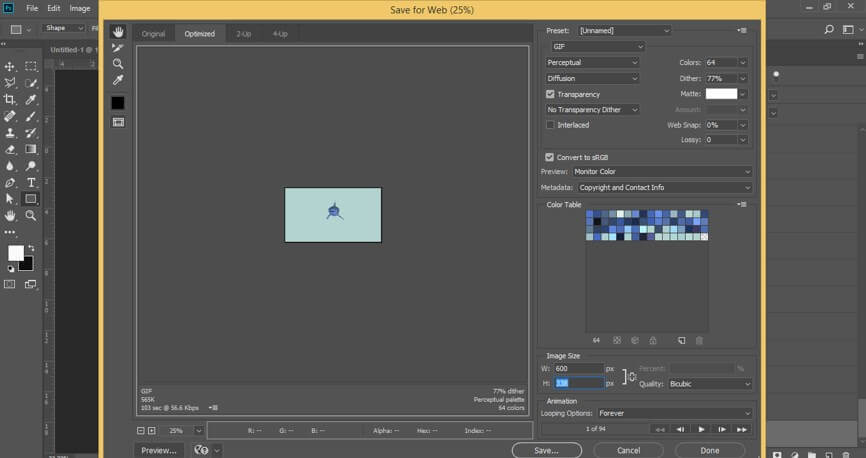
Step 19: You can change the size of the image of GIF from this option.
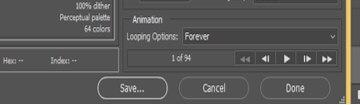
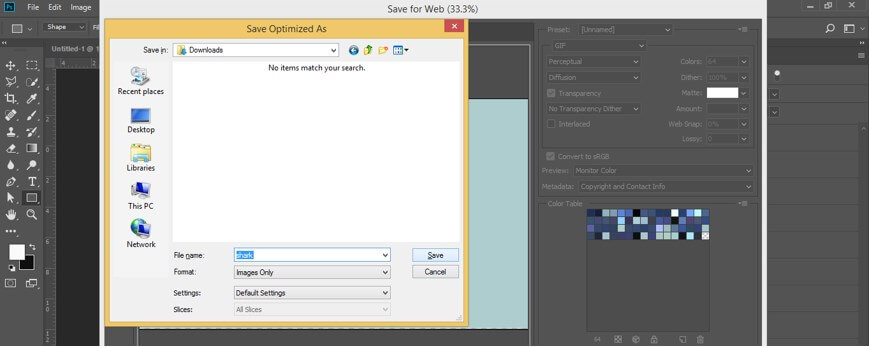
Step 20: Once you set all the dialogue box parameters according to your GIF file requirement, click on the Save button of this dialog box for saving it as a GIF.
Step 21: A dialog box will be open for choosing a location in your personal computer where you want to save your GIF, so choose your desired location and name it according to you. I will name it as Shark, then click on the Save button for saving it as GIF.
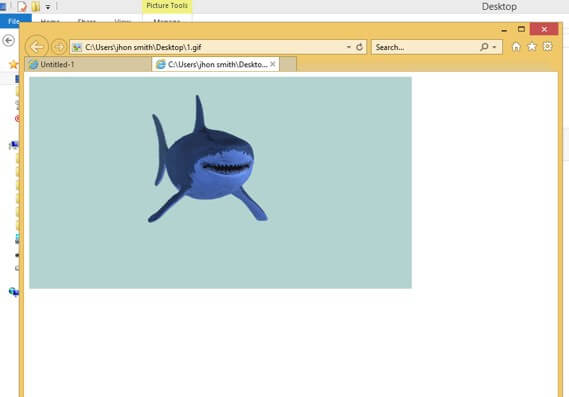
Step 22: Now go to the location where you have saved it and open it. You can see a GIF file now.
In this way, you can convert the mp4 file into GIF in Photoshop software and use it for your project work in different ways.
Conclusion
After going through this article, you can understand how you can convert the mp4 file into GIF and how you can handle different parameters of getting GIF from MP4. You can make a high-quality GIF from mp4 by doing practicing on these features of Photoshop again and again.
Recommended Articles
This is a guide to MP4 to GIF Photoshop. Here we discuss an introduction, simple steps to convert MP4 to GIF in Photoshop. You can also go through our other related articles to learn more –
