Updated March 29, 2023
Definition of JUnit XML Format
Junit xml format is used in many java applications, basically, this framework was used by the unit test framework. The junit test will generate a simple report of xml files and create the test execution. It is used to generate the reports which were custom and which were as per the requirement of testing, we can generate reports.
What is JUnit XML Format?
- Basically, the junit framework introduced a file format of xml in junit which was used to report the execution of the test suite.
- The xml files are processed by using programs such as Jenkins with the junit plugin to display the results of the test. The unit test, it will support the different types of formats. As we know that junit is a testing framework and it will mostly focus on the unit testing. We can write the test suite output in an xml format, and our output of the test suite will be retrieved in xml format.
JUnit XML Format Reporting File
- $eporting file is processed by the programs of the junit plugin or Jenkins. The webpage is providing us with the sample junit xml file format which is describing all valid elements of the junit Jenkins.
- It also serves as a template of other programs which serve different programs which process into the different styles. To use the junit xml file format we need to create the project we are creating the spring boot project for using the junit xml are as follows. For using the reporting file we need to create a java class for the testing purpose.
- Junit testing is creating the xml format file for the test execution. Junit testing framework is introduced in an xml file format which was used in the execution of the test suite.
- For the testing junit will support the different types of file formats which are xml and other types of formats.
- Using junit will transform each of the xml file formats files into a result of xml. As we know that junit contains the test suites. Basically, the test suite is the way for aggregating the test together as per the results that we are using in a project.
The below steps shows creating reporting file as follows. We are creating the spring tool suite project.
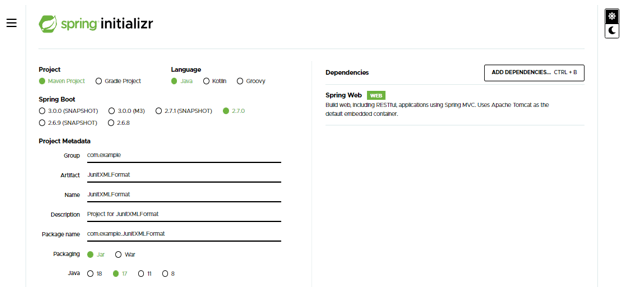
- We are creating the project name as JunitXMLFormat. In this step, we are creating the project template in spring boot. We are providing project group name as com. example, artifact name as JunitXMLFormat, project name as JunitXMLFormat, and selected java version as 11. We are defining the version of spring boot as 2.7.0.
Group – com.example Artifact name – JunitXMLFormat
Name – JunitXMLFormat Spring boot – 2.7.0
Project – Maven Java – 11
Package name – com.example. JunitXMLFormat
Project Description – Project for JunitXMLFormat
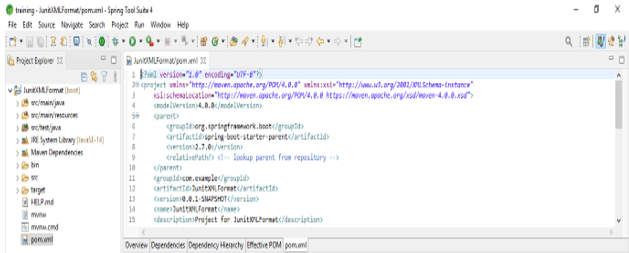
- In this step, we are extracting the downloaded project and opening the same by using the spring tool suite as follows.

- In this step, we are checking all the project structures and its files are as follows. Also, we are checking whether the pom.xml file is created or not. Suppose this file is not created then we need to create the same manually. In the below example this file is created, so we have no need to create it manually.
- In this step, we are adding the junit dependency.
Code –
<dependency>
      <groupId> org.junit.jupiter </groupId>
      <artifactId> junit-jupiter-engine </artifactId>
      <version> 5.3.1 </version>
      <scope> junit-xmlformat </scope>
</dependency>
<dependency>
      <groupId> junit </groupId>
      <artifactId> junit </artifactId>
      <version> 4.12 </version>
</dependency>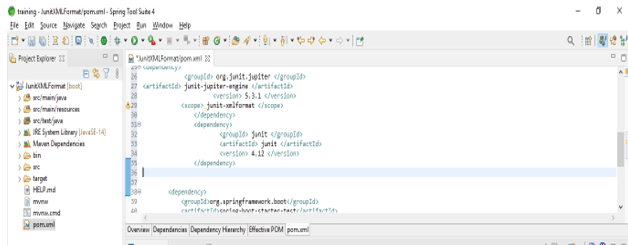
- After adding the dependency in this step we are creating the junit file format reporting file as follows. The file will be started from the xml version which is 1.0. After adding the version and UTF format we are adding the test suites. After adding the test suite we are adding the following property values as follows.
Code –
<properties>
<property name = "" value = ""/>
<property name = "" value = ""/>
</properties>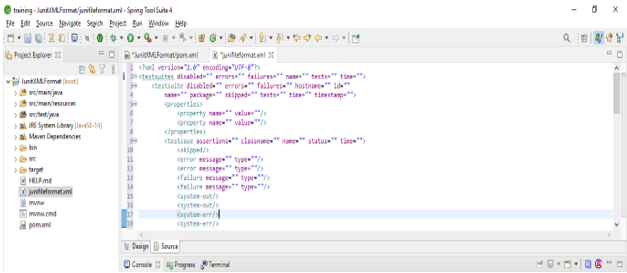
- After adding the properties in this step we are adding the error message and failure tags as follows.
Code –
<error message = "" type = ""/>
<error message = "" type = ""/>
<failure message = "" type = ""/>
<failure message = "" type = ""/>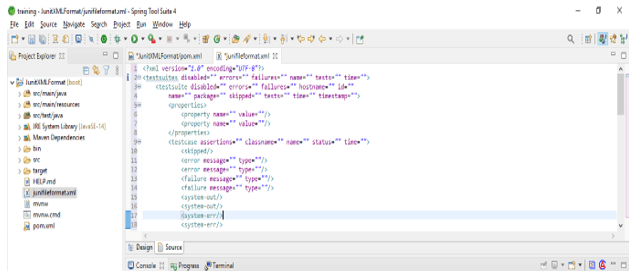
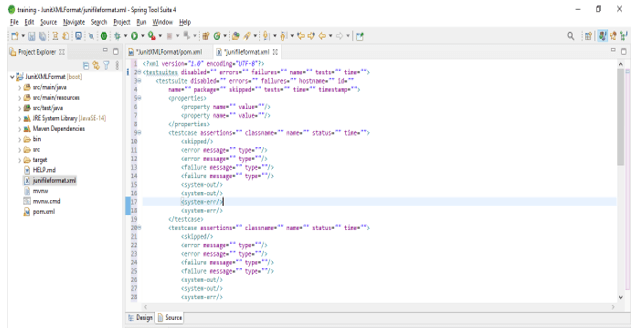
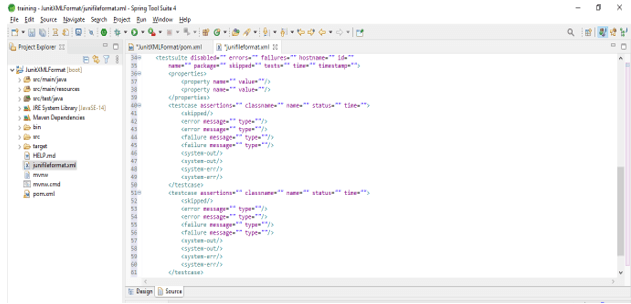
- After adding all the tags into the reporting files our files looks as follows.
JUnit XML Format Specification
- We can use Hudson as an integration server and we want to use an option for publishing the test report of junit.
- Specification is used in many applications in the test frameworks. By default, the test will generate xml file format specification which is a simple report used for the execution of the test. Specification is used to generate the report.
- We can also generate the reports as per the requirement of testing. By using specification we can generate the xml format reports.
- We have no need to use xUnit tools for testing, instead of that we can use the shell script which was used to run the tests and it will use to return a result in a format that is simple.
- We are using the test suite name as test. We are also using the test case class names junit1, junit2, and junit3. also we are using name as xml1, xml2 and xml3. We need to close the test suite after opening the same in the xml file.
Code –
<testsuite tests="3">
     <testcase classname = "junit1" name = "xml1"/>
     <testcase classname = "junit2" name = "xml2"/>
     <testcase classname = "junit3" name = "xml3">
         <failure type="format"> Junit xml format specification </failure>
     </testcase>
</testsuite>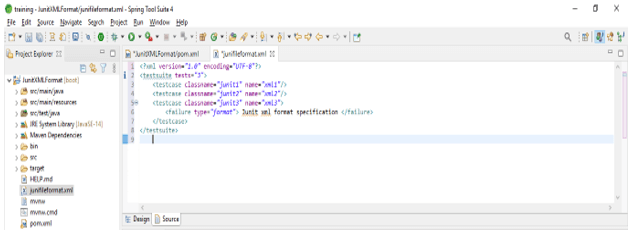
Conclusion
Basically, the junit framework introduced a file format of xml in junit which was used to report the execution of the test suite. It is used in many java applications, basically, this framework was used in the unit test framework.
Recommended Article
This is a guide to JUnit XML Format. Here we discuss the Definition, What is the JUnit XML Format, and examples with code implementation respectively. You may also have a look at the following articles to learn more –
