Introduction to InDesign layout
InDesign Layout is the base of this software that means we create a layout for designing anything in this software. The layout may contain different types of design elements as well as text content. We arrange all the text content and design elements in an effective and meaningful way for expressing the purpose of that content and we do this by creating a layout with them. Layout depends on which platform they work of InDesign will use. So there are lots of things that incorporate this feature of this software and I will tell you the all-important aspect of it.
How Layout works in InDesign?
Having a good design is very necessary to create a layout which expresses the main purpose of content given by clients. So you first analyze the content and purpose of it.
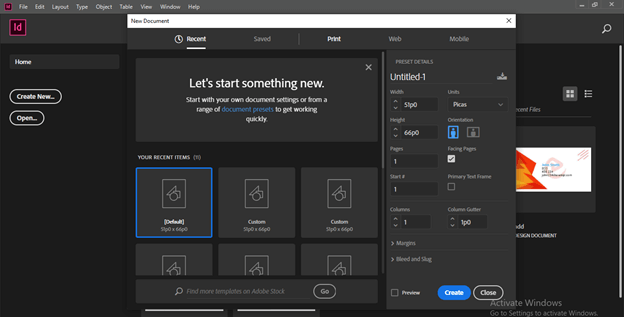
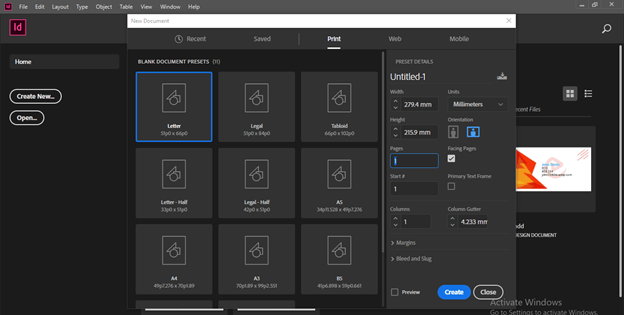
Now I will tell you how to choose document type for layout design first. Once we click on create new button of the welcome screen of this software we will have this New Document dialog box. Here in this dialog box we have preset of document size for different platform.
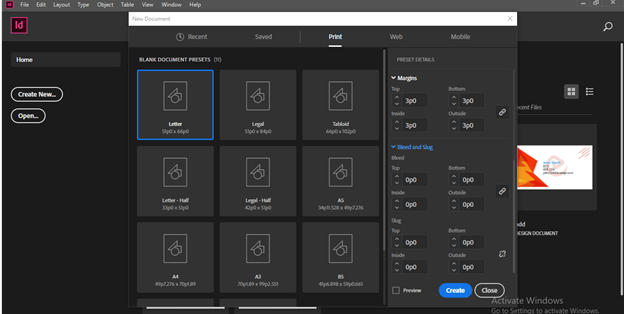
Such as Print which we use if we work on any project that will go with print media.

And if we go with print media then we have to set marigns as well as bleed area so that when the doucment go for the printing, it will not cut our main design or text content that are on the edge of the page. There are many more thing which we have to keep in mind if we design layout for print media.
The second preset is Web that means if you are going to design anything for web platform then we have to use web size doucment.
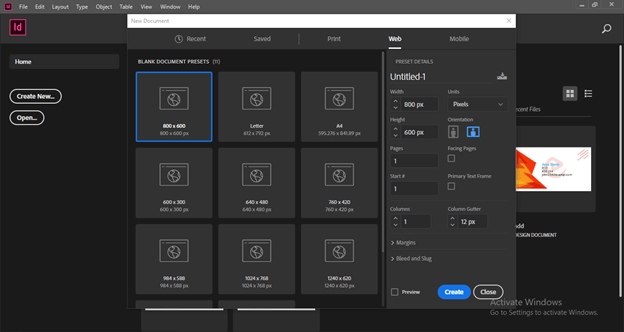
And we need not to worry about bleed and slag area this time.

Before start designing layout we should select the unit so that we can work according to project requirement.

For this time I will go with Letter size of document of Print preset and I will take Landscape as orientation of this document.

If you have number of page in your design then you can choose number of page from here. I will go with only 1 page for my design because it is just an overview for you about this topic.
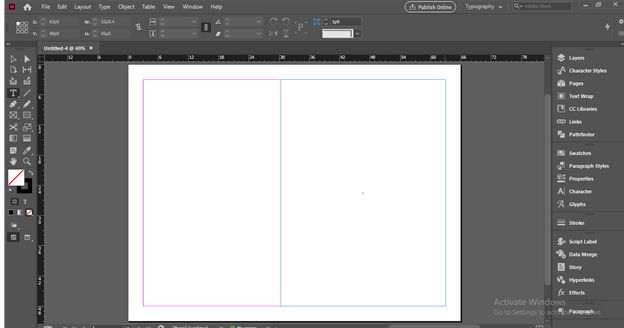
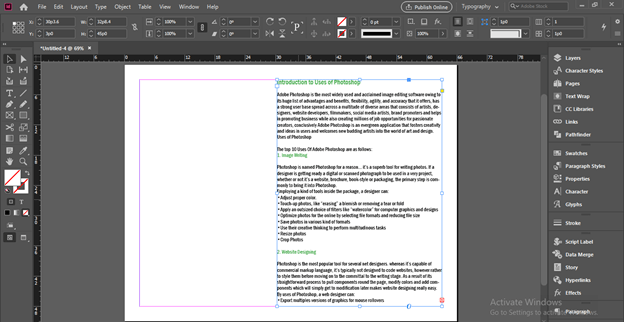
Now I will take Type tool from tool panel and draw a text frame like this because I want to add a text content here first.
I have pasted this content here. Now what we have to do first is that do some formatting with this text content.
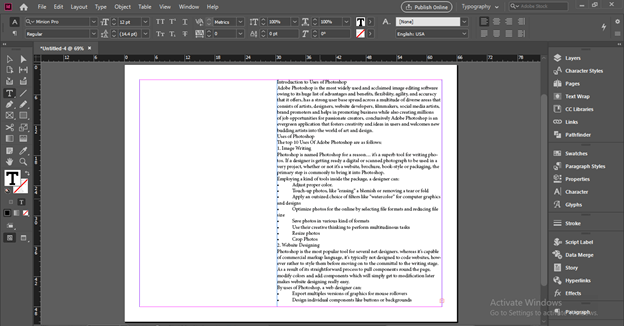
Now I will choose this good font for my text content here.
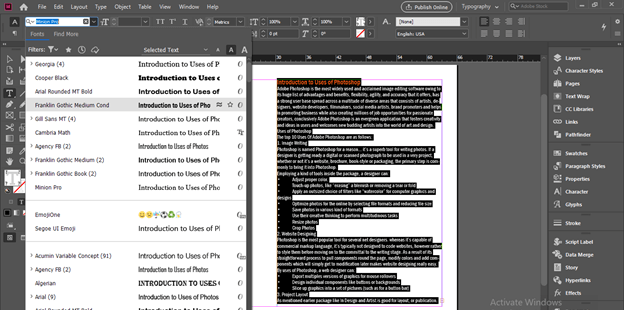
I also made some changese with heading and body copy of this text content. Setting text content in your design layout is totally depends on your way of creativity with given content.
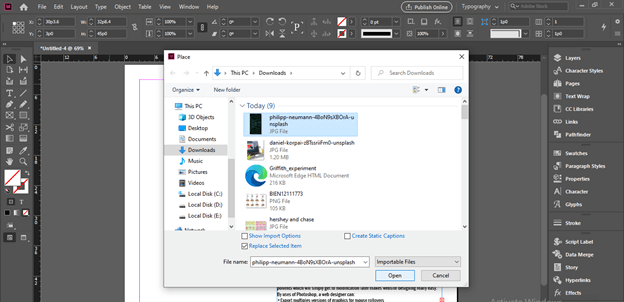
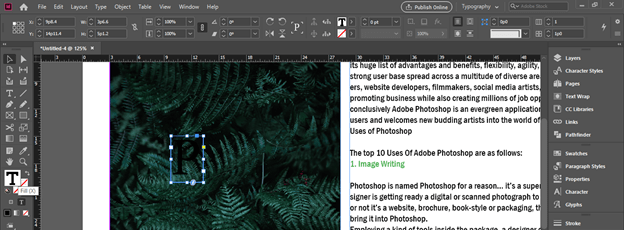
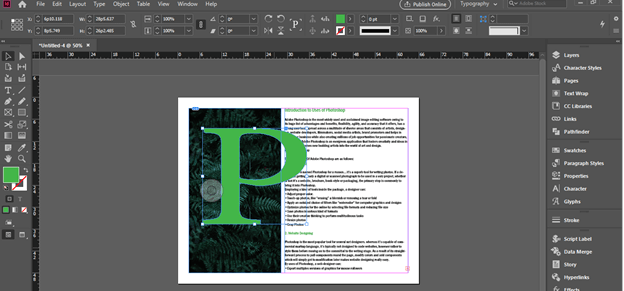
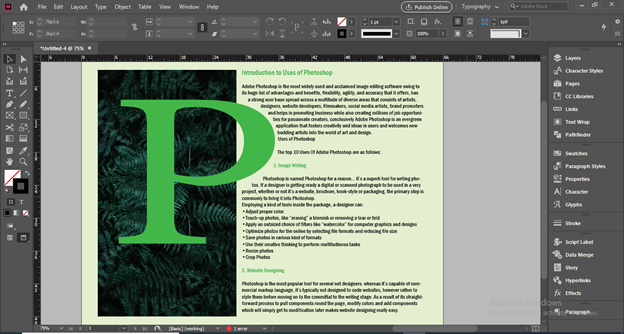
Here I want to tell you something about Photoshop and its use. So I will next going to have an image for expressing something about Photoshop. For having an image I will go to File menu and click on it. In the scroll-down list of it I will click on Place option or you can press Ctrl + D as its shortcut key.

I will choose this beautiful image for this purpose. I have downloaded this image from unsplash.com. You can take your own image for this purpose.
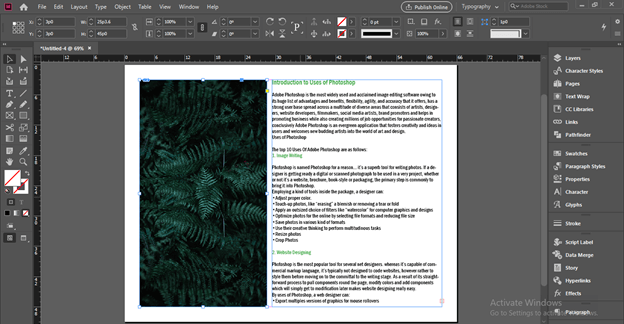
And place this image like this. We can add some effects and other variation to this image from Photoshop as per our choice but for this time I will leave it as it is.
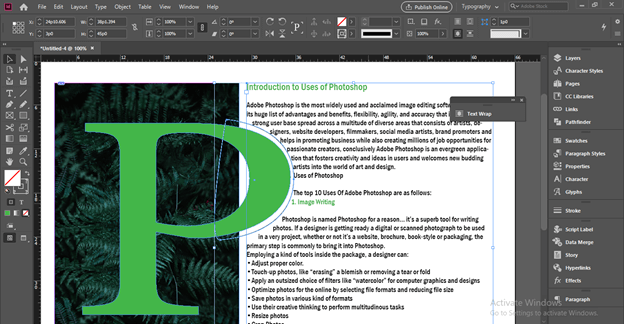
Now I will again take type tool and type P as a single text to this text frame.
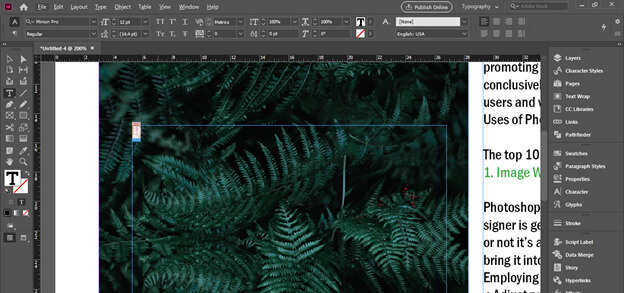
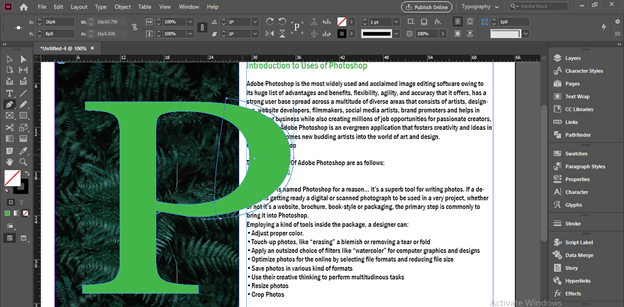
I will select text color box in Fill color of tool panel.
And change text color to this shade of green.
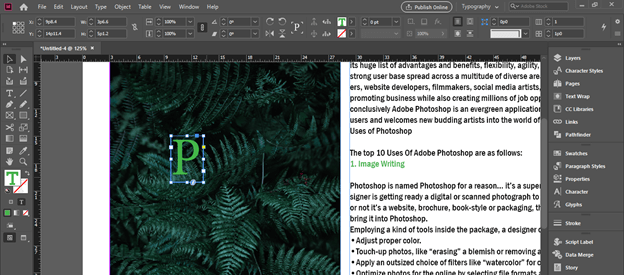
Now holding Ctrl + Alt button of keyboard I will increase the size of this letter P like this. This letter P is showing the important of Photoshop in this layout design.
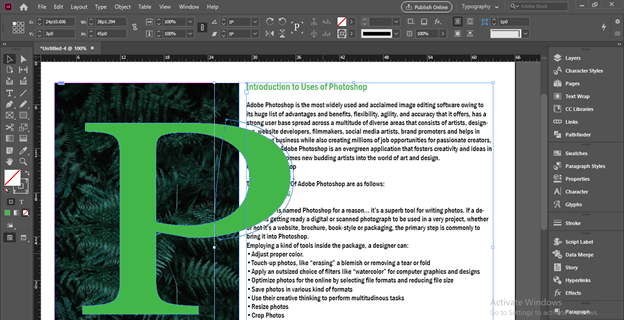
Now being selected this text I will go to Type menu of menu bar and click on it. Here from the scroll-down list of it I will choose Create Outlines option or you can press Ctrl + Shift + O for quick access of this option.
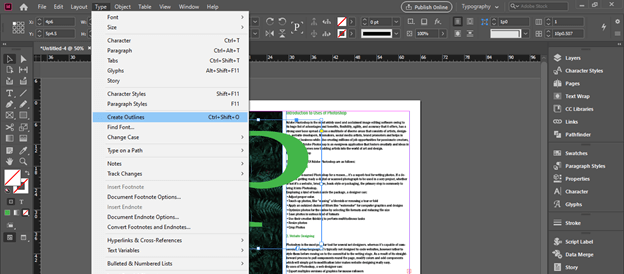
Once we click on this option it will convert this text into shape.
And I will create a path at the side of text content of this letter.
Now take selection tool from tool panel and select both text content and this path.
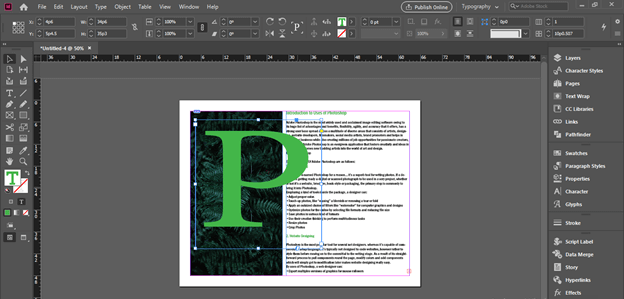
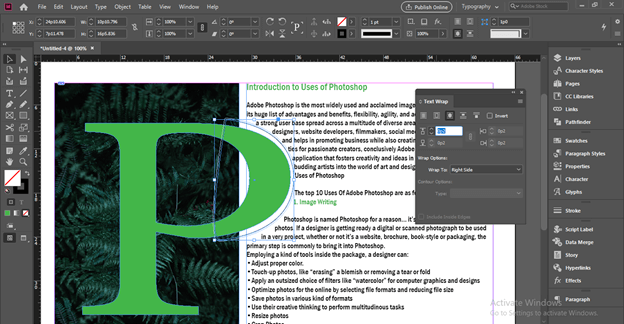
Now I will open Text Warp panel which you can find in scroll down list of Windows menu and click on ‘Warp around object shape’ option of this panel.
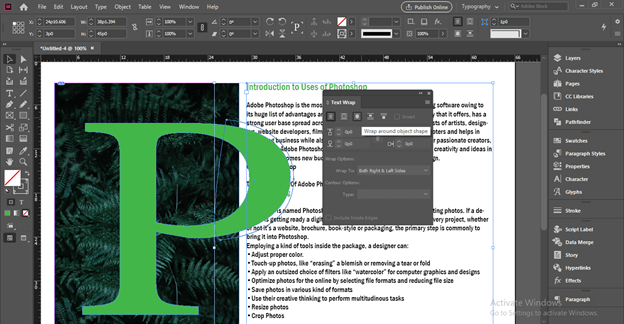
Now the text will wrap around this path like this.
I will select this path and add some offset distance so that we have nice gap between this letter P and text content.
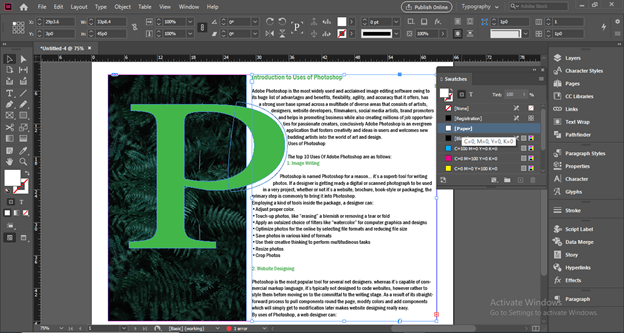
Now I will open Swatches panel and select Paper layer of it for changing color of this doucment page. One thing I would like to tell you that the background color which I am going to add this document page it only for appearance purpose it will not going to save with our document if we save it. There is another way for having background color with document page. You can check out my this article too.
I will set values of CMYK colors for having this shade of yellow and green for creating background color of my document.
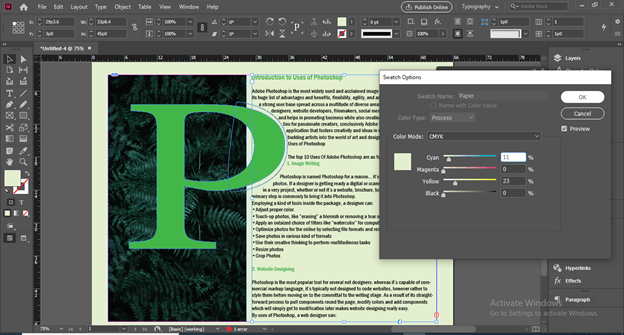
Now If we switch to preview mode by pressing W button of keyboard you can see it is a nice layout design.
Conclusion
Here in this article I just gave you an overiew about how you can involve different element in your layout design for having effective result in it. You can also take different design element from other graphics designing software such as Photoshop, Illustrator and so on for having good composition for your design.
Recommended Articles
This is a guide to InDesign layout. Here we discuss how you can involve different element in your layout design for having effective result in it. You may also have a look at the following articles to learn more –
