Introduction to InDesign Bullet Points
InDesign Bullet Points can understand as adding a special character at the starting of the sentence of the paragraph. Bullet points may be any character symbol. Here in InDesign, we can add bullet points to our document by understanding a few steps. First, we add a bullet point and do some formatting, such as changing the color, size, and style of bullet points. Here you can set the style of bullet points from the Character style panel and use it further at any part of your document.
Overview of InDesign Bullet Points
Bullets are an essential part of our document’s type settings because they give readers good readability. Furthermore, you can create different style bullet points according to your requirement because InDesign offers you to create your custom bullets.
How to Create Bullet Points in InDesign?
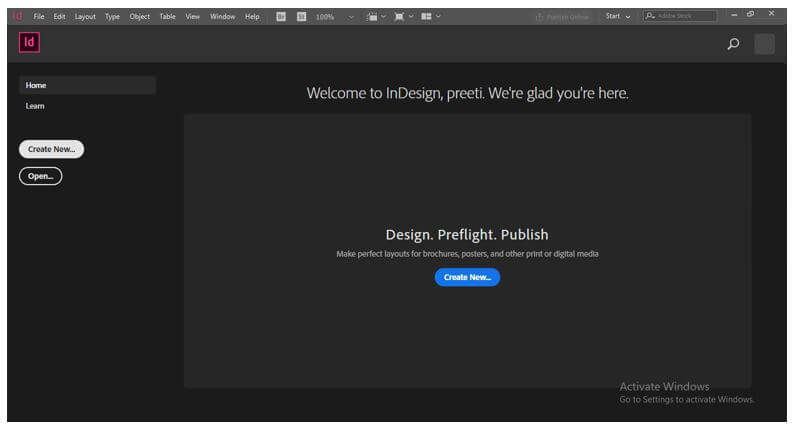
Now let us go through the steps of creating bullets for our document. I will take a new document for this purpose, and for that, click on the Create New button on this software’s welcome screen, or you can press Ctrl + N as its shortcut key.
Now I will take the letter size of the document preset from the New Document dialog box.

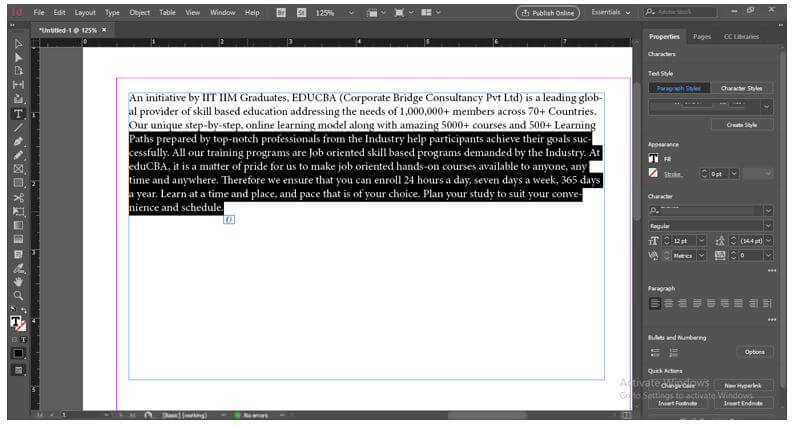
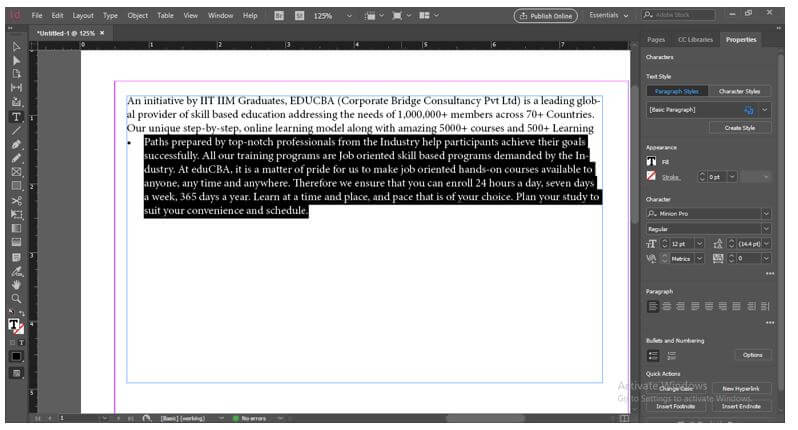
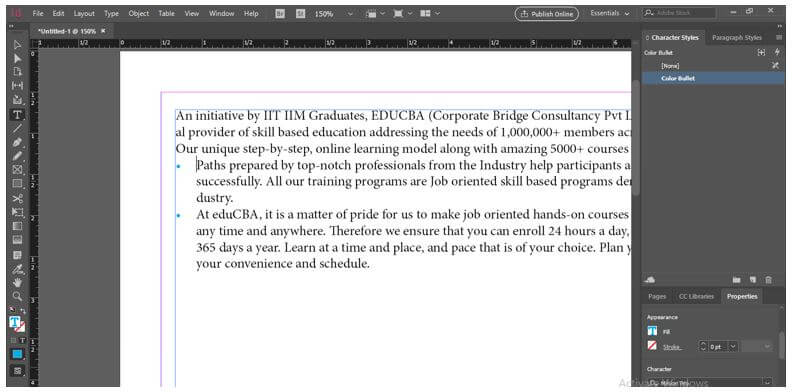
I will take the text frame with the help of the text tool and paste this text here.
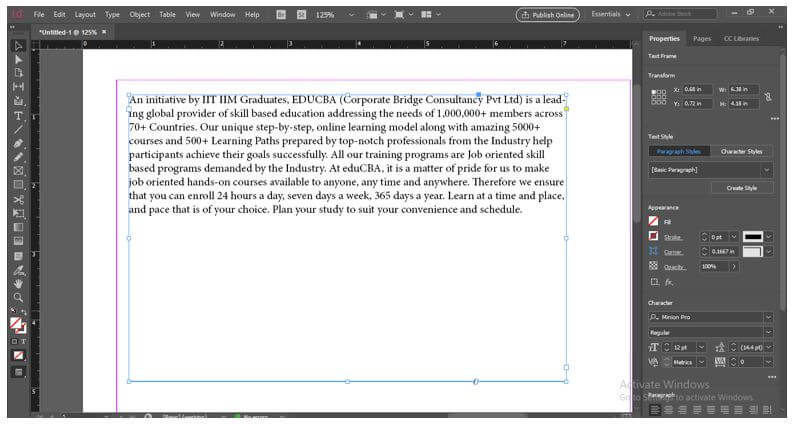
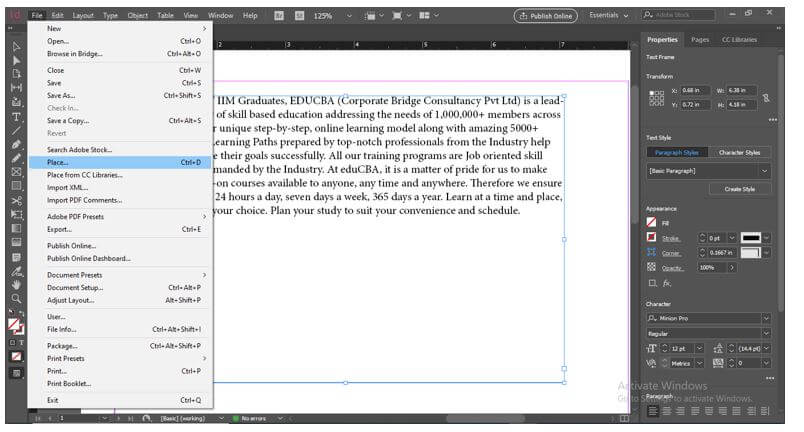
You can paste your desired document content here, and for that, go to the File menu of the menu bar and choose the Place button from the drop-down list. Once you choose this option, a dialog box will be open from where you can choose your desired document file to paste its text content here.
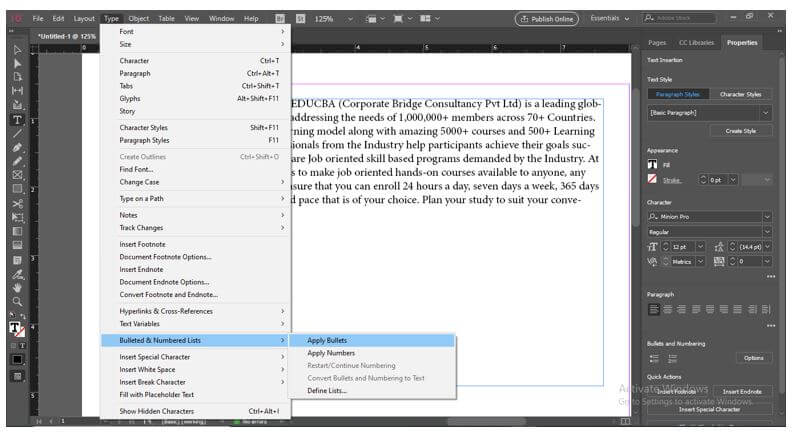
Now for applying bullet points to this content, I will first select some text and see what will happen when we apply bullet points to it.
You can go to the Type menu, and in the drop-down list of it, you will find the Bulleted & Numbered Lists option. You can choose the Apply Bullets option from the new drop-down list of this option.
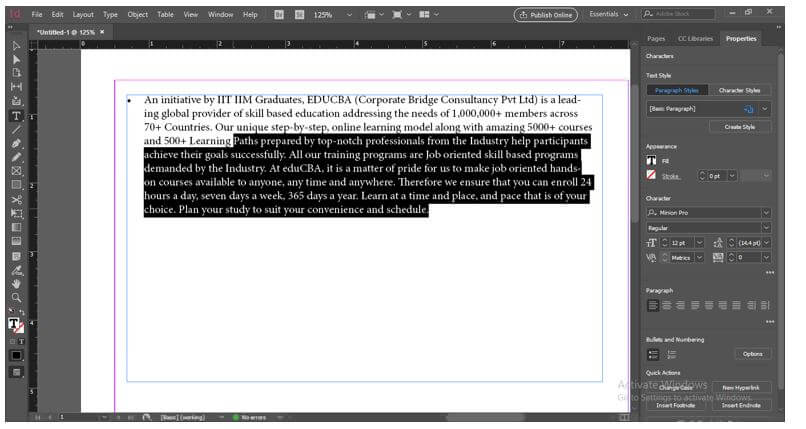
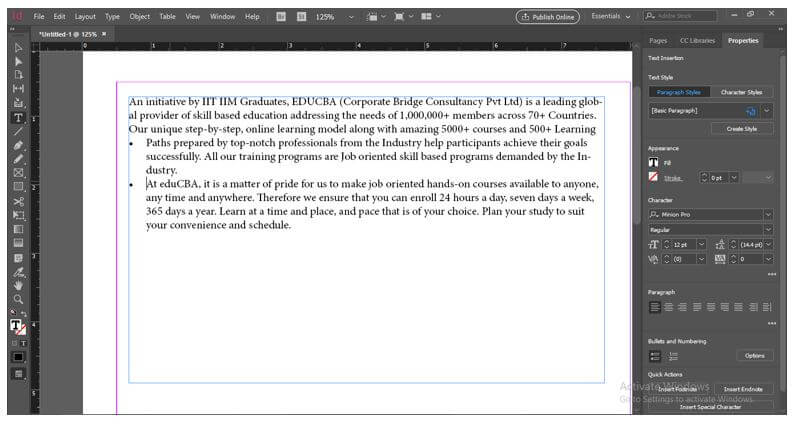
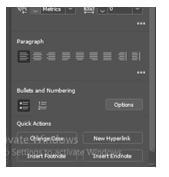
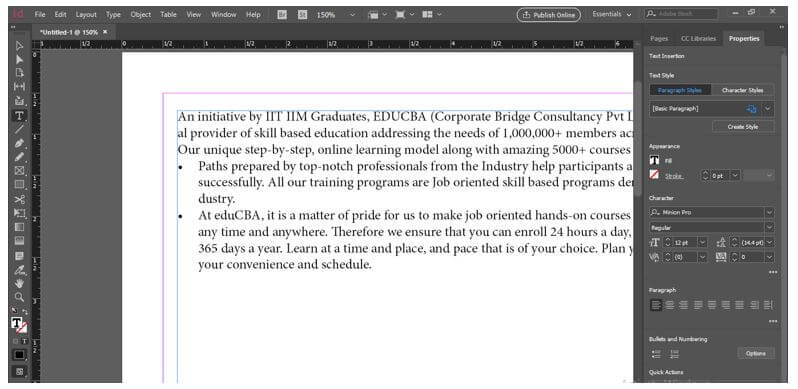
Or go to the Properties panel of this software, which is on the right side of the working screen, and at the bottom of this panel, you will have the Bullets and Numbering option, so click on the Bullet lists button of this option. Once you click on this option, a bullet point will be added at the beginning of the paragraph, which means a bullet point will be added at the beginning of each paragraph.
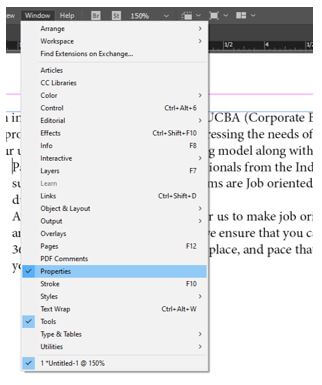
If you haven’t put this panel on your working screen of this software, go to the Window menu and choose the Property option from the drop-down list.
Now I have separated this selected text by pressing the enter button on the keyboard, so it is a paragraph. When I repeat all steps, you can see a bullet will add at the starting of these selected paragraphs.
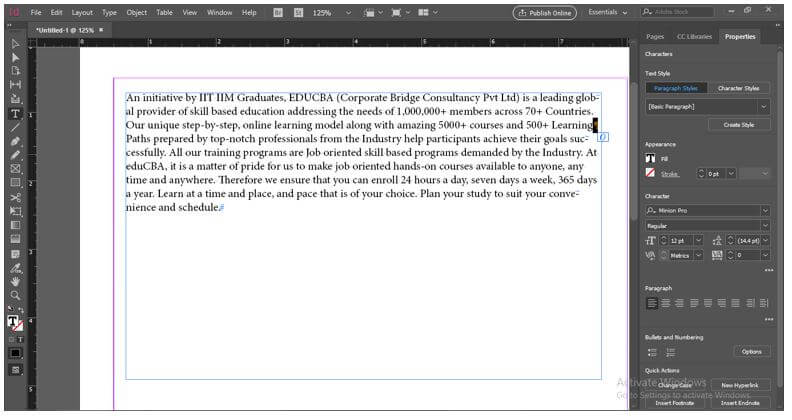
If you want to see how many paragraphs are in your selected content, you can enable the ‘show Hidden Character’ option from the drop-down list of the Type menu.
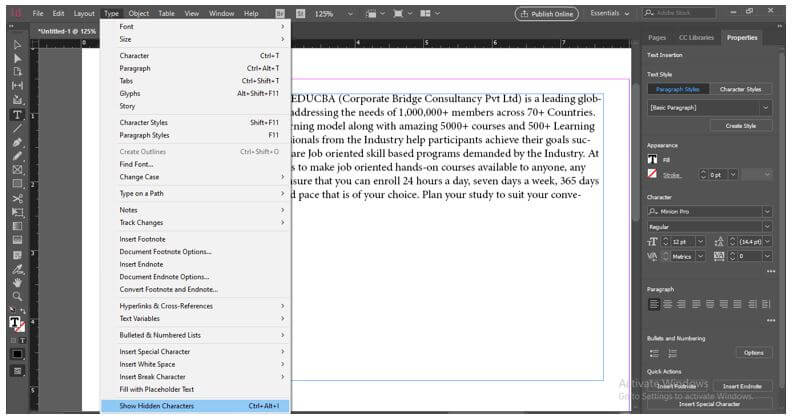
This sign show is starting of the paragraph.
After applying bullet points, when you make enter button then, it will add the next bullet point to entered lines.
InDesign Bullet Points Characters
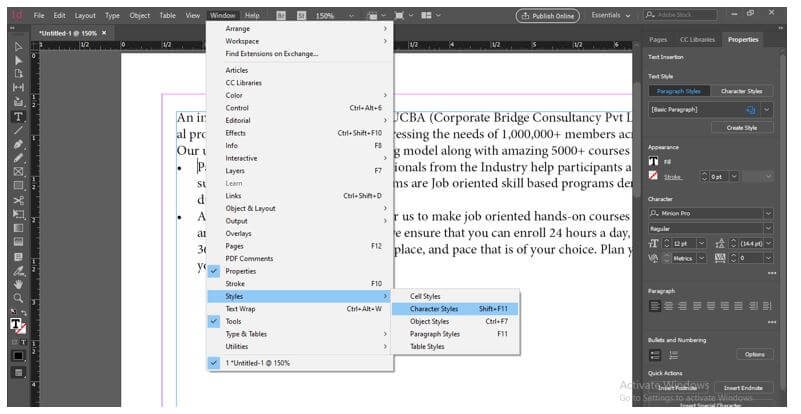
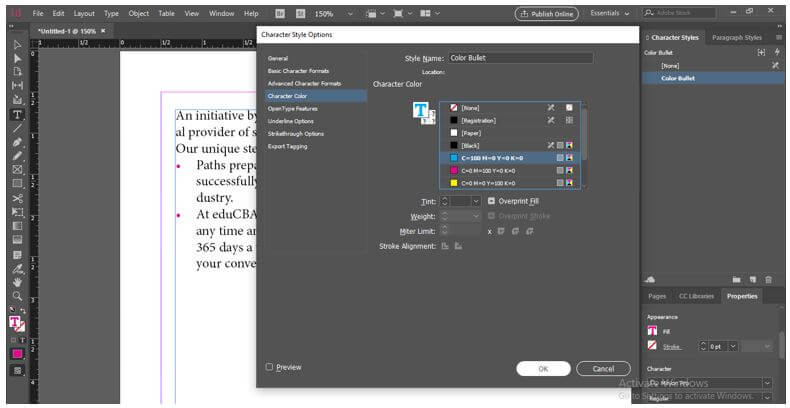
Let me tell you the bullet point character and how you can create them. But, first, go to the Character styles panel, which you can find under the Style option of the Window menu.
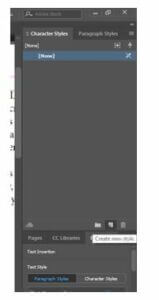
It will open like this. Go to the bottom of this panel and click on Create New button.
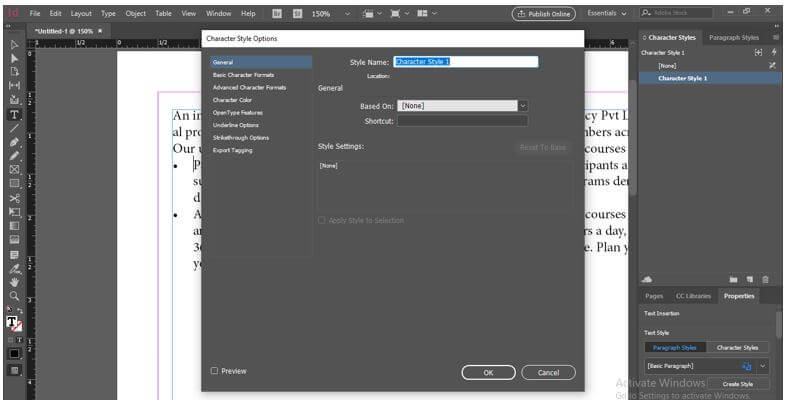
Make a double click on the new style layer, and a dialog box will open. Name it as per your choice.
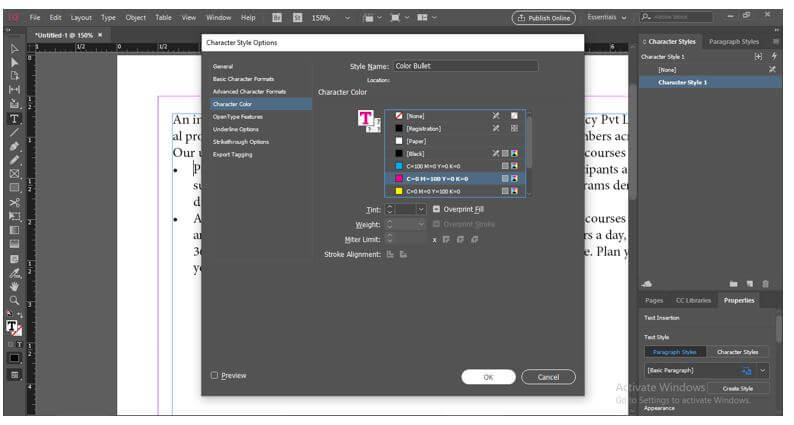
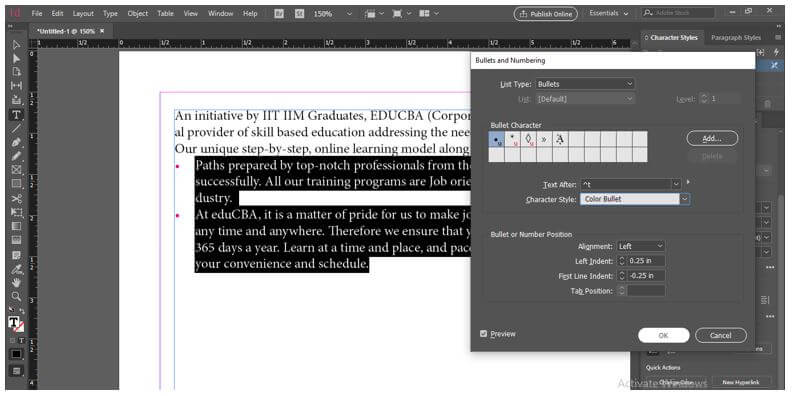
I will name it Color Bullet and then choose the color of the bullet from the Character Color option of this dialog box.
Now select that paragraph of the bullet point which color you want to change.

Then go to the Properties panel again, then click on the options button of Bullet and Numbering option.
Once you click, a dialog box will open. Please choose the Color Bullet Character style we created in the Character style option and press the Ok button.
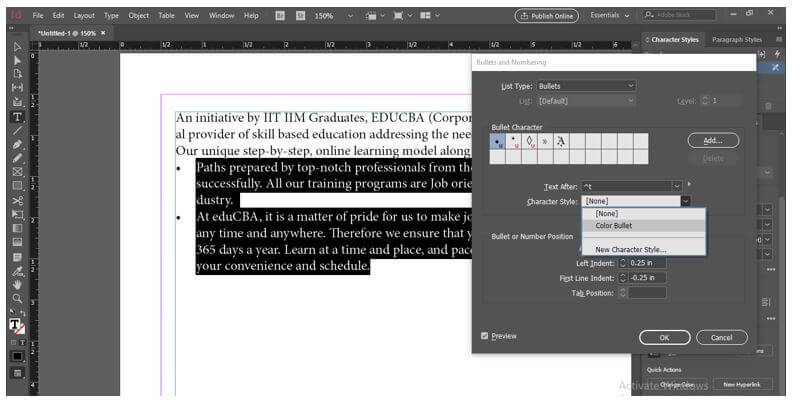
If this dialog box’s preview option is enabled, you can see the color of bullets will change according to our chosen color.
If you want to change the color again, you can go to the Character style panel and update the color of the bullets.
And it will update according to your next chosen color.
InDesign Bullet Points List
I will click on the Options button of Bullets and the Numbering option of the Properties panel.
Once you click, this dialog box will open.
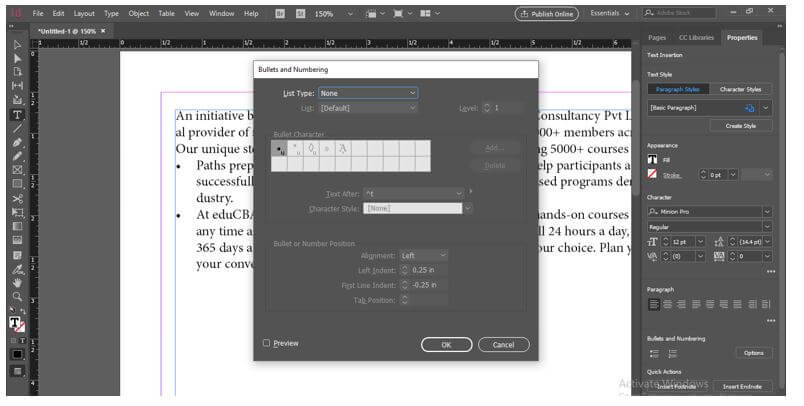
Select the Bullets option in the List type option of this dialog box.

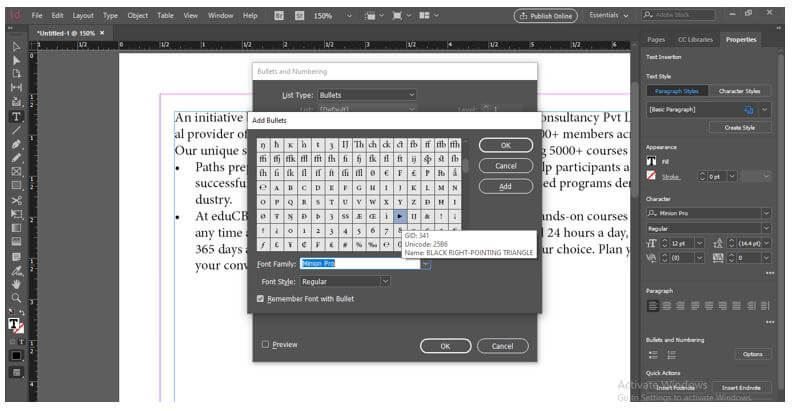
Now click on Add button of this dialog box to choose another special character as a bullet point.
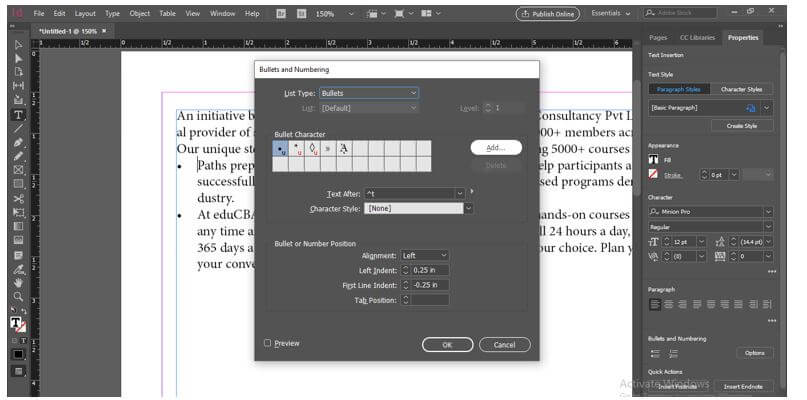
Here in Add bullets dialog box, choose your desired one. I will choose this one.
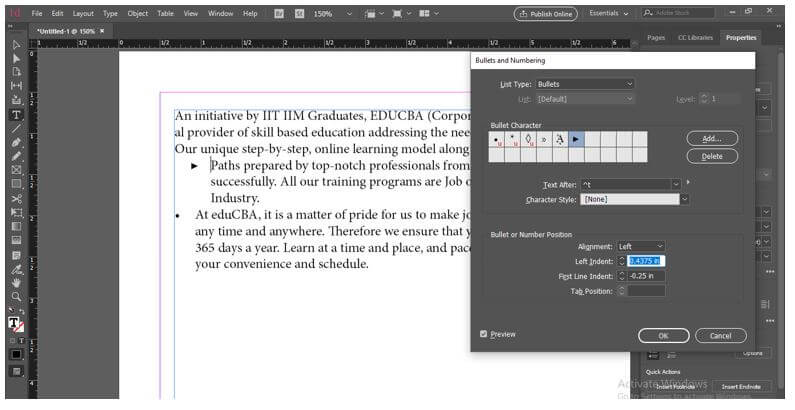
Now you can see that if you select your added bullet, it will apply to your selected paragraph.
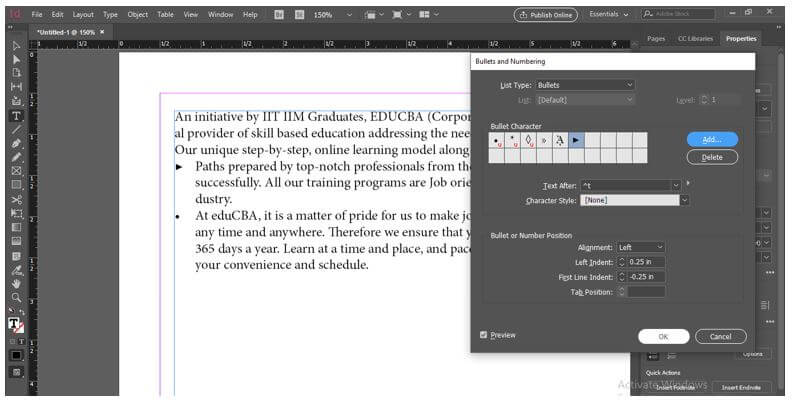
You can adjust the indent of bullets from this dialog box like this.
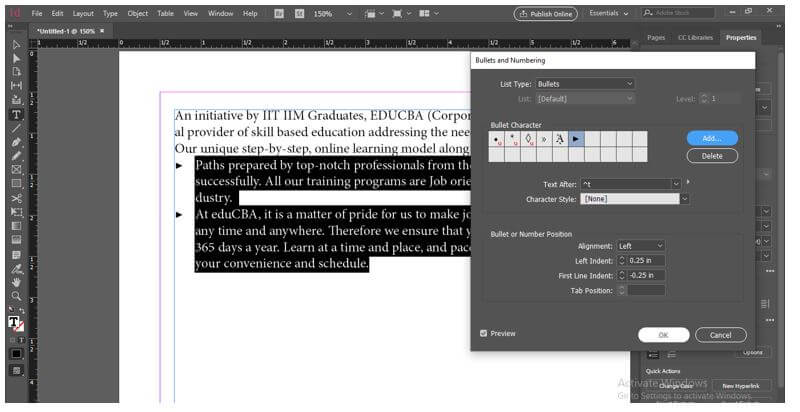
If you want to apply your added bullet to all Bulleted content of a page, then you have to select them, which will apply like this.
Conclusion
I am sure you have gathered a lot of information from this article about bullet points of InDesign, and now you can use them in your document to have a good presentation of your content. Furthermore, you can try to create custom bullets with the desired color to give a different look to your bullet points.
Recommended Articles
This is a guide to InDesign Bullet Points. Here we discuss the introduction, how to create bullet points in InDesign? and characters. You may also have a look at the following articles to learn more –
