Introduction to Illustrator Gold Gradient
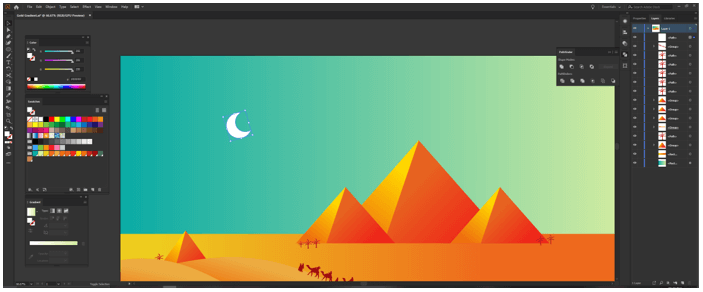
Adobe Illustrator is a vector drawing software and it is the most preferred graphic designing package for vector art by professionals. In this article, we are going to create a graphic design of the gold gradient in adobe illustrator 2020 which will emphasize the use of shapes and fills with gradients. We will also use layers, masking, and pen tools and host of other useful tools and to set the scene we also make a pyramid with camels and backdrops of moon and stars.
How to Get started with Gold Gradient?
Here are the following steps mention below:
Step #1
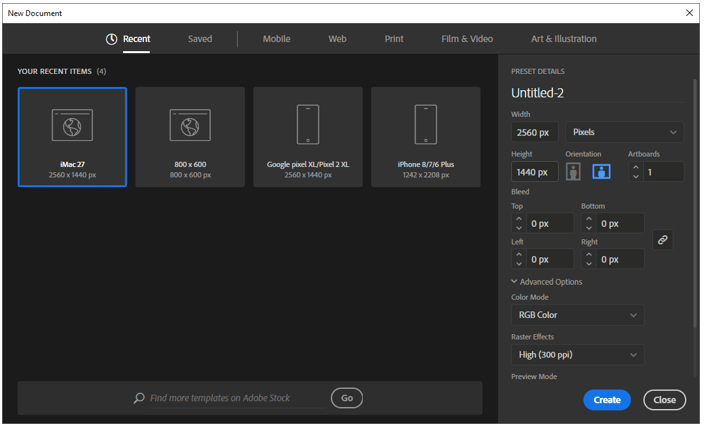
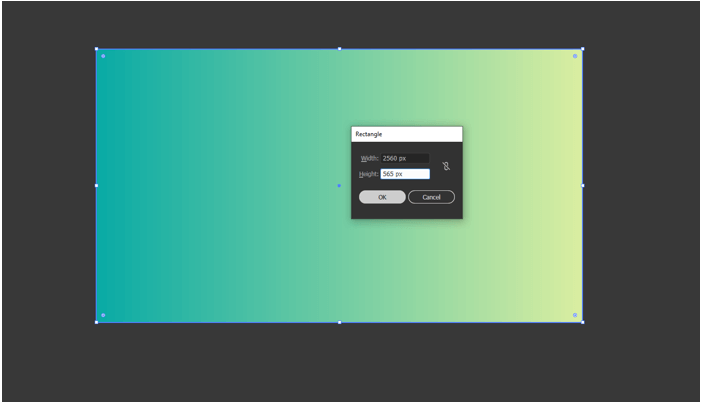
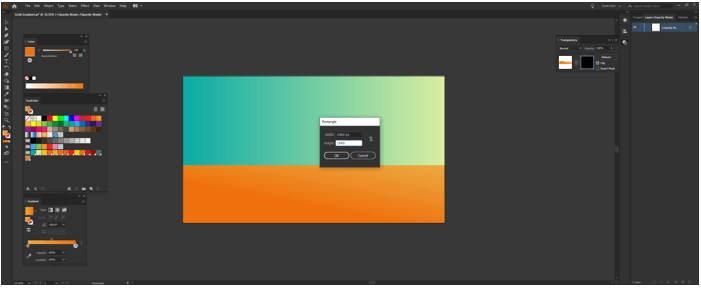
We will create a new document with all the standard settings and set the width to 2560px and height of 1440px. Set the orientation to landscape and set the artboard to 1 also the bleed is 0 px with color mode of RGB Color and there is another option of CMYK which is useful if we are using it to print. But since we are not printing, we leave it in RGB mode. Also, set the raster effect to screen as we are not using any raster effects like drop shadow, etc.
Step #2
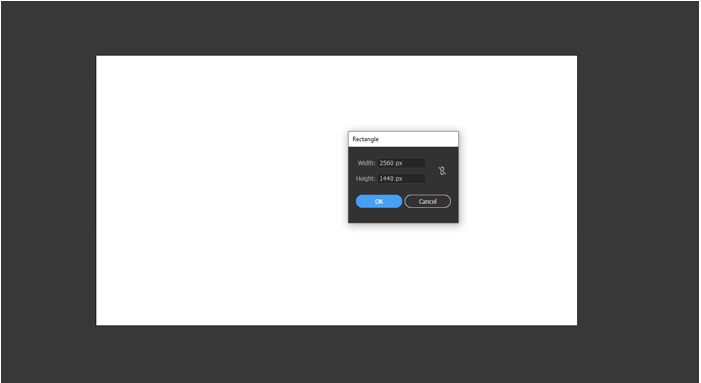
We create a rectangle as shown.
Step #3
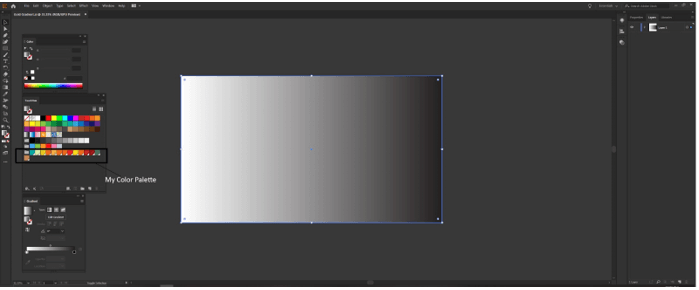
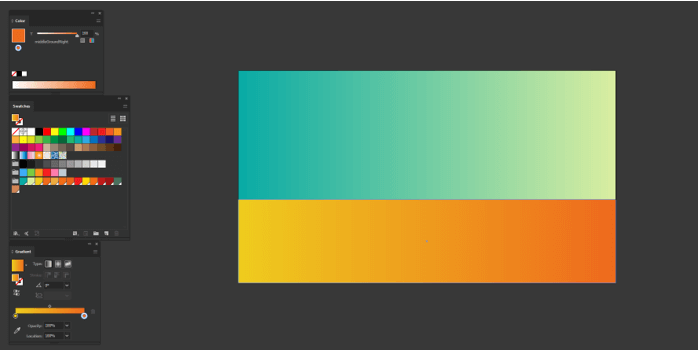
Add a white to black gradient from the swatches panel. Also, you can see below my swatches for this artwork.
Step #4
The linear gradient is created by using the swatches and then a rectangle is created as shown.
Step #5
The linear gradient is created by using the swatches
Step #6
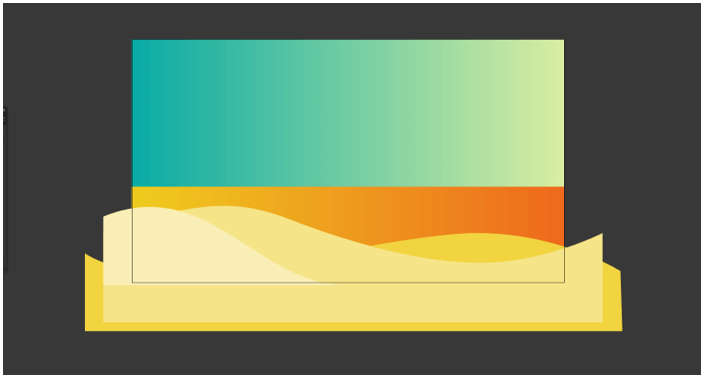
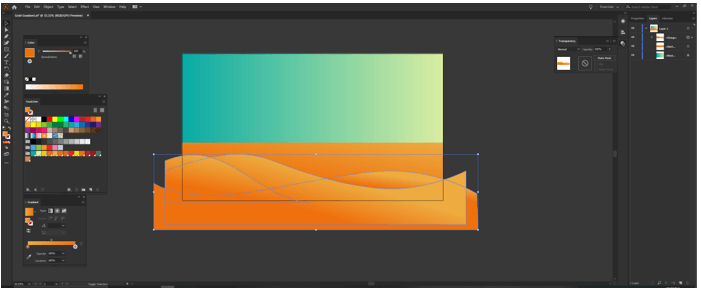
Use the pen tool to create the following shapes will be our sand dunes.
Step #7
The linear gradient is created by using the swatches
Step #8
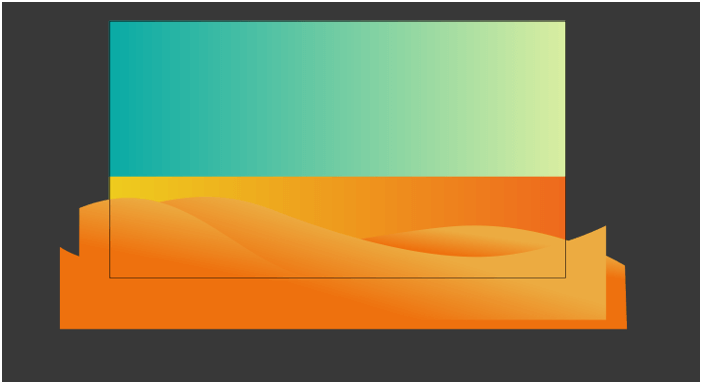
Since the dunes are going out of the artboard, we need to create a mask. To do that first group all the sand dunes.
Step #9
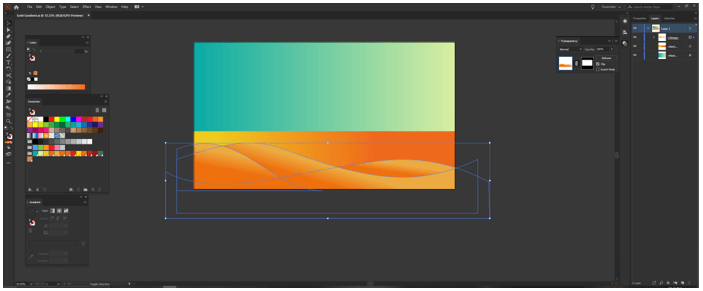
Open Transparency panel from the windows menu and create a mask. Then create a rectangle in the opacity mask mode with dimensions the same as the artwork. Fill it with white.
Step #10
Now only the artwork will be displayed and the sand dunes outside will be hidden.
Step #11
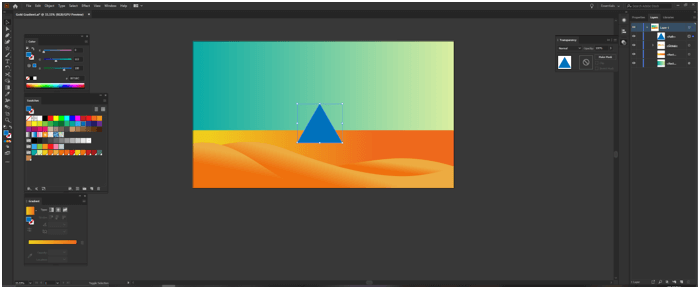
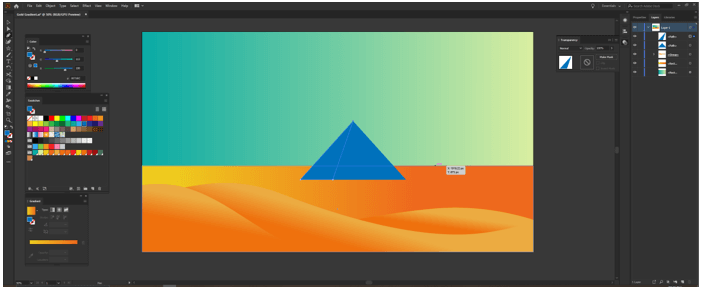
Create a triangle using the polygon tool by clicking once and select the points to 3. Rotate and scale to achieve a look of the pyramid.
Step #12
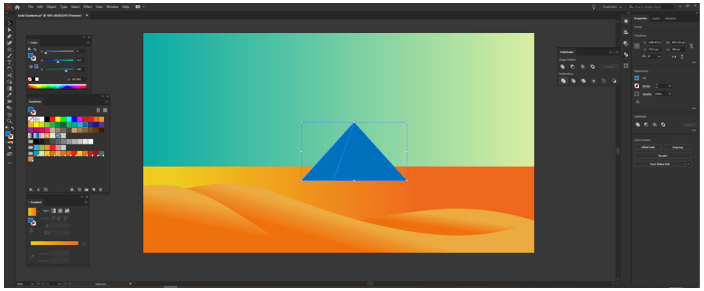
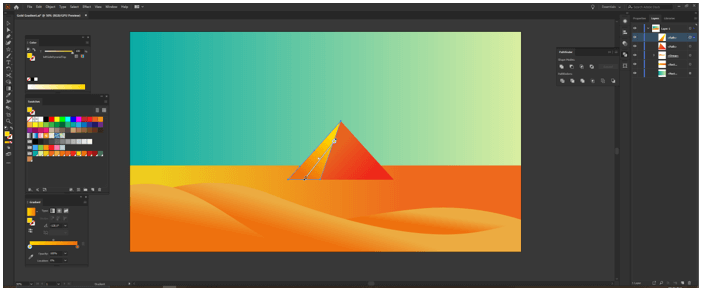
Use the pen tool to create a triangle shape on top of the triangle to represent the shadow of the pyramid.
Step #13
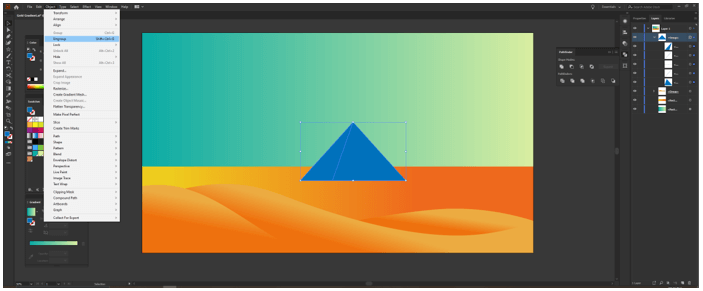
Select both the triangle and the shape made with the pen tool and then open the Pathfinder tool from the window menu and do divide.
Step #14
Then ungroup to get two separate parts. Delete if there is any line path.
Step #15
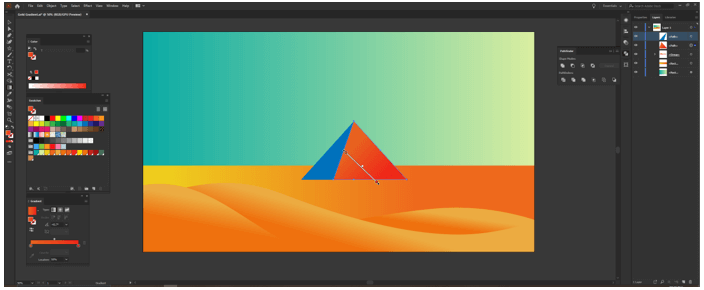
The linear gradient is created by using the swatches. Adjust the handle of the gradient to get the desired result.
Step #16
Similarly, create a linear gradient for the shadow.
Step #17
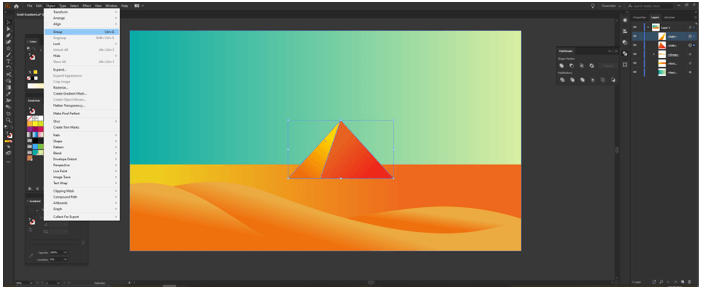
Select both shapes from the layer panel and group them.
Step #18
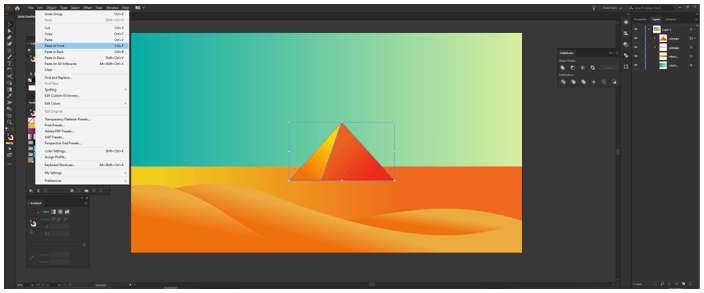
Copy the selected object and then Paste in Front or CTRL + F three times.

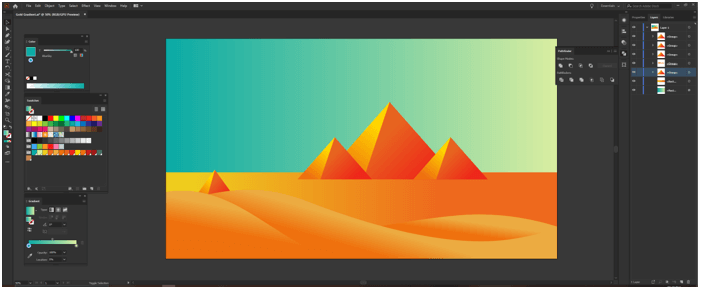
Step #19
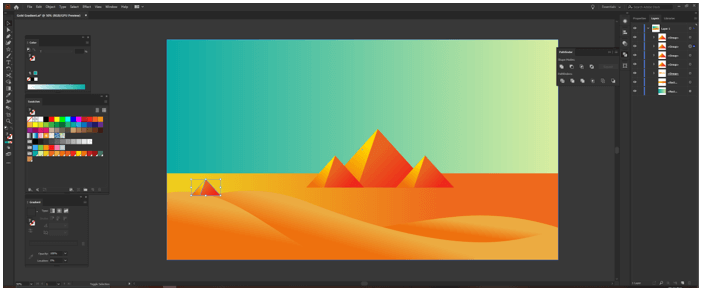
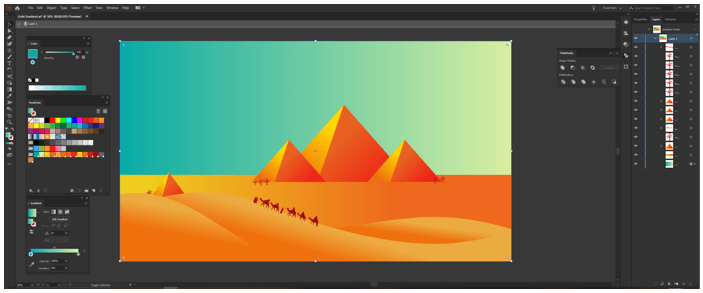
Scale and translate the pyramids to get the result shown.
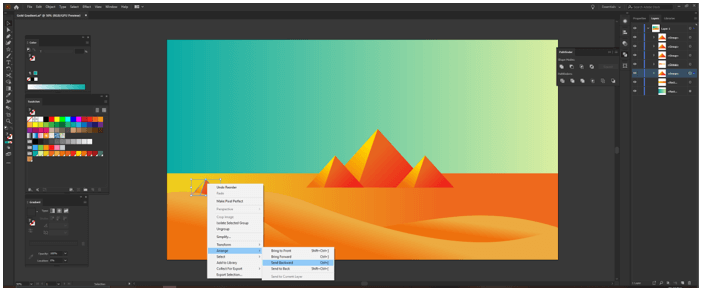
Step #20
Send the small pyramid back in the layer stack or use CTRL + [
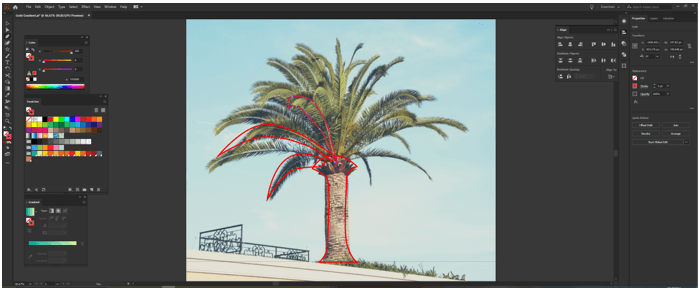
Step #21
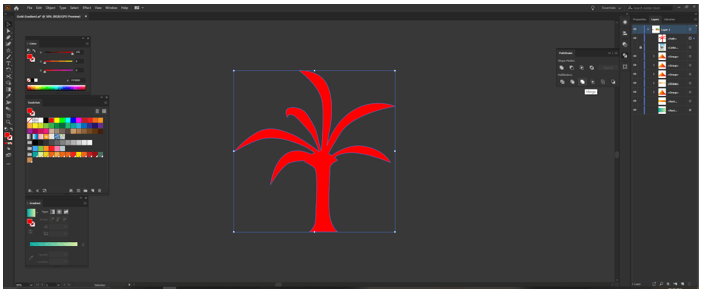
We will create an outline of a palm tree.
Step #22
We will fill all the shapes.
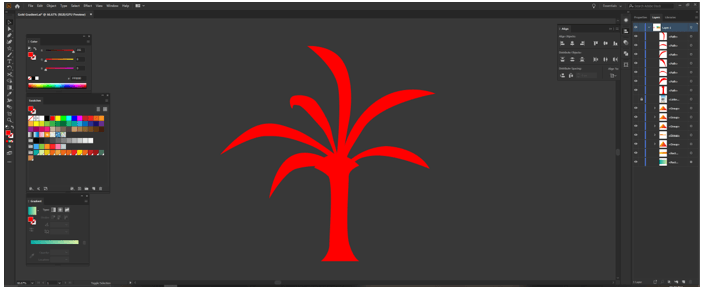
Step #23
Select all the palm tree shapes and use the pathfinder tool to merge.
Step #24
Bring the palm tree in the artwork and scale it according to the pyramid and place it according to the stacking layer.
Step #25
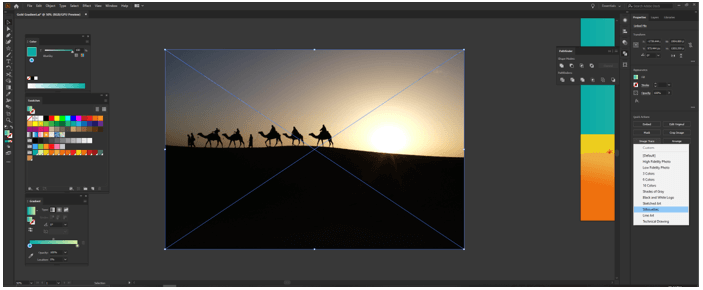
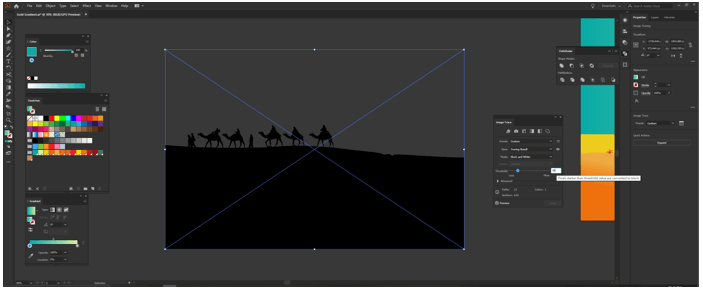
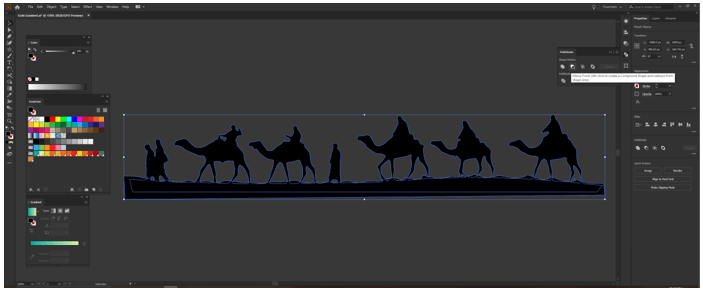
To show a caravan we have used an image and we will do image trace from the quick action section in the properties panel. Select the Silhouettes type of image trace.
Step #26
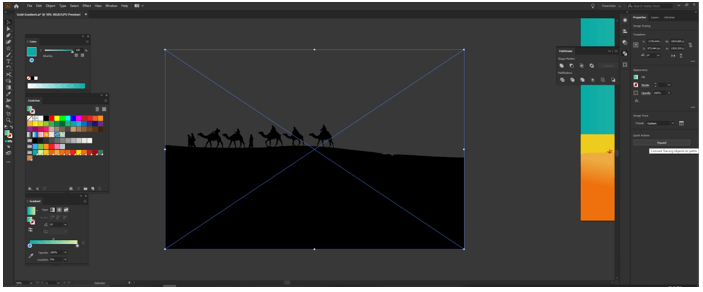
At first, we do not get the proper result but change the threshold to 50 to get the output.
Step #27
Expand the shape to create the outline.
Step #28
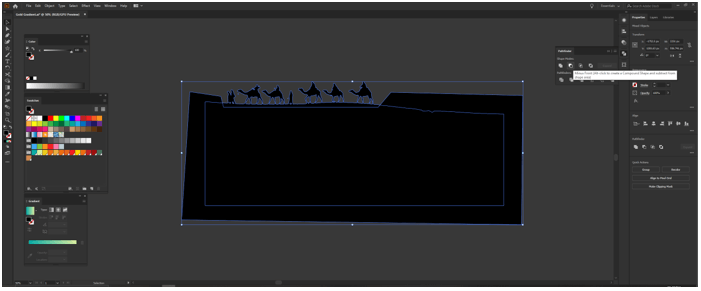
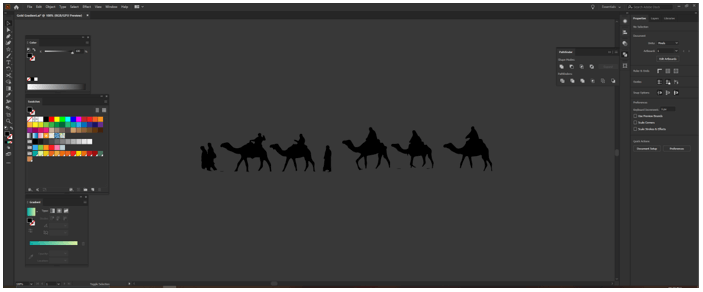
Now we have to remove the ground to do that use pen tool to create a shape and then use pathfinder and do minus front by selecting first the caravan then the shape.
Step #29
Now we have to remove the remaining ground so to do that use a pen tool to create a fine shape and then use pathfinder and do minus front by selecting first the caravan then the shape.
Step #30
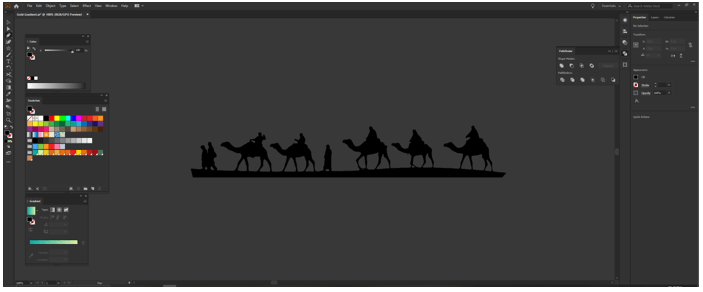
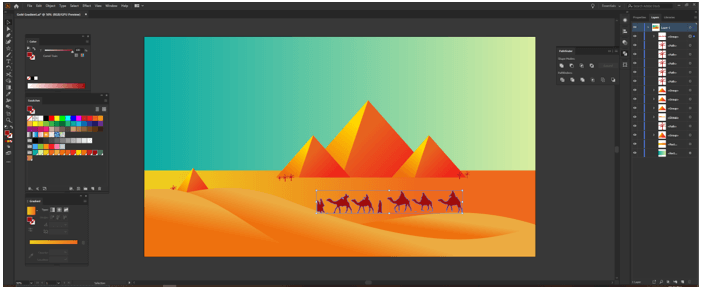
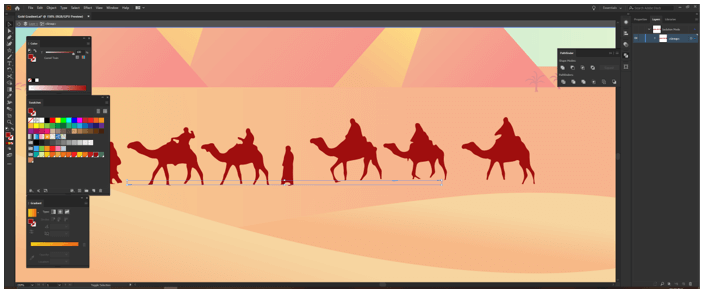
Bring the caravan into the artwork and apply the color from swatches.
Step #31
Now double click the caravan to go into the group and remove any lines or leftovers.
Step #32
Scale and rotate the caravan as such that it looks like it is climbing the sand dunes.
Step #33
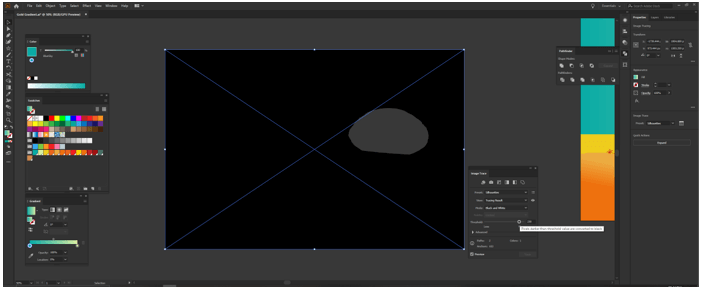
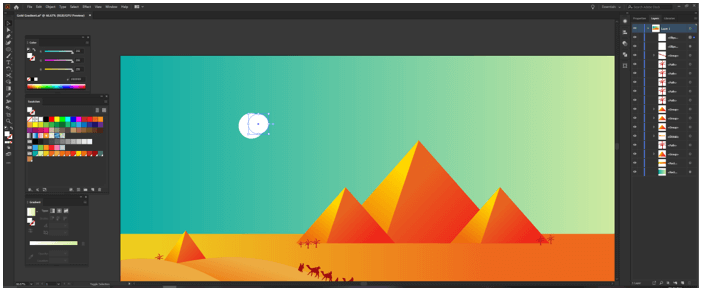
Now we will create a moon for that first create a circle.
Step #34
Create one more circle on top of the first one and reduce its size.
Step #35
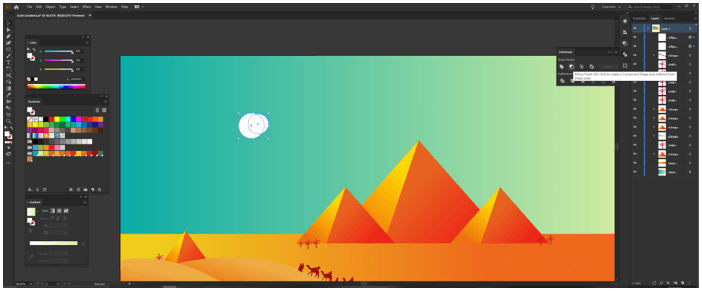
Now select the big circle then the small circle and use pathfinder tool to do minus front to create the shape of the moon
Step #36
Rotate it appropriately.
Step #37
Now fill the moon with a radial gradient and we have selected the same color on both the stops just that we have changed the opacity of the second stop to zero and adjusted the gradient annotator to get the glow in the moon.

Step #38
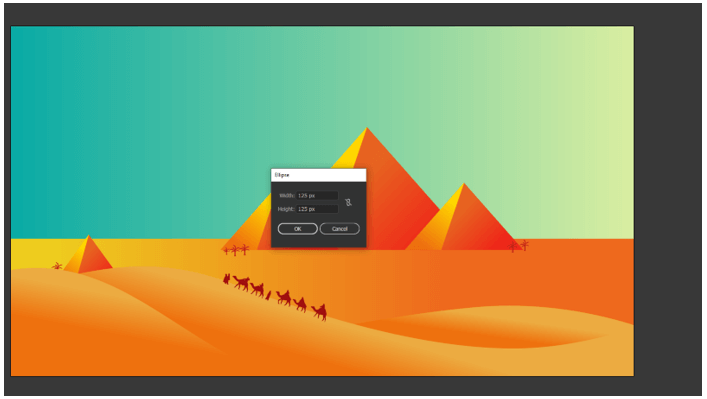
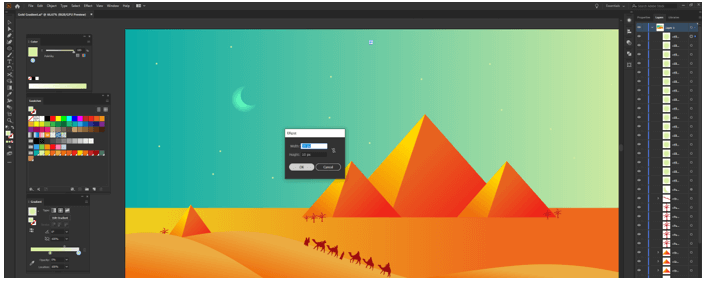
Using the same radial gradient we create some stars with an ellipse tool of width and height of 10px, 6px, 3px.
Step #39
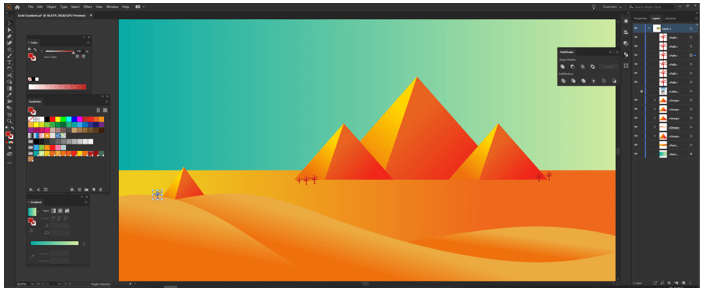
We have completed our artwork of gold gradient in illustrator

Step #40
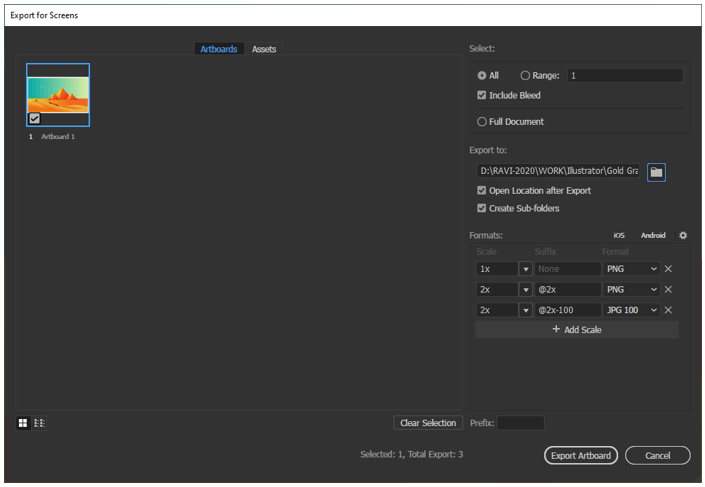
Now it is time for the export for screens as we can see below, we have the option to select the artboard and the location. Also, we can select which format we have to export. We have selected png and jpg 100 and the scale of 1x and 2x which will be double the size and click export.
Step #41
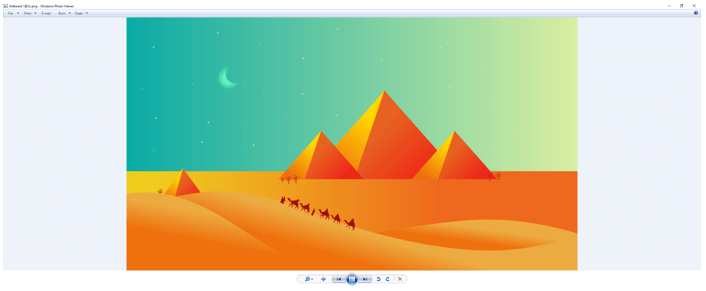
This is the final render.
Conclusion
In this article, we have learned not only how to create a gold gradient in Adobe illustrator but also learned the techniques of using various tools like layers, masking, gradient, pen tools to create an amazing artwork that will enrich your knowledge as well as your portfolio.
Recommended Articles
This is a guide to Illustrator Gold Gradient. Here we discuss how to get started with Gold Gradient along with the steps and respective screenshots for better understanding. You may also have a look at the following articles to learn more –
