Updated August 28, 2023
How to Use After Effects?
After Effect software is used to create compositions, Motion graphics, and visual effects for any footage. This software is also a part of Adobe system’s creative Cloud app and is maintained by Adobe system. This is a very interesting graphics designing software, and you can learn it very easily. Here in this article, we will see the different parts of this software, such as its User Interface, Working, and some other important features. Once you know the all-important aspects of this software, handling this software for you becomes an easy task for you, and you can benefit from it in your graphics designing work.
Designing in After Effects Software
Now, you will learn the steps to create a design in After Effects.
Step 1: This is the welcome screen of After Effects. We have the ‘New Project’ option here on this screen. You can choose New or go for your pre-saved Project. Project means an area and its content of which you will make your graphic design.
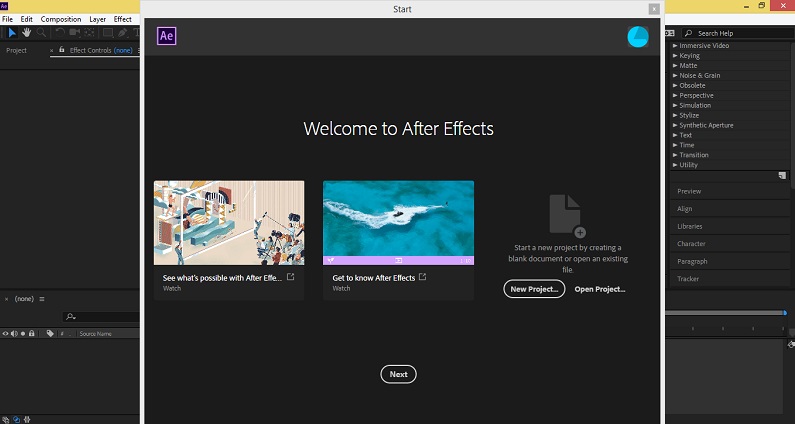
Step 2: When you close this window, the User interface of this software will be opened. This is a working screen for this software.
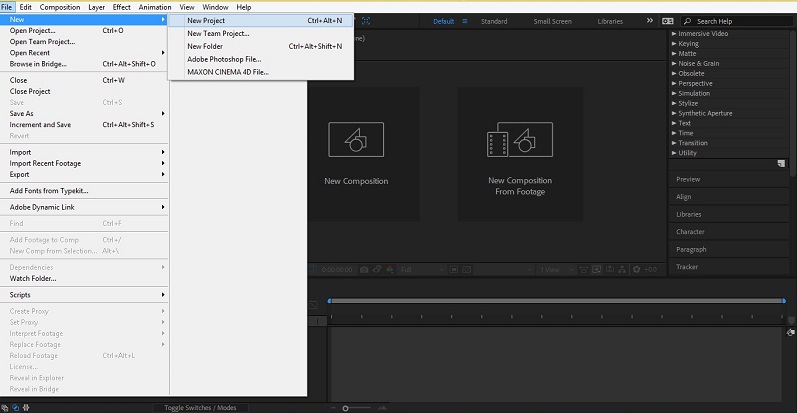
Step 3: Or you can take ‘New Project’ from the File Menu of the Menu bar.
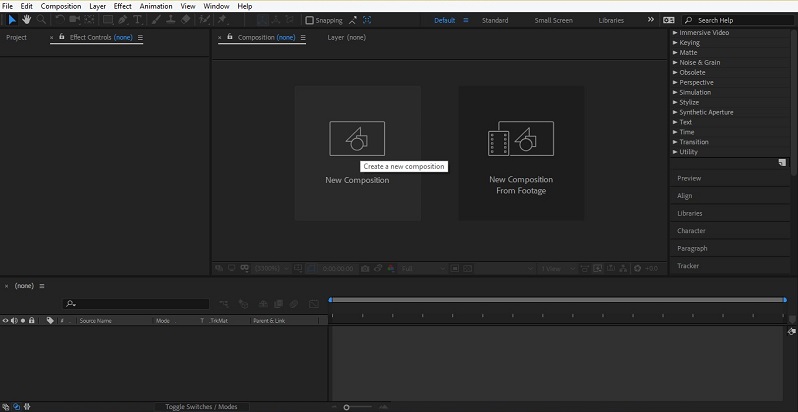
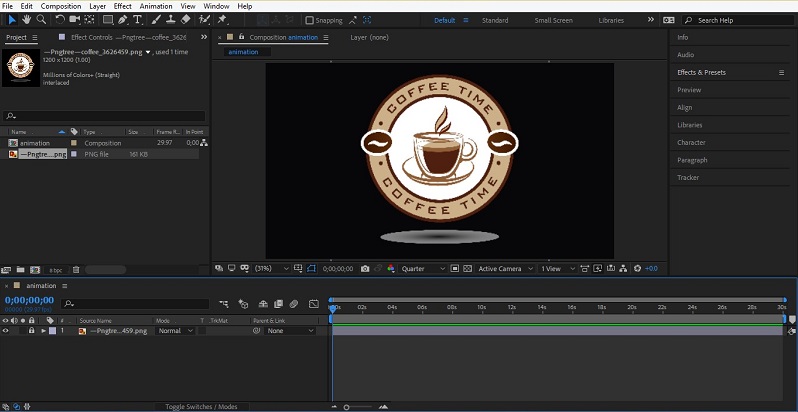
Step 4: We have a composition area at the center of the working area.
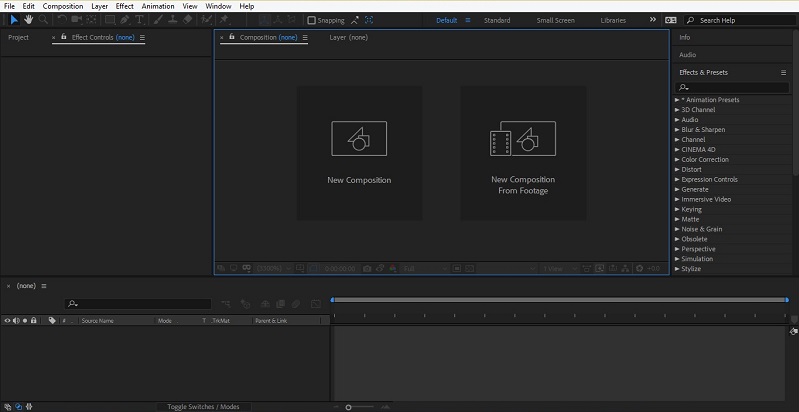
Step 5: We have Project Window on the left side of the working area, which shows all the imported things in this section.
Step 6: We have a TimeLine at the bottom of the work area, which shows the time and frame of animated work in this software.
Step 7: On the right side of the working area, we have different options for giving effect and manipulating our animation in this software.
Step 8: Now click on the ‘New composition’, which is at the composition area for starting our work in this software.

Step 9: Or you can go to the Menu bar and click on the Composition menu. A drop-down list will be open click on ‘New Composition’.
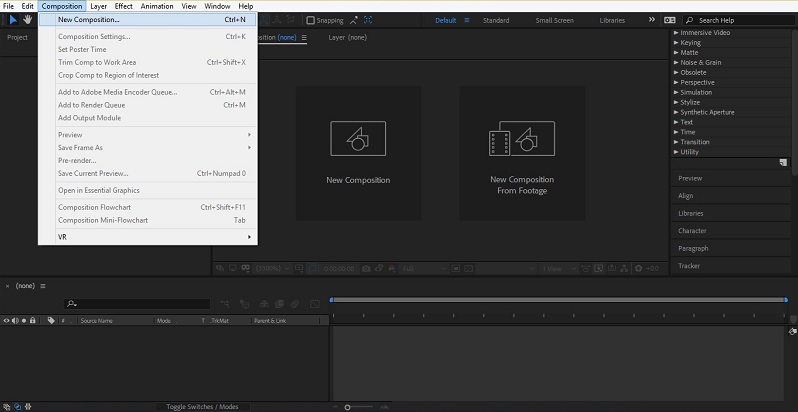
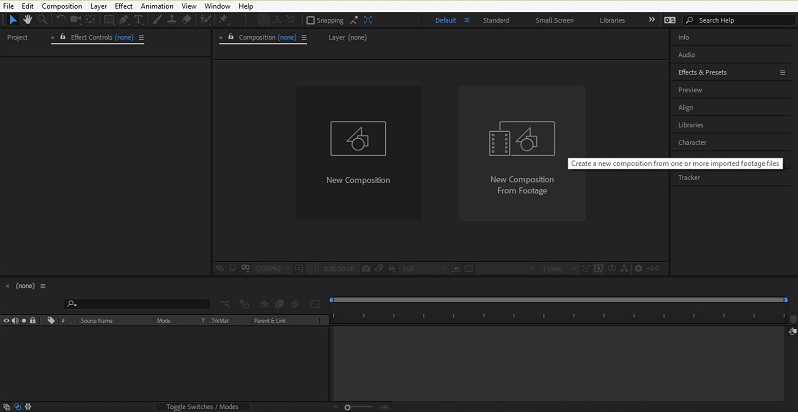
Step 10: Or you can take any Footage as New Composition from the ‘New Composition from Footage option’.
Step 11: Once you click on the New Composition option. A dialog box will open in the Composition Settings. You can name it whatever you want. I will name it as ‘animation’.
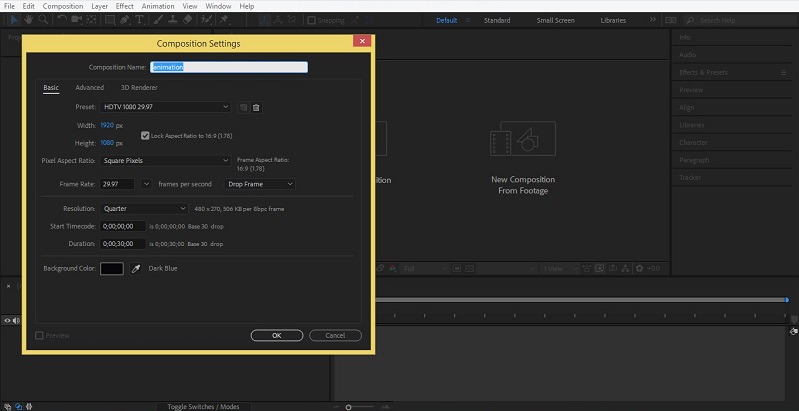
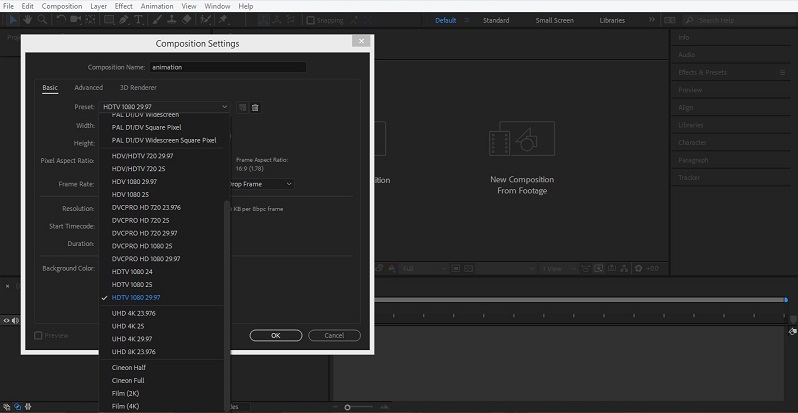
Step 12: Here, we have a Preset option, which we will take according to our final project screen, where it will be displayed.
Step 13: We can set a frame with time. Frame means shot of our motion displayed with per second of time.
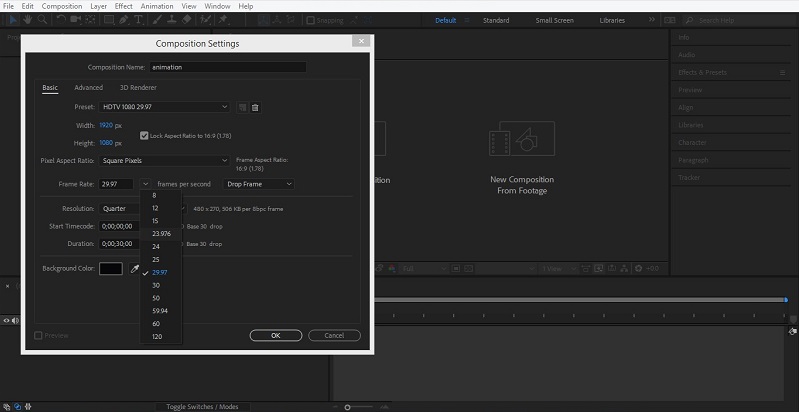
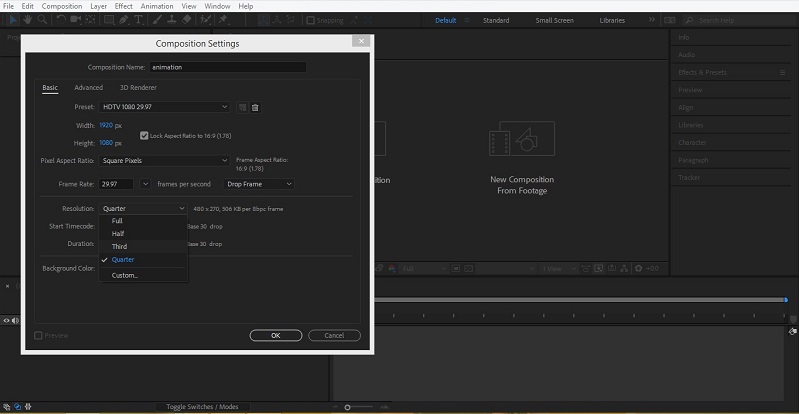
Step 14: Next is Resolution. Resolution refers to the quality of the screen of our project after animation. We generally use half or third option here because the working screen of this software is not very large, so it is ok with half resolution.
Step 15: You can set the duration of your animation from here in the Duration option section.
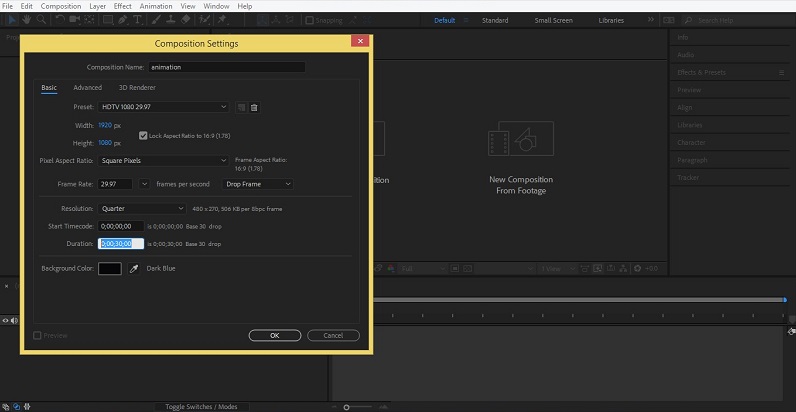
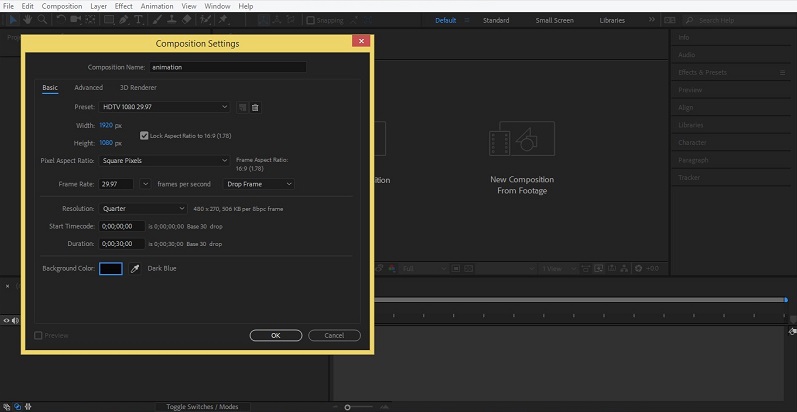
Step 16: You can change the color of the background according to you. I will choose the black color as my background.
Step 17: Just click on the color box. A dialog box of the color panel will be opened. Choose your desired color from here.
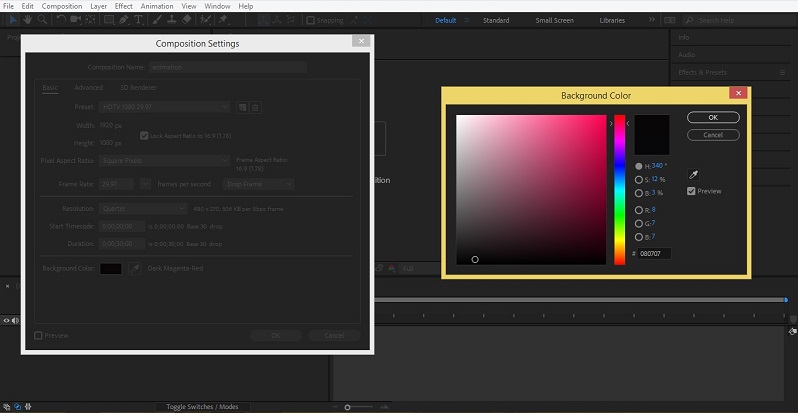
Step 18: Your composition is ready with black color, and Timeline is also activated now.
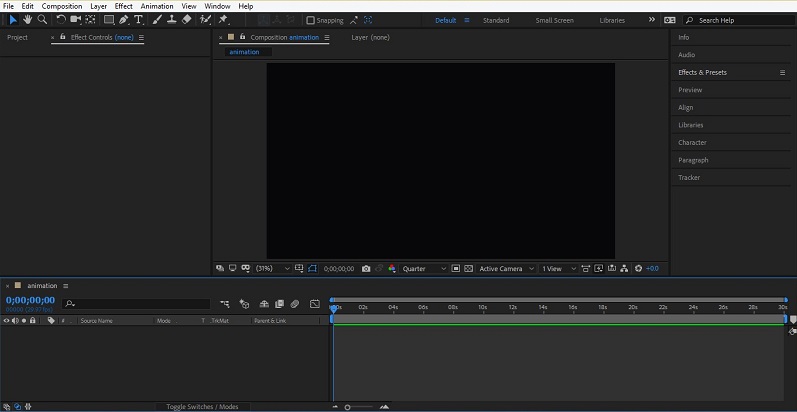
Step 19: When you click on the Project option of the project window, it will show composition with their name, which you have created in your project. The project window shows you whatever you import in your project.

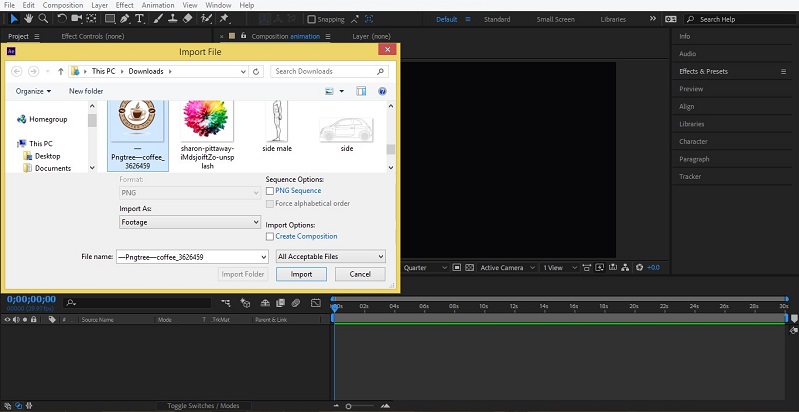
Step 20: Let’s import an object into this software. For importing, just right-click anywhere in the project window. A drop-down list will be open. Go to the Import option; again, a drop-down list will be open. Click on the File option.
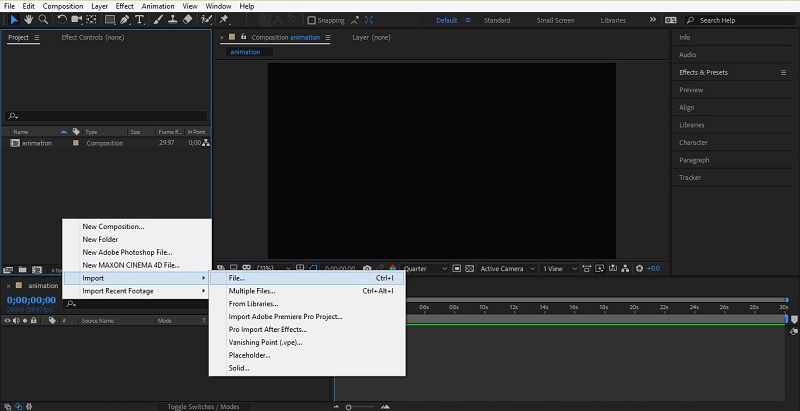
Step 21: Or double click on the project window for importing an image. A dialog box of the Import file will be open.
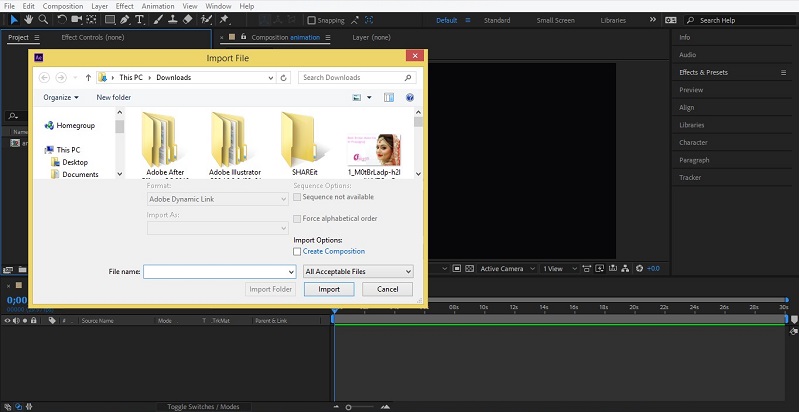
Step 22: Choose your desired object, which you want to animate and click on this dialogue box’s import button.
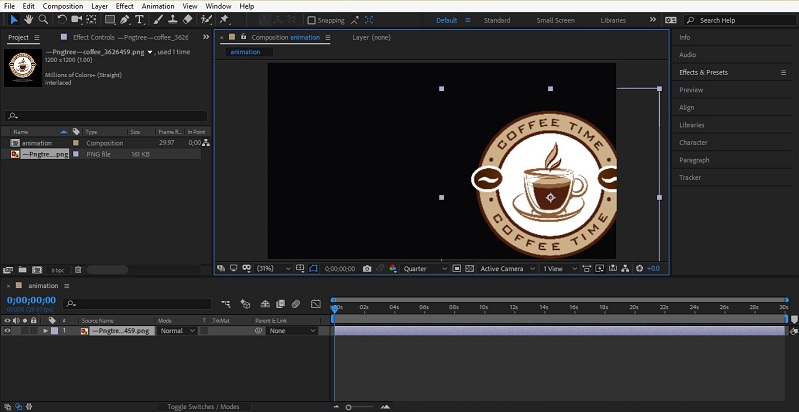
Step 23: Imported item will come on the Project window. Drag it into the composition area to place it in this area.
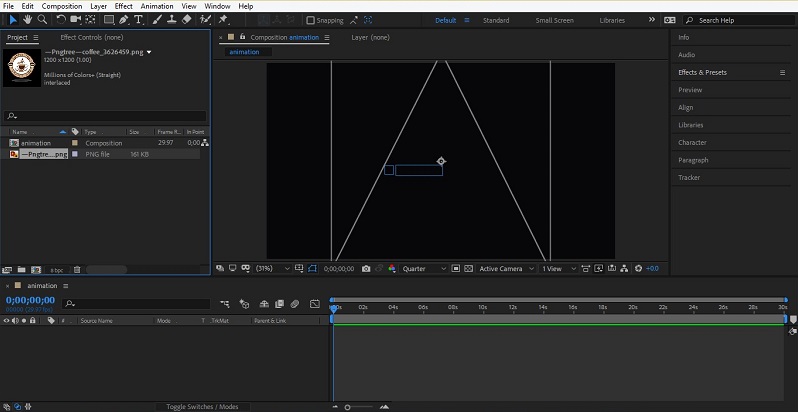
Step 24: Or you can drag this image in the layer section for placing it in the center of the composition area.

Step 25: For moving this object in the working area, just click on it and hold the click and move it in your desired direction.
Step 26: We have the Eye button in the layer section of the imported object. When you click on the Eye button of this object, it will become invisible, or when you again click on it, the object will be visible again.
Step 27: We have a lock icon in this layer section also. It will lock the layer when we don’t disturb this layer while working on another layer.
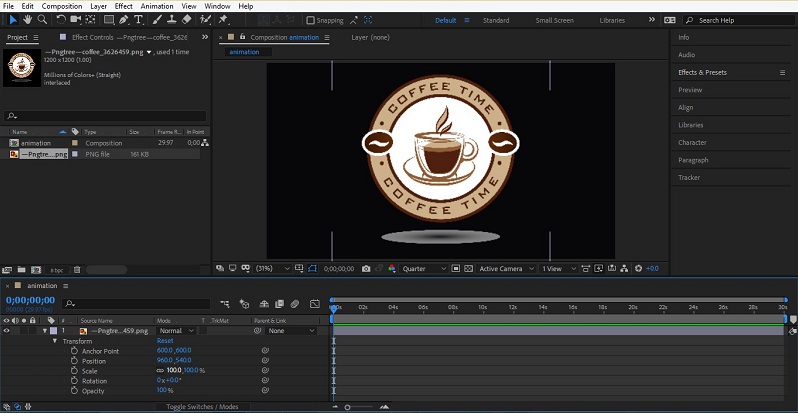
Step 28: When you click on the small arrow button of this layer. A drop-down list of the different properties of this layer will be open. In the Transform option, we have the Position property of the object, Scale property of the object and other property, which we can animate according to us.
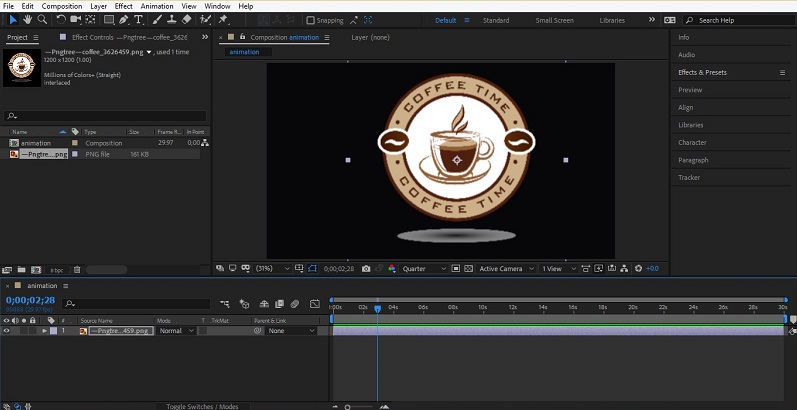
Step 29: This is the play Head of TimeLine, which shows the time of animation of the animated objects.
Step 30: We have a small clock icon near all properties of the object. When we click on this clock icon, Timeline keys will be activated for the starting our animation.

Step 31: For example, if you want to animate the Scale property of this object. Click on the clock icon of the scale property.
Step 32: A key will be activated, which is highlighted in blue color at the left corner of this property.
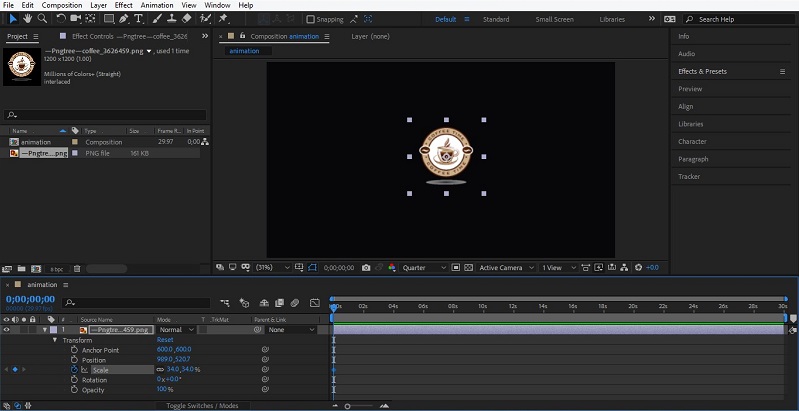
Step 33: I will decrease the value of scale for animating our object. Now the time of play head is started with this key.

Step 34: Now, I will drag the Play Head at 2 secs and increase the size of an object by increasing the value of the scale property.
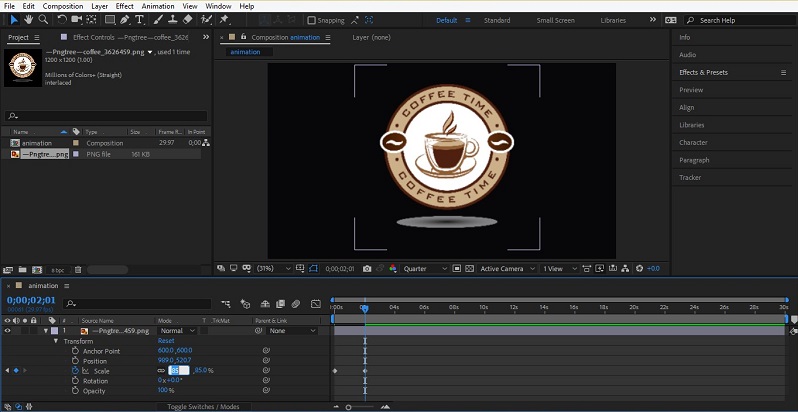
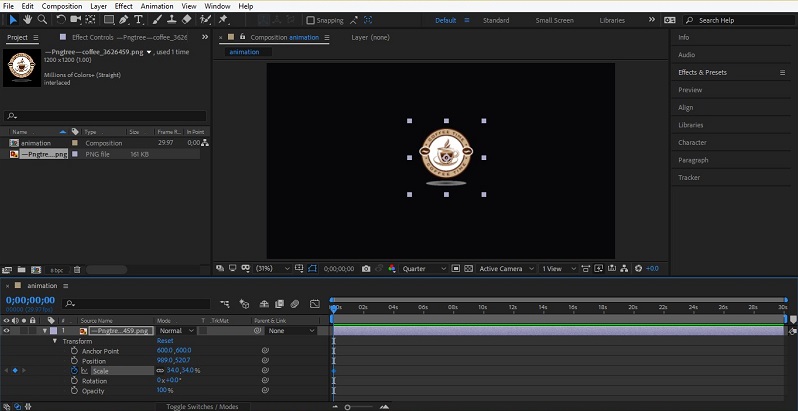
Step 35: Now play the animation by pressing the Spacebar key on the keyboard, and you will see the size of the object will increase with time.
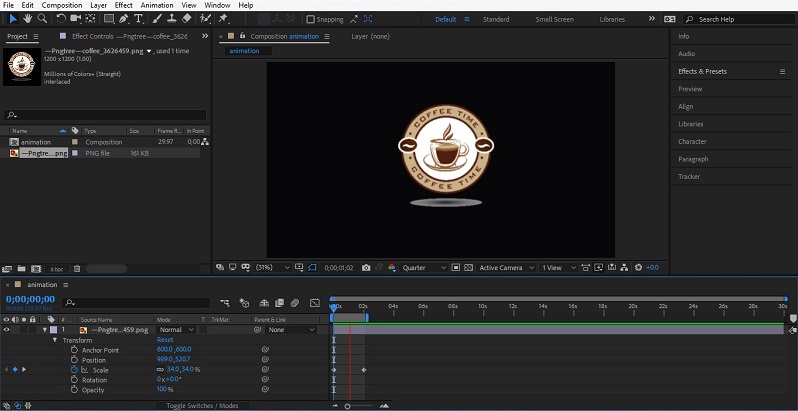
In this way, you can animate other properties of this object. You can animate more than one object at a time.
Conclusion
Now you can understand the working of Adobe After Effect and use it in your graphics designing work. Working with Adobe After Effect will enhance your working skills in graphics designing. You can increase your carrier opportunities once you become familiar with this software.
Recommended Articles
This is a guide to How to Use After Effects? Here we discuss the Introduction and the steps on how to use after effects along with few illustrations. You may also look at the following articles to learn more –
