Updated August 25, 2023
Introduction to Print in Photoshop
Printing from Photoshop has become a very simple process. After finishing your project work in Photoshop, the most important step that will come to your mind is how to print your work on hardcopy? Before finding the answer to this question, you should know that Print is an important term that is used for making your work available on hardcopy, and you can use this hardcopy of your work for different purposes. Now let us discuss the answer to our question. We will discuss important parameters of any image necessary for printing and understand the setups of print command in this article.
How to Print in Photoshop?
Before discussing the print command, let us look at how to adjust the size or maintain the size of any image to make it printable. Here is some point which you should keep in mind before printing.
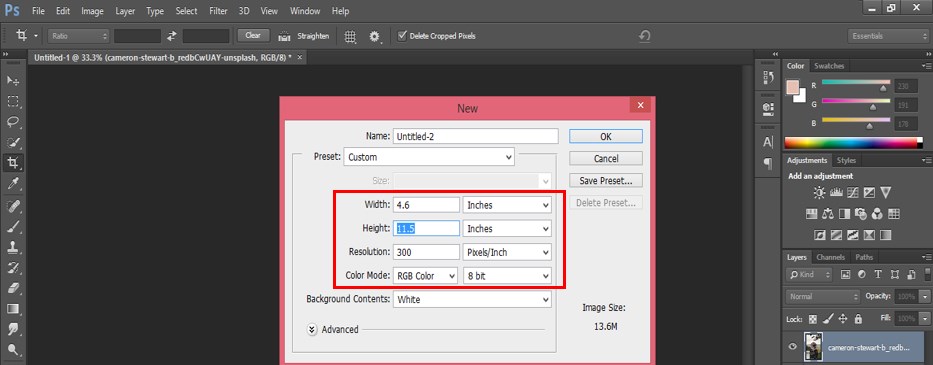
Step 1: The first thing is you should take the size of the new document according to the size of your image which you want to print. For example, if you want to print a 4×6 inches size of the image, you should also take a document of the same size. So take the unit in inches and take the value of width and height as 4 and 6 respectively in the document setting box.
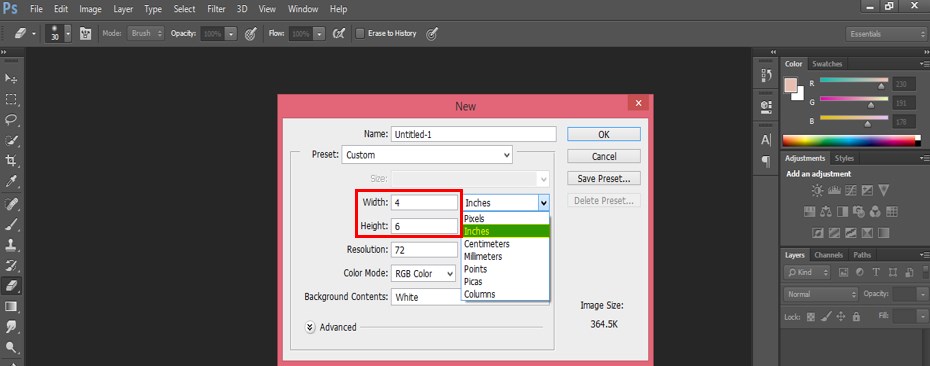
Step 2: Take resolution 300dpi because it is the standard resolution for the smooth print of an image.

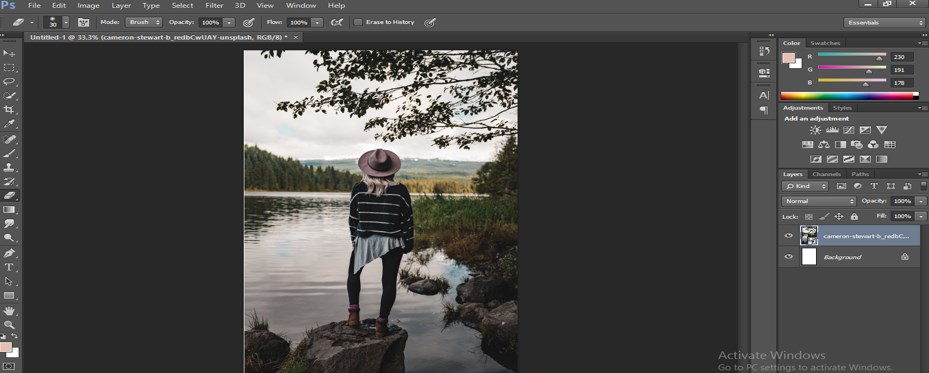
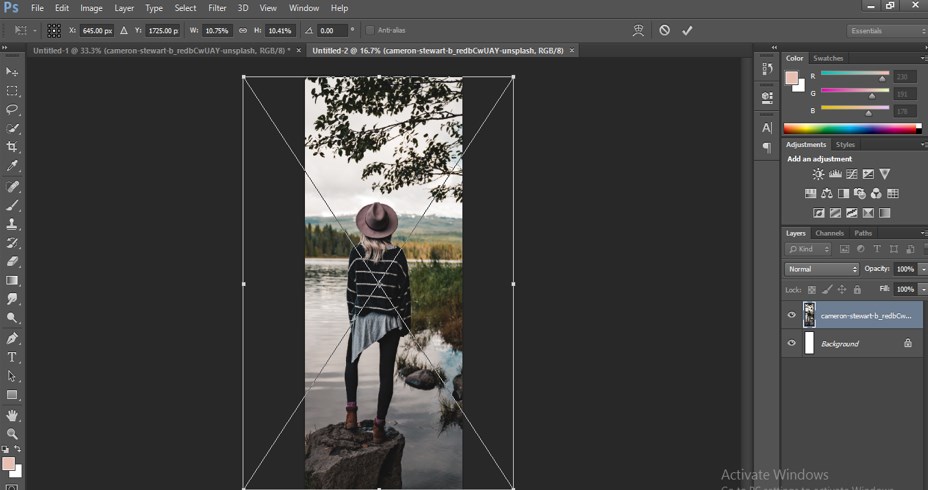
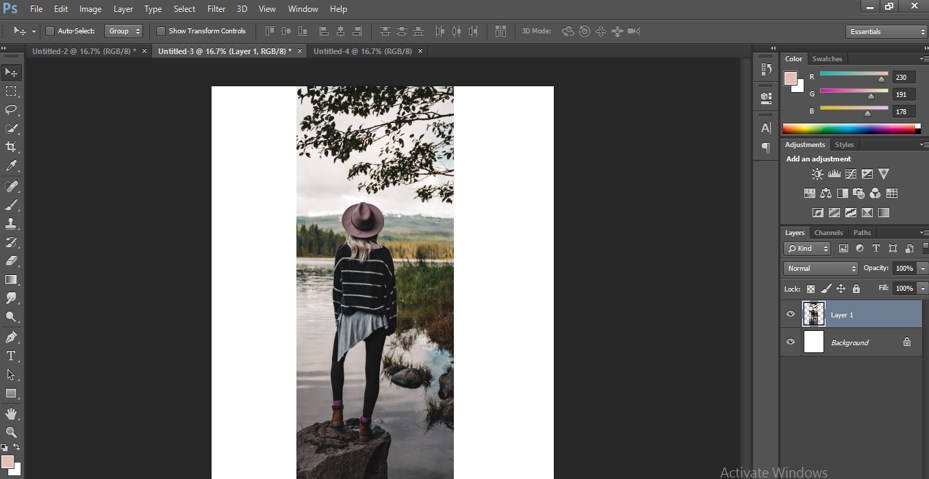
Step 3: Now, place your printing image here on this document of the same size. The image will be a place full of this document because of the same size.
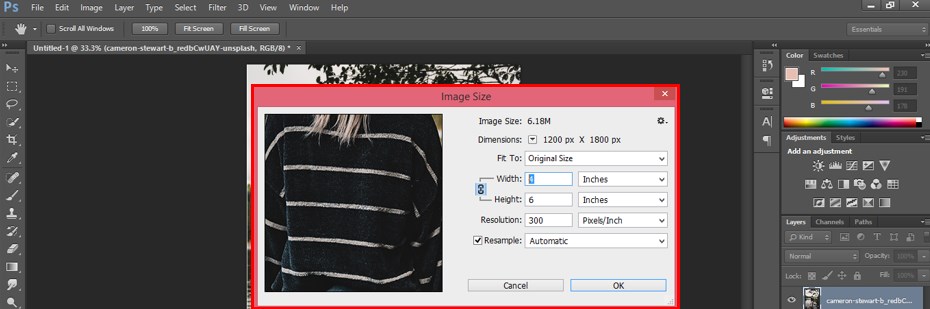
Step 4: You can check the size of the image from the Image menu of the Menu bar. Go to the Image menu and choose the Image size option from the drop-down list.
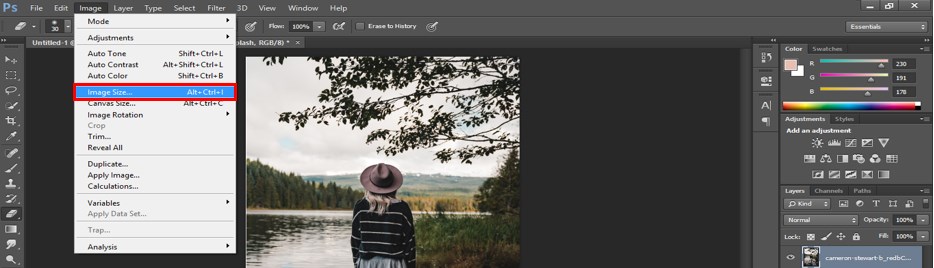
Step 5: A dialog box will be open where you can see the size.
Step 6: The next point is you can take any size of image according to you, just set the document size the same as your chosen size. You have to keep in mind that the size you want to take should be near the standard size of printing paper so that it will be cost-relevant for you. For example, I want to take 4.6 x 11.5 inches as the size of the document.
Step 7: Now, place the image of this document.
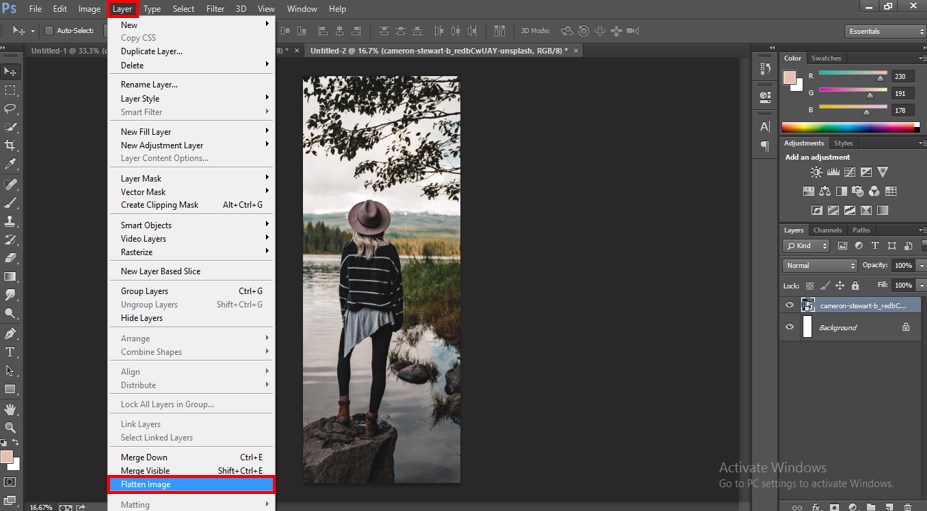
Step 8: Now go to layer Menu and choose to Flatten image from the drop-down list. It will adjust your image according to your document size and make them as one layer.
Step 9: Now, place this image on the new document of the same size as standard paper. Like standard size 10 x12 inches so that you can easily print it and there will be no additional setting required at the time of printing.

Step 10: Adjust this image on the document according to you where you want to place it.
- Now let us move to the ‘Print’ command on this software and the parameter of this command. You can go through the print command in few simple steps.
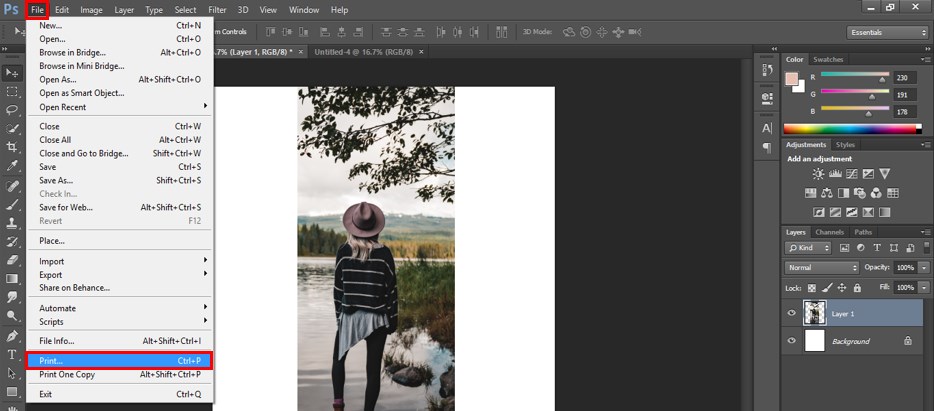
Step 11: The first one is going to File Menu of Menu Bar, which is at the top of the working screen and choose a Print option from the drop-down list of the File menu by click on it, or you can press Ctrl + P on the keyboard for print any image.
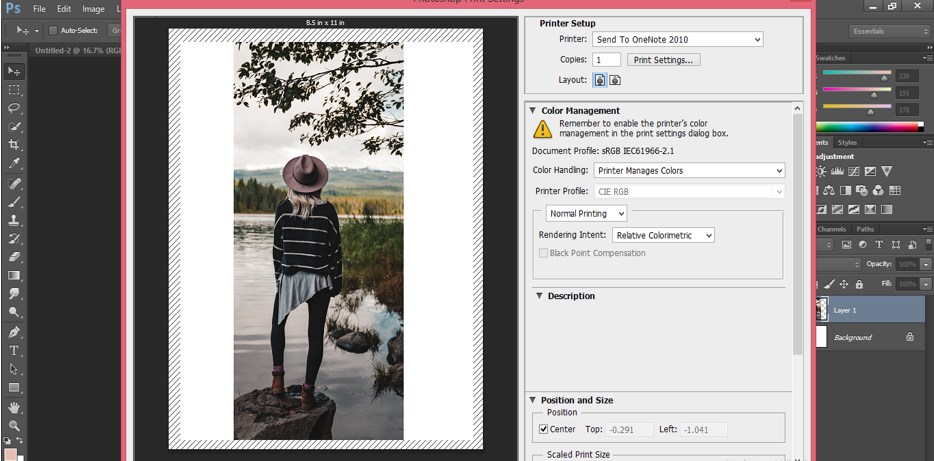
Step 12: A dialog box of the Print command will be open. In this box, we have some sections of the parameter of the Print command. These are as follows.
- On the left side, we have a Preview window in which you can see the preview of the printing image when you make any changes during printing; at the right side of this box, we have Printer Setup, which has different parameters, Color Management section, which allows you to adjust the color of the image according to your requirement at the time of printing, next is Description section which allows you to write of any text which you want to print with your image, next one is Position and Size option which allows you to set your image anywhere on the document.
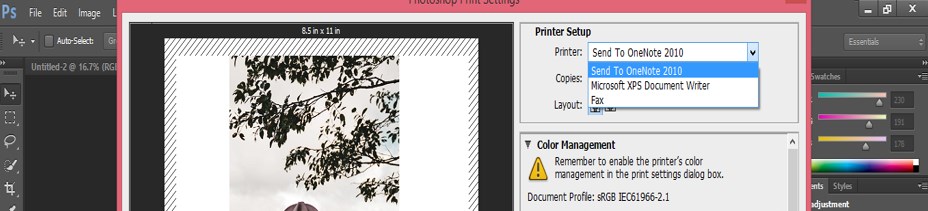
Step 13: Now, let us discuss each section of the print image one by one. First is Printer Setup: This drop-down list will show you different printer parameters that are attached to your computer. Choose one of the printers through which you want to print your image from this drop-down list just by click on that.
Step 14: By the Copies option, you can give a number of copies of your image.

Step 15: The print Setting option allows you to make the setting of parameters of the attached printer.
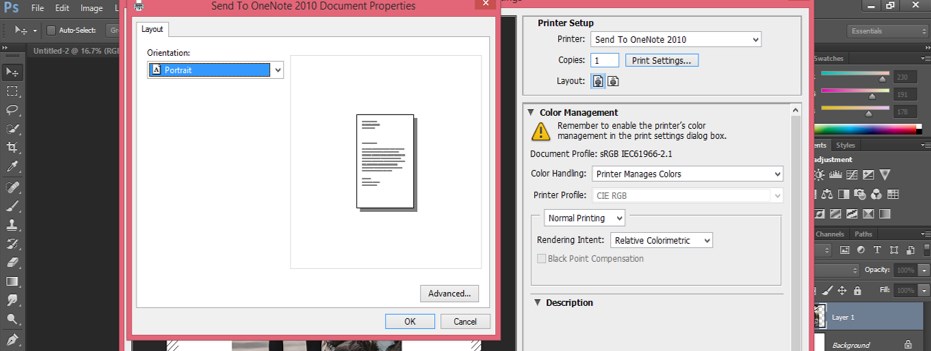
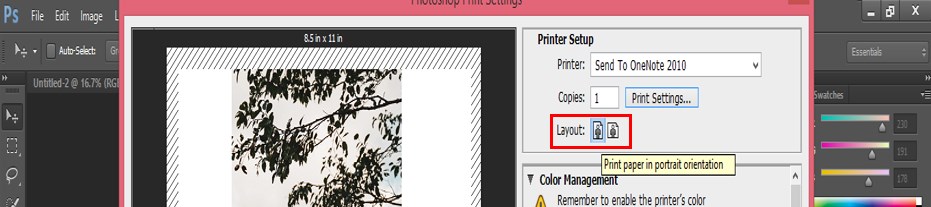
Step 16: Through the Layout option, you can choose the orientation of the page. You can choose Landscape or Portland orientation.
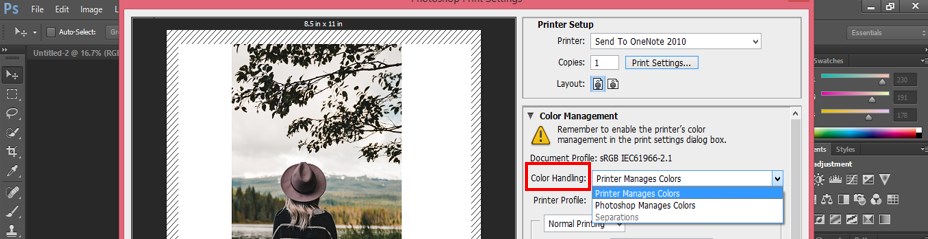
Step 17: The next section is Color Management. Here the first option is Color Handling which offers you the different formats of color management for adjusting the color of the image during printing.
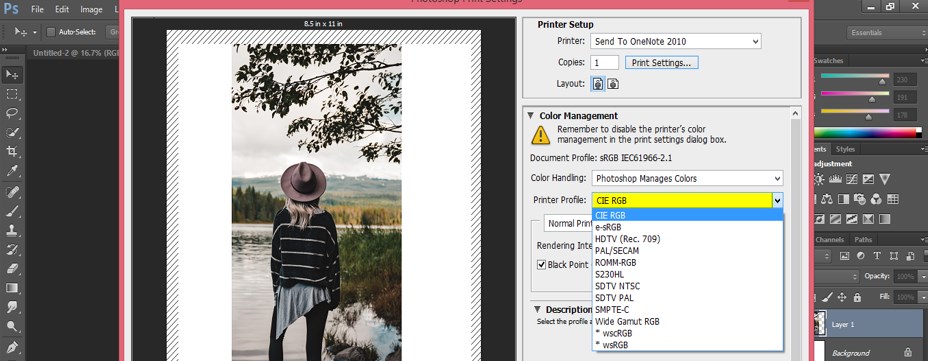
Step 18: In the Printer Profile option of this section, we have a number of color mode options for adjusting the color of the image according to our printing requirement.
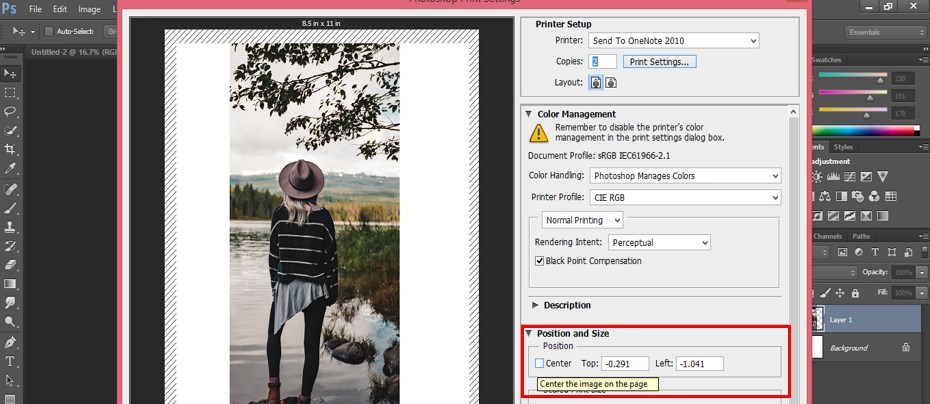
Step 19: In the Position and Size section, you can set top and left the position of the image on the document or align it on the center of the document by enabling the Center option.
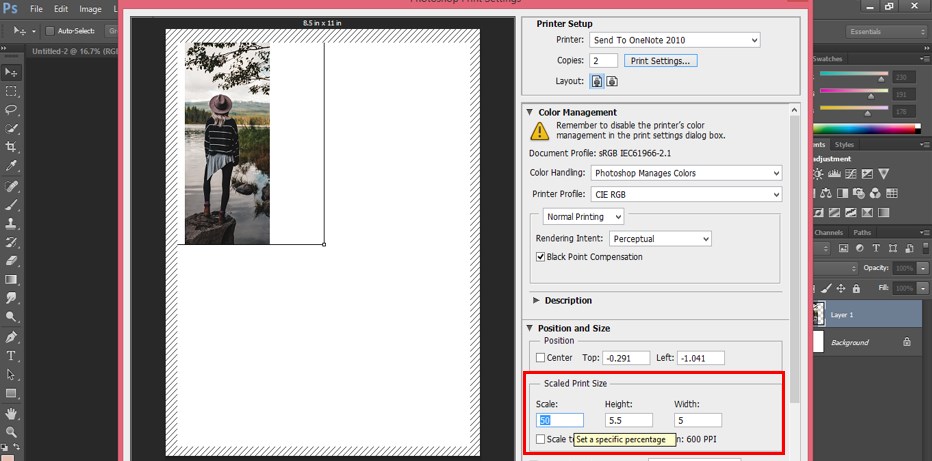
Step 20: You can also adjust the scale of the image by the increase or decrease the value of the Scale option from this section.
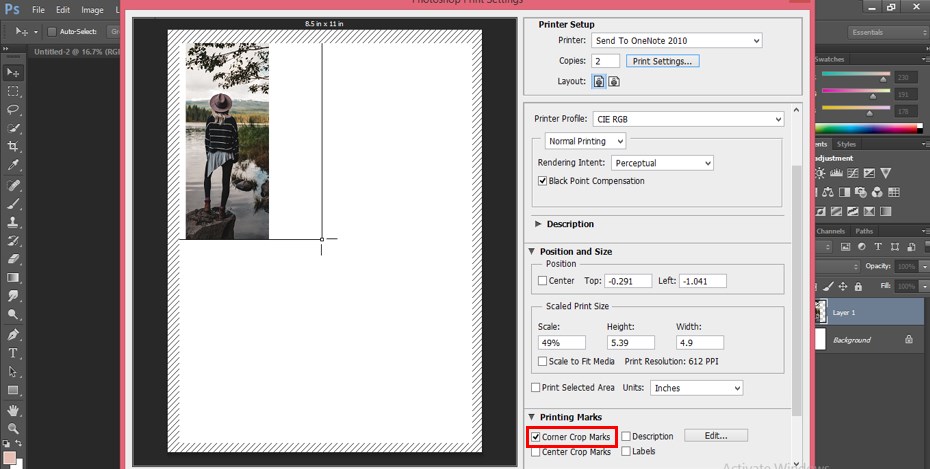
Step 21: Some other parameter of this box is Print Mark; by this, you can add different type of printing mark around your image.
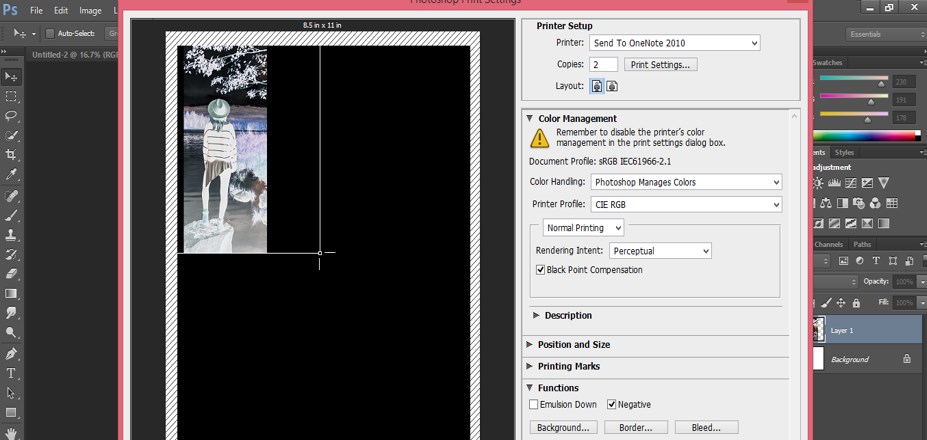
Step 22: And by Function option, you can flip the image horizontally by enabling the Emulsion Down property of this option.

Step 23: You can print the negative of our image by using the Negative property of this option.
- In this way, you can adjust the setting of your image for printing and after setting the parameter of your image for making it printable, click on the Print tab of this box for printing that image.
Recommended Articles
This is a guide to How to Print in Photoshop?. Here we discuss the Introduction, different parameters of Print and making perfect settings of printing images. You can also go through our other related articles to learn more –
