
Introduction to Godot tilemap
The Tilemap in Godot engine is used to make a layout or background object of any game designed in Godot engine. For creating the layout of that game, you can use a number of patterns, shades, and other types of background object in the form of tilemap. With tilemap, you can create nodes faster than the making of nodes in a traditional way because tilemap works on the grid, which helps in making of nodes on a large level very quickly for making a layout of the game. In tilemap, you will have some options such as Collision, Occlusion and Navigation in the form of tabs, and by using these tabs, you can add more functionality to the tilemap feature.
After having a wonderful discussion on the introduction of the Godot engine’s tilemap, you are thinking why we use tilemap? So let us give answers to your question because you can clear your mind’s doubt by going through the eduCBA article, so be with us for quick and unique solutions.
Why do we need TileMap in Godot?
With tilemap creating nodes of different shape become easy in comparison to draw nodes through placing one by one point of the node. When you use tilemap, it by default creates square tile, but it also gives you options for choosing perspective-based isometric mode for isometric tile, or you can also create your custom tile shape by using some other parameters of tilemap. You can get one more benefit in using a tilemap because it also has features through which you can change the size of the cell, which defines behavior of the tilemap.
Now let us move to the very interesting section of this article, and in this section, we will discuss how we can use tilemap in the Godot engine.
How to use TileMap in Godot?
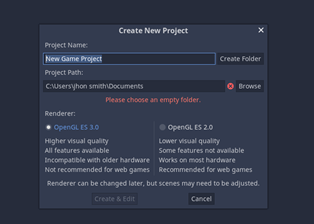
Now we will understand it in step by step manner. So first click on the ‘New Project’ button for creating a new project. You can do this on your previously created project.

Now name it according to you and choose a location for it where you want to save it. The folder in which you want to save it must be empty.
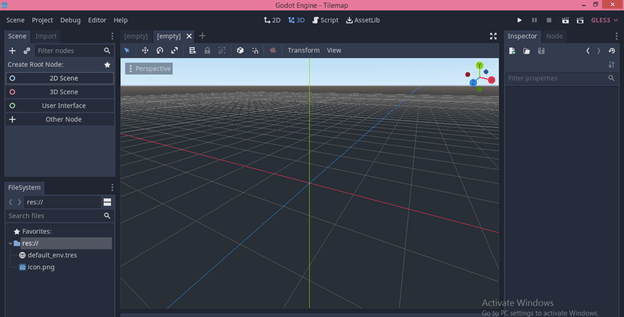
After completing all steps, you will have this screen. This is a 3D perspective window screen. Click on the ‘2D Scene’ button, which is on the left side of this window for the 2D window screen.
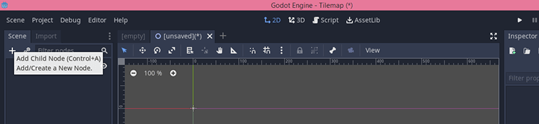
Now click on this Add Note button for adding a 2D node.
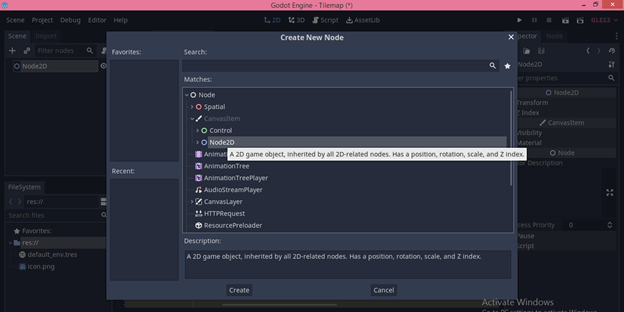
Choose the Node2D option from here and click on Create button.
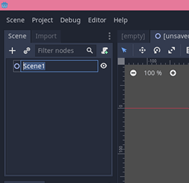
Name it as Scence1.
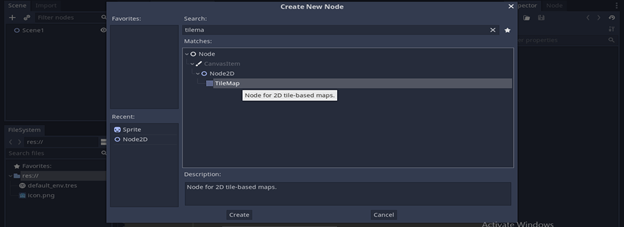
Again click on Add node sign and search tilemap in the search box, then click on the TileMap option.
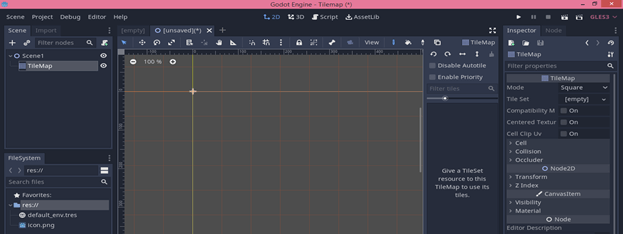
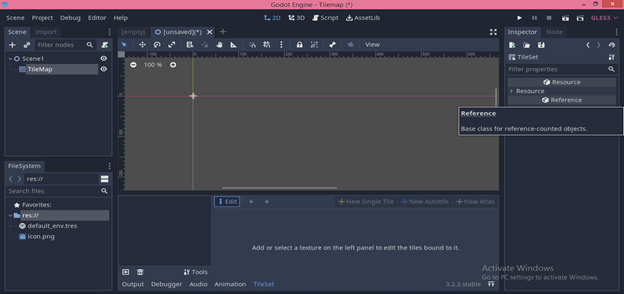
Now click on Tilemap, and you will have the TileMap properties panel at the right side of the 2D window screen.
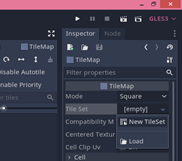
Here in the properties panel, click on the down arrow key of this panel’s Tile Set option and select the ‘New TileSet’ option of the scroll-down list. After choosing it, click on the New TileSet option.
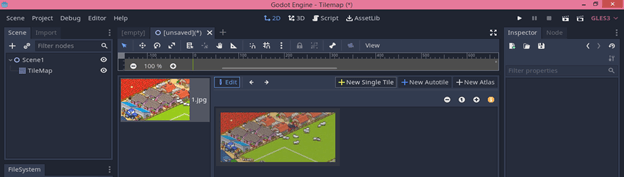
Now you will have this type of Edit window below to 2D window.
Press the Shift + F12 button of the keyboard for having a full screen of this window.
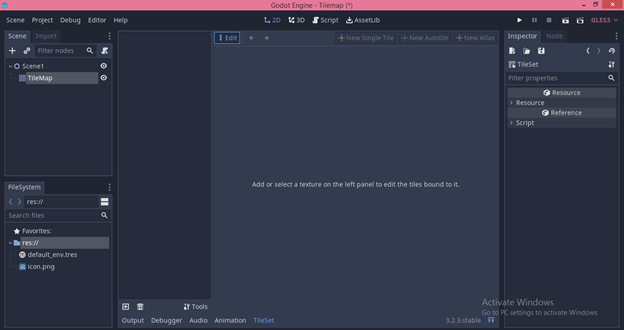
At the bottom left corner of this Edit window, here we have a button for adding texture to this TileSet. So click on it.

And you can take the png or jpg file of the game layout from the Import folder from which you want to make a tilemap.
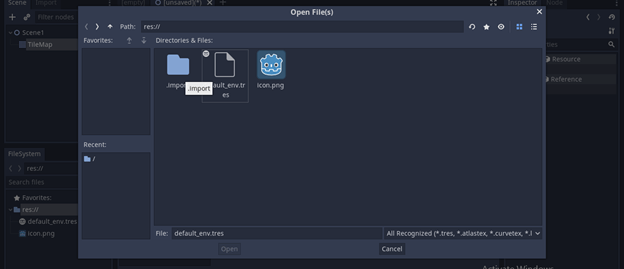
Or you can directly drag and drop your desired file into this software.

And our imported file will be in Add Texture dialog box. I will select it and click on the Open button of this dialog box.
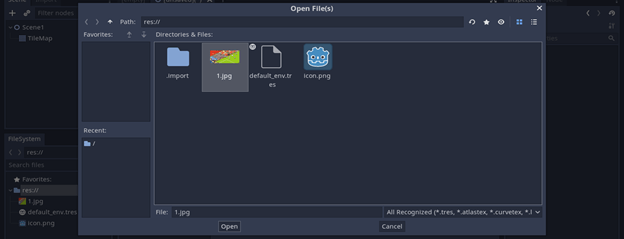
And we will have this file in the tilemap window.
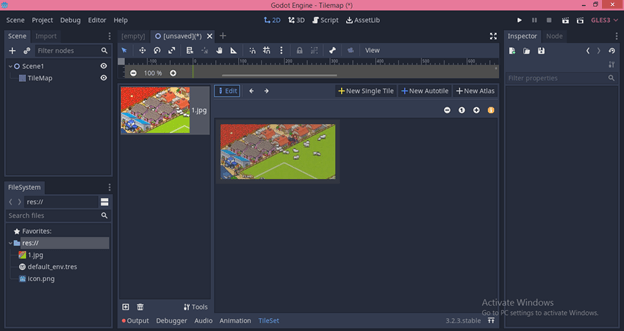
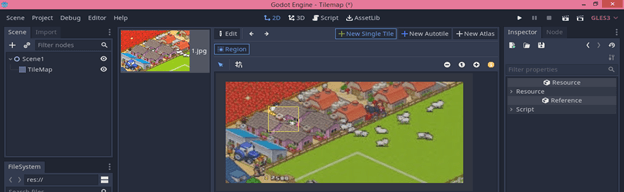
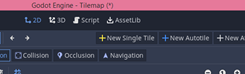
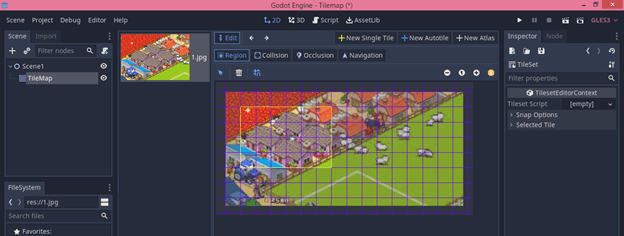
Now for creating a tilemap, click on the ‘New Single Tile’ button of this box if you want to create a single tile pattern.
Once you click, you can drag the mouse left button by holding it for selecting an area on this image.
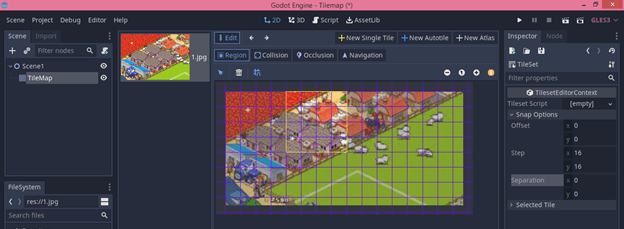
If you want a grid on this image for proper selection, then you can enable this ‘Show grid’ button by clicking on it, and once you click, you will have this type of grid on the working area.

Now selection will move one by one block of this grid, which is a nice way of making a proper selection for creating a tilemap.
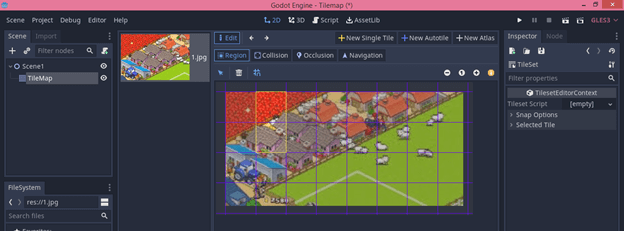
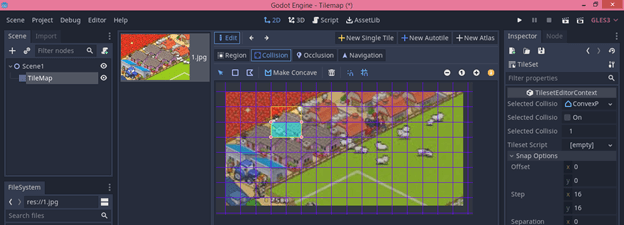
You can decrease the area of blocks of the grid by changing their x, y value from the Snap Options tab of the properties panel of TileSet.
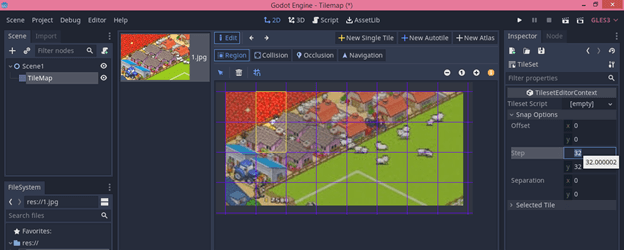
When you drag the mouse to select an area on the image, then the selection has a number of blocks selected of the grid then this large selection can consider as one cell. You can also adjust cell size.
We have other shapes here rather than square selection, such as Collision Mode, Occlusion mode and Navigation mode, which give a different shape for selecting the image’s complex shape.
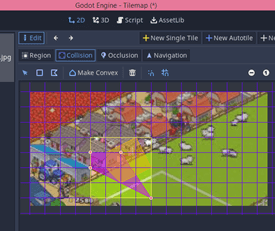
Let us understand one of them because all three works in the same way. Click on Collisions mode and click on C’ate new rectangle’ button of it.
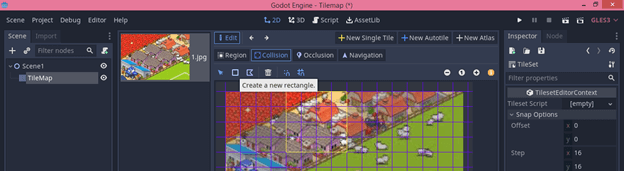
And you will have nodes in the selected region if you click on this region. Node comes in from of rectangle shape. You can adjust these modes according to you.
Next is ‘Create a New Polygon’, which means it gives you more freedom for using nodes on the selected region.
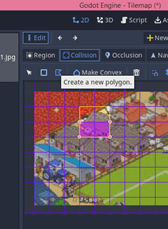
Now make a selection according to your choice.
And go to TileMap, then drag your tileset by clicking and dragging it from TileMap tabs which are on the left side of this window and below to Scene1.
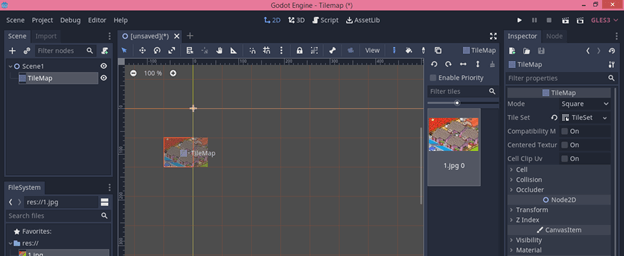
And you can place it on your scene anywhere you want.

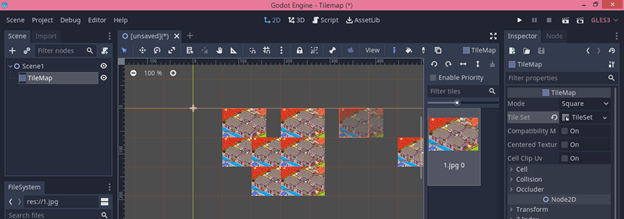
You can make multiple clicks for having a number of tile like this.
There are many more things about TileMap in Godot which you must know for having more knowledge about the use of TileMap. This was just an overview for giving you an idea about how we can use TileMap?
Conclusion
I am sure it was fun to learn about TileMap of Godot with eduCBA, and now you can start working on TileMap in Godot for adding more and more texture to your 2D game layout. Just go and analyze all other parameters of it and have good fun great in your work.
Recommended Articles
This is a guide to Godot tilemap. Here we discuss why we need it and How we can use TileMap in Godot and the working. You may also have a look at the following articles to learn more –
