
Introduction to GIMP rotate
In this article, we are going to learn how to use the rotate tool in GIMP. Rotate tool is very helpful as it can be used to rotate an image and the entire layer. Apart from that, you can also rotate selections and paths. Rotation can also be used to rotate part of the image by using any selection tool like a rectangle or ellipse select tool. There are many practical applications of rotating images like straitening the horizon, which could also adjust the perspective. Rotate tool is used in conjunction with crop tool as there is a transparent area which can be removed by cropping. One other tool guide is also helpful while doing a rotation in GIMP.
Steps of GIMP rotate
Here are the following steps mention below
Step 1: First, we will start by using an image. Go to the following url and download the required images from pixels, or you can feel free to use your own assets – https://www.pexels.com/photo/white-and-black-wooden-board-963278/.
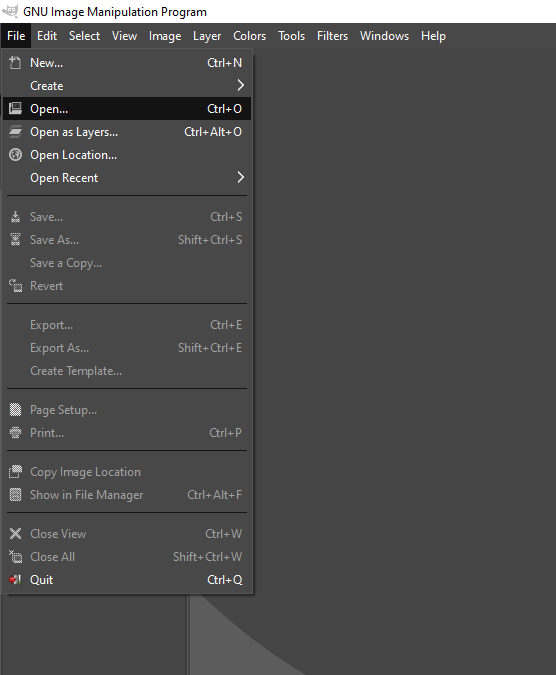
Step 2: Let’s start by opening an image by going in the File menu, then open or press Ctrl + O.
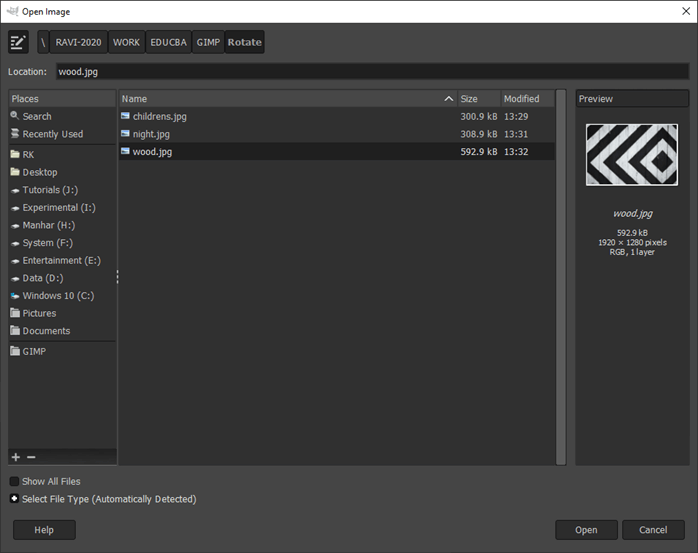
Step 3: Then navigate to the downloaded image and open it in GIMP
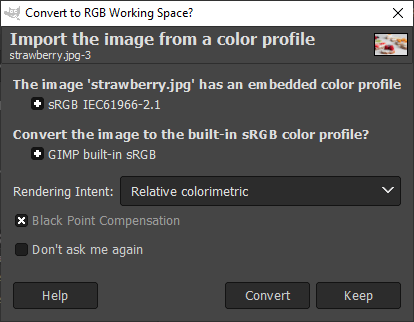
Step 4: If asked to convert to RGB Working space, then convert it. In this case, this image already has a color profile embedded in it which will be mapped to GIMP built-in sRGB space.
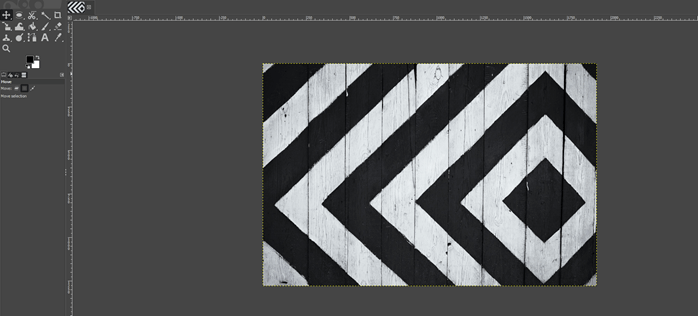
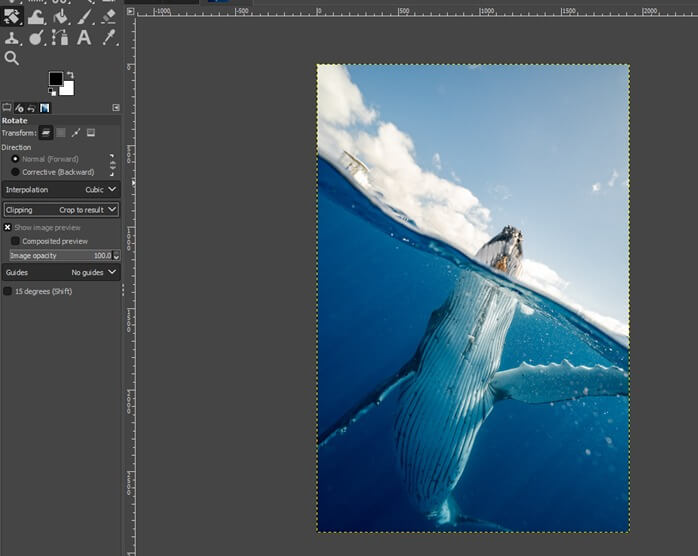
Step 5: Now we have opened the image, we will rotate this using the rotate tool.
Step 6: Depending on which tool you have used last rotate tool might be beneath the unified transform tool. Click and hold to select rotate tool or press the shortcut key Shift + R

Step 7: Now, you can drag and move around until you are satisfied with the rotation, then click on the rotate in the popup on the right side, which will finalize the rotation.
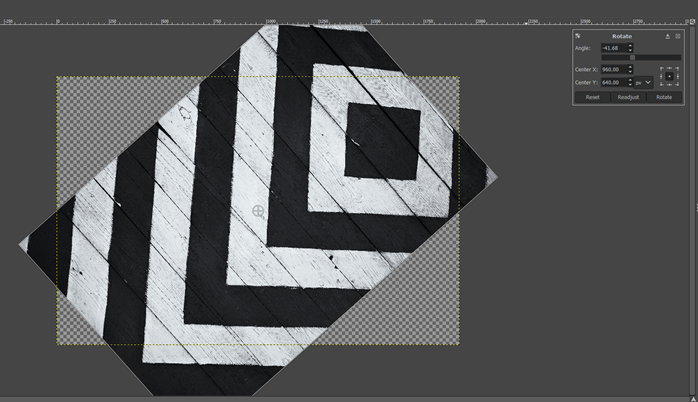
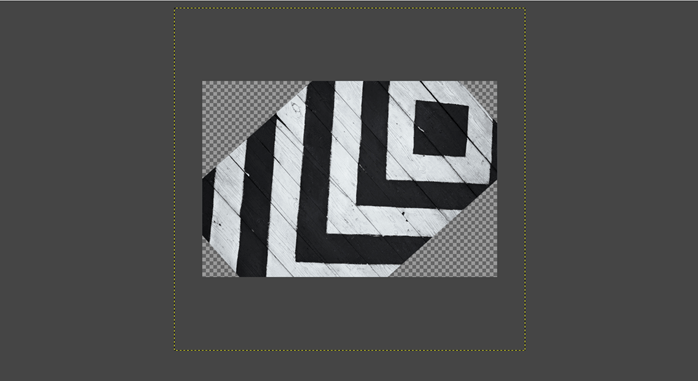
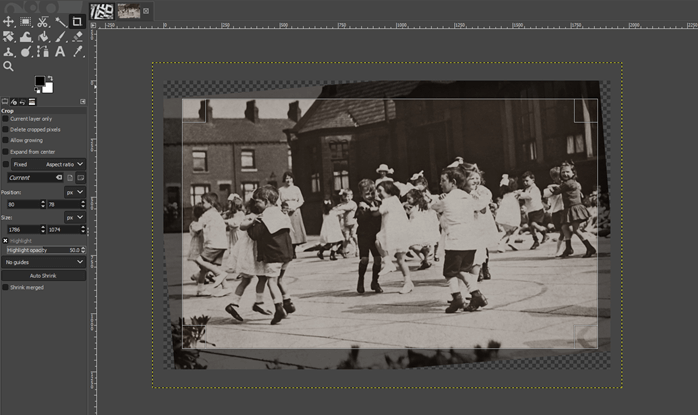
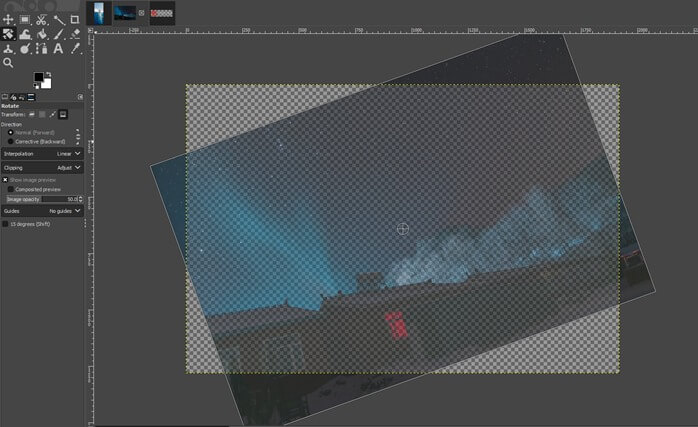
Step 8: As we can see, the image is rotated, and we have some space transparent, and the image is not cut off, just that the composition will be trimmed in this manner. As we can see, the yellow border for the extent of the image.
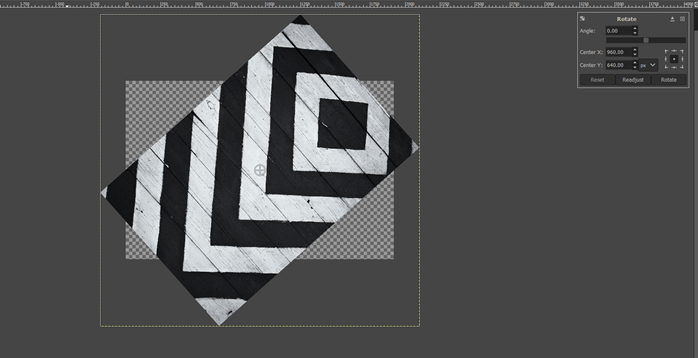
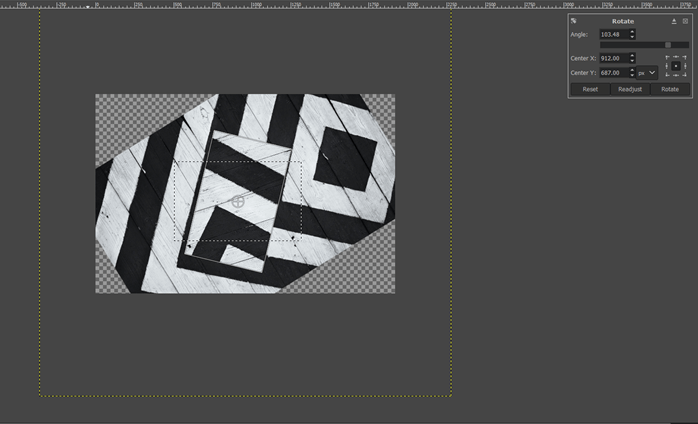
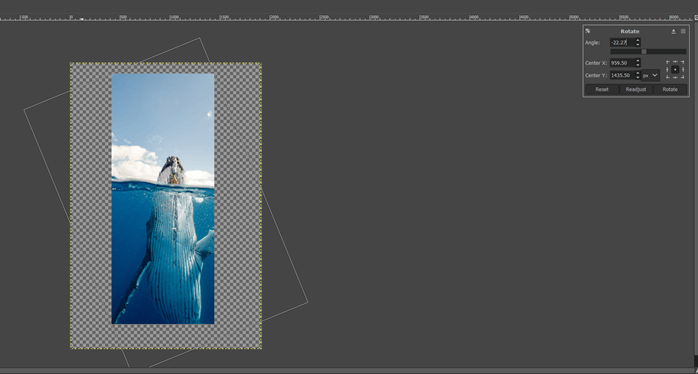
Step 9: Again, when you click on the rotate tool, the popup on the right will appear, and the entire image will appear; now, instead of dragging the image, we can adjust to a specific angle by typing in the angle we want or dragging the slider underneath the angle value. We can also change the center of rotation using the x and y coordinates, or we can align the center to the corner or side of the image using the grid icon. You can even change the unit of adjustment by changing the center of rotation.
Step 10: Till now, we have rotated the entire image, but if we want to rotate a part of it, then we can use selection tools like the rectangle select tool or ellipse select tool and select a part of the image as shown.
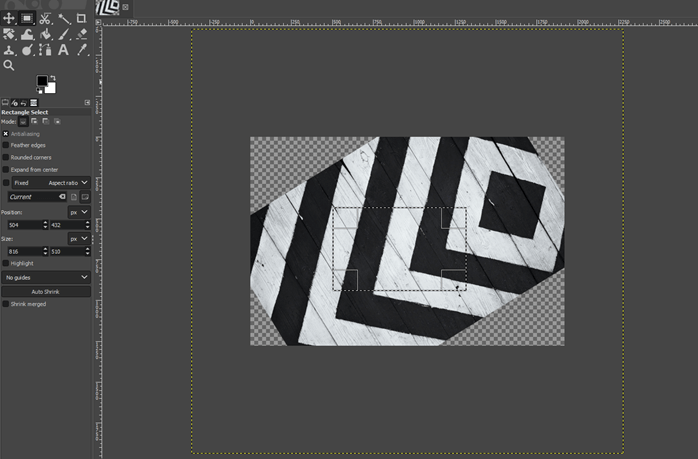
Step 11: Now again, use the rotate tool or press shift + R to rotate the part of the image and adjust as you wish by dragging or using the rotate dialog box.
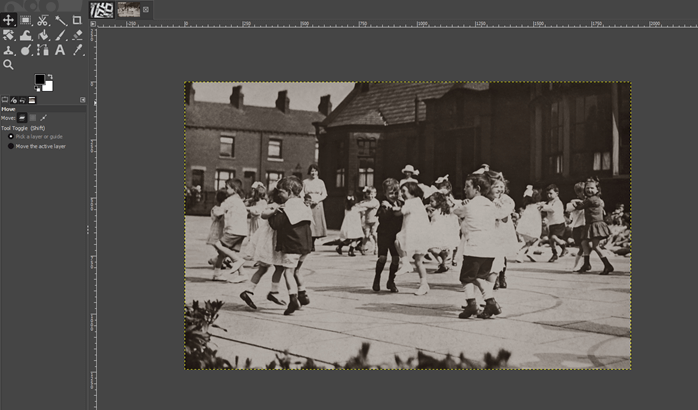
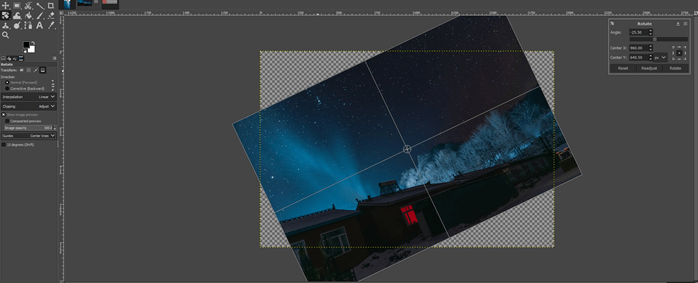
Step 12: Let’s open another image in which we can see the building is not parallel to the horizon, so we can rotate and crop the image to make it straight.
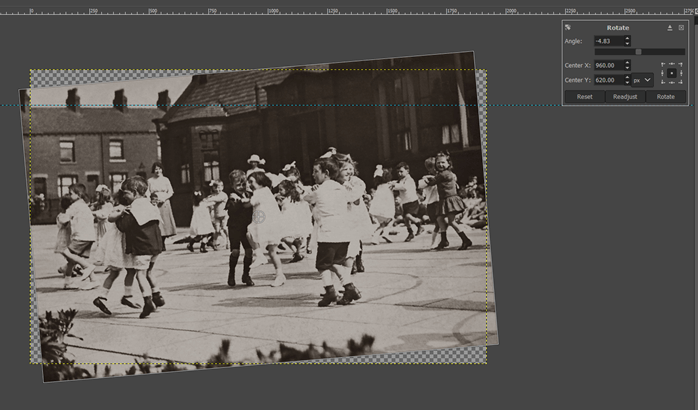
Step 13: One way is that you can use the rotate tool and eyeball the angle, or you can use guides for help
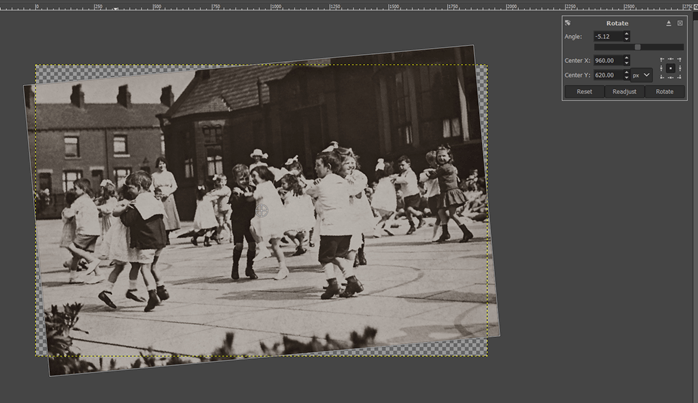
Step 14: Drag a horizontal guide from the top and then use the rotate tool to align the angle to the guide.
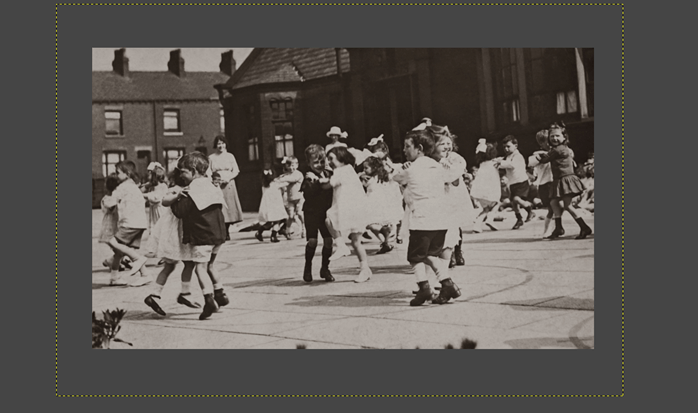
Step 15: Then use the crop tool to remove the transparent area and press enter.
Step 16: So, we can see that the horizon is perfect and not tilted, and this is another use of the rotate tool.
Step 17: To be more efficient, we can perform both rotation and crop in one step. We have a clipping option in rotate options now to adjust, but we will change to crop to result.
Step 18: Now, when you will rotate the image, it will be cropped automatically.
Step 19: Now, we can just crop the required part of the image using the crop tool. So, in this way, the process of cropping is simplified.

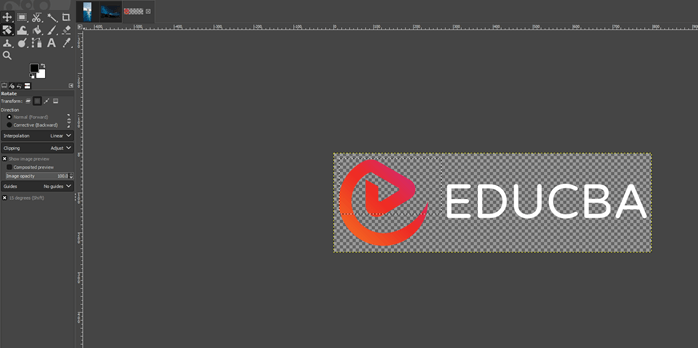
Step 20: Up until now, we have performed rotation transform on the layer, but we can also perform on a selection. As you can see, we have performed a rectangular selection in this logo now; we can rotate it.
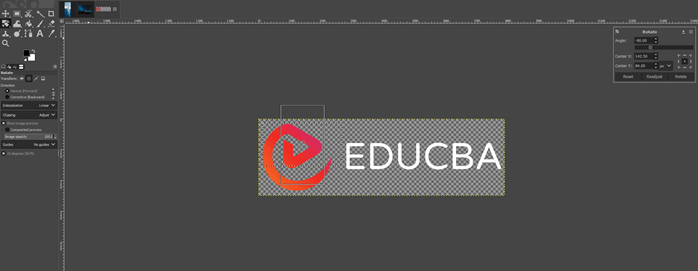
Step 21: Now, we can rotate the selection. One tip is pressing shift will lock the rotation to 15 degrees increments, or you can click on the option of rotation on the left.
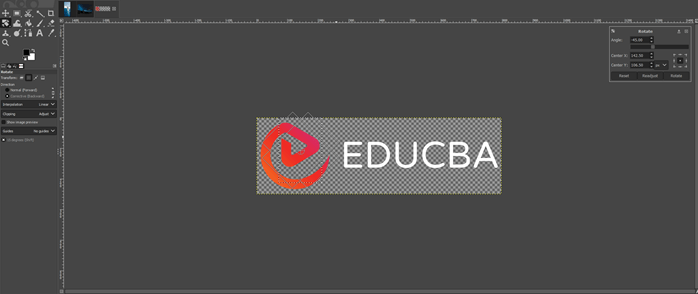
Step 22: Another option is corrective backwards, which will rotate in the opposite direction in which you drag. This is used for repairing digital images.
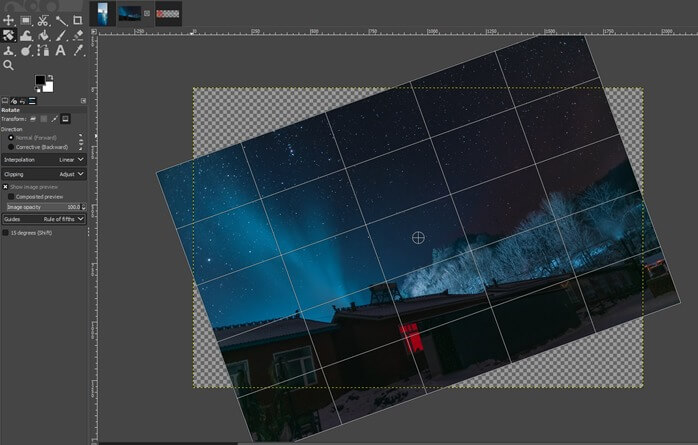
Step 23: Now, we will see the image rotation, which is the fourth tab and if it works similar to the layer, but in this, we have turned on guides to the centerline.
Step 24: This is the guide for the rule of thirds if you want to adjust the composition in that way.

Step 25: The rule of fifth looks something like this.
Step 26: This guide represents golden sections.

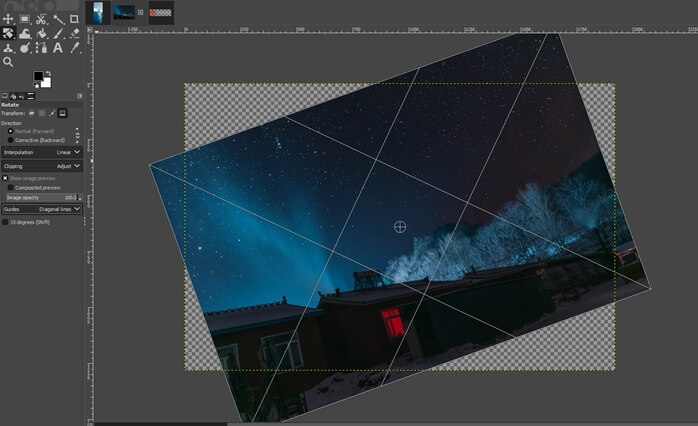
Step 27: This represents Diagonal lines of guides.
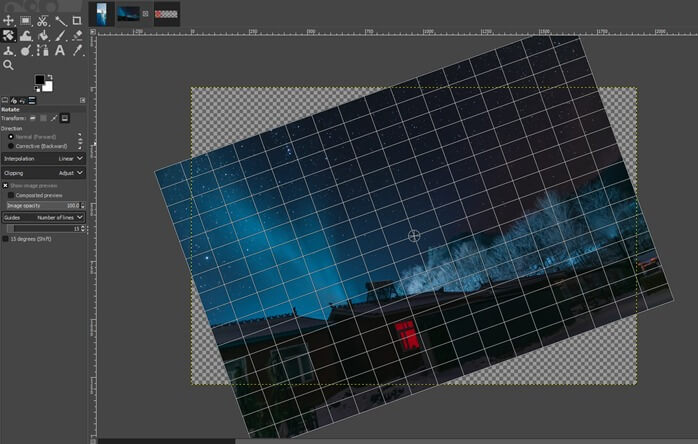
Step 28: You can even set it to a custom number of lines and set the number of lines as required.
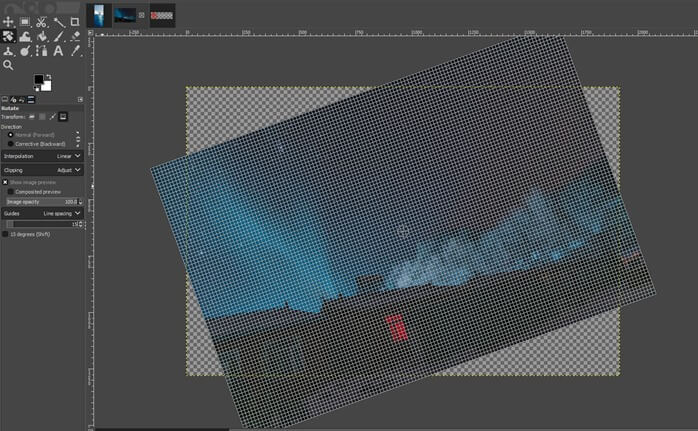
Step 29: Or you can set line spacing which gives guides spaced appropriate distance; if we increase the distance, then the lines will be reduced, and if we decrease the distance, lines will be increased.
Step 30: We can also change the opacity of the image preview if it is checked on. You can also turn off the preview which will only display outlines.
Conclusion
In this article, we have seen how we can perform a rotation in GIMP. First, we have seen how the rotate tools work and what are the available options. Then we have seen some practical applications of rotation like straitening the image horizon; then, we have seen some advanced rotation options and usage of guides for better alignment of the image.
Recommended Articles
This is a guide to GIMP rotate. Here we discuss how we can perform a rotation in GIMP and how the rotate tools work along with the steps. You may also look at the following articles to learn more –
