Updated June 9, 2023
Introduction to GIMP Deselect
Deselect is an option or command in any graphics software through which you can enable any selection around any object of image or shape of any document. By selection, you can understand a path made by you using a different type of selection tool of that software around any object for a different type of manipulation or illustration work. In GIMP, we also use selection tools for making selection around any object or for making any shape, and after that, we have to enable their selection, so we use the deselect option of GIMP. So today, we will discuss all the important aspects which will include in the deselection process. So let us start our learning.
How to Deselect in GIMP?
You can use this option on any selection that means selection made by using any technique or tools of GIMP. But Before starting, I think you should know different tabs and option as well as the name of the contents of the User screen of this software so that you can better understand this option throughout this topic.
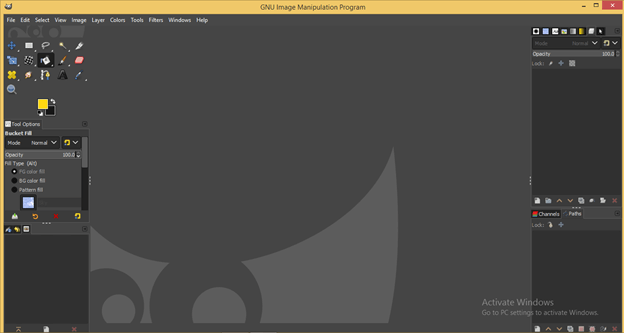
So let us start from the top of the user screen. At the top of the user screen of GIMP, we have a Menu bar where you will find the number of menus such as File menu, Edit menu, Select menu, and some other these menus helps us throughout our working. Below this, you will find a tool panel on the left side which has several tools for making our work easy in this software; below this tool panel, you can see properties and parameters of active tool and can make a change in parameters if requires, moving to the right side of this panel you will have a display window in which you can see your current working and next to this window at the right side we have layers panel with some other important panels.
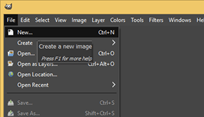
We are now starting our learning; go to the File menu of the menu bar to have a new document. Once you click on it, a scroll-down list will be open, click on the New option of scroll down list, or you can press Ctrl + N as the short cut key of this option.
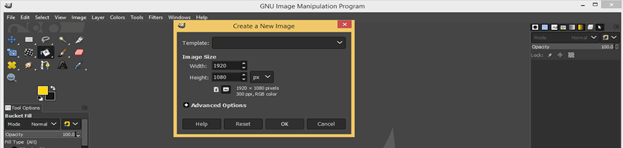
You can make your desired settings in the ‘Create New Image’ dialog box, which will give us a document in the display window area. I will take the default parameter in this box and hit on this dialogue box’s OK button.
Now go to the tool panel of GIMP, which is on the left side of the user screen and take the Rectangle select tool by click on it or you can simply press R as the shortcut key of this tool.
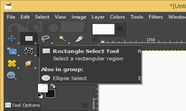
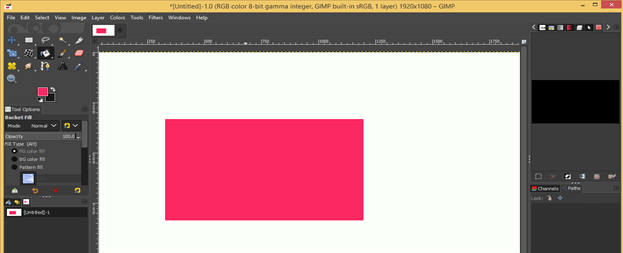
Make a rectangle by using this tool as I made.
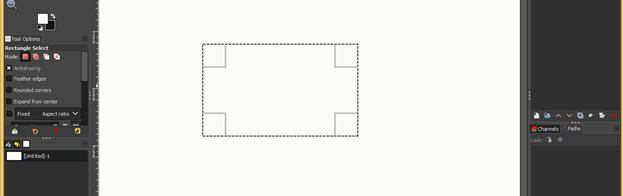
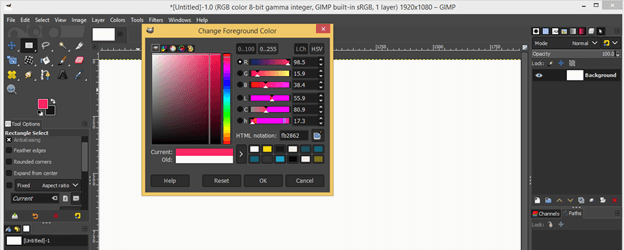
This is only a selection so let us fill it with color. Go to the tool panel and click on the foreground color box for choosing your desired color. I will choose this pink color. You can go with your desired color and hit the OK button in the ‘Change Foreground Color’ box.
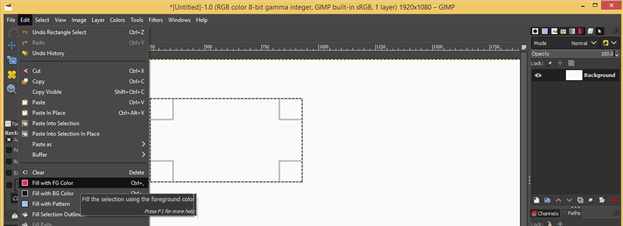
Now go to the Menu bar and click on the Edit menu. Once you click on it, a scroll-down list will be open; click on the Fill with FG color option if you want to fill your selection with the foreground color, or you can click on Fill with BG color if you want to fill your selection with the background color of the color box.
Or you can go to the tool panel and take the Bucket tool from there, or you can press Shift + B as the shortcut key of this tool.
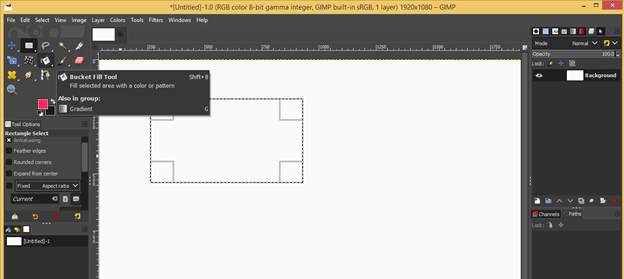
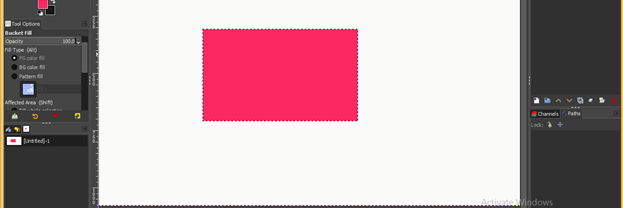
After taking the bucket tool, you just have to click inside your desired selection, and the foreground color of the color box will fill in your selection like this.
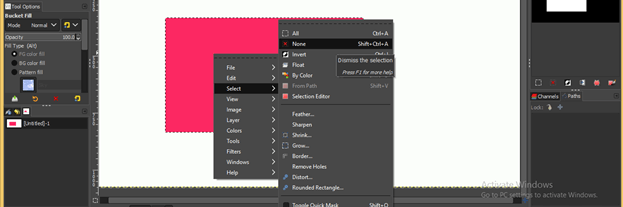
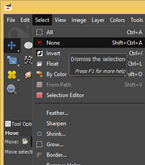
Now I want to enable selection around this rectangle. So for that, just make right-click on it, and a scroll-down list will be open, go to the ‘Select’ option, and you will see a new scroll down list. Here make a click on the ‘None’ option of this list.
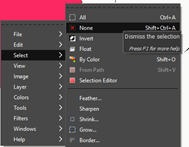
Or you can go to the Menu bar and click on the Select menu. Here you will find a scroll-down list like this and have the same option that is ‘None’. Just click on it.
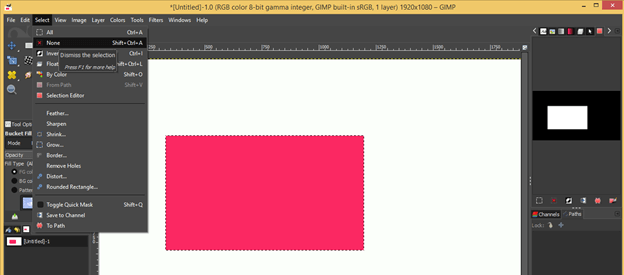
And selection will enable around this rectangle like this.
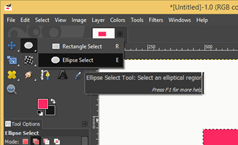
Let us understand one more thing about the deselect option. So for that, again, go to the tool panel of GIMP and take ‘Ellipse Select tool’ or press E as the shortcut of this tool.
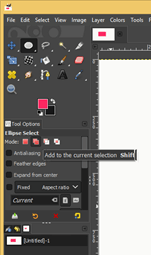
Before making a circle with this tool, enable this Add to the current selection option of this tool in the parameters section of it. After enabling this, when you make a new selection with the ellipse tool previous selection will not remove. For example, I don’t want to enable selection around rectangle at this time and want to make a new selection with the ellipse tool, so I will enable the ‘Add to current selection option’.
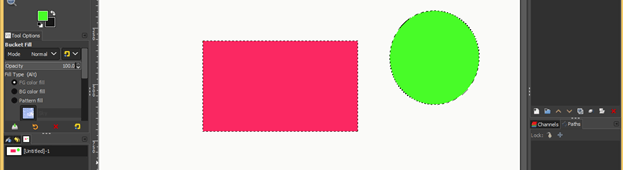
Now make a circle like this.
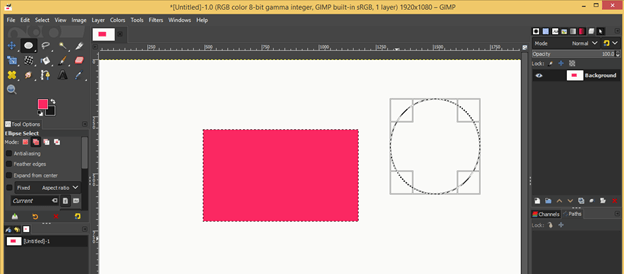
Fill it will your desired color. I will fill it with this color by using the bucket tool of the tool panel. You can use other filling options from the Edit menu of the Menu bar. Now we have two active selections in our document area. One is around the rectangle, and the second is around the circle.
Let us see what will happen this time when we click on the ‘None’ option. For this, you can go any one of the above-discussed methods. Which is, you can go on the Select menu of the menu bar and click on the None option of scroll-down list it, or you can make right-click anywhere on the document area then go to the Select option and then click on the None option.
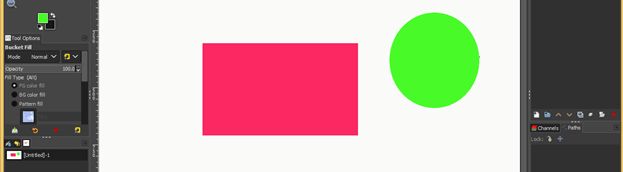
And once you click on the None option, you will have your all selection enable like this.
This way, you can use the deselect option in GIMP.
Conclusion
Now, after going through this exciting article of EDUCBA, you must have great knowledge about the deselect option of GIMP, and it will be no more new word for you. You should try it on photo manipulation work of GIMP also for a better understanding of this option.
Recommended Articles
This is a guide to GIMP deselect. Here we discuss How to Deselect in GIMP and all the important aspects which will include in the deselection process. You may also have a look at the following articles to learn more –
