Introduction to Fix Perspective in Photoshop
Photoshop is one of the raster image editing software that the graphics editing professionals use for their professional work. We can make any types of corrections to our Photos by using different software features. Fix perspective is one of those features. By these features, we can adjust the perspective point of objects of an image as per our requirement and get our desired result for our work. Here in this article, we will discuss how to fix our image’s perspective and understand the different handling parameters of techniques used in this process. So let us start our discussion in a very exciting manner.
How to Use Fix Perspective in Photoshop?
We can use fix the perspective feature in Photoshop by following just a few simple steps for making the change in the perspective view of the objects of our image. But before starting our learning about this topic, let us have a look at the working screen of this software for our better understanding throughout this article.
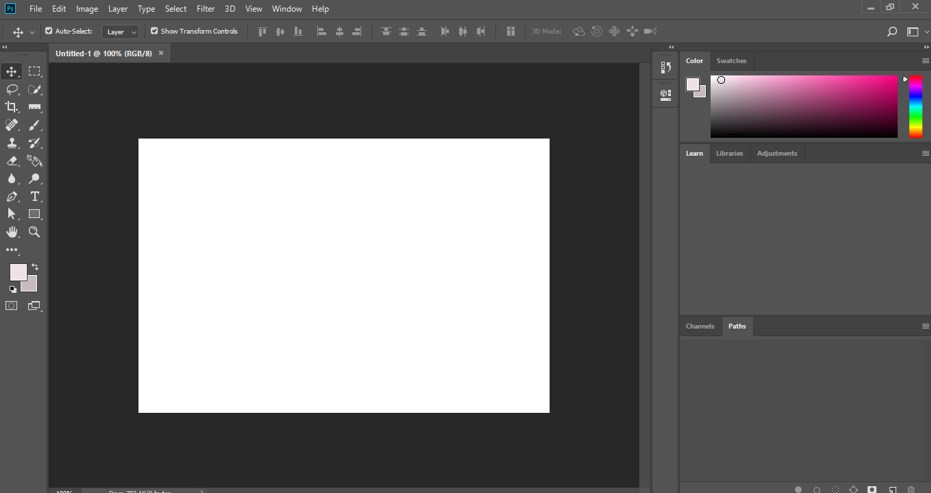
Step 1: At the top of the working screen there is a Menu bar which has a number of Menus for handling different type of parameters during our work in this software, below this we have property bar of our active tool for handling parameters of our tool throughout our work, below this property bar we have three sections at the left side we have tool panel with a number of tools in it, at the center of this section we have display window in which we can see our current working, at the right side of this display window we have some panels such as color panel, layer panel and some other for managing our work in this software. You can adjust all these sections according to your requirement at any place on the working screen.
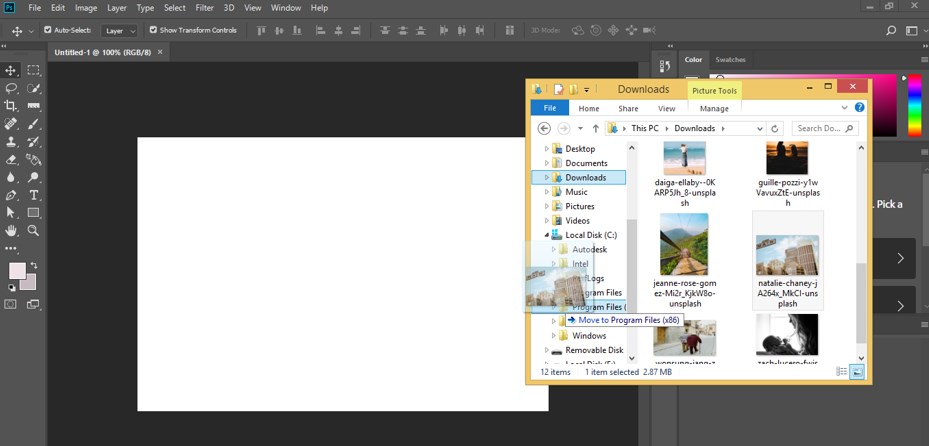
Step 2: Now, let us have an image on which we have a distorted perspective view. For placing an image in this software, just go to the folder of your personal computer where you have saved your image and open that folder. Now pick that image from there, then drops it in the display window area of this software with the help of the mouse left button.
Step 3: Now adjust the size of your image on the document screen of this software according to you and make click on the ‘commit transform’ button or press the enter button of the keyboard for applying your settings on this image.

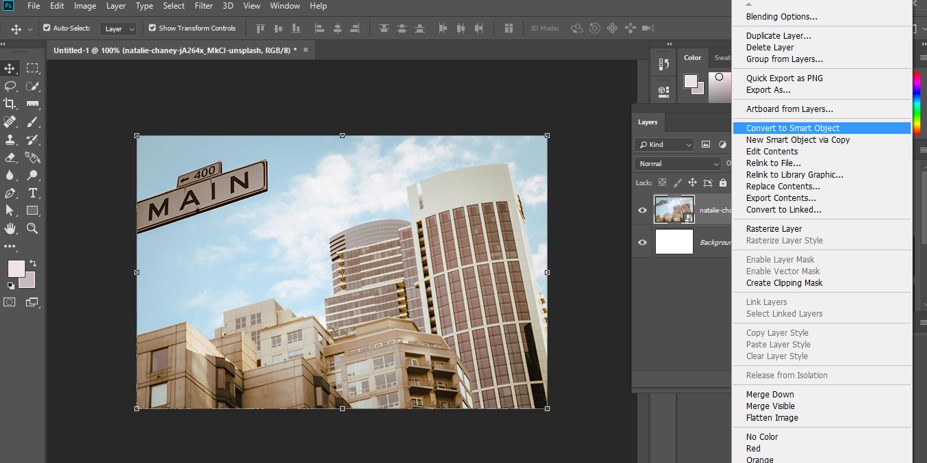
Step 4: Now go to the layer panel of this software and select the image layer by click on it with the mouse left button. Now make right-click on this image layer with the mouse right button. A drop-down list will be open choose ‘convert to smart object’ option from the drop-down list.
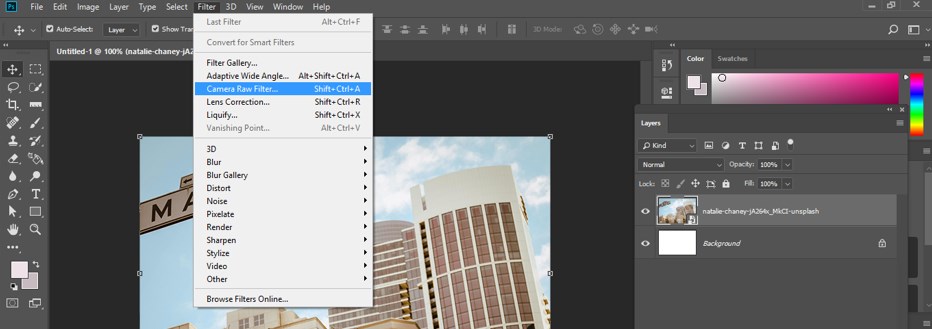
Step 5: Now go to the menu bar of this software which is at the top of the working screen. Now click on the Filter menu of the menu bar. A drop-down list will be open; choose the Camera Raw Filter option from this list, or you can press Shift + Ctrl + A as a short button from the keyboard.
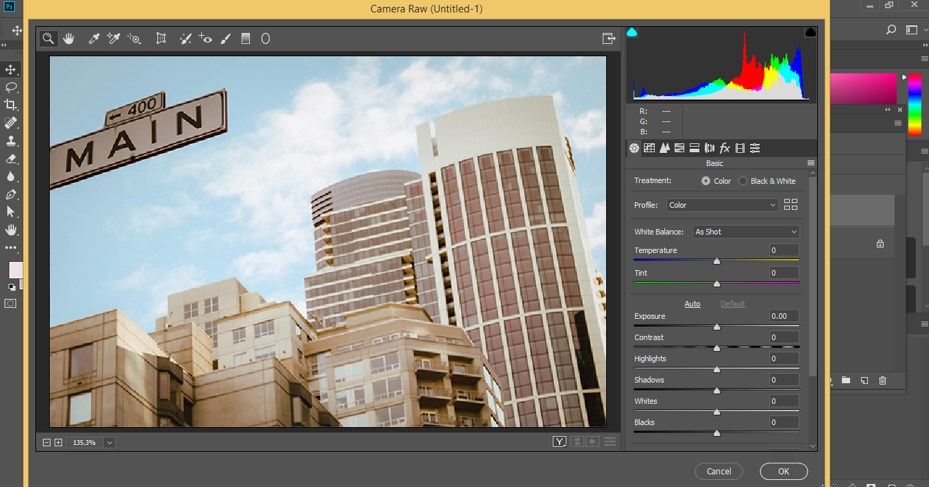
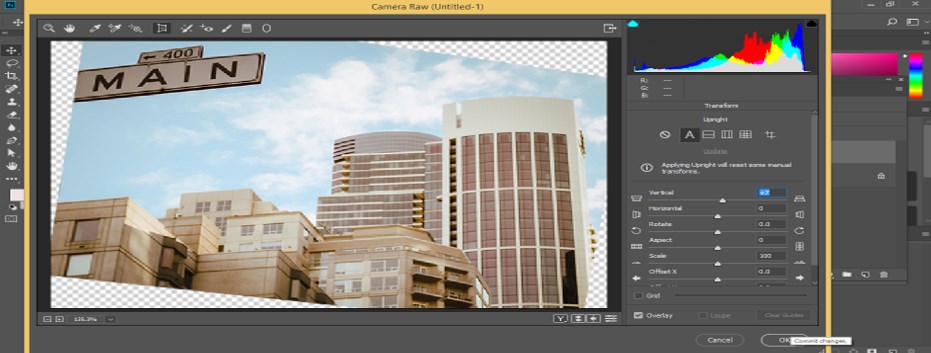
Step 6: Once you choose this option, a Camera Raw window will be open like this in a separate window screen.
Step 7: Now click on the Transform Tool option of this window, or you can press the shift + T button from the keyboard for perspective settings.
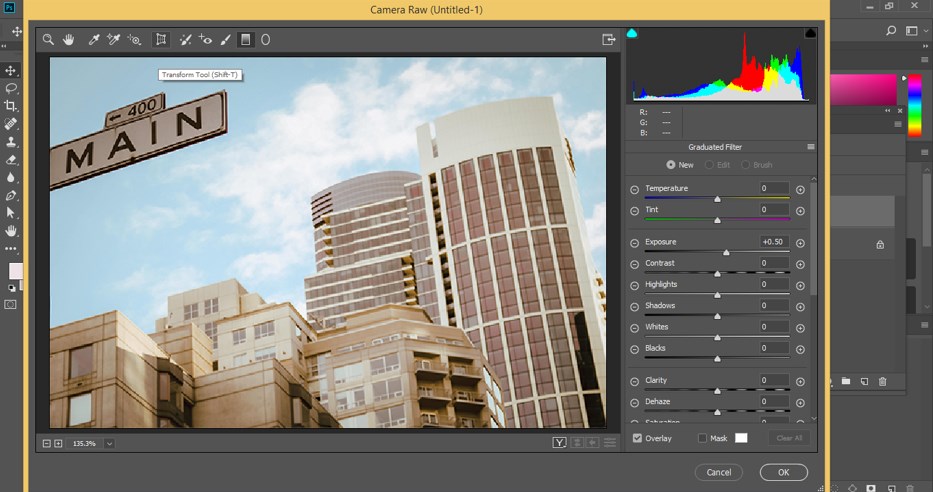
Step 8: Once you click on this option, parameters of perspective settings will be open at the right side of this window in parameter sections like this.
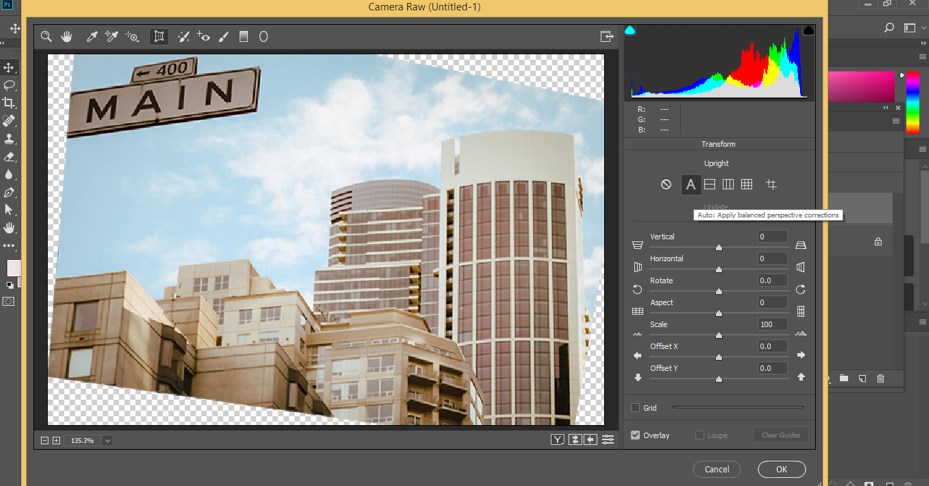
Step 9: Here, you can click on this Auto-correction icon, and once you click on this Auto-correction icon, it will automatically adjust the distorted perspective of your image and align it vertically and horizontally like this.
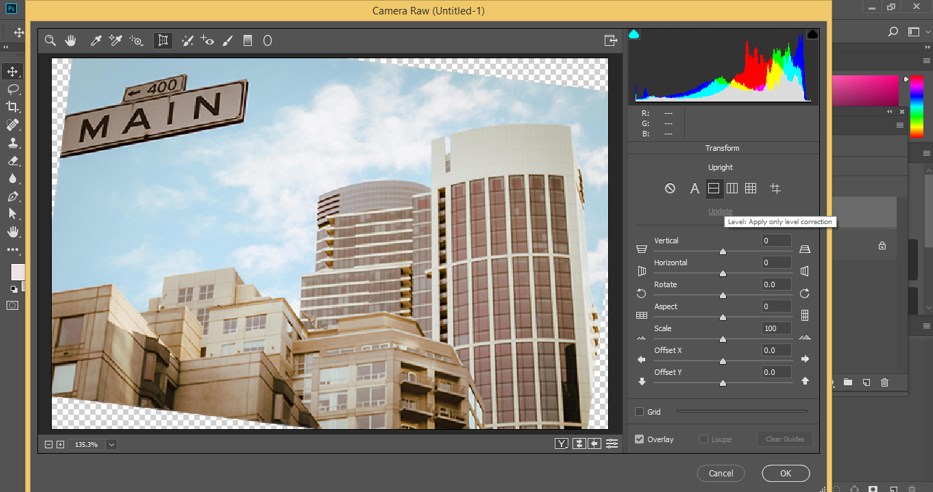
Step 10: You can click on this Level option, and when you click on this, it will align levels of your image for adjusting perspective points of your image.
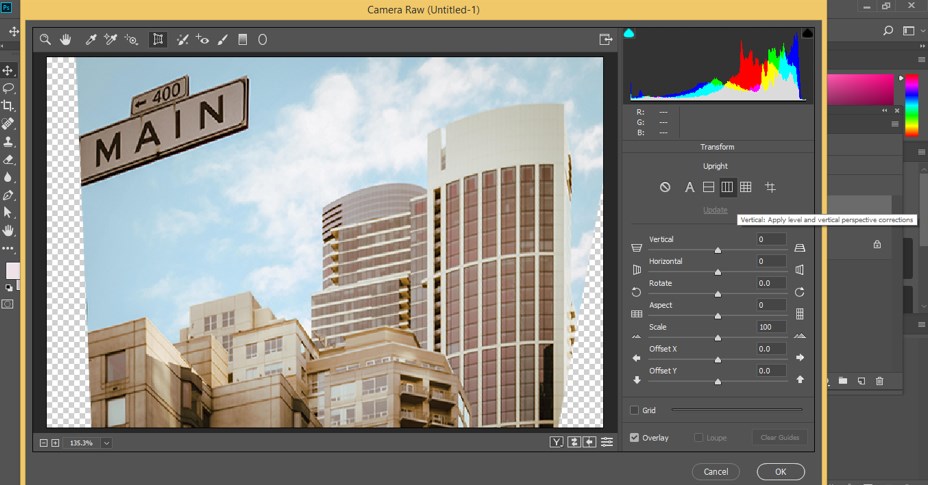
Step 11: If you want to fix perspective points only in your image’s vertical direction, you can click on this Vertical option.
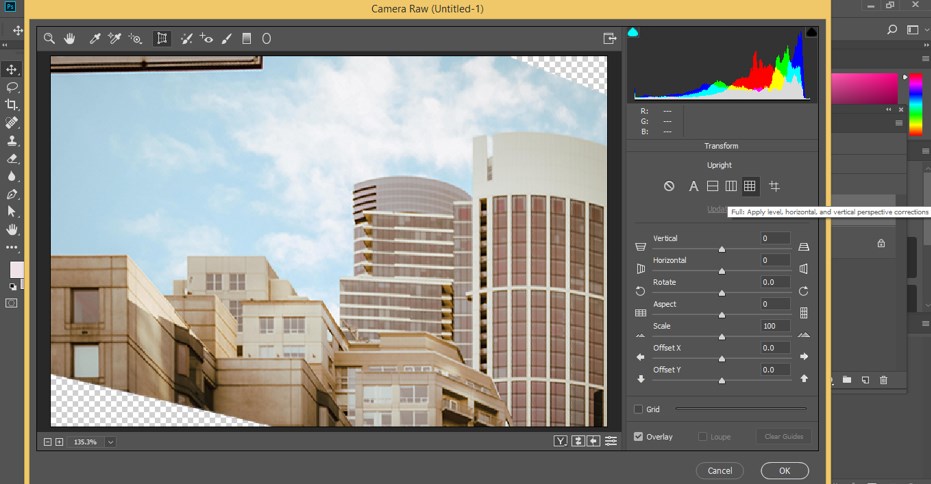
Step 12: If you click on the Full option, then it will make perspective correction in your image by using all three options that are level, vertical, and horizontal.
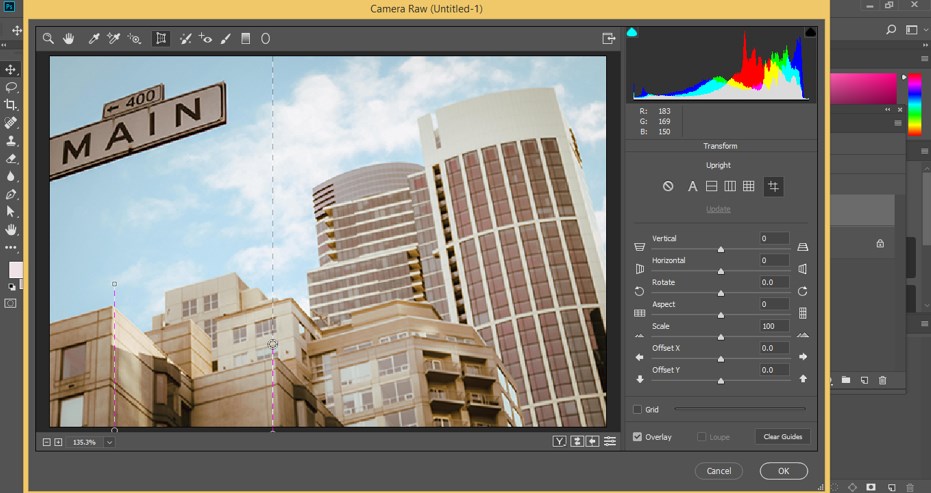
Step 13: By the Guide option, you can make a guideline along which it will correct perspective points in your image. Just click on this option with the mouse button.
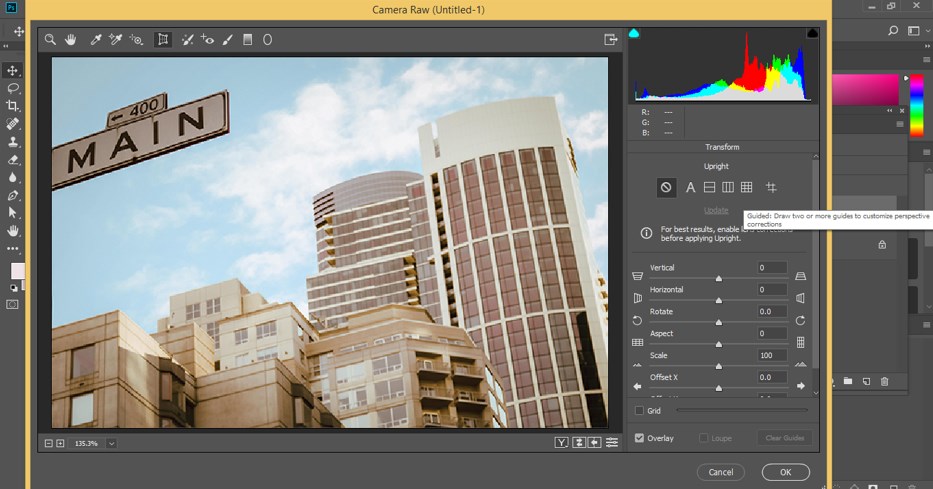
Step 14: And make guidelines according to any vertical or horizontal line of your image. I will make two vertical lines like this, and it will change the perspective point of my image by considering these two lines as the reference lines.
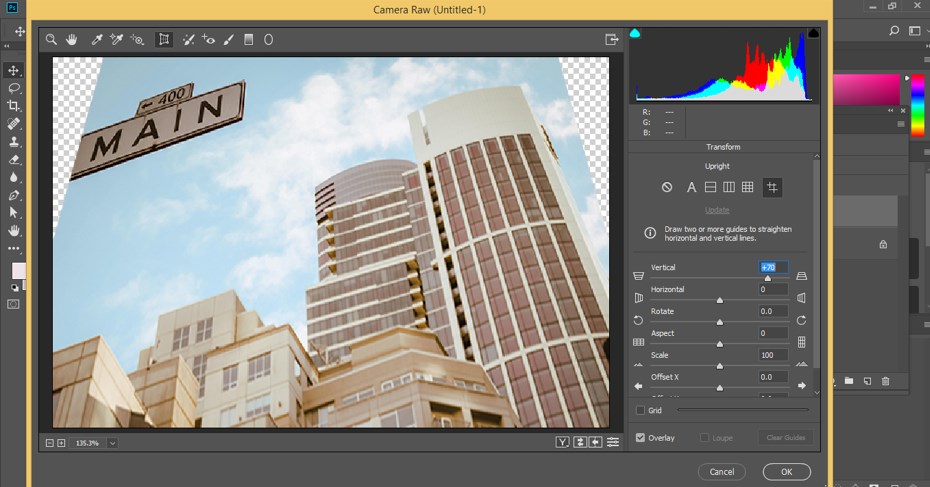
Step 15: Below this, we have some values of different parameters that we can adjust manually. By changing the value of the Vertical option, you can make a change in the vertical proportion of this image like this.
Step 16: By changing the Horizontal option’s value, you can make a change in the horizontal proportion of this image like this.

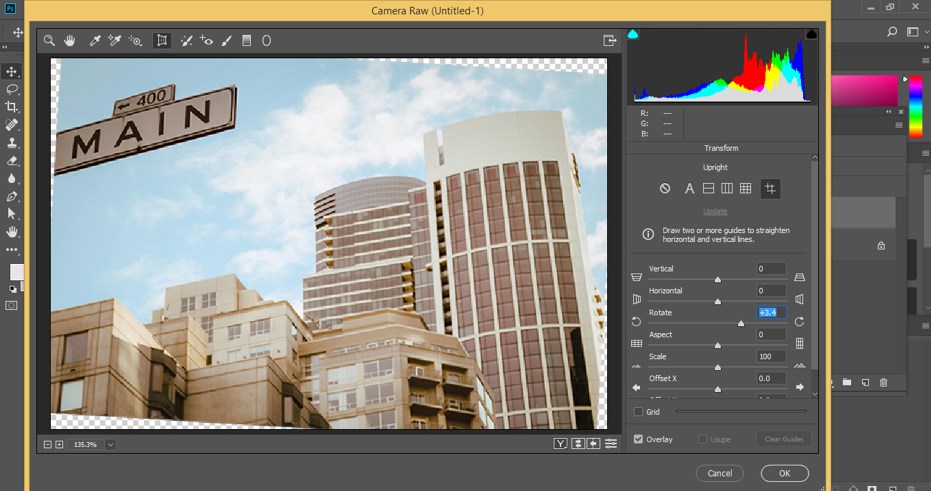
Step 17: By change the value of the Rotation option, you can rotate your image at any particular angle like this.
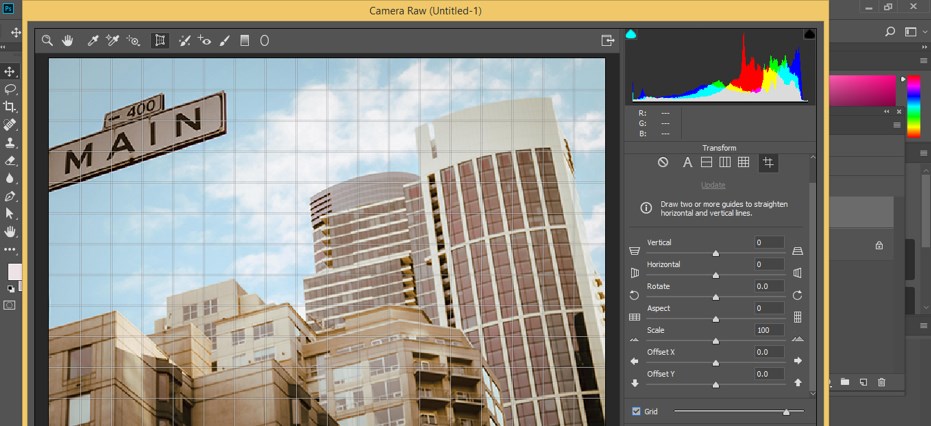
Step 18: You can scale up or down your image as per your requirement from the Scale option of these parameters. You can On-Grid to see the grid line on your image by grid option and increase the number of the grid by increasing the value of the grid option by dragging the grid slider.
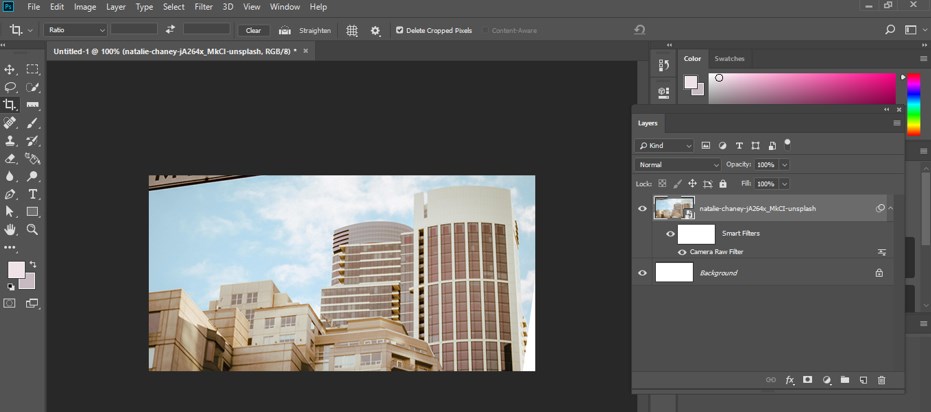
Step 19: Once you have done all your settings according to you, click on this Ok button to apply your settings to your image.
Step 20: Now, you can crop unwanted areas of your image by using this software’s crop tools.

Step 21: And your image with changed perspective points will look like this.
Conclusion
Now, after this article, you can understand what a fix perspective is and how you can handle its parameters for getting the best result in your editing work. You can have a good command of these types of features of this software after practicing on them.
Recommended Articles
This is a guide to Fix Perspective in Photoshop. Here we discuss the introduction and use Fix Perspective in Photoshop in a step-by-step manner. You can also go through our other related articles to learn more –
