Updated June 23, 2023

Introduction to CSS Cursor Hand
While designing pages in HTML, you might want to change the style of the mouse cursor according to the context. For example, when the page is loading cursor sign will be of one type; when the help section hovers, the cursor will change again, etc. To implement this, cursor properties allow indicating which type of cursors should be shown to the user according to the required scenarios like “wait”, “help”, “move” etc., in your HTML code. In this article, we will see how we can use the design of different types of cursors in some examples.
Syntax:
cursor: value;Now the question is, what are the different values? Those are different types of cursors. For this, refer to the below table of values where various cursor types are described.
| Value | Description |
| alias | Denotes the creation of an alias |
| all-scroll | Denotes scrolling in any direction |
| auto | Default cursor as set in the browser |
| cell | Denotes when a cell is selected |
| context-menu | Denotes when the contextual menu is readily available |
| col-resize | Denotes column size can be resized in a horizontal fashion |
| copy | Denotes copy the action of something |
| crosshair | The crosshair symbol is indicated |
| default | This is by default came. |
| e-resize | Denotes you can move or resize to east or right |
| ew-resize | Denotes you can move in both east and west directions |
| grab | Denotes you can grab something |
| grabbing | Denotes you can grab something |
| help | Denotes help section |
| move | Denotes movement |
| n-resize | Denotes you can move to both north direction |
| ne-resize | Denotes you can move in both north and east directions |
| nesw-resize | Denotes you can move to both north-east and south-west directions |
| ns-resize | Denotes you can move in both north and south directions |
| nw-resize | Denotes you can move in both north and west directions |
| nwse-resize | Indicates a bidirectional resize cursor |
| no-drop | Denotes that you cannot drop anything here. |
| none | Denotes that cursor is not available for this area |
| not-allowed | Denotes forbidden action |
| pointer | Denotes pointer to a link |
| progress | Denotes progressiveness or advancement |
| row-resize | Denotes the possibility of vertical resize of row. |
| s-resize | Denotes you can move to both south direction |
| se-resize | Denotes you can move in both south and east directions |
| sw-resize | Denotes you can move in both south and east directions |
| text | Denotes the possibility of selection of text |
| URL | Denotes comma-separated URLs |
| vertical-text | Denotes the possibility of selection of text vertically |
| w-resize | Denotes you can move to both west direction |
| wait | Denotes business of program |
| zoom-in | Denotes zoom-in is a possibility here |
| zoom-out | Denotes zoom out is a possibility here |
How is Cursor Hand Done in CSS?
You need to mention the required cursor as per the syntax in your HTML code to get that cursor in the output. That is it!! You can refer to the example section with code to see how to implement cursor styles.
Let’s look at a few examples to understand this well.
Example #1 – Wait Cursor
In this example, we will see how the “wait” cursor is being implemented in our HTML code with the help of CSS. You can see the cursor picture in the output for better understanding and visibility.
Code:
<html>
<head>
</head>
<body>
<div style="cursor:wait">Please wait while excel is opening</div>
</body>
</html>
Output:
![]()
Example #2 – Help Cursor
In this example, we will see how the “help” cursor is being implemented in our HTML code with the help of CSS. You can see the cursor picture in the output for better understanding and visibility.
Code:
<html>
<head>
</head>
<body>
<div style="cursor:help">Kindly refer this section for more help</div>
</body>
</html>
Output:

Example #3 – Crosshair Cursor
In this example, we will see how the “crosshair” cursor is being implemented in our HTML code with the help of CSS. You can see the cursor picture in the output for better understanding and visibility.
Code:
<html>
<head>
</head>
<body>
<div style="cursor:crosshair">Love to play shooting game?</div>
</body>
</html>
Output:

In the next three examples, we will list almost all possible types of cursors in three different sections. When you run the code, hover the mouse onto other names of cursors to see their pictures.
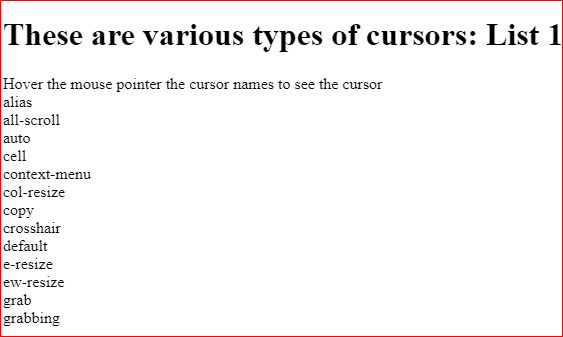
Example #4 – List 1
Code:
<!DOCTYPE html>
<html>
<head>
<style>
.alias {cursor: alias;}
.all-scroll {cursor: all-scroll;}
.auto {cursor: auto;}
.cell {cursor: cell;}
.context-menu {cursor: context-menu;}
.col-resize {cursor: col-resize;}
.copy {cursor: copy;}
.crosshair {cursor: crosshair;}
.default {cursor: default;}
.e-resize {cursor: e-resize;}
.ew-resize {cursor: ew-resize;}
.grab {cursor: -webkit-grab; cursor: grab;}
.grabbing {cursor: -webkit-grabbing; cursor: grabbing;}
</style>
</head>
<body>
<h1> These are various types of cursors: List 1 </h1>
<div>Hover the mouse pointer the cursor names to see the cursor </div>
<div class="alias">alias</div>
<div class="all-scroll">all-scroll</div>
<div class="auto">auto</div>
<div class="cell">cell</div>
<div class="context-menu">context-menu</div>
<div class="col-resize">col-resize</div>
<div class="copy">copy</div>
<div class="crosshair">crosshair</div>
<div class="default">default</div>
<div class="e-resize">e-resize</div>
<div class="ew-resize">ew-resize</div>
<div class="grab">grab</div>
<div class="grabbing">grabbing</div>
</body>
</html>
Output:
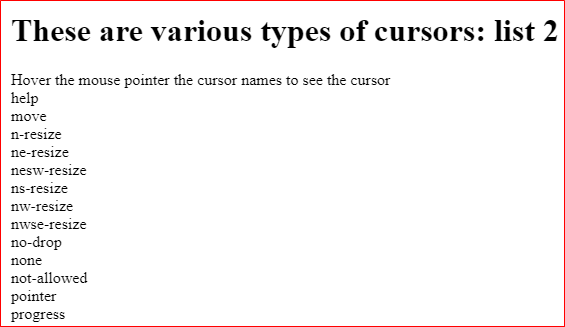
Example #5 – List 2
Code:
<!DOCTYPE html>
<html>
<head>
<style>
.help {cursor: help;}
.move {cursor: move;}
.n-resize {cursor: n-resize;}
.ne-resize {cursor: ne-resize;}
.nesw-resize {cursor: nesw-resize;}
.ns-resize {cursor: ns-resize;}
.nw-resize {cursor: nw-resize;}
.nwse-resize {cursor: nwse-resize;}
.no-drop {cursor: no-drop;}
.none {cursor: none;}
.not-allowed {cursor: not-allowed;}
.pointer {cursor: pointer;}
.progress {cursor: progress;}
</style>
</head>
<body>
<h1> These are various types of cursors: list 2 </h1>
<div> Hover the mouse pointer the cursor names to see the cursor </div>
<div class="help">help</div>
<div class="move">move</div>
<div class="n-resize">n-resize</div>
<div class="ne-resize">ne-resize</div>
<div class="nesw-resize">nesw-resize</div>
<div class="ns-resize">ns-resize</div>
<div class="nw-resize">nw-resize</div>
<div class="nwse-resize">nwse-resize</div>
<div class="no-drop">no-drop</div>
<div class="none">none</div>
<div class="not-allowed">not-allowed</div>
<div class="pointer">pointer</div>
<div class="progress">progress</div>
</body>
</html>
Output:
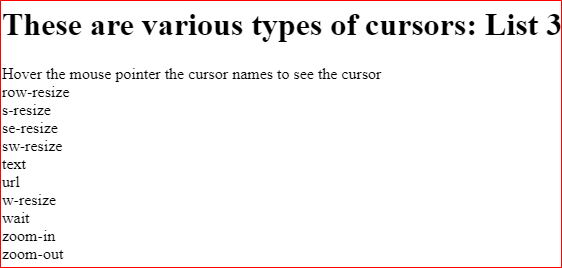
Example #6 – List 3
Code:
<!DOCTYPE html>
<html>
<head>
<style>
.row-resize {cursor: row-resize;}
.s-resize {cursor: s-resize;}
.se-resize {cursor: se-resize;}
.sw-resize {cursor: sw-resize;}
.text {cursor: text;}
.url {cursor: url(myBall.cur),auto;}
.w-resize {cursor: w-resize;}
.wait {cursor: wait;}
.zoom-in {cursor: zoom-in;}
.zoom-out {cursor: zoom-out;}
</style>
</head>
<body>
<h1>These are various types of cursors: List 3 </h1>
<div> Hover the mouse pointer the cursor names to see the cursor </div>
<div class="row-resize">row-resize</div>
<div class="s-resize">s-resize</div>
<div class="se-resize">se-resize</div>
<div class="sw-resize">sw-resize</div>
<div class="text">text</div>
<div class="url">url</div>
<div class="w-resize">w-resize</div>
<div class="wait">wait</div>
<div class="zoom-in">zoom-in</div>
<div class="zoom-out">zoom-out</div>
</body>
</html>
Output:
Conclusion – CSS Cursor Hand
This concludes our learning of the topic “CSS Cursor Hand”. You can see how we implemented different cursors in our HTML code examples by CSS. Learning codes will be incomplete if you will not write code by yourself.
Recommended Articles
We hope that this EDUCBA information on “CSS Cursor Hand” was beneficial to you. You can view EDUCBA’s recommended articles for more information.

