Updated August 25, 2023
Introduction to Crop Tool
The crop tool is nothing but selecting an area which we needed and removing the remaining area from the image; when we select an area, the remaining part will be transparent if we click to enter, the remaining deselected area will disappear, and the selected area will become full fame picture, we have some types of crops options Crop is used in every editing software’s like video editing and photo editing, in Photoshop it is used mostly for photo studio purpose, they crop the normal photos to passport and other photo sizes. We use crop mostly when we need to change the size of the images, and also if we think some part of the image is enough to our requirement, then we delete the rest with the help of crop tool; there is a lot of crop options which help us very much.
How to Use Crop Tool in Photoshop?
Below is the step to use the crop tool in photoshop:
Step 1: Open the Photoshop application on the desktop.
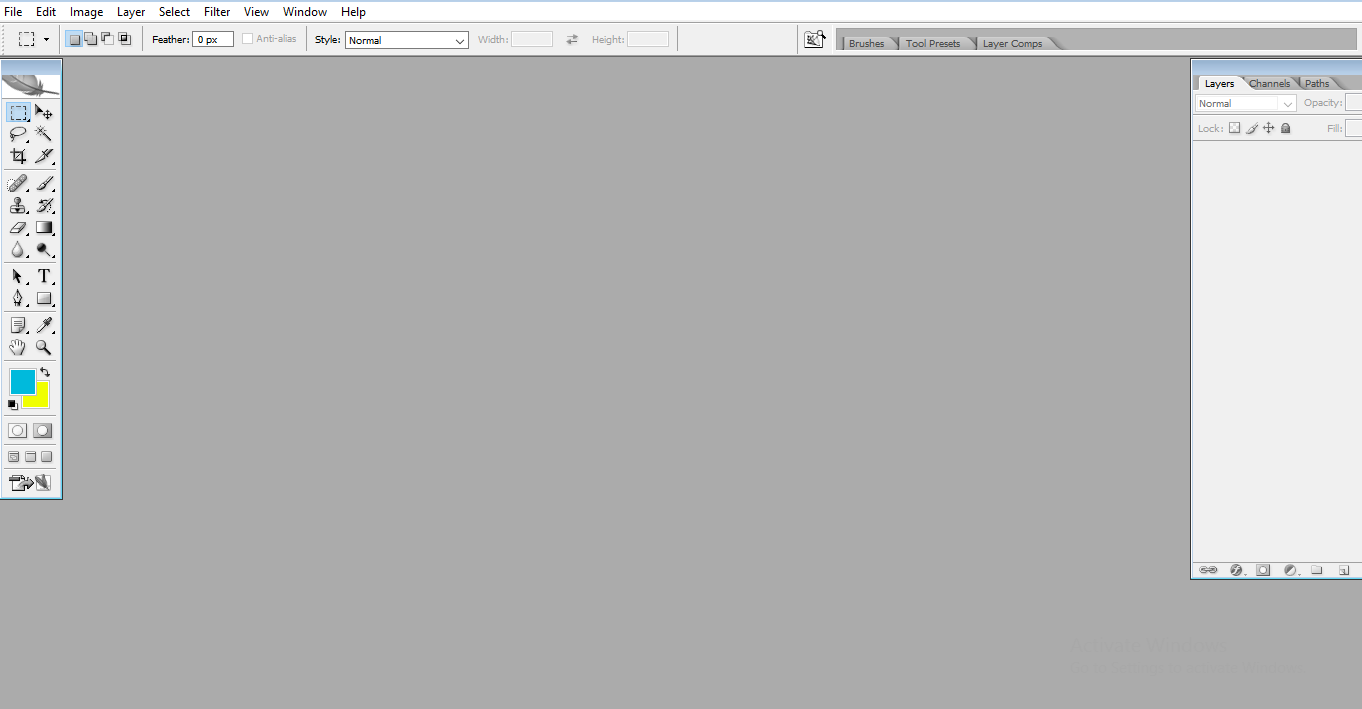
- Here is the Photoshop application; we can find tools on the left and layers on the rights side.
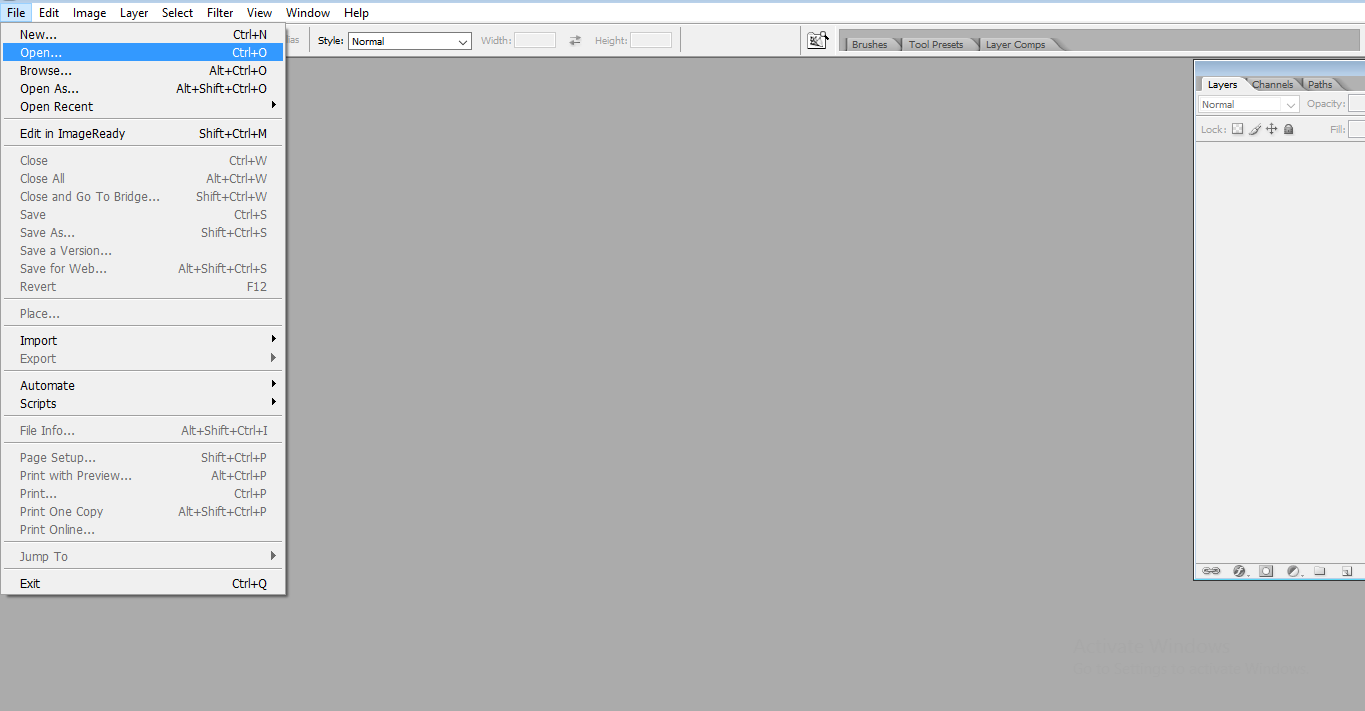
Step 2: Open any file, Go to File and click on Open. Or we can use the shortcut ‘ctrl+o’ to open. Another option is to click twice on the photoshop window to open the file.
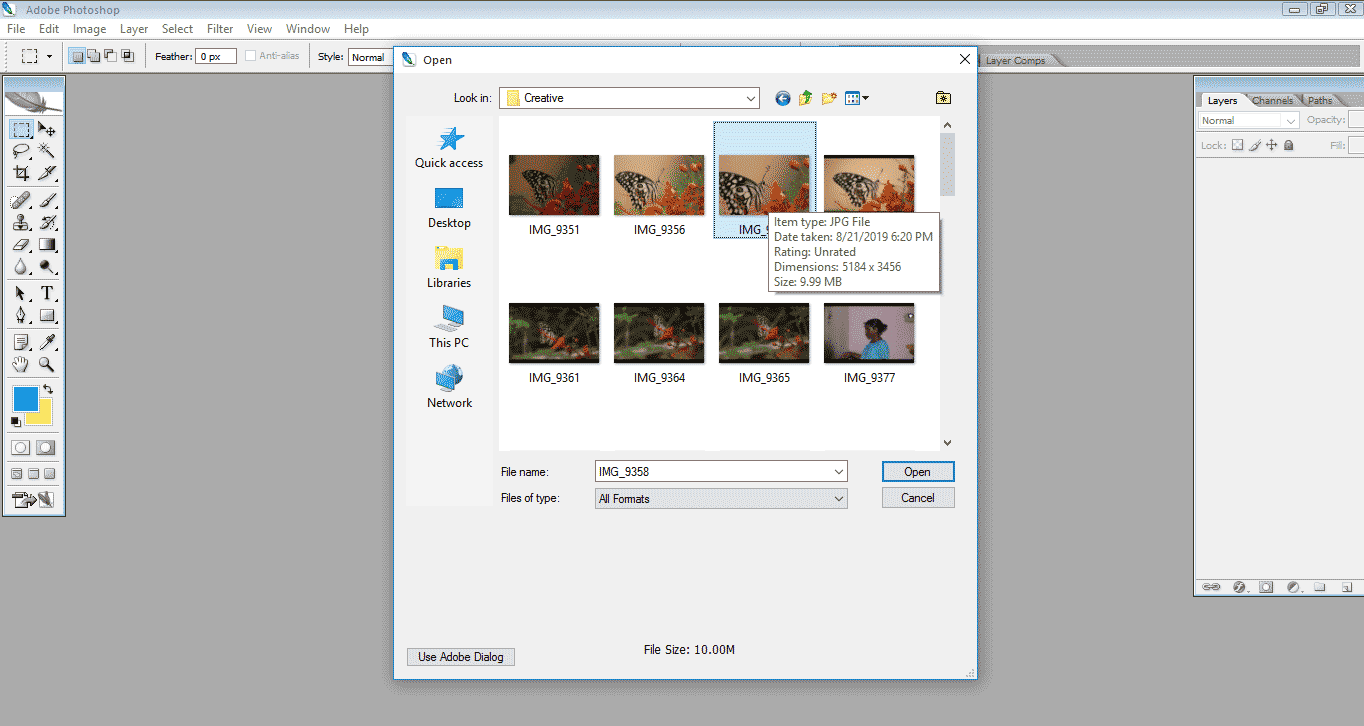
Step 3: When we click open, we can find a window from which we need to select the image we need to edit.
Step 4: Here, we Open an Image.
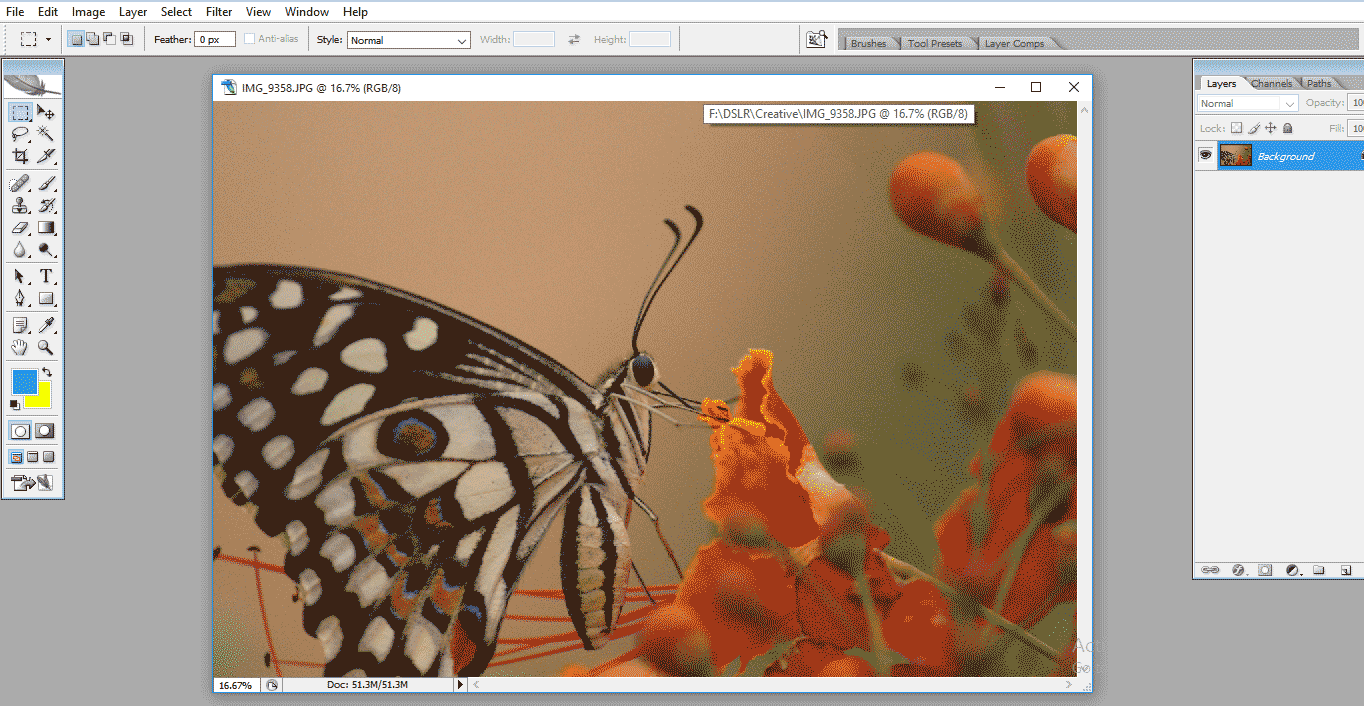
- Here we can find a Butterfly on The Flower; Now, we are going to work on this Image.
Step 5: Now go to the toolbar where we can find the crop symbol, 3rd symbol from the left side in the toolbar; we can also use C as a shortcut for the crop.
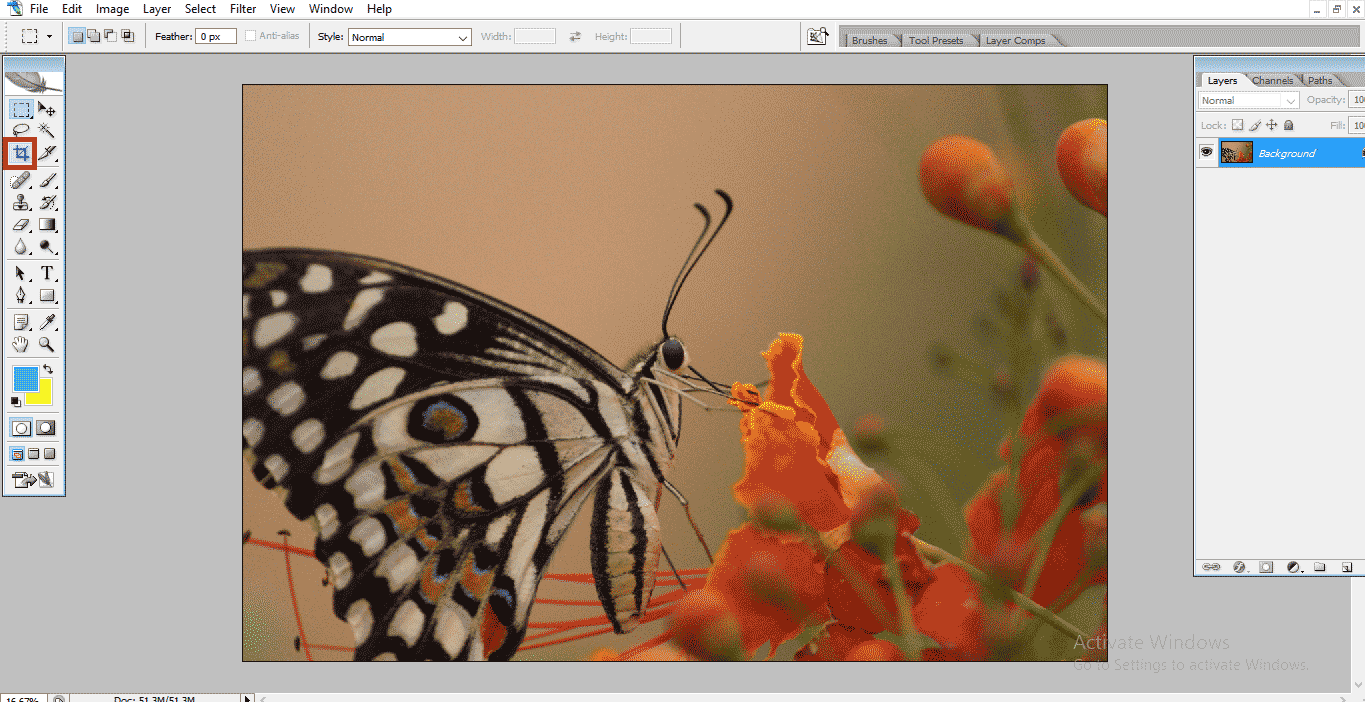
- Once we select the crop tool, the symbol will change.
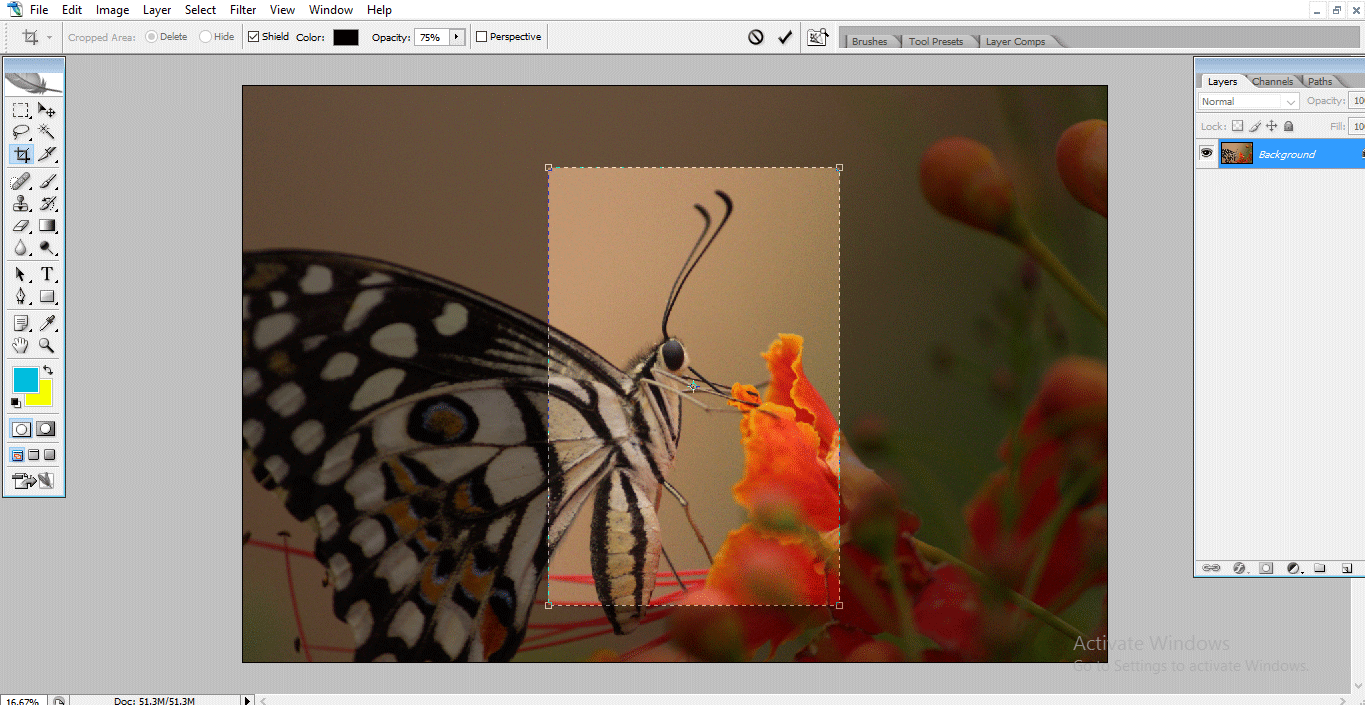
Step 6: Now Draw a Rectangle Marquee Symbol in the Image.
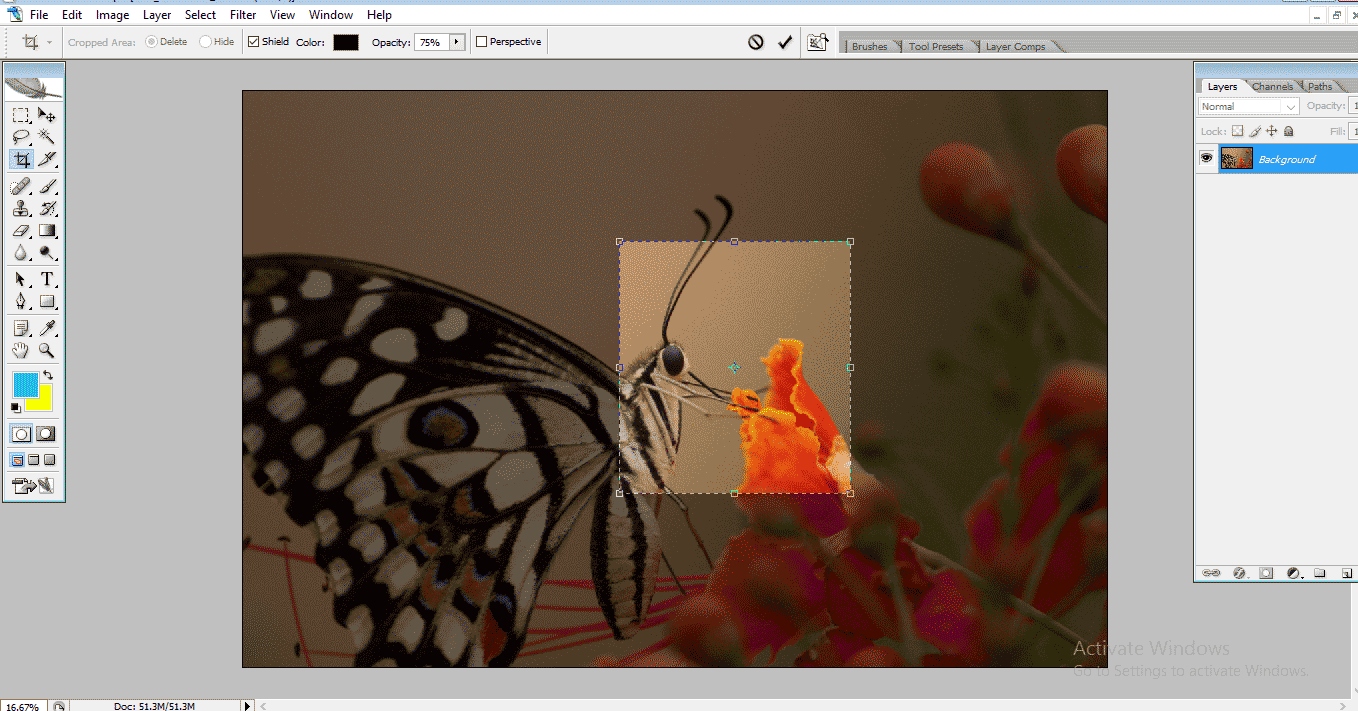
- Here we can find the rectangle marquee symbol in the image; the rest area looks transparent, which means we need only the selected area, and the remaining can be disabled if we click on enter; the rest of the selected area will disappear.
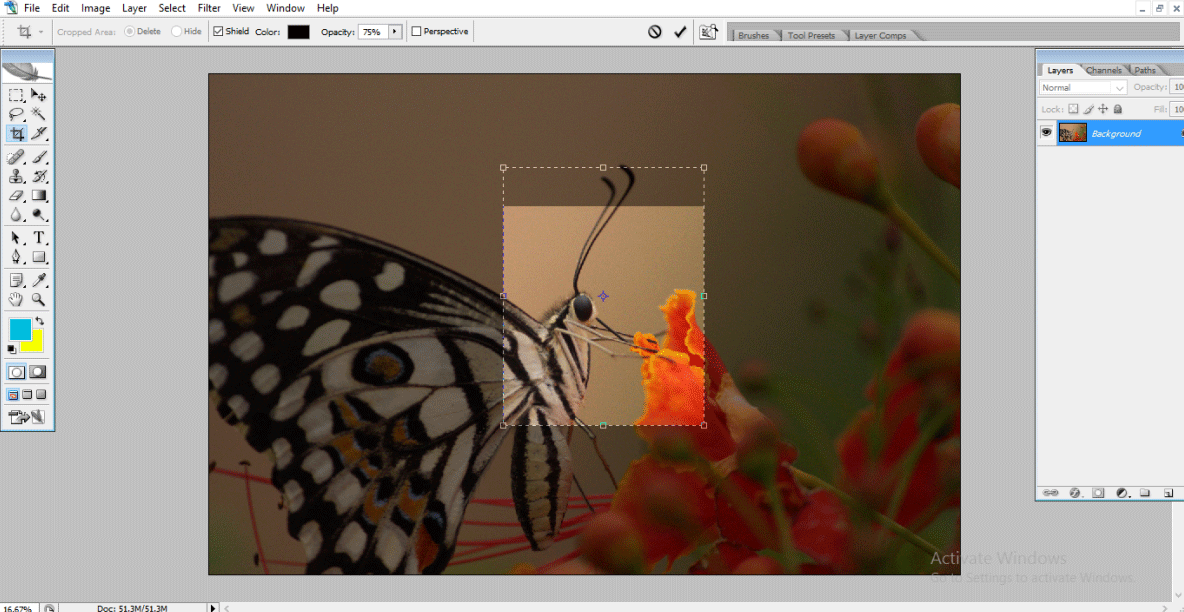
Step 7: If we need to enlarge the selected area, we can drag the rectangle box, here we have 8 points to increase the size; it’s a free size crop, so we can crop how much we can.
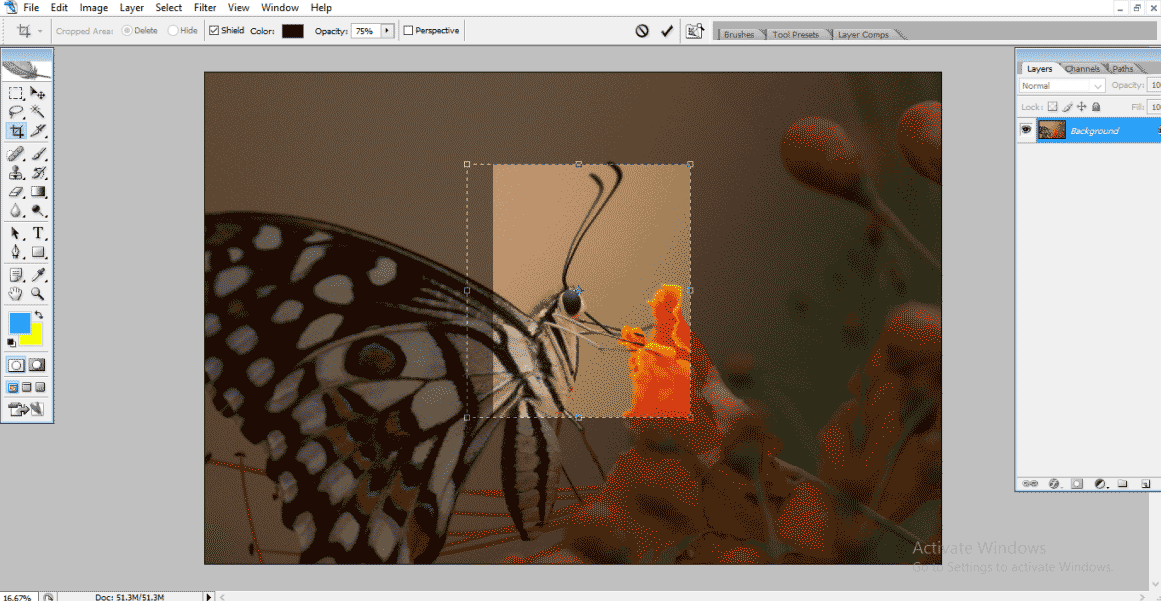

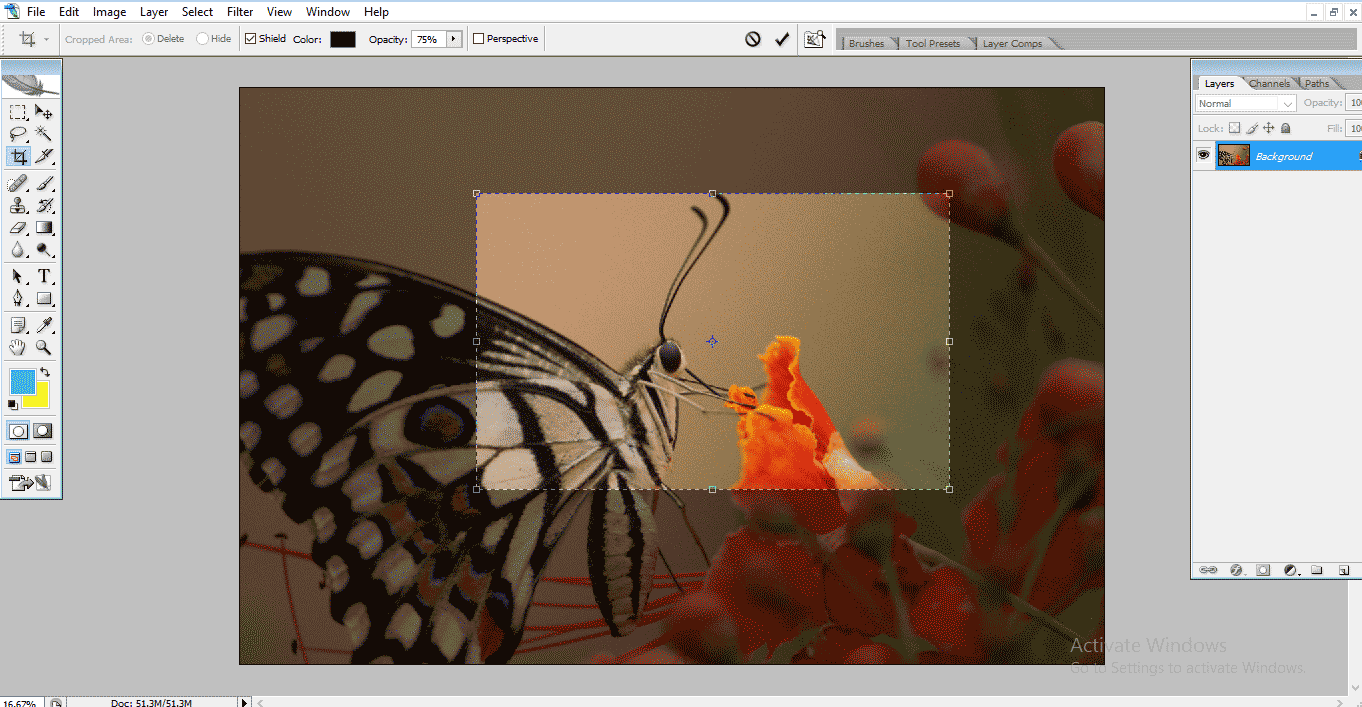
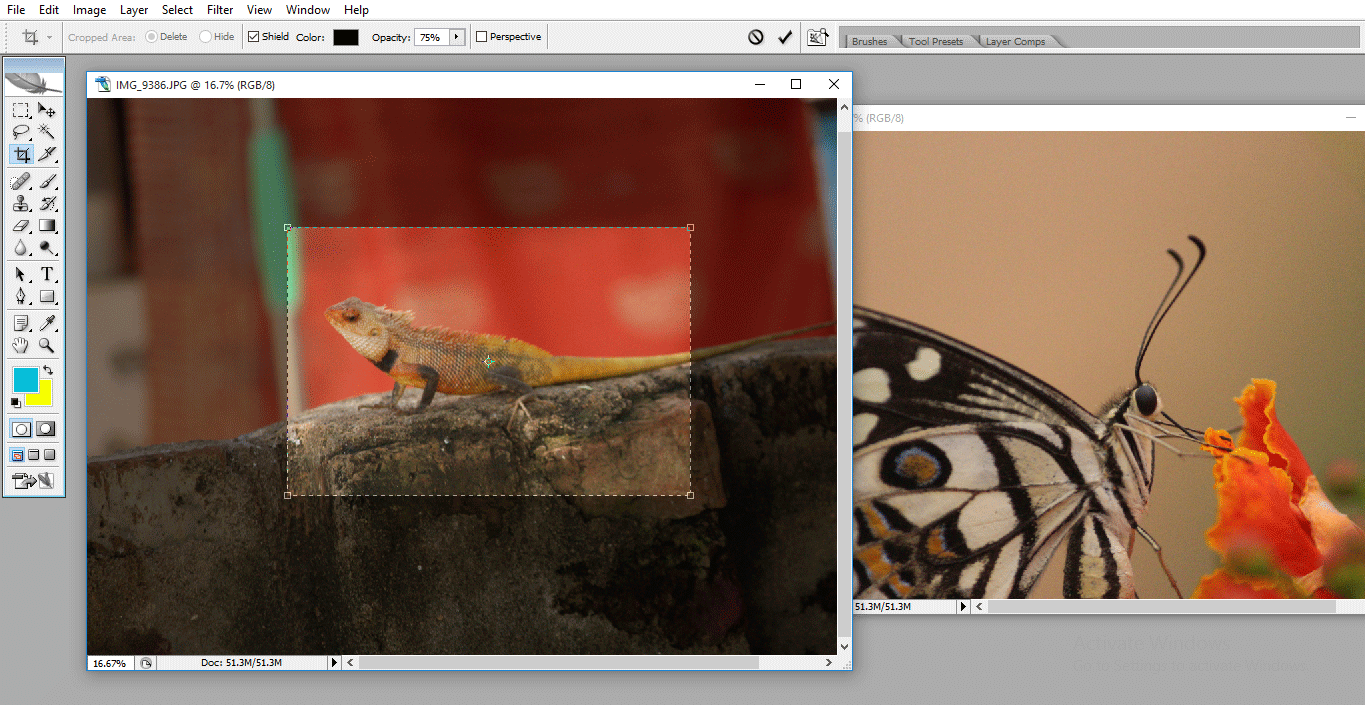
Step 8: Here, we have shield color options; we can change the color of the deselected area.
Step 9: Here, I am selecting green color as shield color.
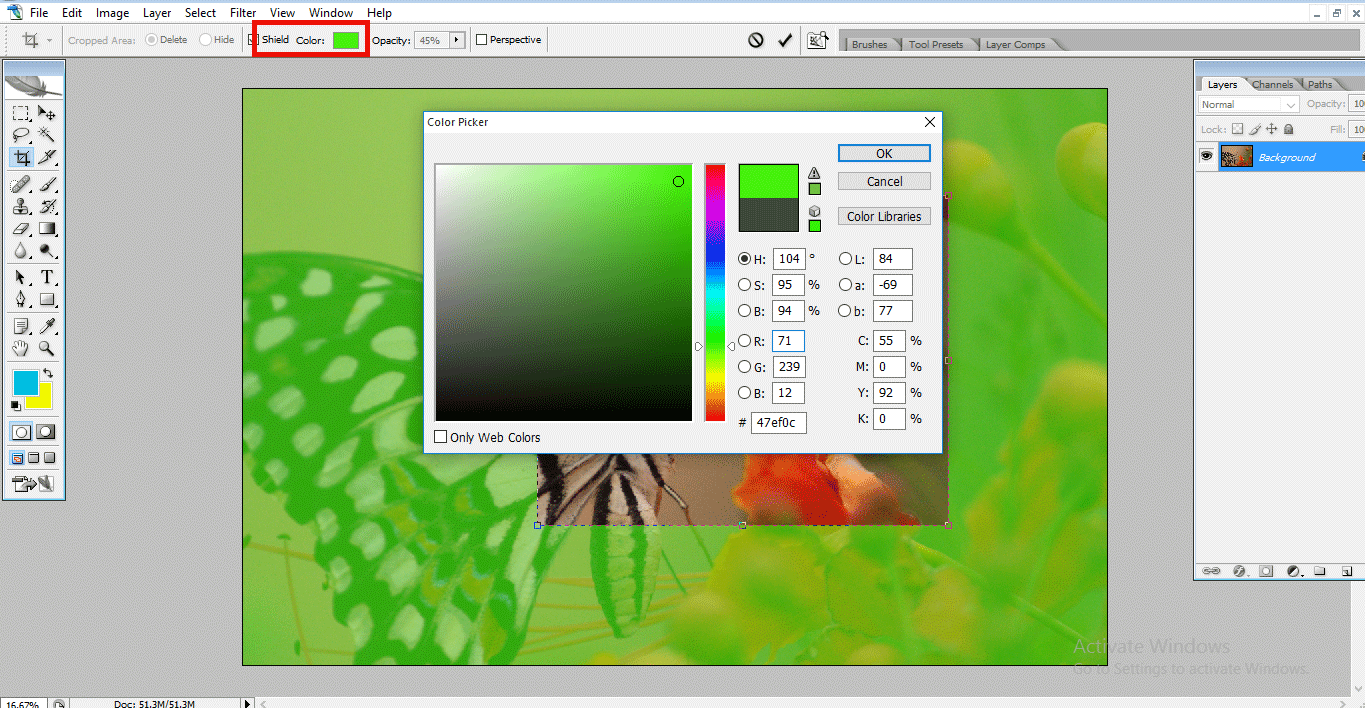
- We find the background color changed to green.
Step 10: Now, we see the color filled in the deselected area.
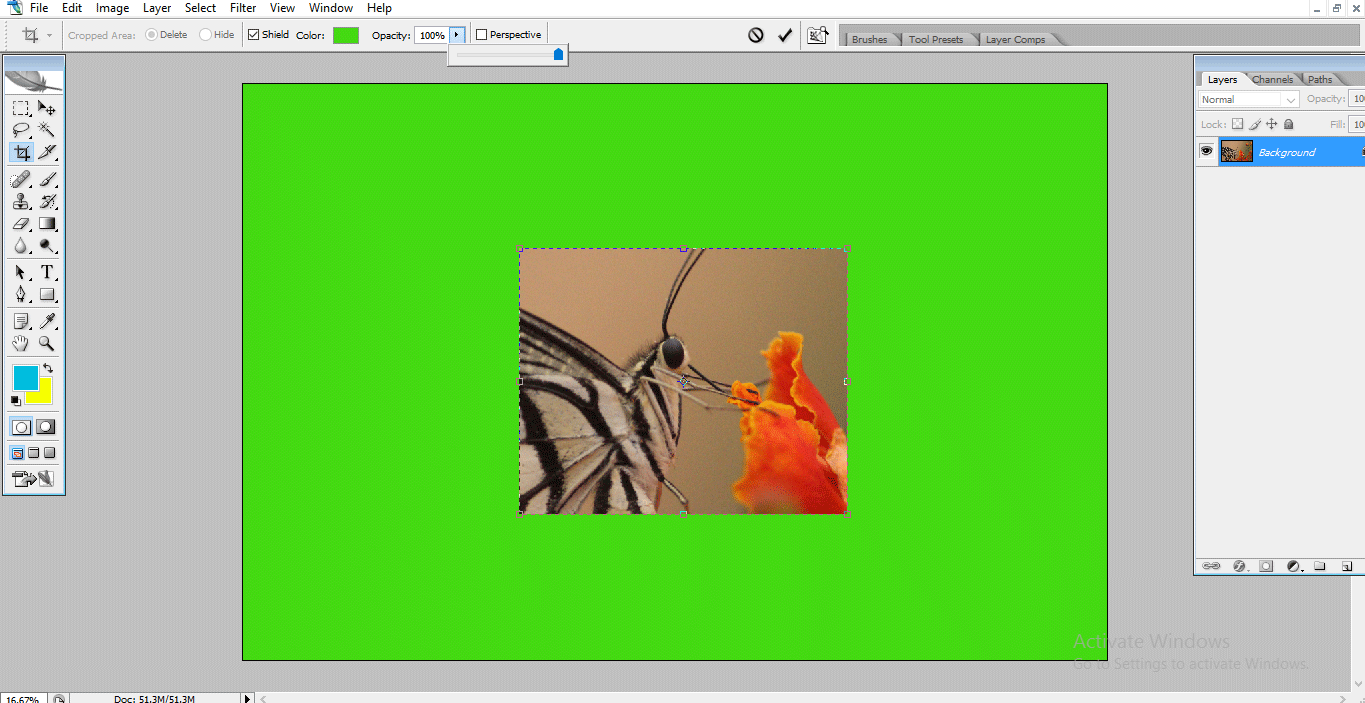
Step 11: Here, we can find an opacity option for a shield; with this option, we can change the transparency of the deselected area.
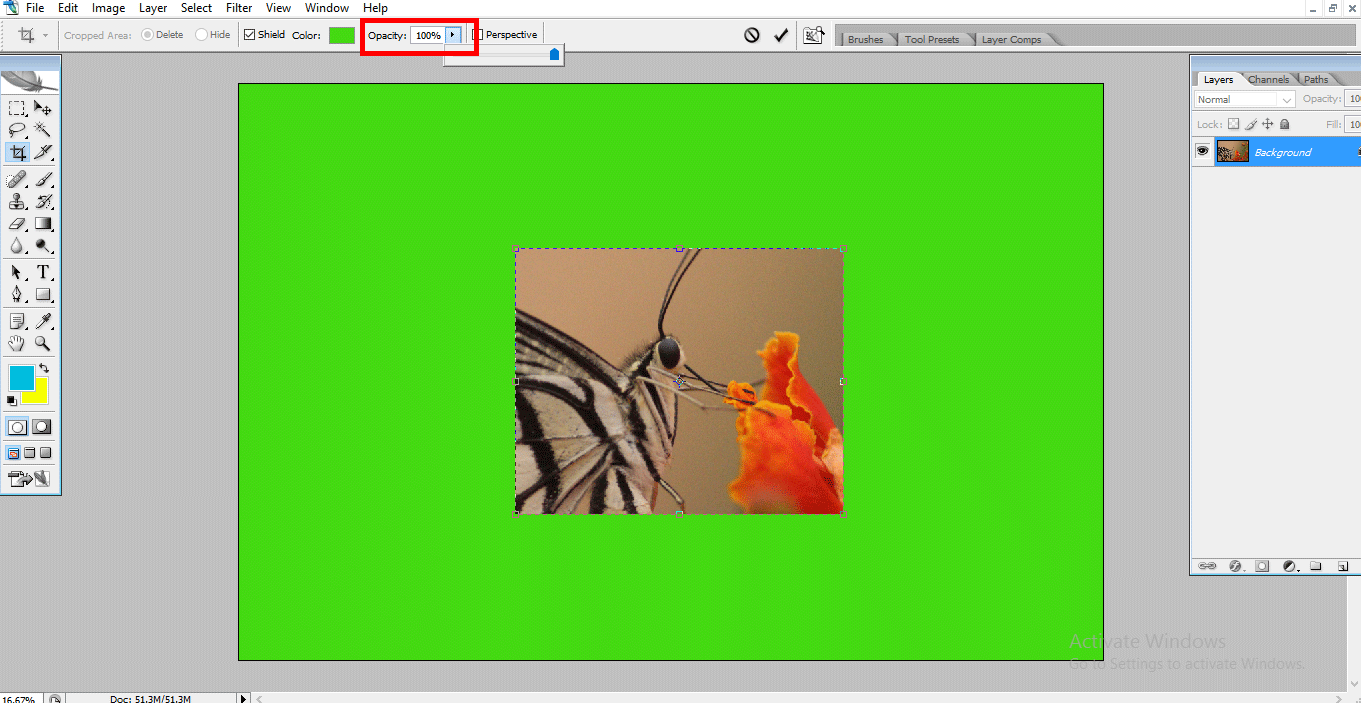
- Here we gave 100% transparency, so the background hides and the only selected area is visible.
Step 12: If we decrease the transparency, we find the background images also, and it can help us to find the target to increase the size of the crop area.
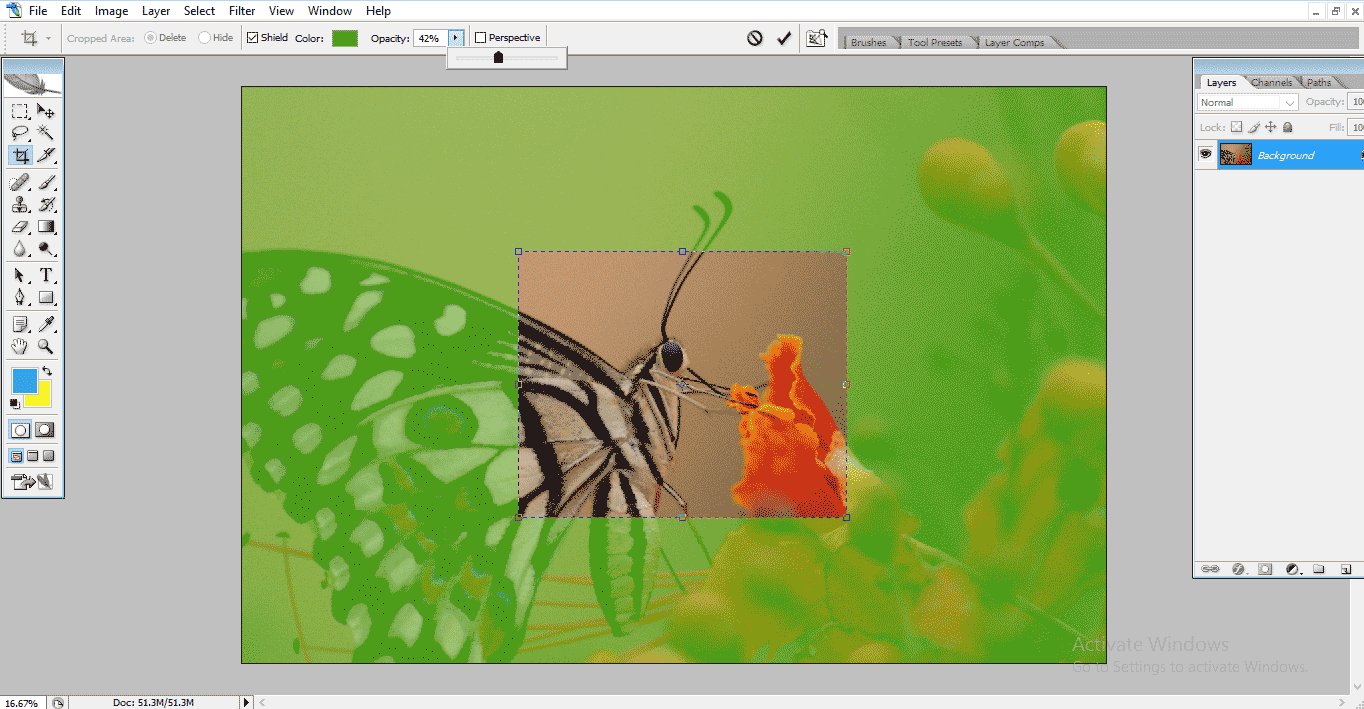
- I always recommend keeping 50% of transparency then only we can find the rest of the selected area by finding the target if we need to increase the crop area.
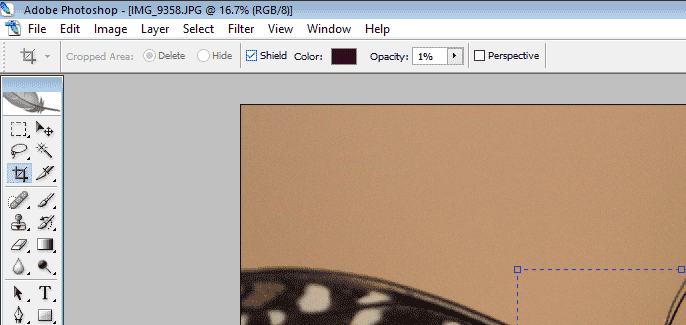
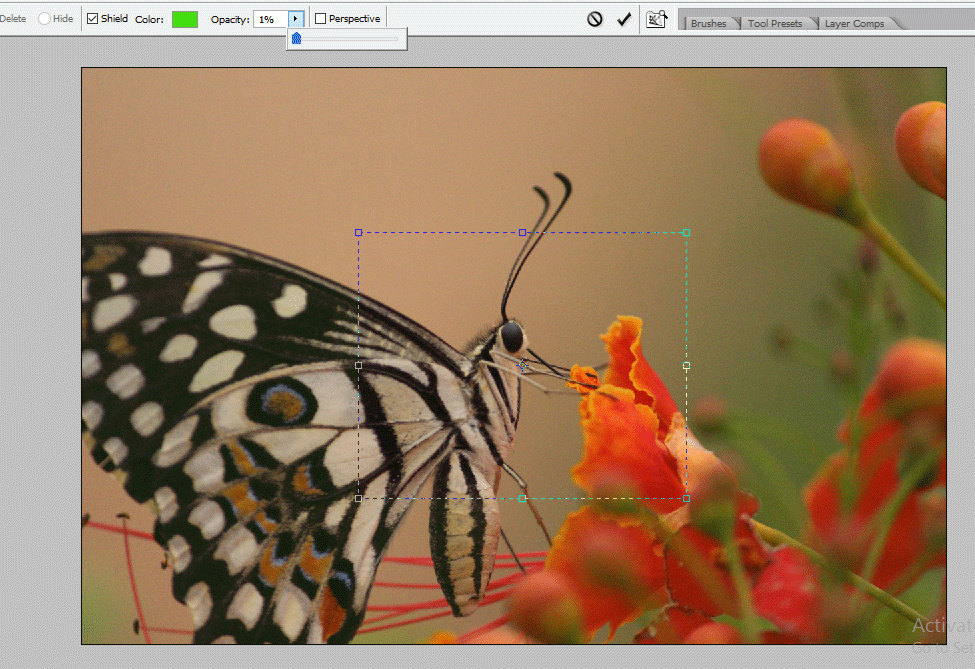
Step 13: If we give 1% of opacity, we don’t find any difference; we can find only the crop rectangle box.
Step 14: Here, we have some crop options; on the top left side click on the down arrow; we can find the submenu.
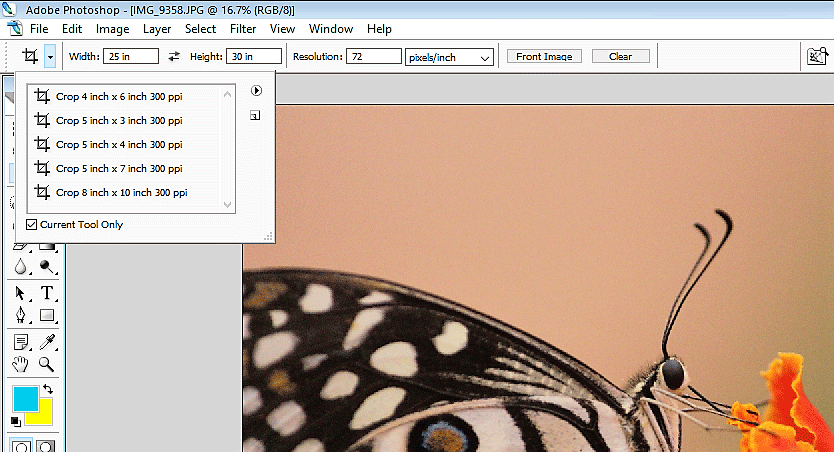
- In the submenu, we can find 5 types of crop options, and we get more if we download presets; each crop option has different dimensions.
Step 15: Here, we try with 4×6 inches crop options, and let’s see how it works.
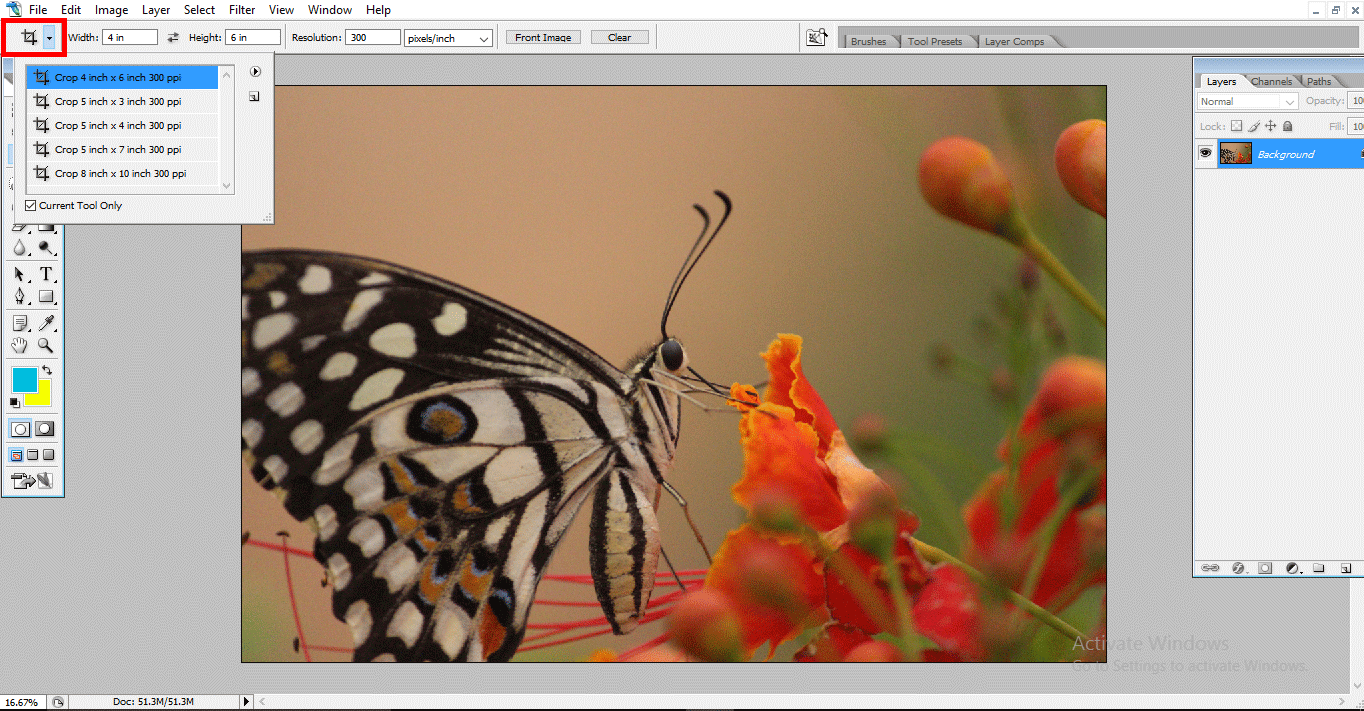
- If we drag with a 4×6 crop, we can get standard photo size only; we cannot increase size freely; we can only increase the standard size.
- Actually, 4×6 is a basic standard photo size which has 35mm standards, 35mm is old film format with 2:3 ratios this is a printable format, so 6×4 is close to this format that’s why it is called as standard.
Step 16: Here, we try with a 5×7 crop.
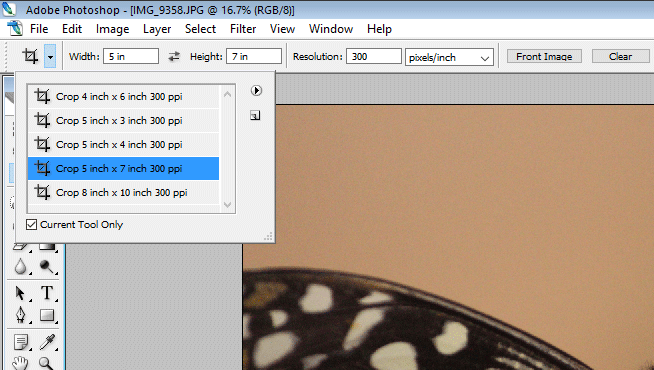
- If we need 1500 x 2100 pixels, we can use this crop option, and it gives a 7:5 ratio.
Step 17: Let’s try with the 8×10 crop option.
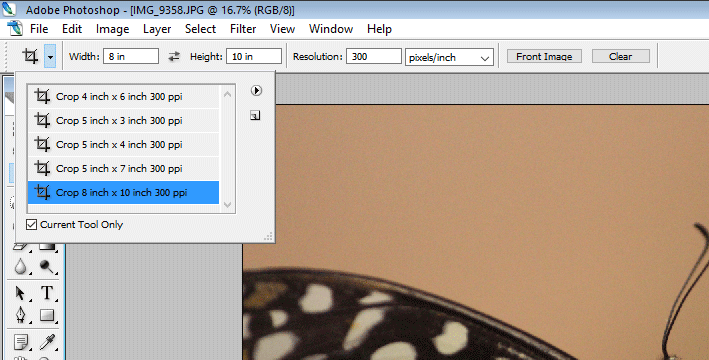
- 8×10 is a big photo size with 5:4 ratios; it also called artwork size, it has 2400 x 3300 pixels, but the print resolution should be 1536 x 1024 pixels.

Step 18: We can give our dimension to the crop according to requirements.
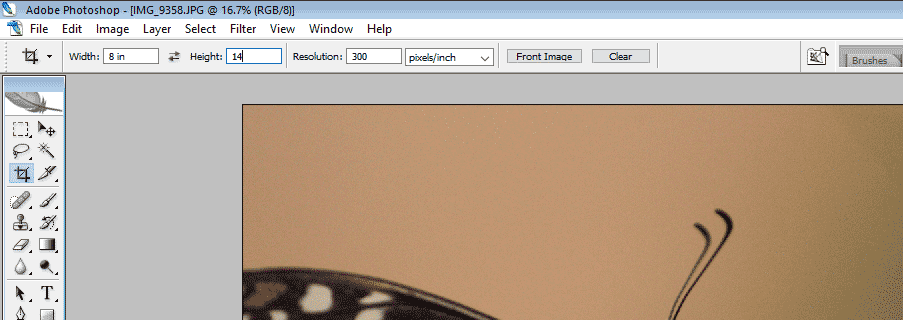
- We can change the values of width and height to crop the image.

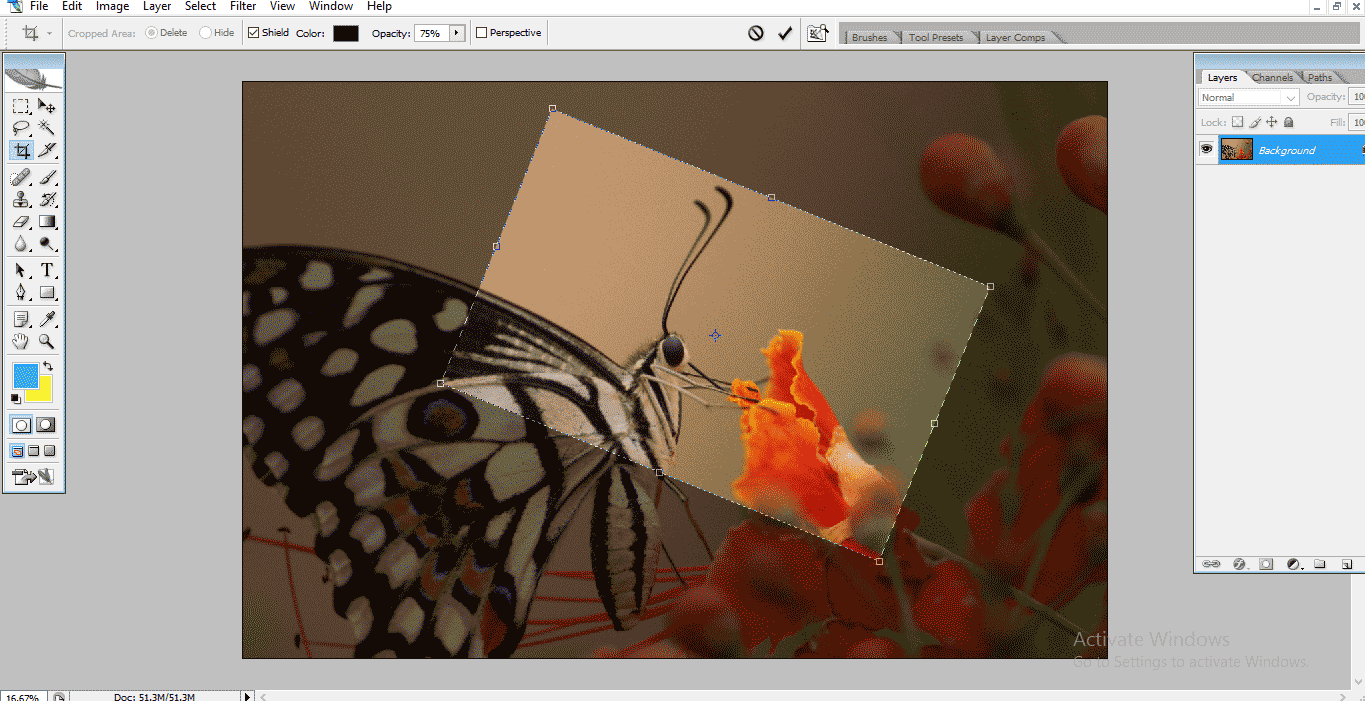
Step 19: If we need to have a rotated crop, just select and rotate the rectangular box.
- Like ways, we can get rotated crop images.
Step 20: If we need to get the same crop size to two images, we need to use the front images option.
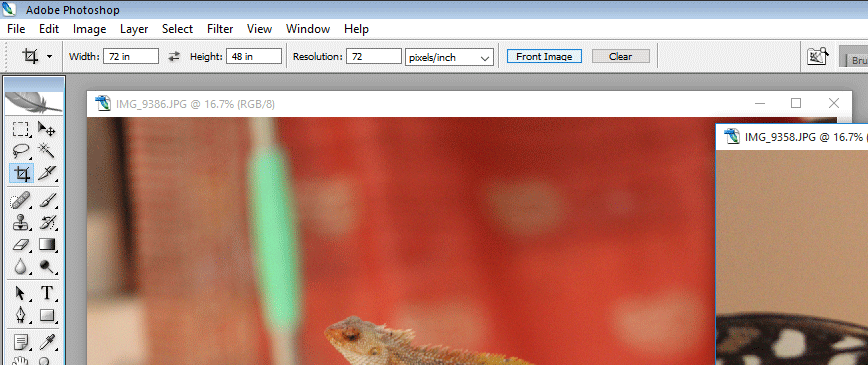
- Here we can find the front image option.
- In this method, we need to import two images, crop the first image, select the front image option, and then click on the second image; the same crop will be applied in the second image.
- When we are working on multi images to crop, this method is useful for us.
Step 21: Go to crop options and click on the play icon, and we get a submenu.
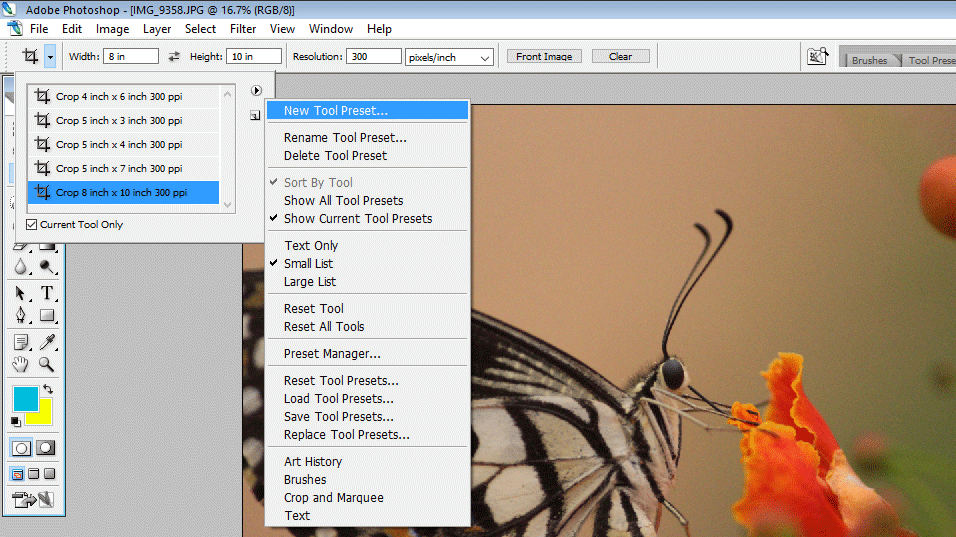
- In the submenu, we can get a lot of options like create new tool presets; from this menu, we can import new presets, and we can delete the old presets.
Step 22: We can create our own also presets, go to the crop option, and click on the picture icon; then, we can get a menu asking the name of our preset.
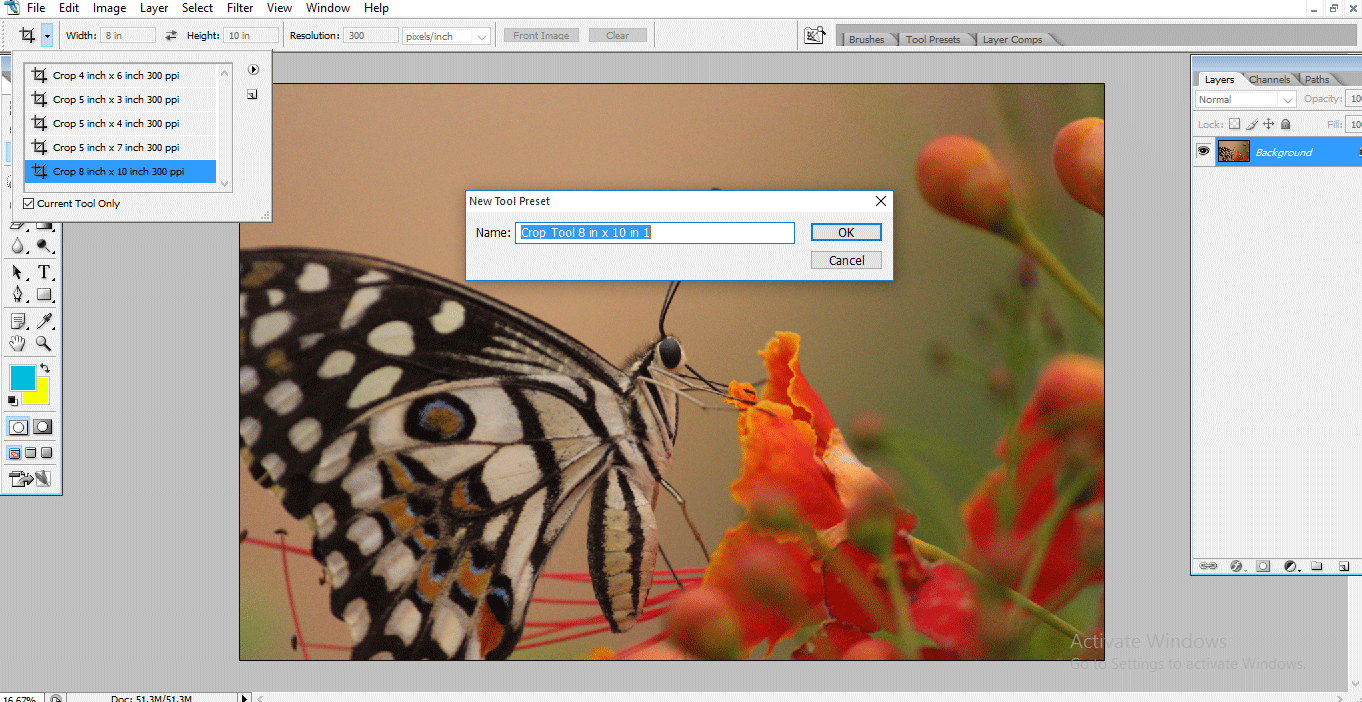
- We can give our name to the preset with the dimensions which we use.
Conclusion
In this process, we import an image and cropped in Photoshop; we use different types of crop options like 6×4, 5×7, and 8×10; we learn what front image is where we can use the same crop dimension to two images, how to import presets and how to add presets, etc. I hope we had an interesting discussion and learned some important things.
Recommended Articles
This is a guide to Crop Tool in Photoshop. Here we discuss the steps to creating crop images using the crop tool in photoshop. You can also go through our other related articles to learn more –
