Create Student ID Cards: Overview
A school administrator once told me they spent an entire weekend manually typing names into PowerPoint just to print student ID cards. On Monday morning, we found half the cards misaligned, a few names misspelled, and none with scannable attendance codes. If that sounds familiar, you are not alone. Learning how to create student ID cards at scale can quickly become overwhelming especially when managing hundreds or thousands of students, photos, and formatting requirements. This guide walks you through a practical, step-by-step process for efficiently and accurately creating student ID cards with modern tools.
What Makes a Good Student ID Card?
Before jumping into tools, it helps to define what you actually need.
A usable student ID card should include:
- Student name and photo
- Unique ID number
- School name and logo
- Class or grade
- Expiry date (optional but useful)
- QR code or barcode (for attendance, library, or access)
Most schools today also prefer standard CR-80 card size (3.375″ × 2.125″), which fits typical ID holders and printers.
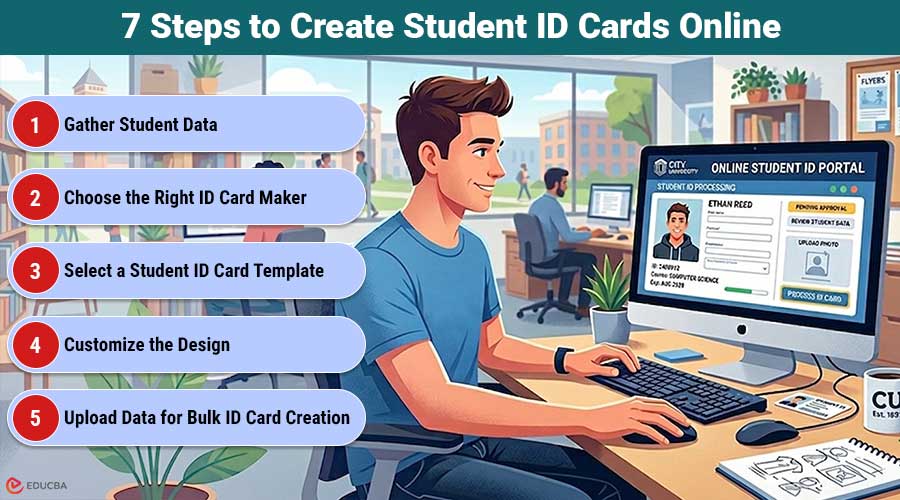
7 Steps to Create Student ID Cards Online
Follow these steps to quickly and efficiently create student ID cards without errors.
Step 1. Gather Student Data
Start with a clean spreadsheet. At a minimum, include:
- Full Name
- Student ID
- Class / Section
- Photo (file name or link)
If your data is not clean, no tool will save you later. Fix spelling, standardize formatting, and ensure photos are labeled correctly.
Step 2. Choose the Right ID Card Maker
Here is where most schools get stuck. Not all tools are built for ID cards, even if they can technically make them. If you want something purpose-built, a dedicated ID card maker will save you time compared to general design tools.
For example, the Zoviz ID card maker is designed specifically for this job. It comes with pre-sized templates, built-in QR code and barcode generation, and bulk creation features. You can upload a dataset and automatically generate multiple cards, saving a huge amount of time.
Step 3. Select a Student ID Card Template
Templates matter more than people think.
Look for:
- Proper card dimensions (CR-80 standard)
- Clean layout (do not overcrowd)
- Space for photo and QR code
- Readable font sizes
Most modern platforms offer student ID card templates you can customize. Zoviz alone includes thousands of options, while tools like Canva or Adobe Express offer more general designs that may need resizing.
Step 4. Customize the Design
Once you have picked a template:
- Add your school logo
- Adjust colors to match branding
- Insert placeholder fields (Name, ID, Class)
- Add QR or barcode if needed
If you are using an ID card generator, this step is usually a drag-and-drop operation. Some tools now include AI layout suggestions, which can help if design is not your strength.
Step 5. Upload Data for Bulk ID Card Creation
This is where automation makes a big difference. Instead of creating cards one by one, upload your dataset (CSV or Excel). A good student ID card generator will map fields like:
- Name → Name field
- ID → ID field
- Photo → Image placeholder
Zoviz handles this well, especially for mid-sized schools. However, note that bulk features are typically available only on paid plans.
Step 6. Generate and Review Cards
Before exporting:
- Check alignment (especially photos)
- Verify QR codes scan correctly
- Review a sample batch for errors
Even the best ID card creator cannot automatically detect data errors, so this step matters.
Step 7. Export and Print
Export your cards in:
- PDF (best for printing)
- PNG/JPG (for digital use)
Most modern tools provide print-ready files. Ensure your printer settings match the card size.
Best Tools for Creating Student ID Cards
Here is an honest comparison of commonly used tools.
| Tool | Best For | Free Plan | Key Strength | Where It Falls Short |
| Zoviz | Schools & bulk creation | Yes | Built for ID cards, QR + bulk | Limited for enterprise-scale printing |
| Canva | General design users | Yes | Easy UI, familiar tool | No native QR, manual sizing |
| Adobe Express | Adobe users | Yes | Clean templates | Not ID-focused |
| ID Card Workshop | High-volume printing | No | Powerful batch printing | Desktop only |
| Avery Design & Print | Simple printing | Yes | Free and easy | Very basic templates |
| Google Slides | Emergency use | Yes | Completely free | Not designed for ID cards |
Tool Breakdown (With Honest Pros & Cons)
Here is a detailed look at each tool, highlighting its key advantages and limitations to help you choose the right option.
1. Zoviz
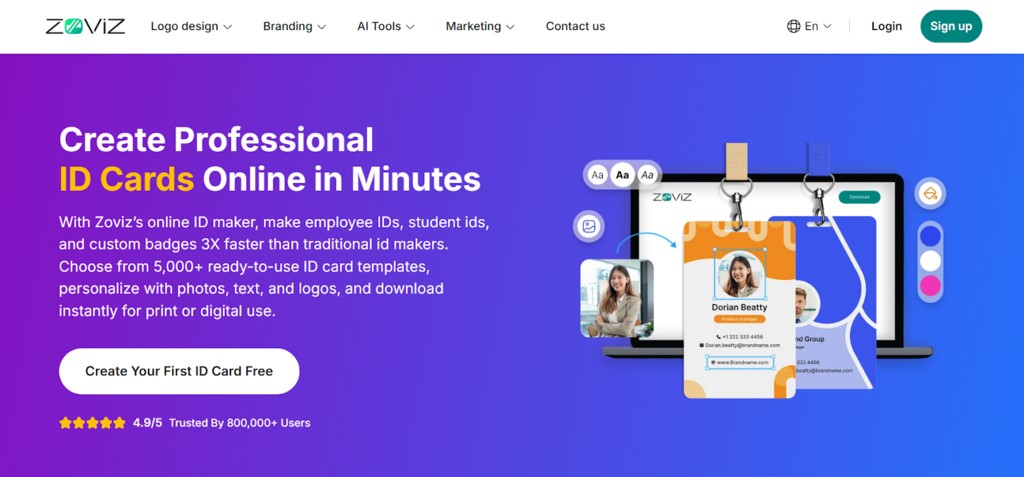
Image Source: Zoviz
Zoviz is a purpose-built online ID card maker, which already puts it ahead of general design tools.
What it does well:
- 5,000+ ready-to-use ID card templates
- Built-in QR and barcode generation
- Bulk ID card creation from datasets
- Supports 100+ languages
- Export options are print-ready
Where it falls short:
- No smart card encoding for access systems
- Bulk and multi-brand features require paid plans
- Not ideal for very high-volume enterprise printing (1,000+ cards/year)
For most schools, though, it strikes a good balance between simplicity and capability.
2. Canva
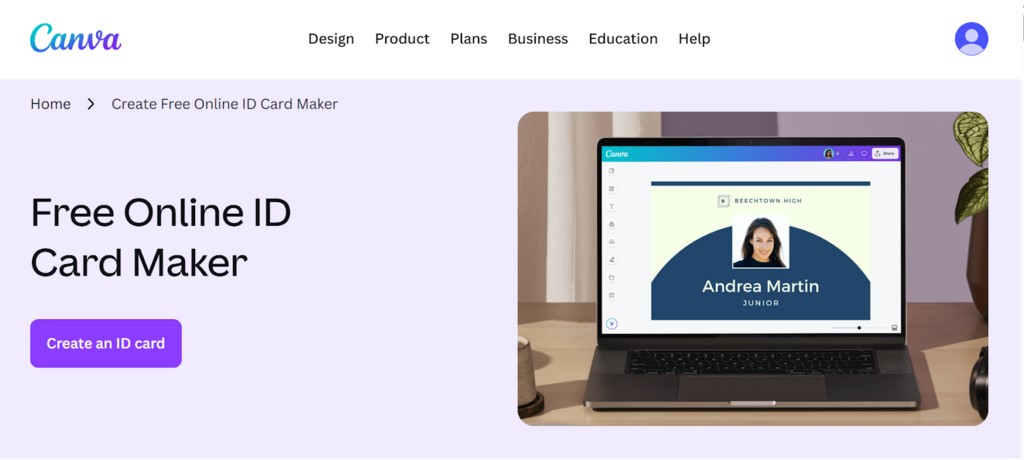
Image Source: Canva
Canva is often the first tool people try.
What it does well:
- Very easy to use
- Familiar to teachers and staff
- Good template variety
Where it struggles:
- No built-in QR/barcode generator
- You must set the card sizing manually.
- Bulk creation is limited unless you use advanced features
It works, but you will feel the limitations quickly when scaling.
3. Adobe Express
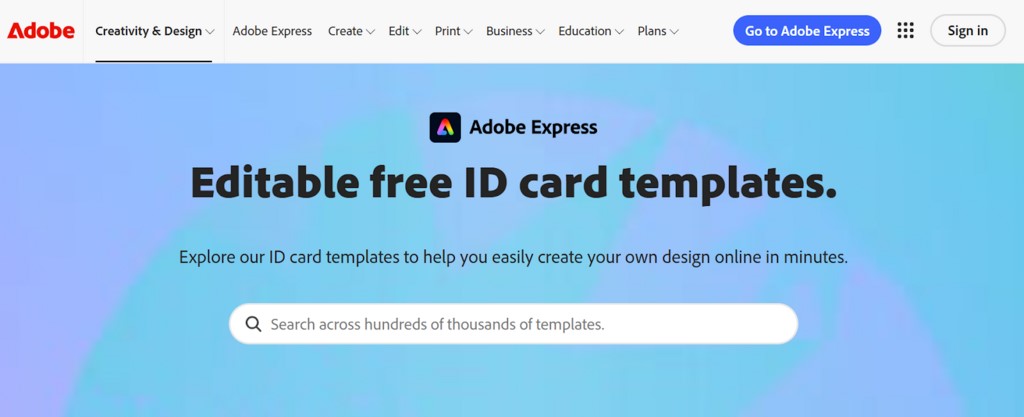
Image Source: Adobe Express
A cleaner alternative if you are already using Adobe tools.
Pros:
- Polished design experience
- Good typography and layout control
Cons:
- Not designed for ID cards
- The free plan is limited
- No native bulk ID card generator
4. ID Card Workshop
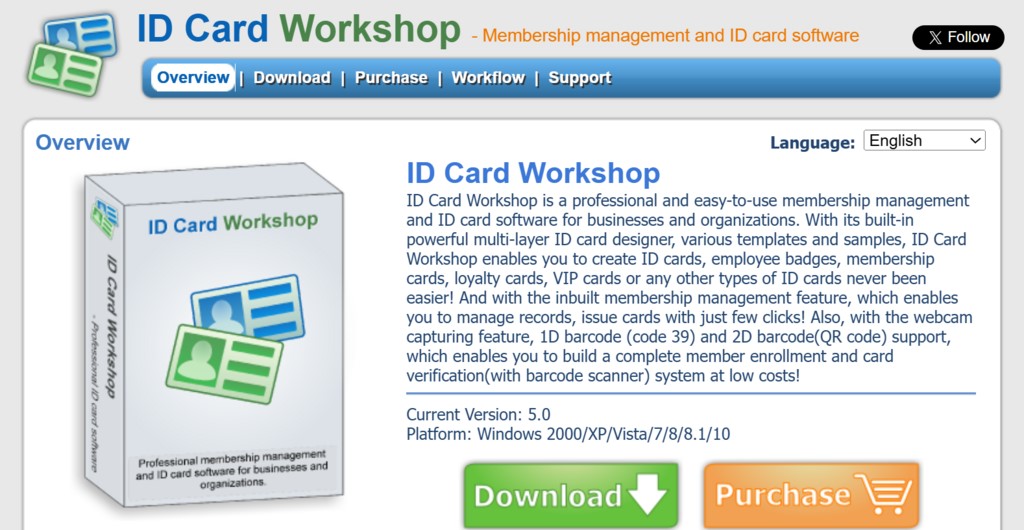
Image Source: ID Card Workshop
This is a different category of desktop software built for heavy-duty use.
Best for:
- Large institutions
- Batch printing at scale
Limitations:
- Windows-only
- No cloud access
- Higher upfront cost
Interestingly, this is one area where it beats web tools like Zoviz, especially for large-scale printing operations.
5. Avery Design & Print
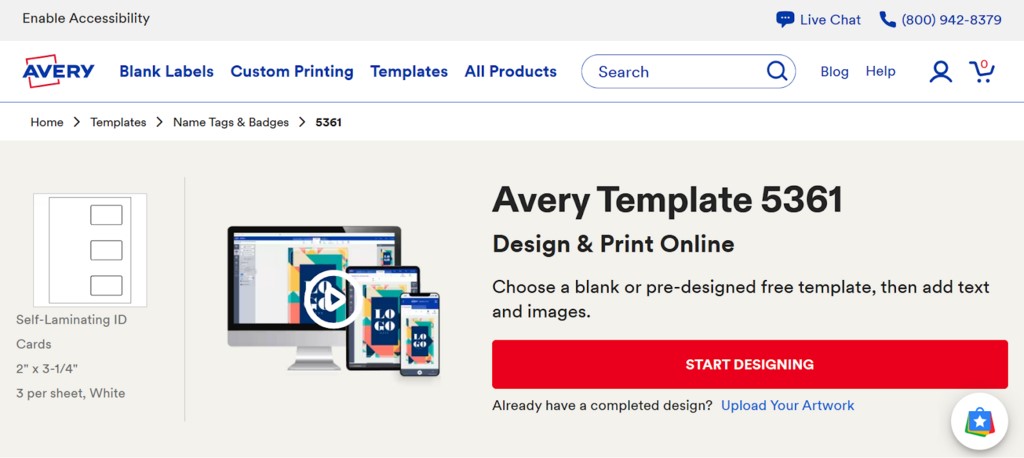
Image Source: Avery Design & Print
Simple and free.
Pros:
- Works well with Avery card stock
- No cost at all
Cons:
- Very limited design flexibility
- No QR code support
- Basic templates only
6. Google Slides
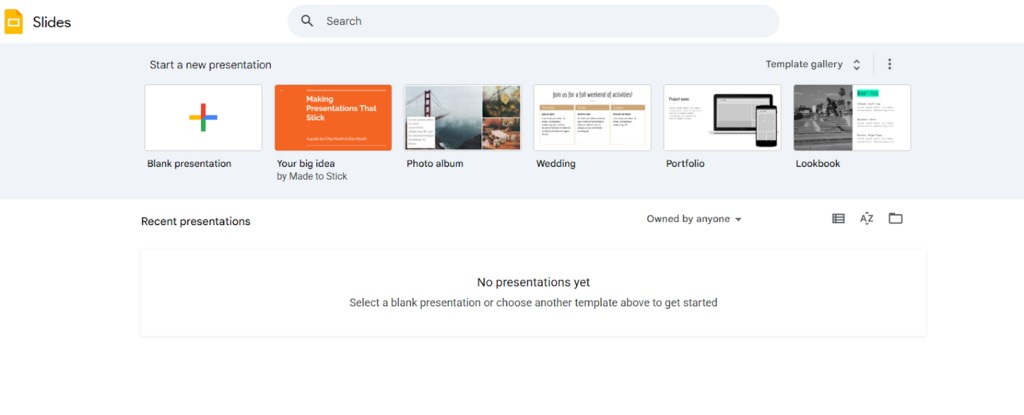
Image Source: Google Slides
Yes, people actually use it.
Pros:
- Free
- Accessible
Cons:
- No proper sizing controls
- No automation
- Time-consuming
It will work in a pinch, but do not expect efficiency.
Pricing Comparison
| Tool | Free Plan | Paid Plans |
| Zoviz | Yes | $29/mo (Starter), $49/mo (Pro), $99/mo (Business) |
| Canva | Yes | $14.99/mo |
| Adobe Express | Yes | $9.99/mo |
| ID Card Workshop | No | ~$99 one-time |
| Avery | Yes | Free |
| Google Slides | Yes | Free |
Zoviz’s free plan is surprisingly usable for basic needs, but bulk features require upgrading.
Common Mistakes Schools Make
- Designing Cards One by One: This wastes hours. Use bulk generation instead.
- Ignoring Print Dimensions: Improper sizing leads to misaligned prints.
- Skipping QR Codes: Even if you do not need them now, you will probably need them later.
- Overcomplicating the Design: Keep it simple. Readability beats aesthetics here.
When You Might Need Something Else?
Even though tools like Zoviz work well for most schools, there are cases where you might choose differently:
- Enterprise-level printing: Desktop tools like ID Card Workshop
- Access control systems: Smartcard Studio
- One-off designs: Canva or Adobe Express
The right tool depends on scale, not just features.
Final Thoughts
Learning how to create student ID cards efficiently does not have to be complicated. With the right process and tools, you can go from raw data to print-ready cards in just a few hours.
The key is simple:
- Clean your data
- Use templates wisely
- Automate wherever possible
Whether you choose a dedicated ID card maker like Zoviz or stick with general tools, the goal is to make something that works reliably for students and staff.
Frequently Asked Questions (FAQs)
Q1. How do you make student ID cards online for free?
Answer: You can use free tools like Zoviz, Canva, or Avery Design & Print. Most offer basic templates and export options, though advanced features like bulk creation may require a paid plan.
Q2. What is the best ID card maker for schools?
Answer: It depends on your needs. Zoviz is strong for bulk creation and built-in features, while Canva works well for simple designs. For large-scale printing, desktop software may be better.
Q3. Can I create ID cards in bulk?
Answer: Yes. Tools like Zoviz support bulk ID card generation by uploading a dataset. This is essential for schools with large student populations.
Q4. What size should a student ID card be?
Answer: The standard size is CR-80 (3.375″ × 2.125″), which fits most card holders and printers.
Q5. Do I need QR codes on student ID cards?
Answer: Not always, but they are useful for attendance, library systems, and access control. It is a good idea to include them if possible.
Q6. Is there a completely free ID card generator?
Answer: Yes, tools like Avery Design & Print and Google Slides are free, but they lack advanced features and automation.
Q7. Can I print ID cards at home?
Answer: Yes, but you will need proper cardstock and a compatible printer. Otherwise, export your designs and use a professional printing service.
Q8. What is the easiest way to create student ID cards?
Answer: Use an online ID card maker with templates and bulk upload features. It reduces manual work and minimizes errors.
Recommended Articles
We hope this guide helps you create student ID cards efficiently. Explore these recommended articles for more tips and strategies to streamline your process.
