Introduction to After Effects Repeater
Adobe After Effects is an animation and video editing software and, in this article, we are going to learn how it is used in the repeater. We will look in-depth on how we can use shapes and apply basic keyframes along with the transition. Then we will see how quickly we can convert a simple animation into a repeating pattern which will take care of distributing evenly by using the repeater in After Effects.
How to Use After Effects Repeater?
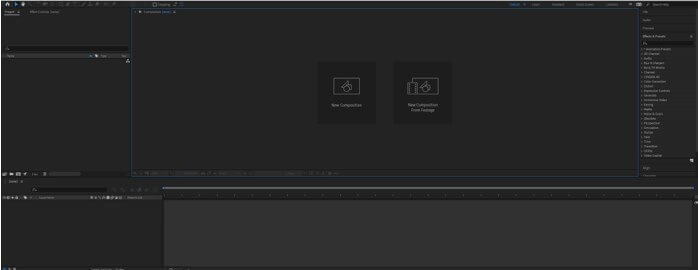
Step 1: Let us first familiarize ourselves with the interface before starting to get a better understanding. At the top is the menu bar like File, Edit, etc., and each has its own submenu. Next, just below it, we have a tool panel and their properties. On the left side, a project panel consists of the project files and effects control panel, which shows the effects applied on a particular layer. Then there is the composition panel which shows the preview of the animation or video. At the top right, we have various layout presets, which will arrange according to the type of work. We can even create our own custom layout. At the right, there are various sections used to edit the video. At the bottom, there are layers and a timeline panel used to add media and add animation keyframes.
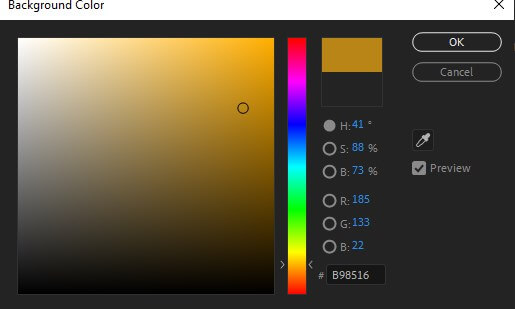
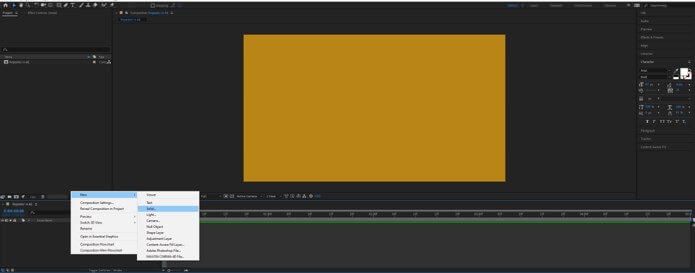
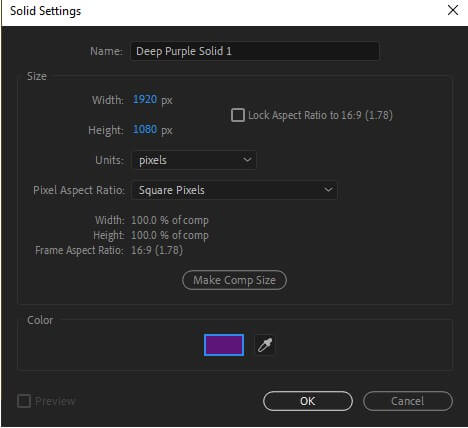
Step 2: In the project panel, right-click to create new comp. Give the composition name and set the width and height. Set the preset and other settings as it is. We can change the background color by using the color picker or clicking on the background color.

Step 3: Now, we will add a solid for the background. Keep the width and height as is and set the color to purple. We can give it the name of the background.
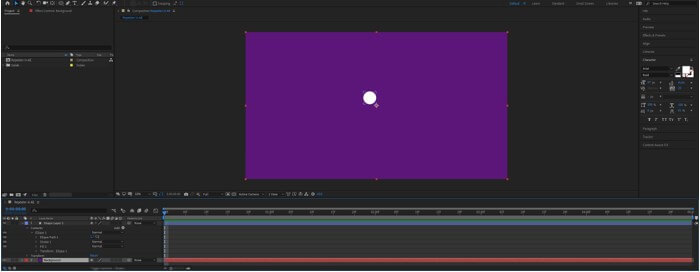
Step 4: Use the ellipse tool or press “Q” and then hold shift and make the circle. Set the fill color to white and stroke to none. Also, make sure that the background is not selected while drawing the circle or else a mask will be created.
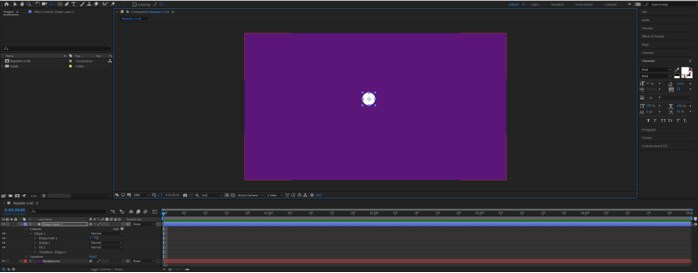
Step 5: Also, make sure that the anchor point is in the center of the circle. If not, as in our case, then use the Pan Behind (Anchor Point) Tool or press “Y”. Click and drag to the center and hold ctrl while dragging, which will snap the anchor point to the center of the circle.
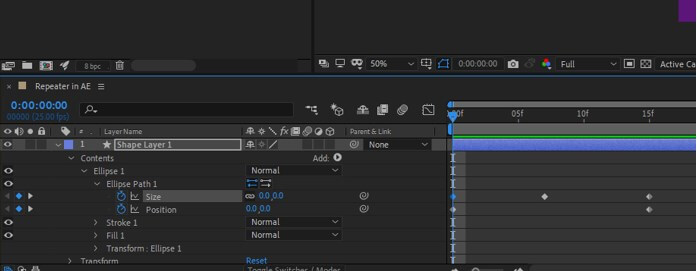
Step 6: Next, add a keyframe for the size and position attributes by clicking the timer symbol. This will set the starting point of our animation.
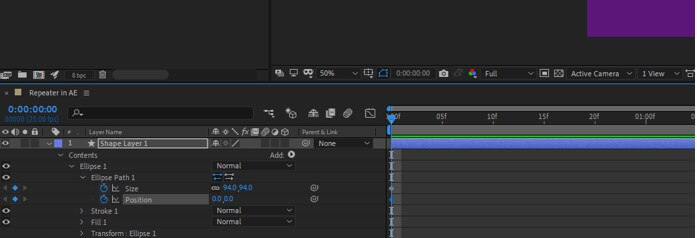
Step 7: Set the size to 0.0. Since the link icon is on so set any width or height to 0.0 will make both 0.0.
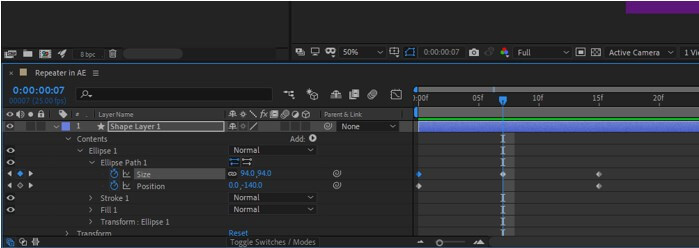
Step 8: After some frames or about half of the animation, set the size to the original size.
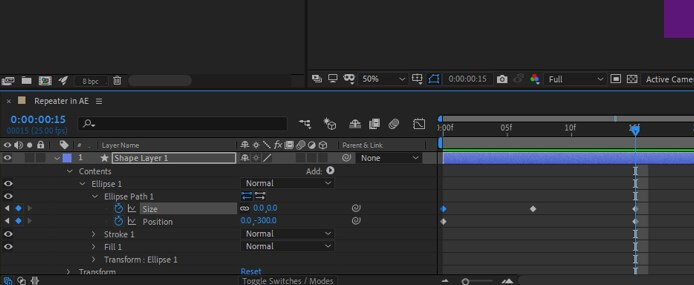
Step 9: After some frames, which is the end of the animation, set the size back to zero and position to -300. This will make the circle to go to the top and then disappear.
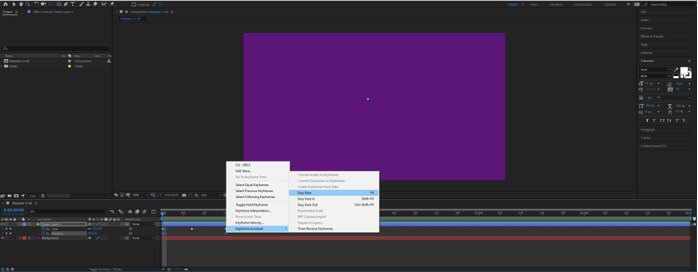
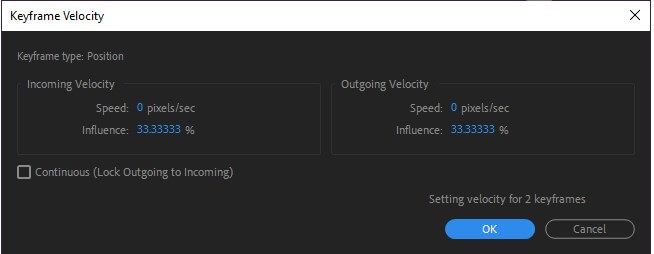
Step 10: To make the motion smooth from start to end, we use easing. We will use easing in the position keyframes. So, select position and right click and go to Keyframe Assistant and set Easy Ease or press “F9”. If we want more customization, we can go to Keyframe velocity, where we can adjust incoming and outgoing velocity.
Step 11: We can also go in graph editor if we want even more customization by clicking on the icon at the start of the timeline, but in this article, we will go with the default easy ease transition.
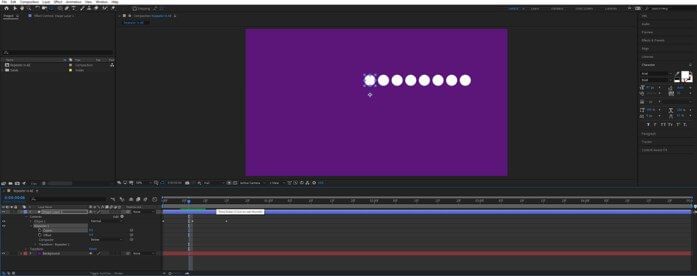
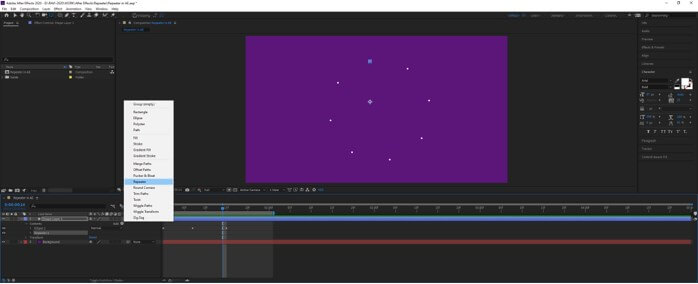
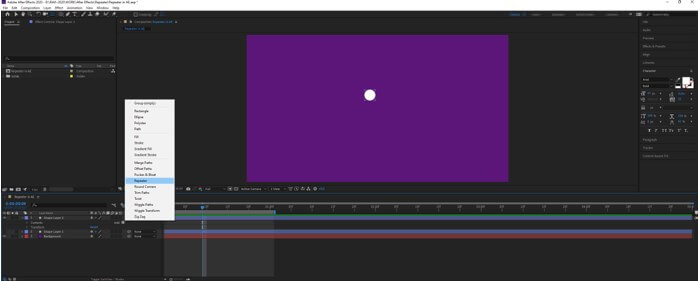
Step 12: To add the repeater go in the contents section inside the shape layer and click on the arrow beside Add label and create a repeater.
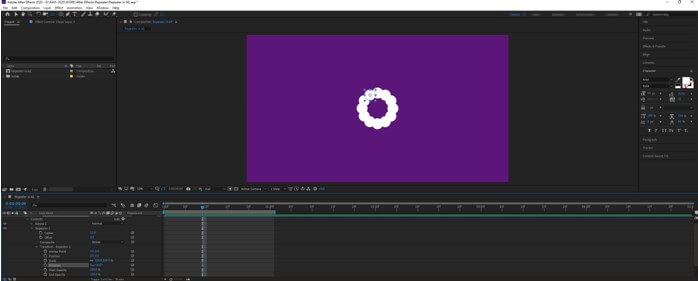
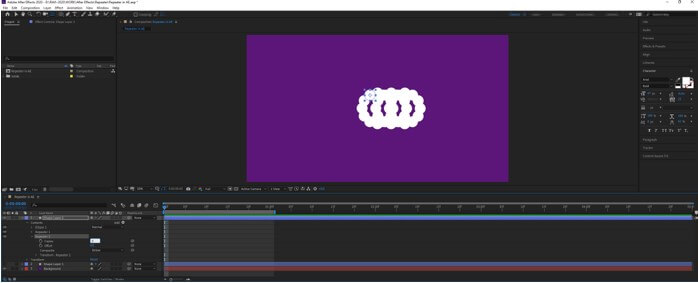
Step 13: Repeater has its own set of parameters like copies and offset. It also has its own transform. By default, it has created 3 copies, as we can see.
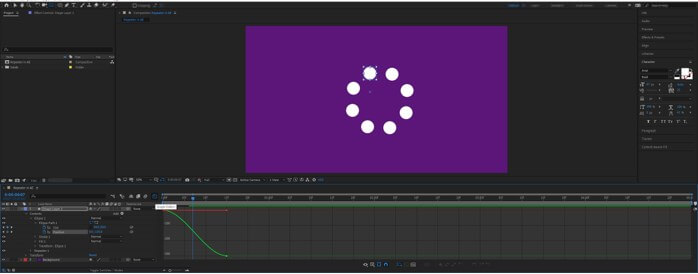
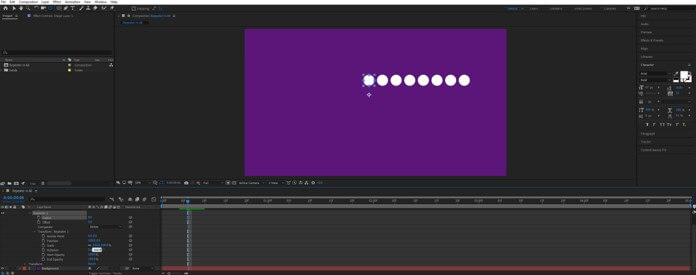
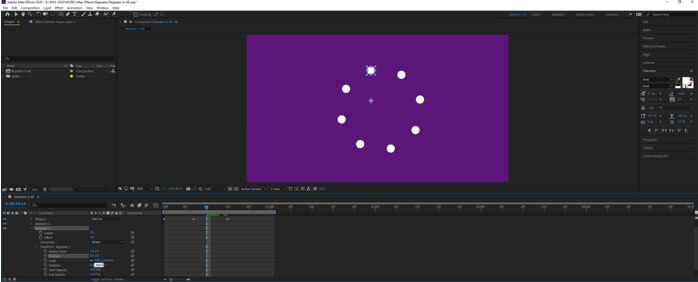
Step 14: Let’s adjust its parameters and set the copies to 8.
Step 15: Change the Rotation in the Transform section of the repeater. We can do some basic math like we want to distribute the number of shapes in a circle, so we divide 360 by 8, which we can do inside the box.
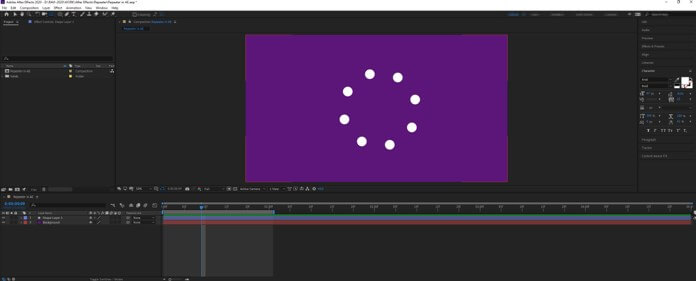
Step 16: Still, we didn’t get the circle because we have to change the position to 0
Step 17: So, the pattern is created and now play the animation, and it looks pretty cool. If we want to play the animation again and again, then drag the work area below the current-time indicator to the size of the animation and the just press spacebar.
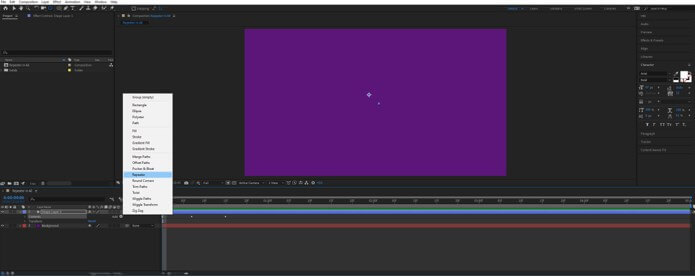
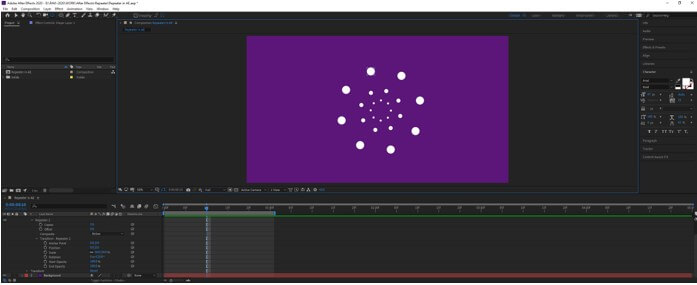
Step 18: Let’s add one more repeater to create some interesting patterns. We can add multiple repeaters to a single layer.
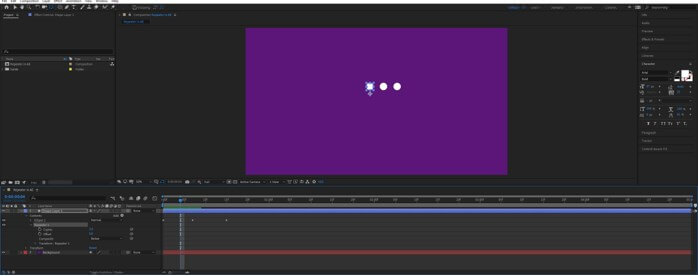
Step 19: Again, change position to 0.0 and the rotation according to the number of copies; as we have 3 copies in this repeater, we divide 360 by 3 and get the rotation of 120 degrees.
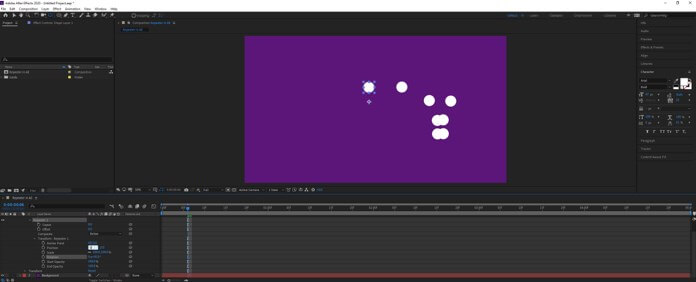
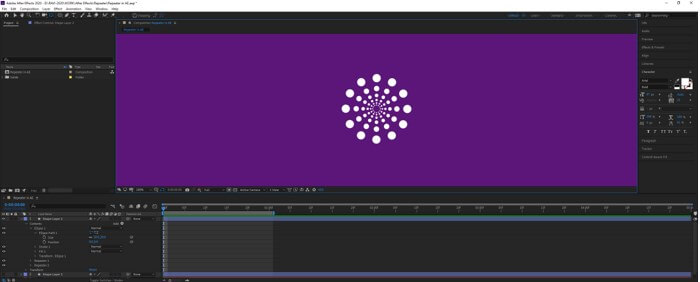
Step 20: The second repeater has multiplied the first repeater by 3. Now we will change the scale of the second repeater to 50% to get a much more interesting effect.
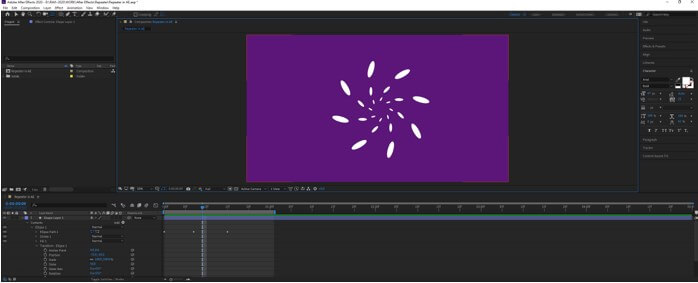
Step 21: In the transform of an ellipse, change the skew property to 50 to get the following effect.
Step 22: Let us hide the current shape layer by clicking on the eye icon and creating the new shape, and following the same steps as previously.
Step 23: Add a repeater and set copies to 12 and the position to 0, and the angle according to copies.
Step 24: Similarly, add another repeater.
Step 25: If the circle is overlapping, then you can change the ellipse path size.
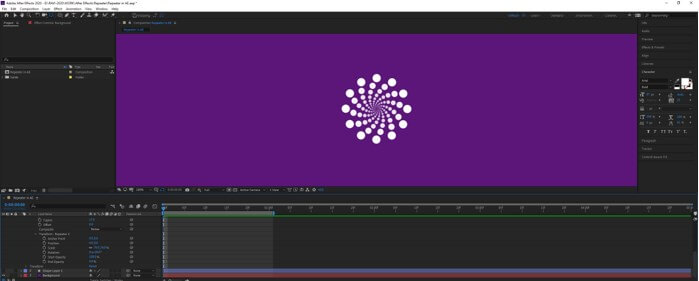
Step 26: Now, we will change the scale and the end opacity of the second repeater to achieve this effect. You can change the rotation to create an animation that can be used to create a background.
Conclusion
In this article, we have learned how to create a simple animation and make it more attractive using a repeater, but we have also created effects without animation and just using a repeater. Apart from that, we have also learned how to use shapes and easing.
Recommended Articles
This is a guide to After Effects Repeater. Here we discuss an introduction, how to create repeaters in after-effects in a step by step manner. You can also go through our other related articles to learn more –
