Updated August 28, 2023
Introduction to After Effects Move Anchor Point
Adobe After Effects is an animation and video editing software and, in this article, we are going to learn how to move and manipulate the anchor point. For this purpose, first, we will look at the default options of moving the anchor point, and then we will see the use of the script called “Move Anchor Point” to change the anchor point position.
Steps to After Effects Move Anchor Point
Different steps are mentioned below:
Step #1
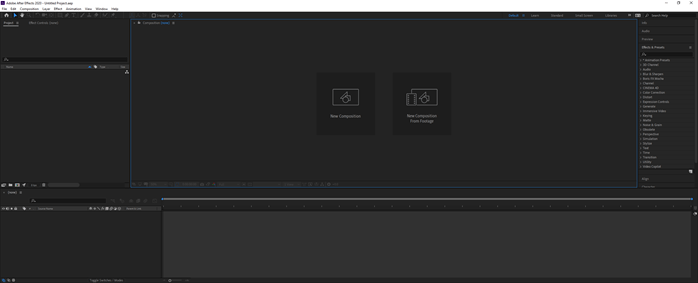
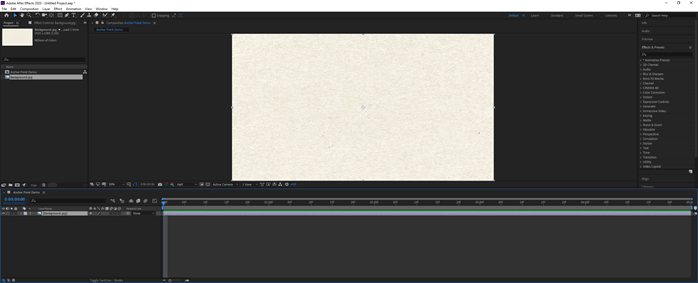
In the interface at the top is the menu bar like File, Edit, etc., and each has its own submenu. On the left side, a project panel consists of the project files and an effects control panel, which shows the effects applied on a particular layer. Then there is the composition panel which shows the preview of the animation or video.
Step #2
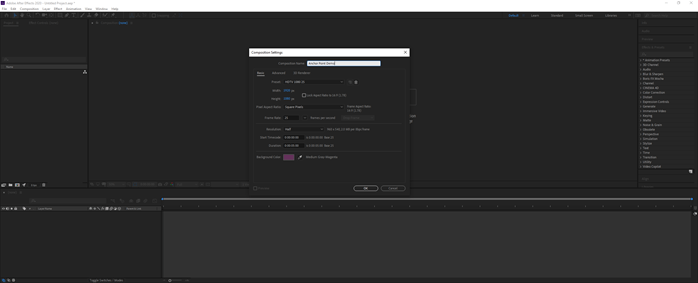
Right-click on the project panel, create a new composition, change the name, and keep the default settings.
Step #3
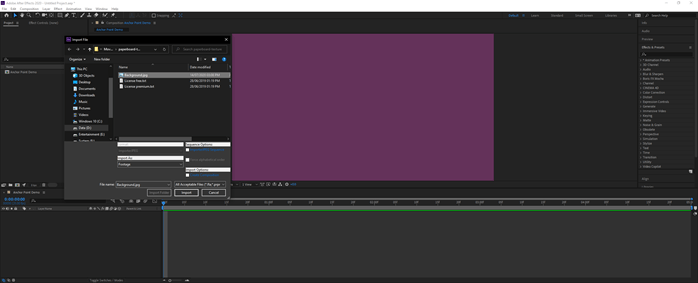
Double click on the Project panel to import the background image file.
Step #4
Drag the background image onto the layers panel to create a background layer.
Step #5
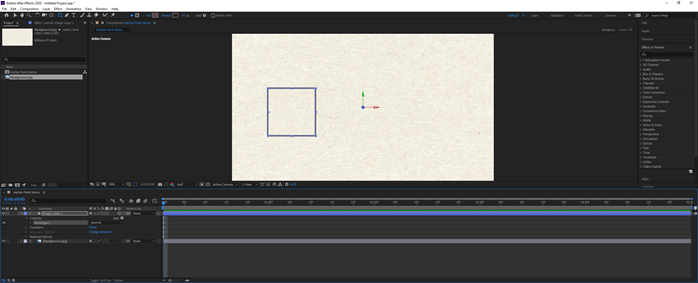
Select the rectangle tool or press Q. Set the stroke to 10px and fill to none. Also, set stroke color to dark grey. Hold shift while dragging with the rectangle tool to create a square; you can also press space to adjust the position. As we can see, the anchor point is in the center of the layer.
Step #6
To change the position of the anchor point, we will use the Pan Behind (anchor point) tool or press Y. Then click and drag the anchor point anywhere on the layer.
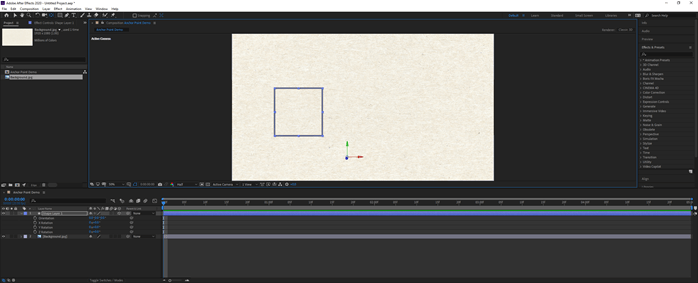
Step #7
To center the anchor point on the shape, you can press Ctrl and drag, which will snap the point to the center, or you can hold Ctrl while the anchor point is selected and double-click the Pan behind the tool to bring the anchor point to the center.

Step #8
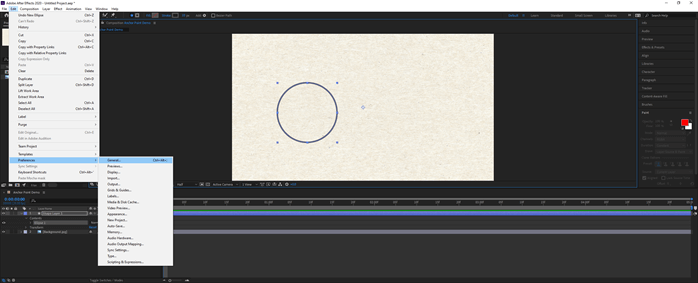
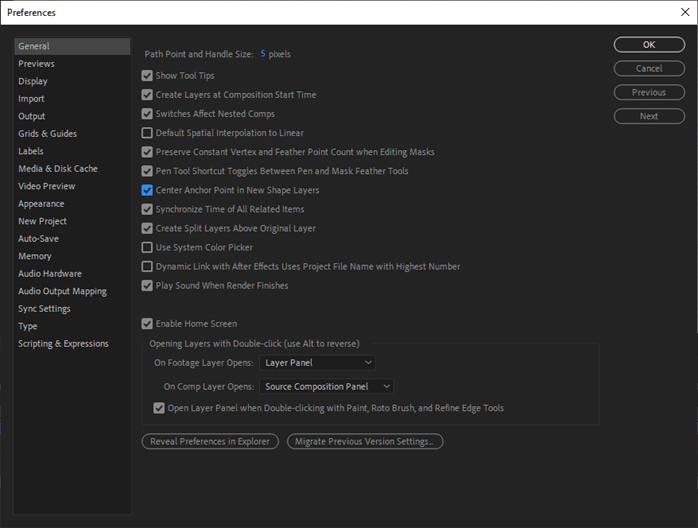
Now select the ellipse tool or press Q and again shift drag to create a circle. Same as before, the anchor point is in the center. To change this behavior, go to Edit -> Preferences -> General.
Step #9
Make sure that the “Center Anchor point in New Shape Layers” option is checked.
Step #10
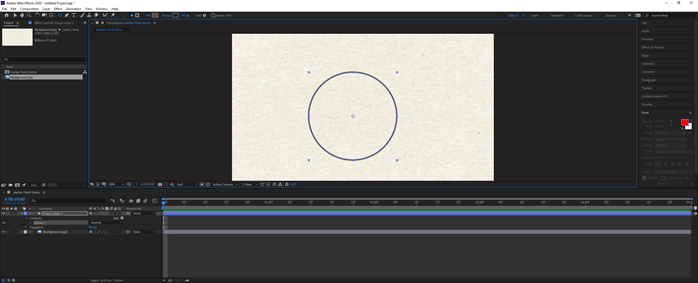
Again, using the ellipse tool makes a circle, and the anchor point now should have defaulted to center.
Step #11
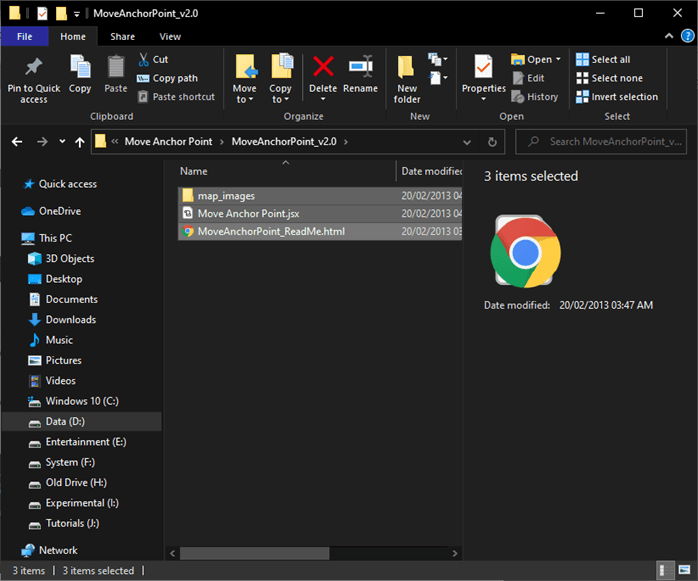
Next, we will use a script to manipulate the anchor point, which is much more robust, and we can have better control over it, so we will use the “Move anchor point” script. You can purchase it from its website, and the link is https://www.batchframe.com/tool/move-anchor-point-3. After downloading the zip and extracting, you get the files as shown.
Step #12
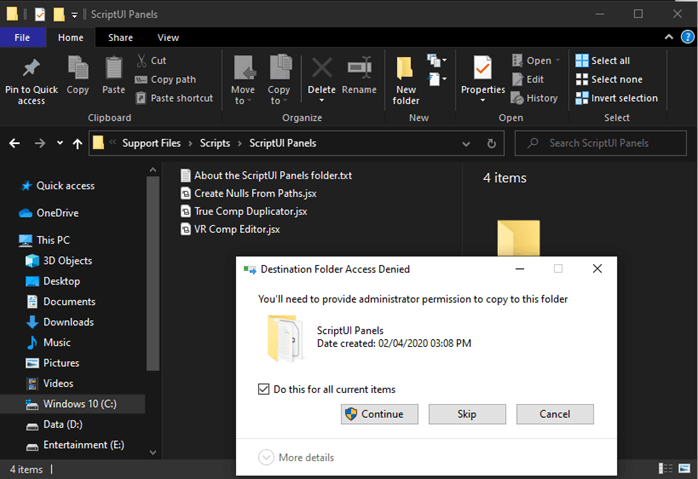
First, close the after-effects program and then copy the files to the following locations depending on your platform:
Mac: ~/Applications/Adobe After Effects VERSION/Scripts/ScriptUI Panels
Windows: C:/Program Files/Adobe/Adobe After Effects VERSION/Support Files/Scripts/ScriptUI Panels
On Windows, you might get a warning of file access so grant the privileges.
Step #13
Now open after-effects, go to the Windows menu and verify that Move Anchor Point.jsx is present.
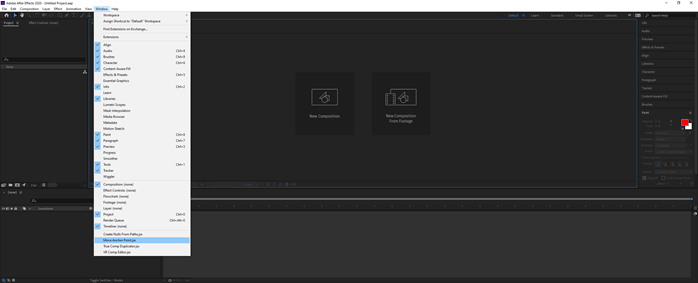
Step #14
This plugin or script basically moves the anchor point to the top, center, bottom, left, and right. So you can dock this window just like any other window in after effects.
Step #15
Let’s create a new comp as shown.
Step #16
Right-click on the layers panel and create a new solid.

Step #17
Using the move anchor point script, we can move the anchor point to any side or corner position as well as center it. This is the most basic example.
Step #18
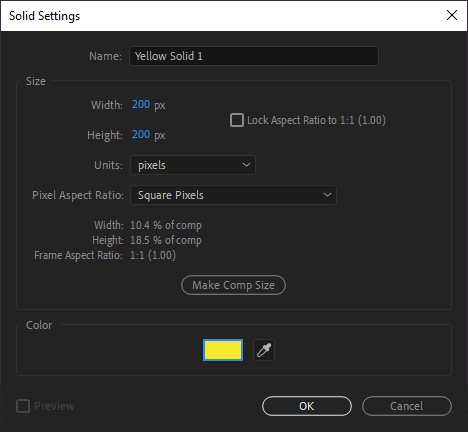
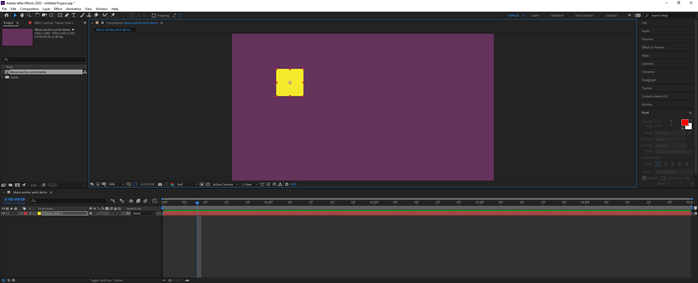
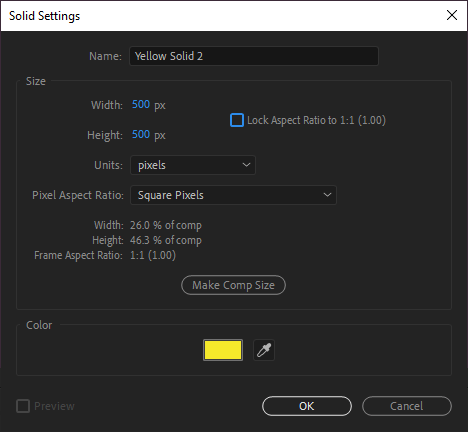
Next, remove this solid and create a new solid of yellow fill and width and height of 200 px.
Step #19
Then go to Edit -> Duplicate or press Ctrl + D to duplicate the solids 4 times.
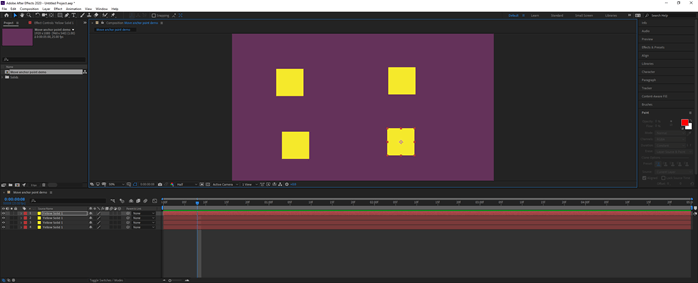
Step #20
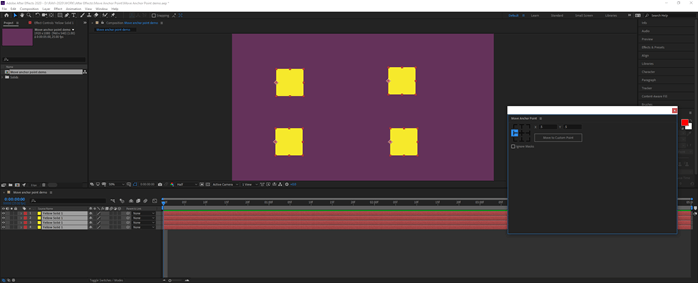
Select all four solids and use the move anchor point tool, and it will move all four anchor points to the desired location. This is very handy if you have multiple solids on different layers and you want to manipulate them simultaneously. This is a convenient and time saver as well. For example, imagine you have 20 or 30 solids, and you want to move the anchor point of all of it, then it would be a painstaking process.
Step #21
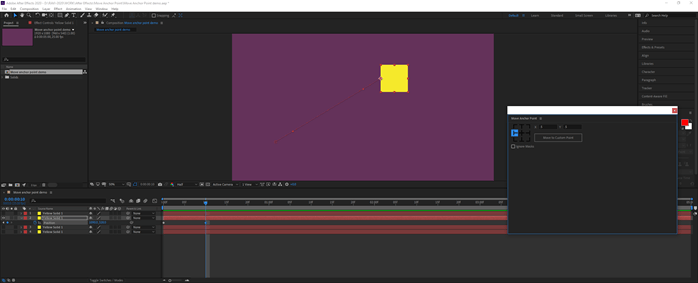
Now hide all the solids except one and set a keyframe for the position by pressing P, which gives the position and clicks on the timer. Then change the position and also move the timeline further to set another keyframe. Then change the anchor point as you can see that the position of the frame of the solid is remaining the same, but only the path is changing.

Step #22
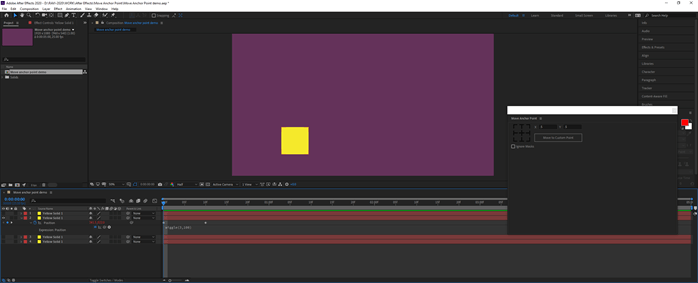
We can even add expression by going to animation and then adding expression and seeing that the layer wiggles, but the anchor point stays as it is.
Step #23
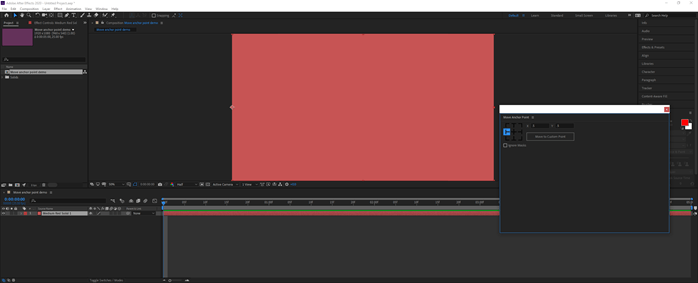
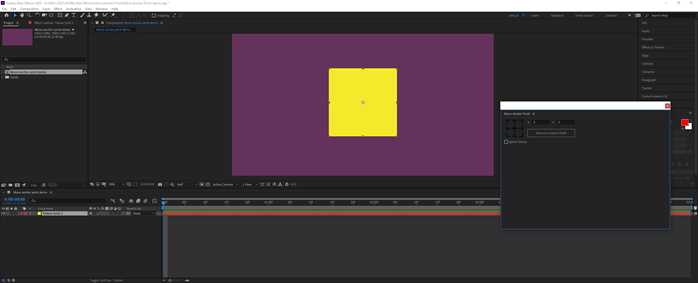
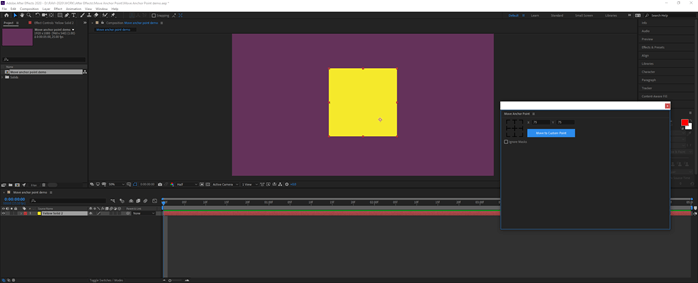
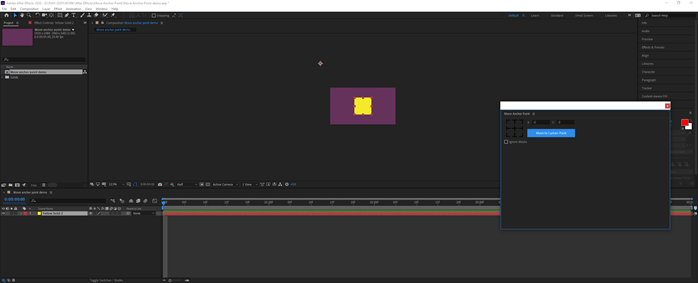
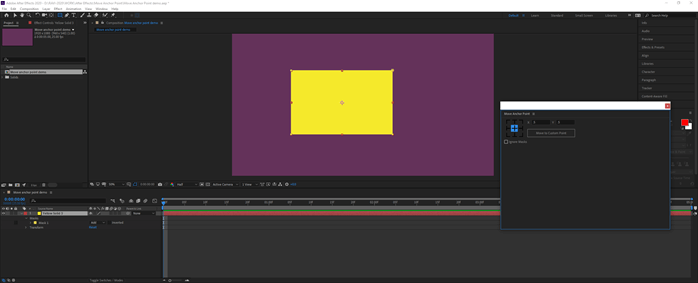
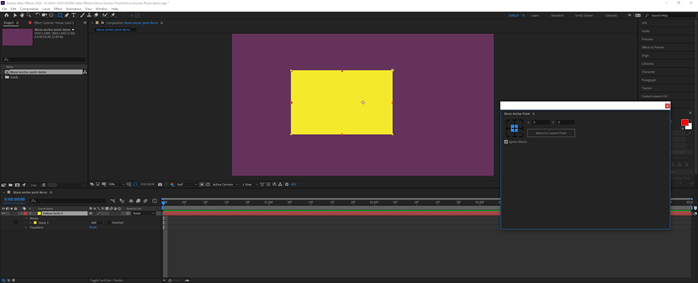
Delete all the solids and create another solid as shown.
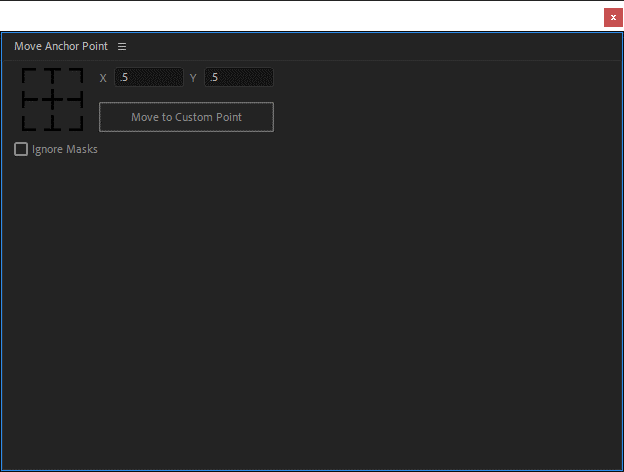
Step #24
We will now look at the move to custom point functionality in which the entire solid is considered as 0 at the top left and 1 at the bottom right, and according to it, we set a custom location for the anchor point. For example, if we want ¾ from the top and left, we give 0.75 for both X and Y and click on the move to the customs point. If the point is greater than 1 or less than 0, then the anchor point will be outside the solid.
Step #25
If we create a solid of the comp size and add a mask to it, and set the anchor point to the center, then it will center the mask, and if ignore mask is selected, then the anchor point will align to the solid not the mask.
Conclusion
In this article, we have learned how to manipulate the anchor point using the built-in tool, which is an anchor point tool and to gain greater control over it, we have used the Move Anchor Point tool to manipulate not only position but to set a custom location according to the proportion as well as inside the mask.
Recommended Articles
This is a guide to After Effects Move Anchor Point. Here we discuss the steps on how to manipulate the anchor point using the built-in tool. You may also have a look at the following articles to learn more –
