Updated August 28, 2023
Introduction to After Effects 3D Objects
Adobe After Effects is an animation and video editing software and, in this article, we will learn how to embed 3d objects in the footage, either a text, image, or a 3d model. We will look in-depth at how we can use 3d camera tracker and apply its various parameters. We will also learn how to enhance the 3d objects by using elements 3D plugins.
Steps of After Effects 3D Objects
Here are the following steps of After Effects 3D Objects:
Step #1
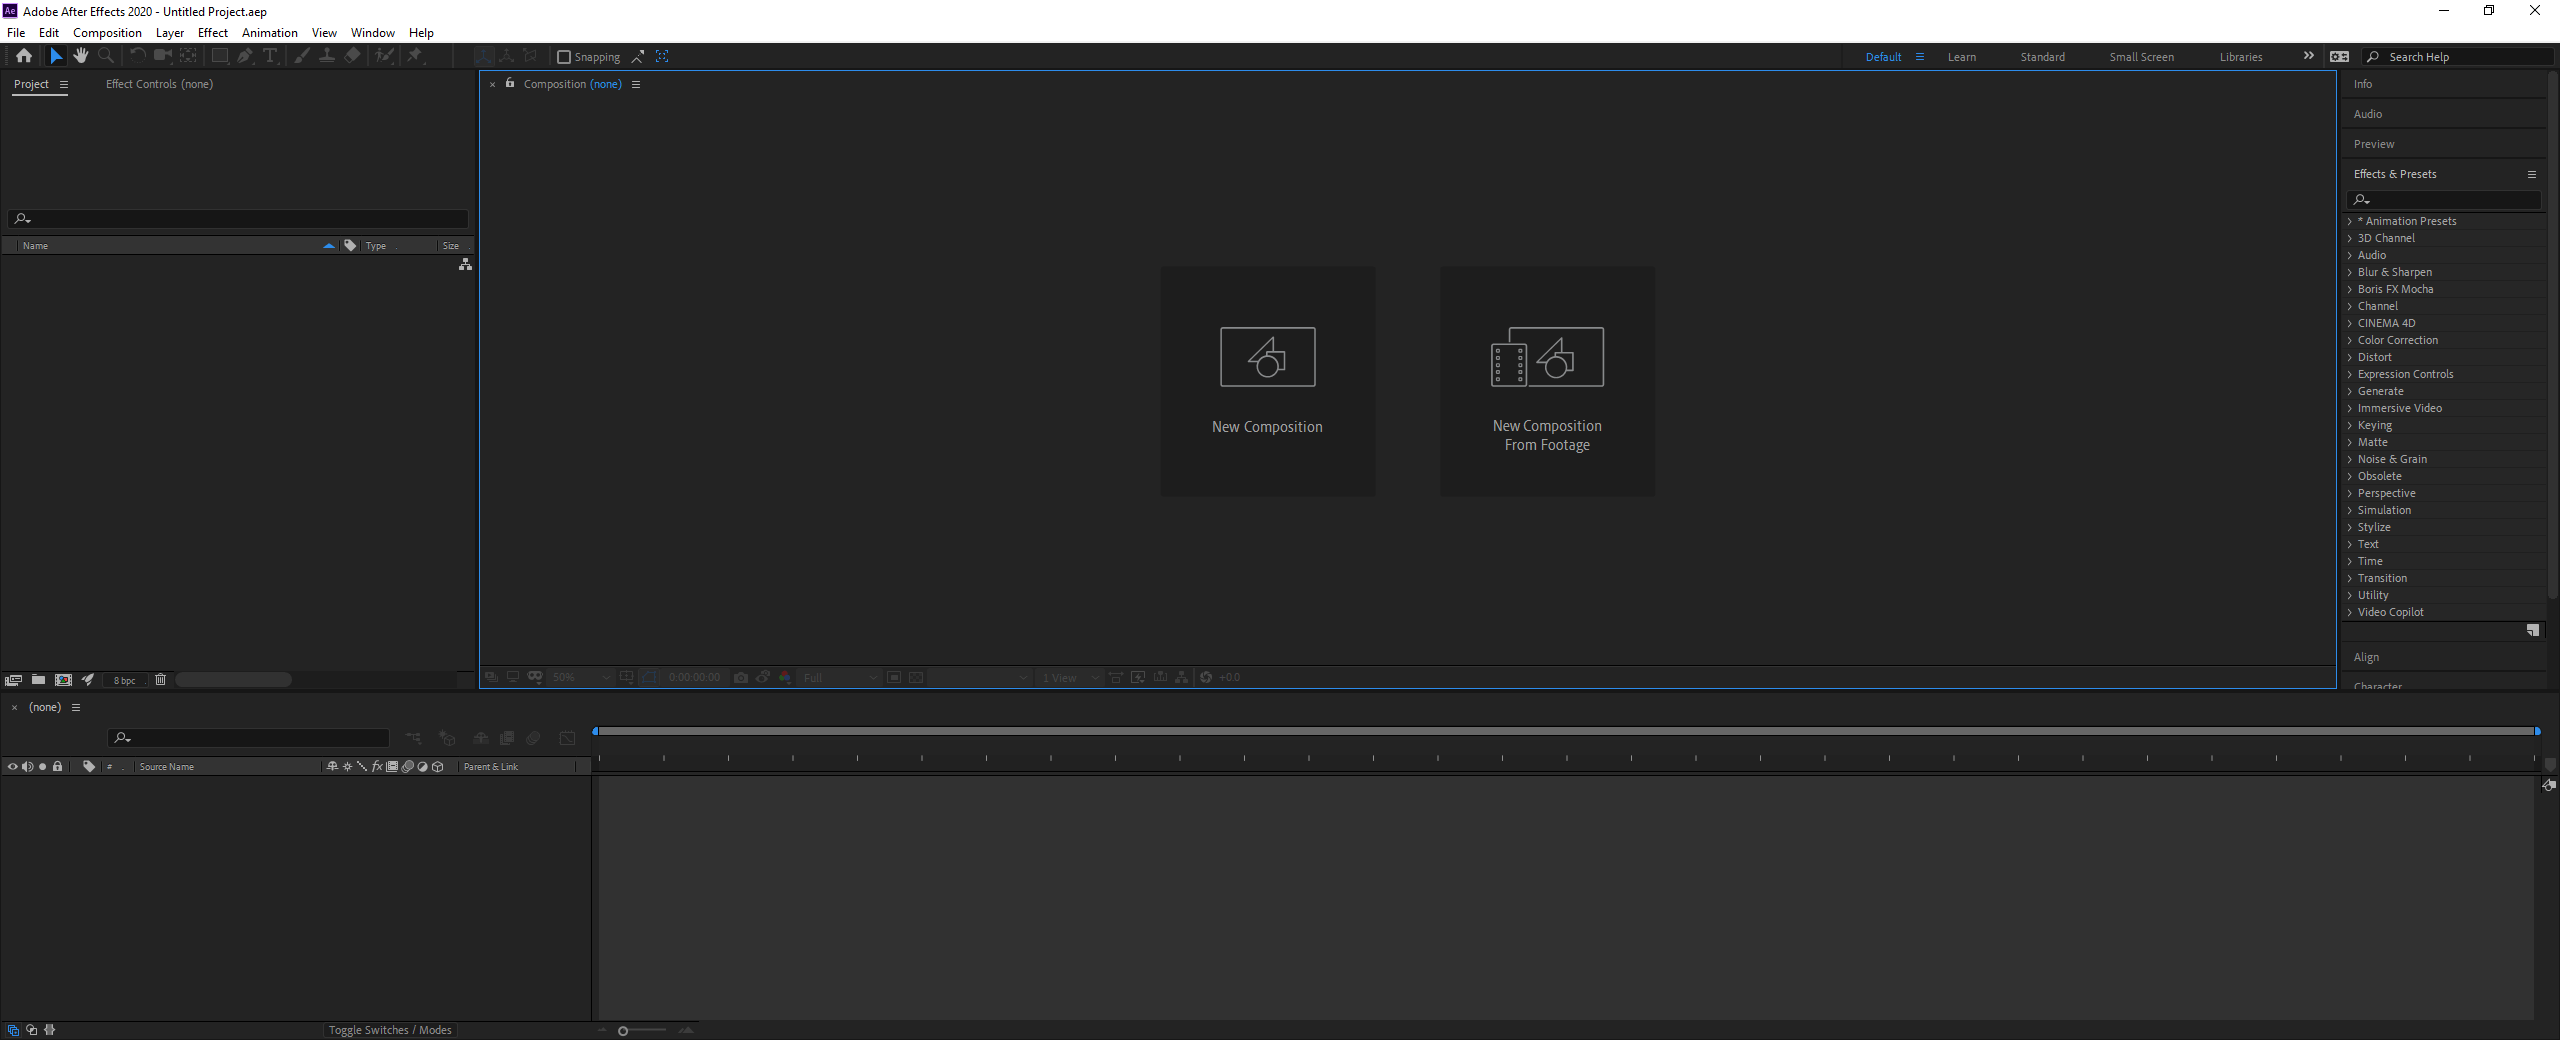
Let us first familiarize ourselves with the interface before starting to get a better understanding. At the top is the menu bar like File, Edit, etc., and each has its submenu. Next, just below it, we have a tool panel and their properties. On the left side, a project panel consists of the project files and an effects control panel, which shows the effects applied on a particular layer. Then there is the composition panel which shows the preview of the animation or video. At the top right, we have various layout presets, which will arrange according to the type of work. We can even create our custom layout. At the right, there are various sections used to edit the video. Finally, at the bottom, there are layers and a timeline panel used to add media and add animation keyframes.
Step #2
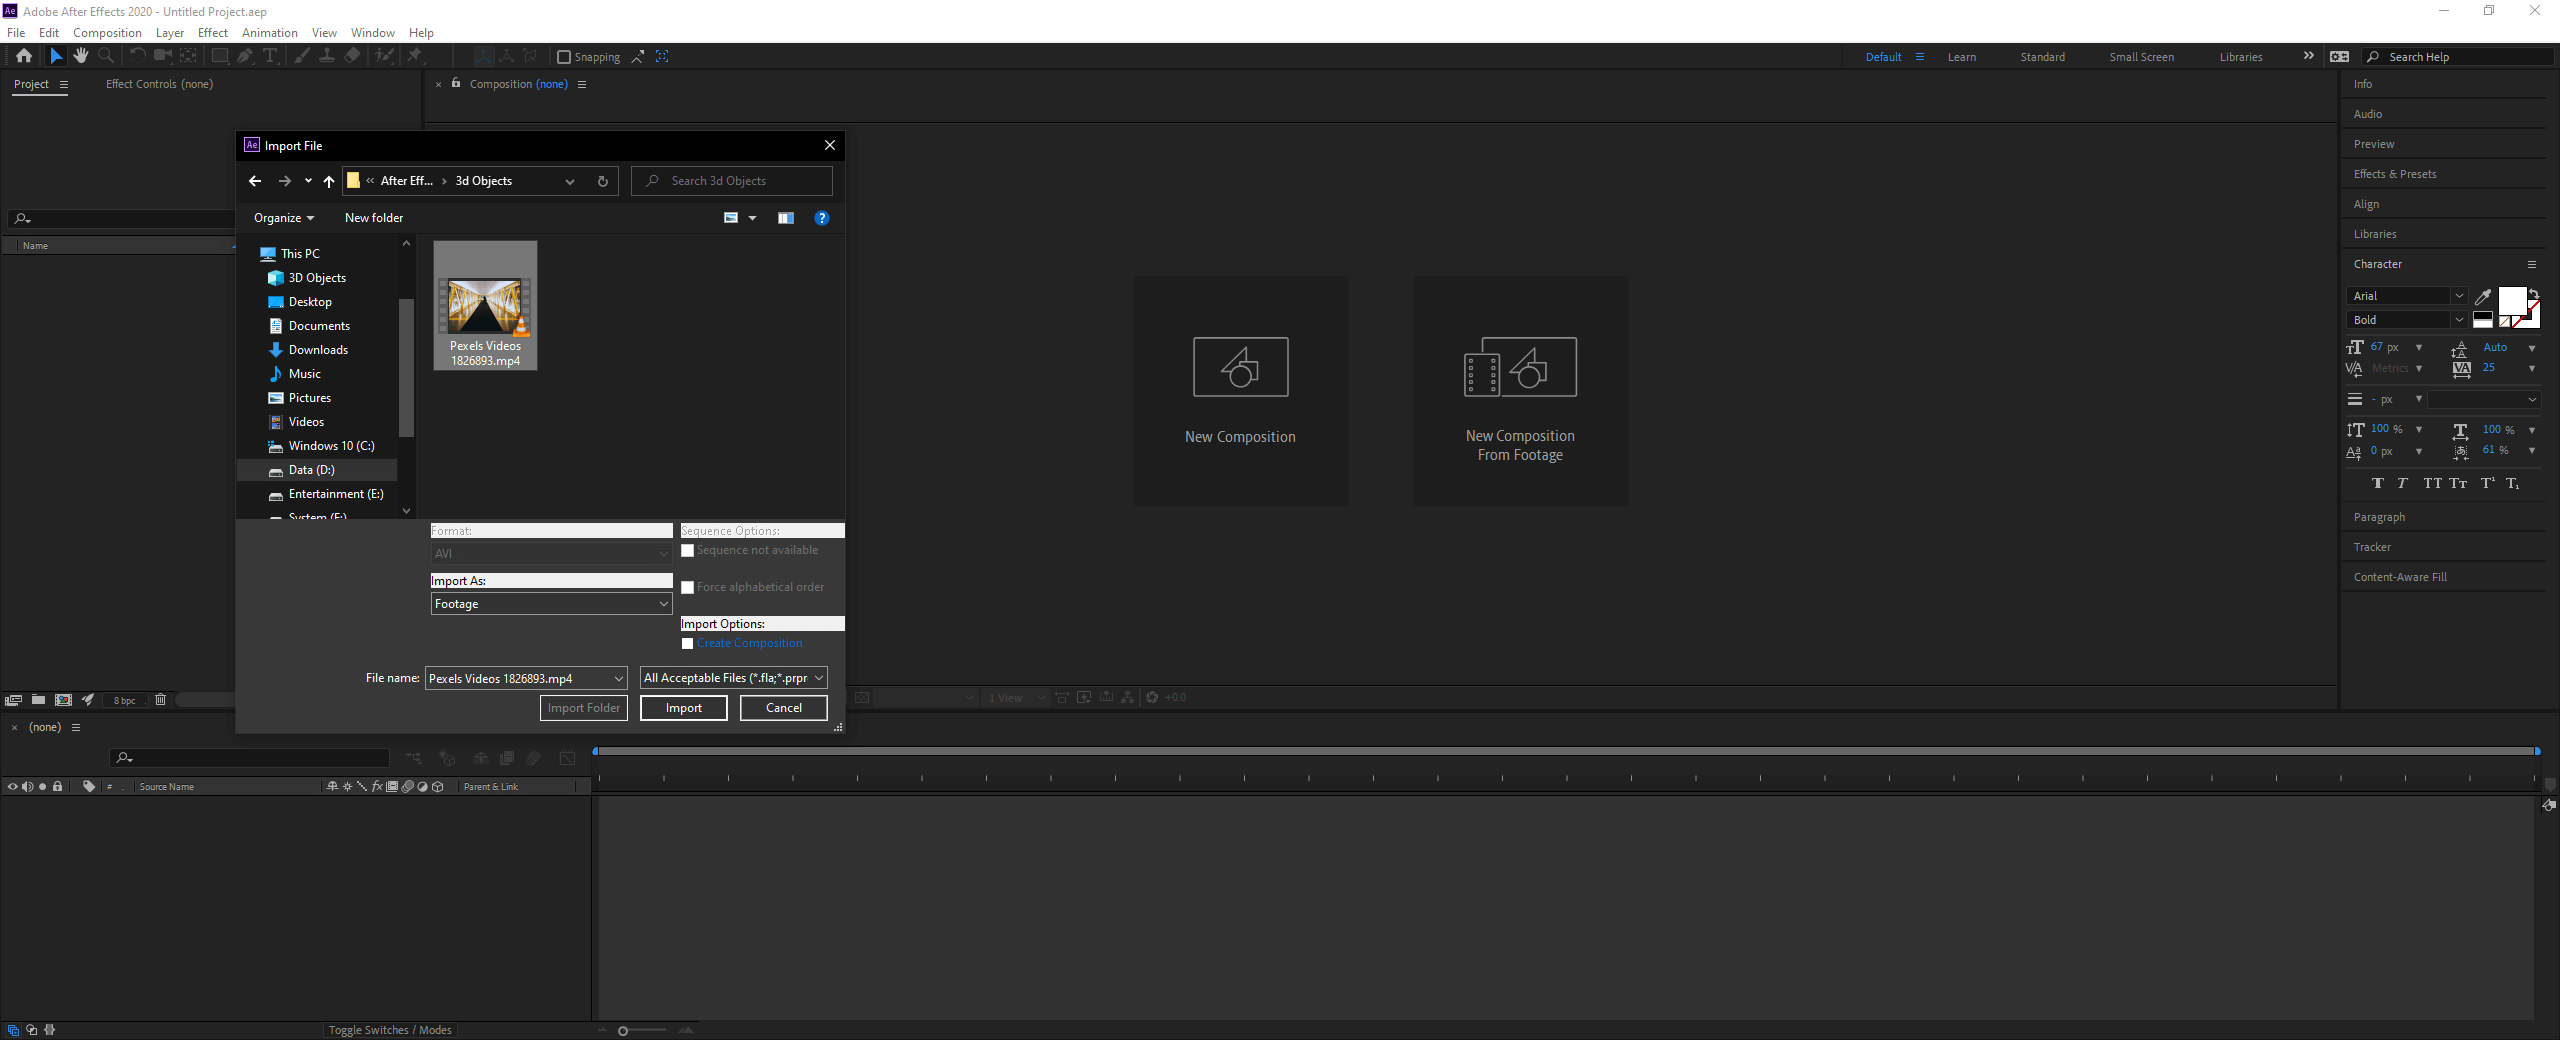
In the project panel, double click to import all the files.
Step #3
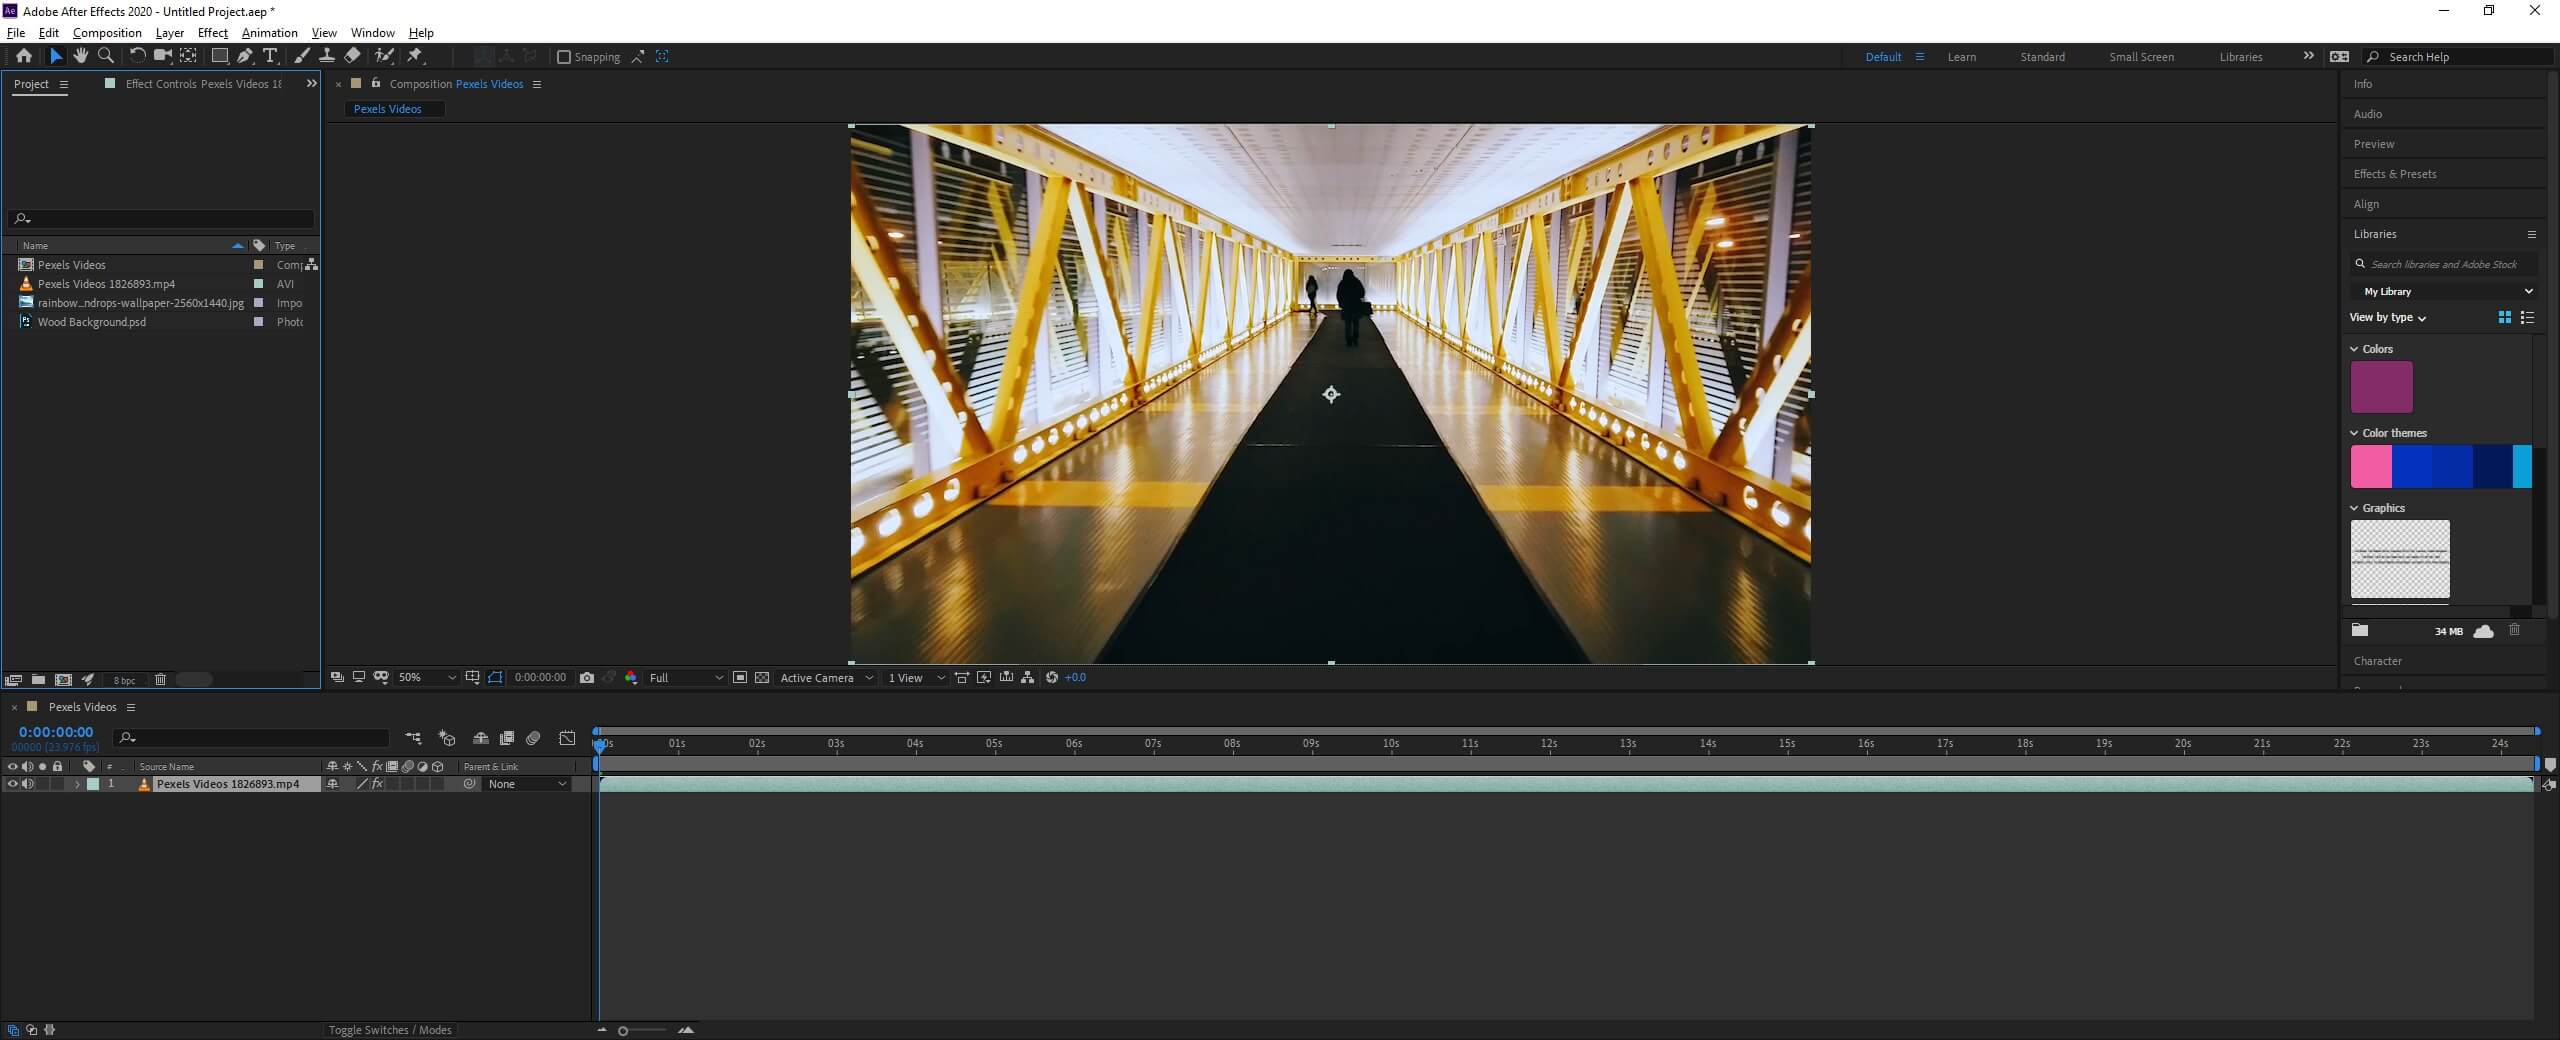
We have imported a video, an image, and a 3d psd. Drag the video file into the layers panel, which will make a new comp.
Step #4
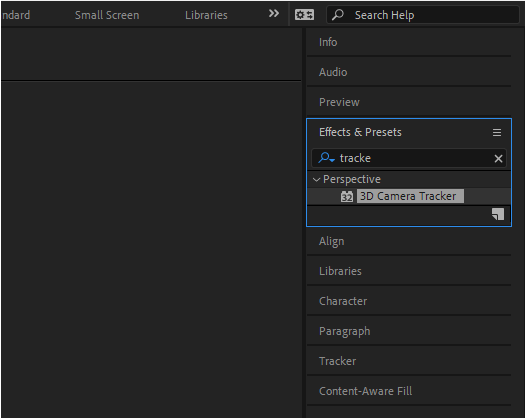
Go to the Effects and Preset panel, and if it is not active, then go to the Window menu to find it. Then, drag the 3D Camera Tracker effect onto the video. Or you can go to the animation menu and then track the camera.
Step #5
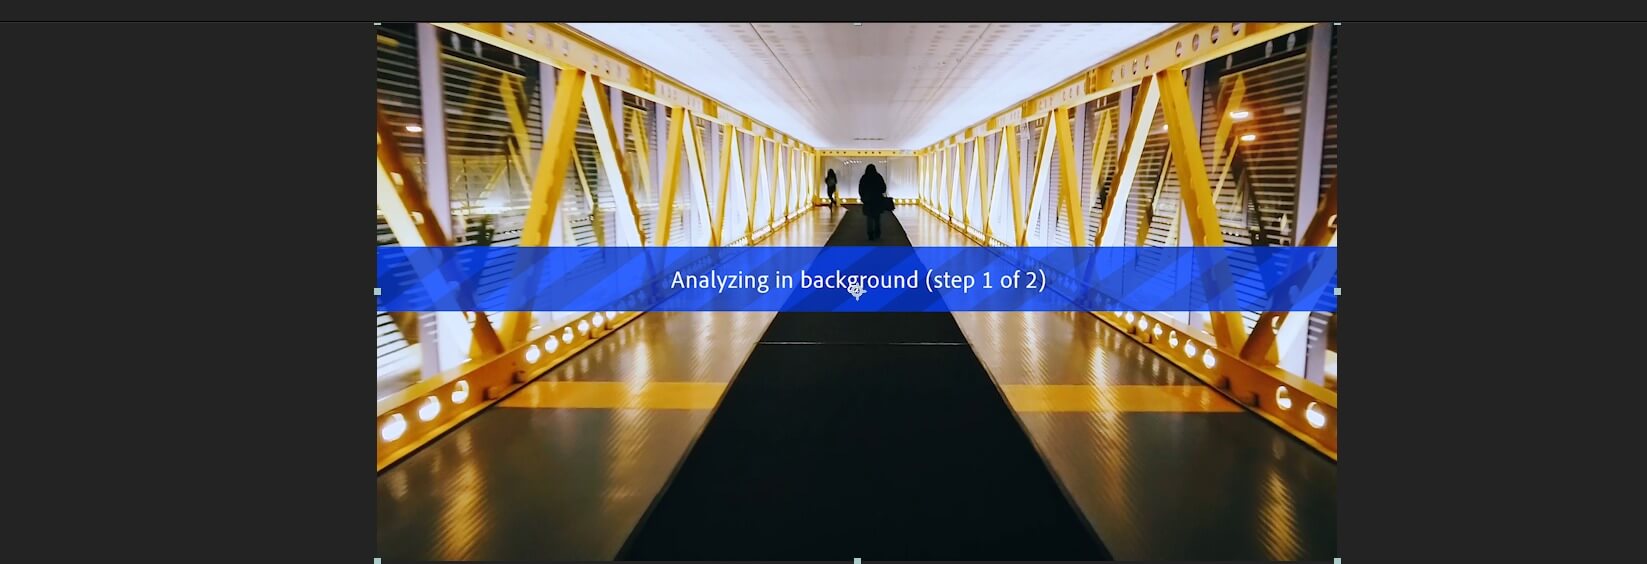
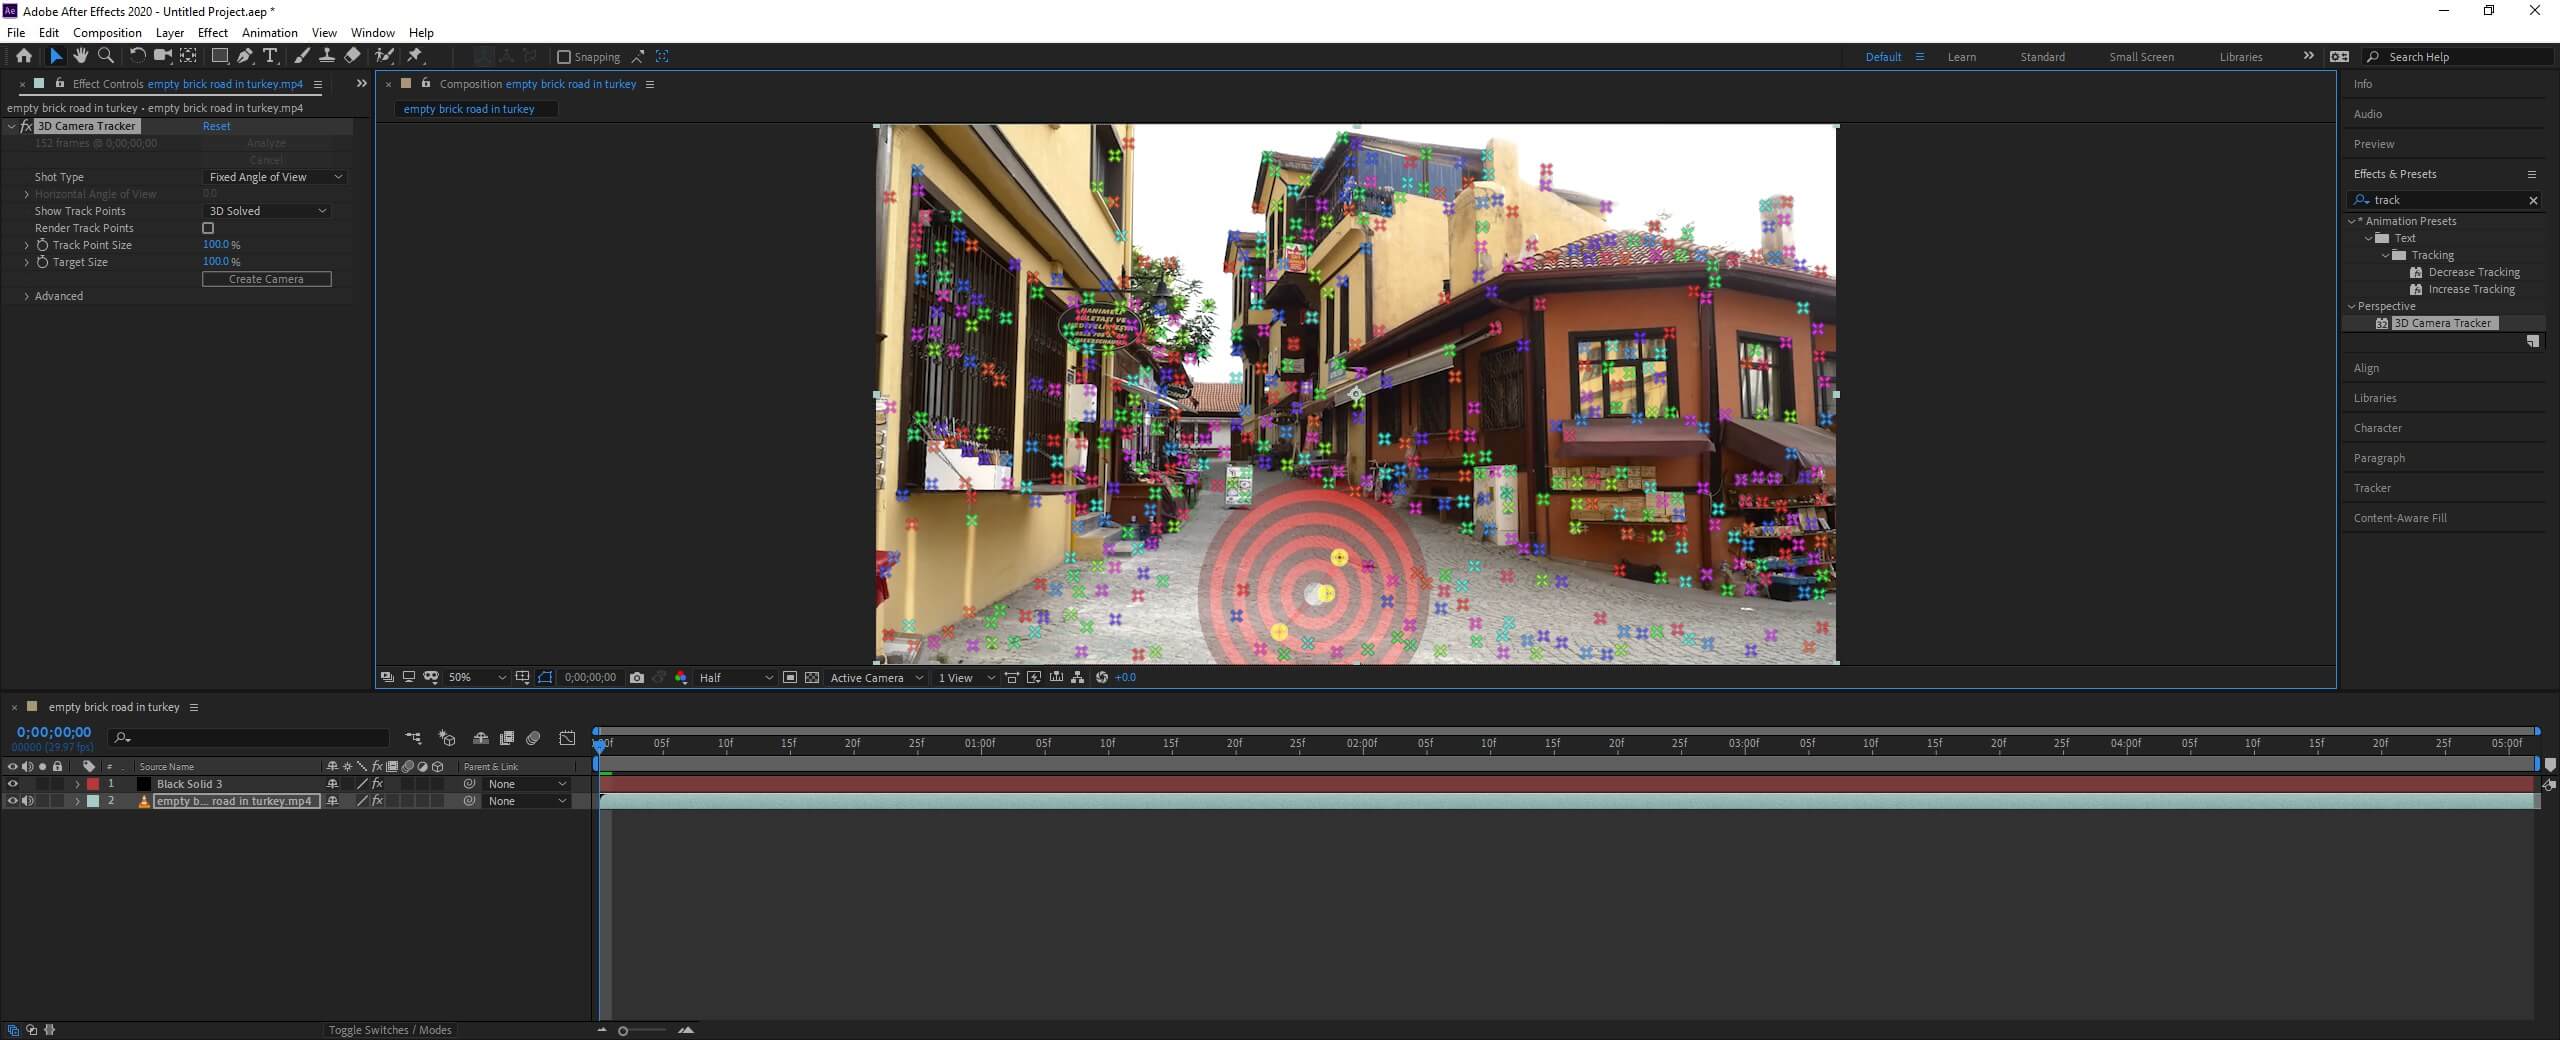
Then It will start analyzing automatically, and if it doesn’t, then there is an option to analyze in the Effects control panel.
Step #6
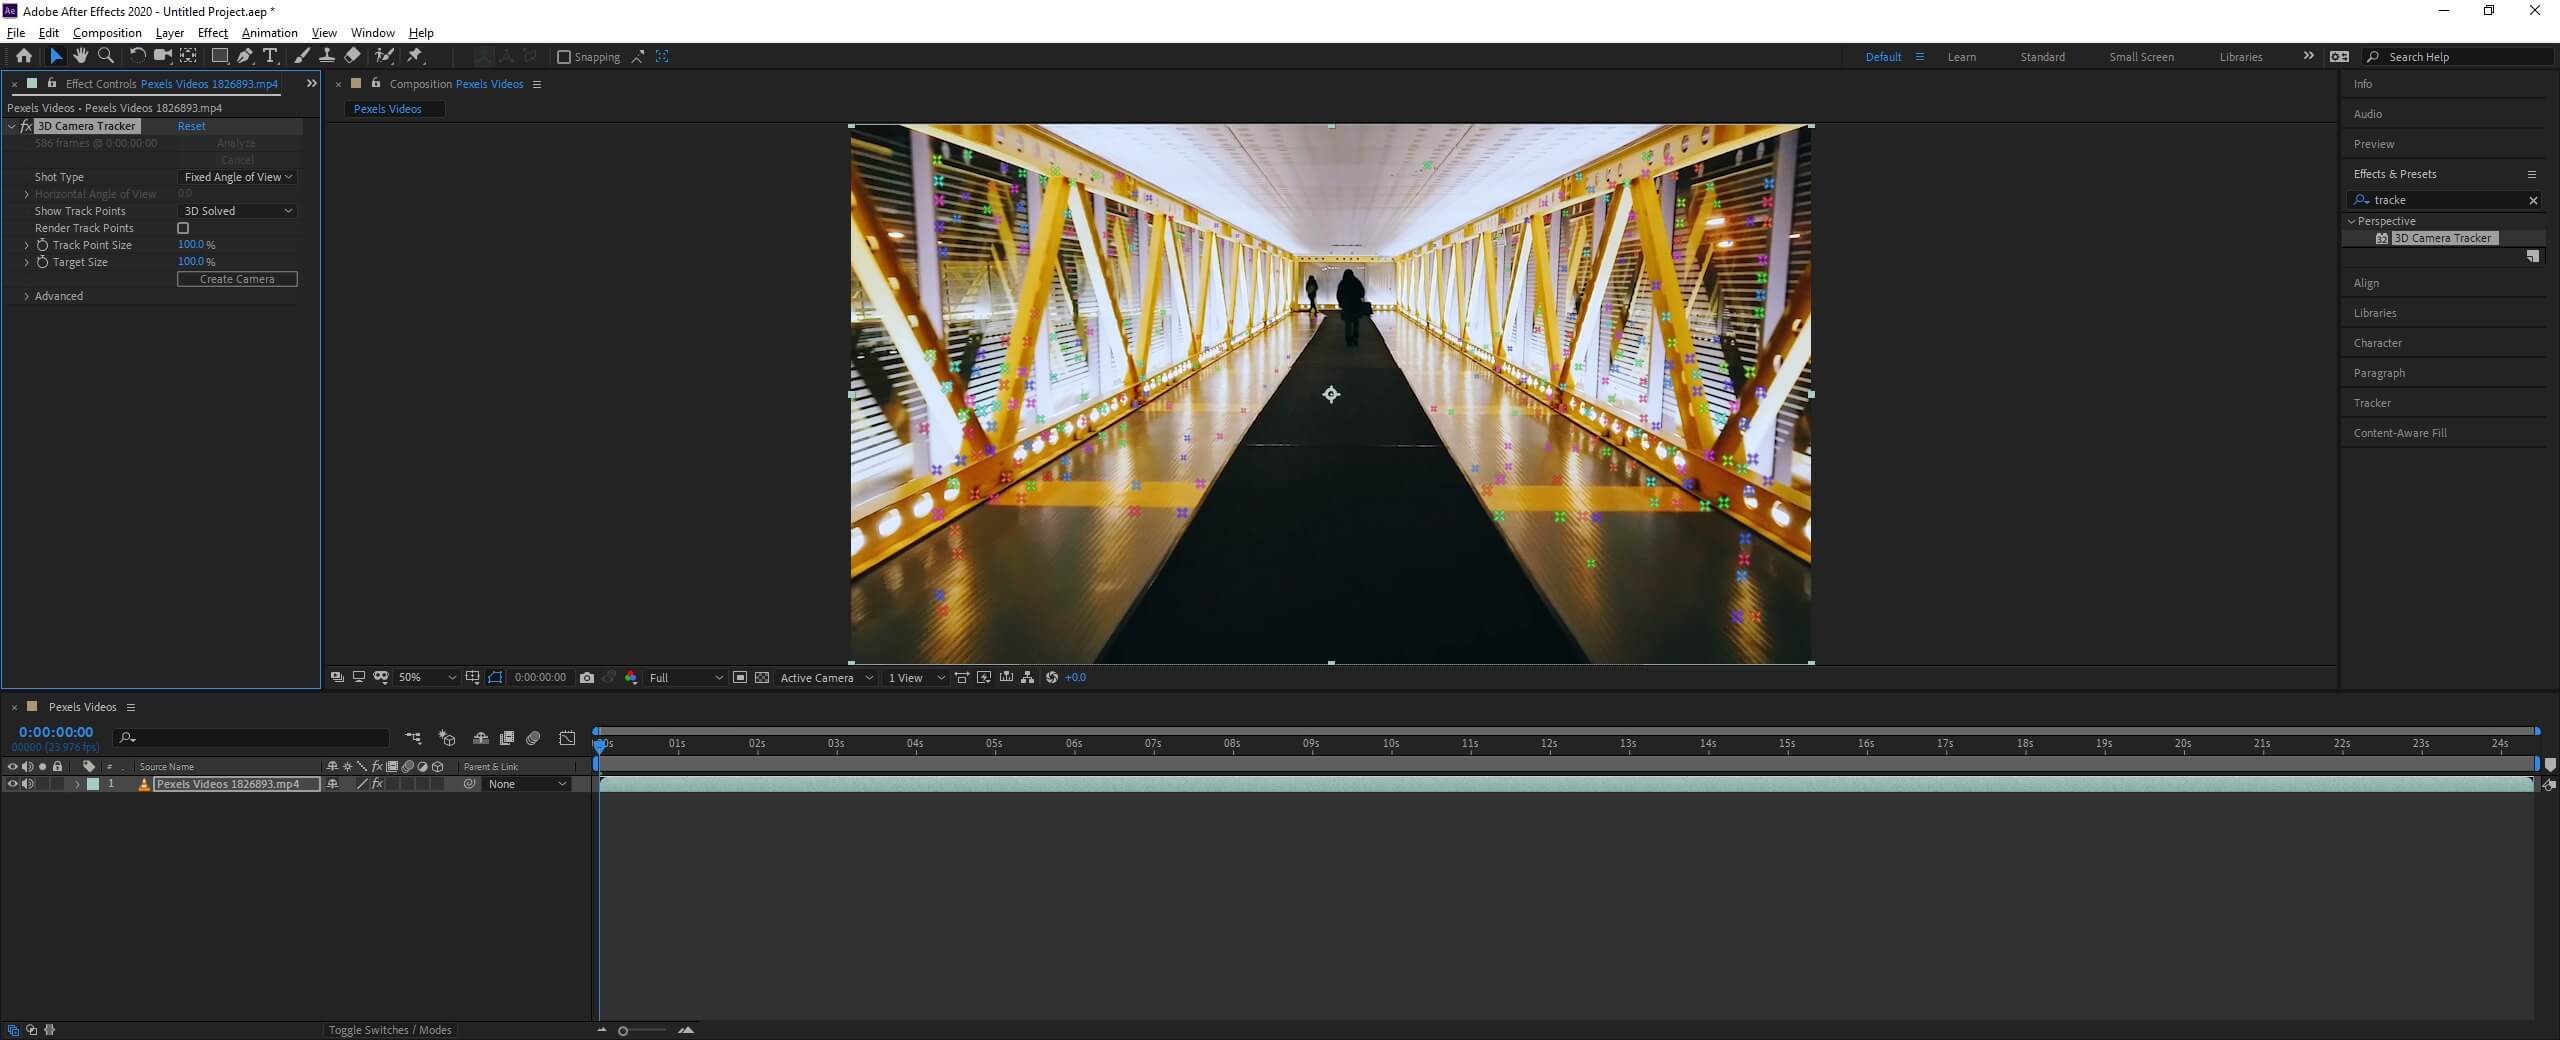
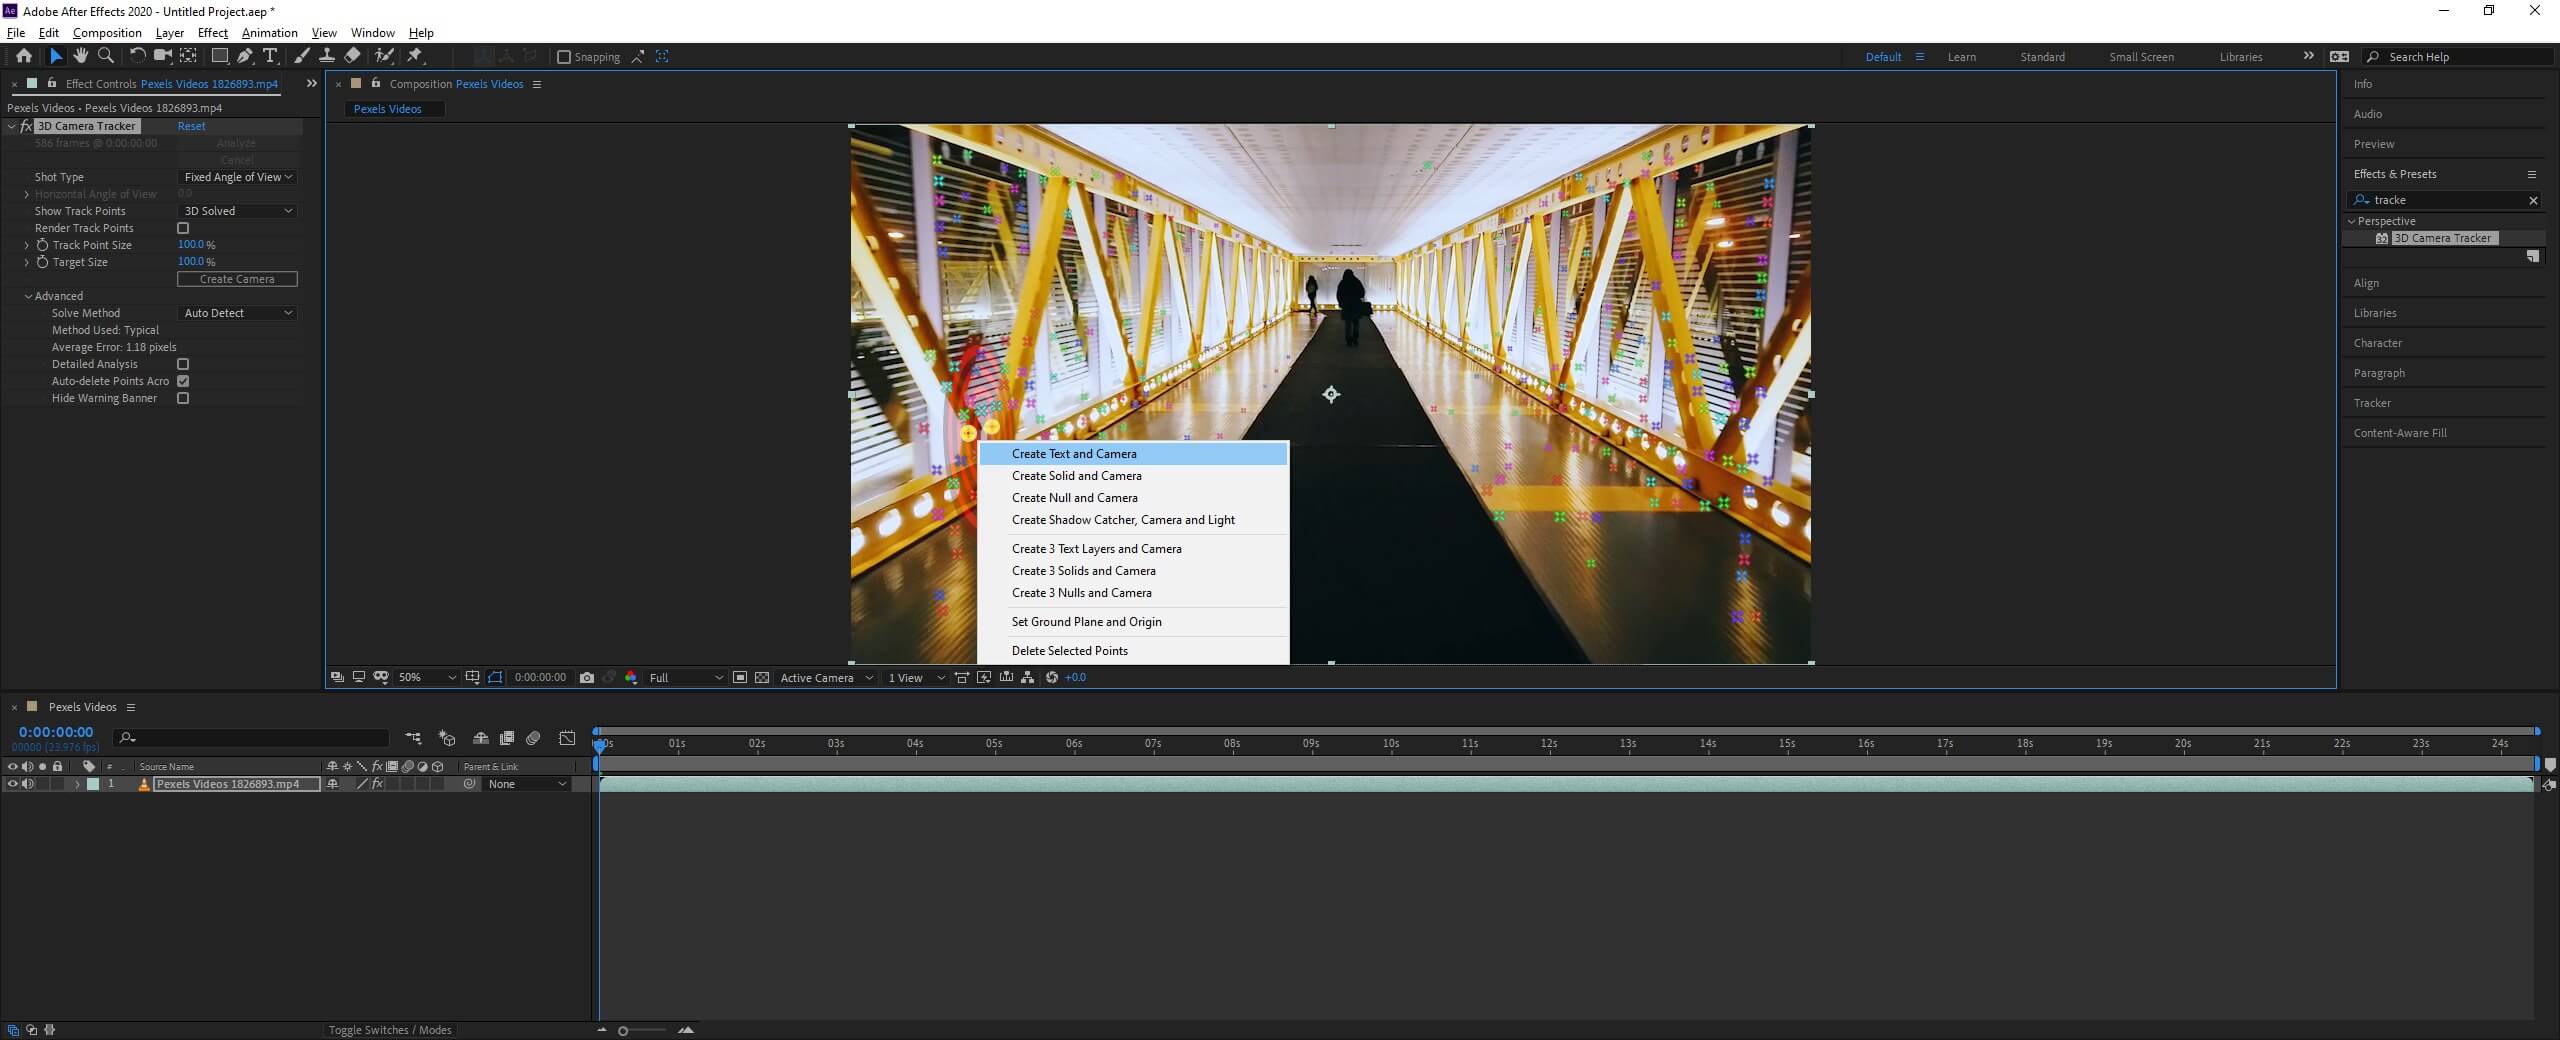
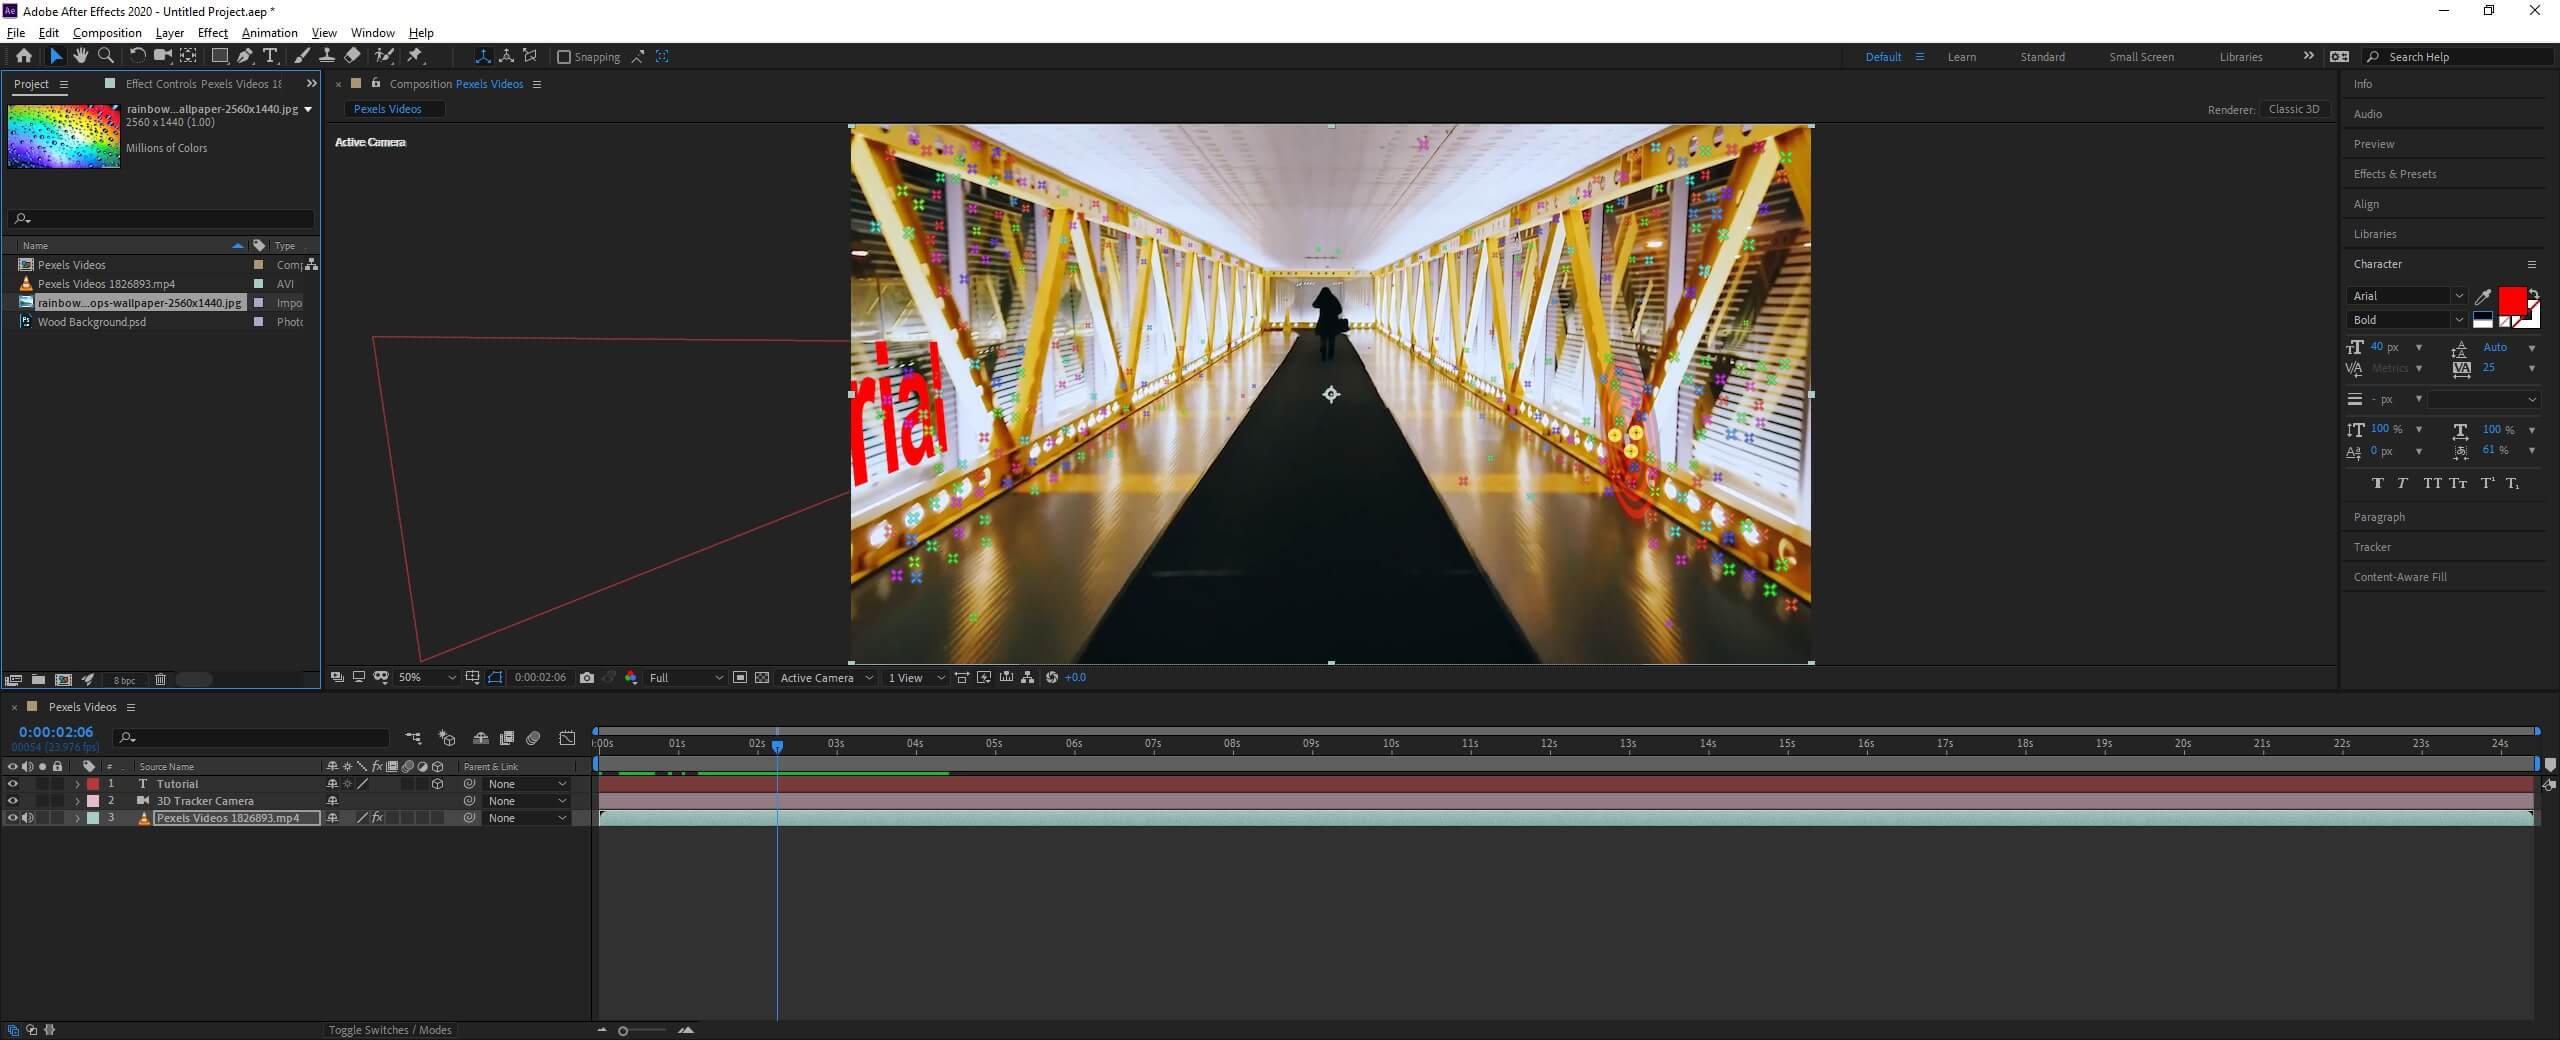
After 3d solving is done, then you will the track points captured by the 3D Camera Tracker.
Step #7
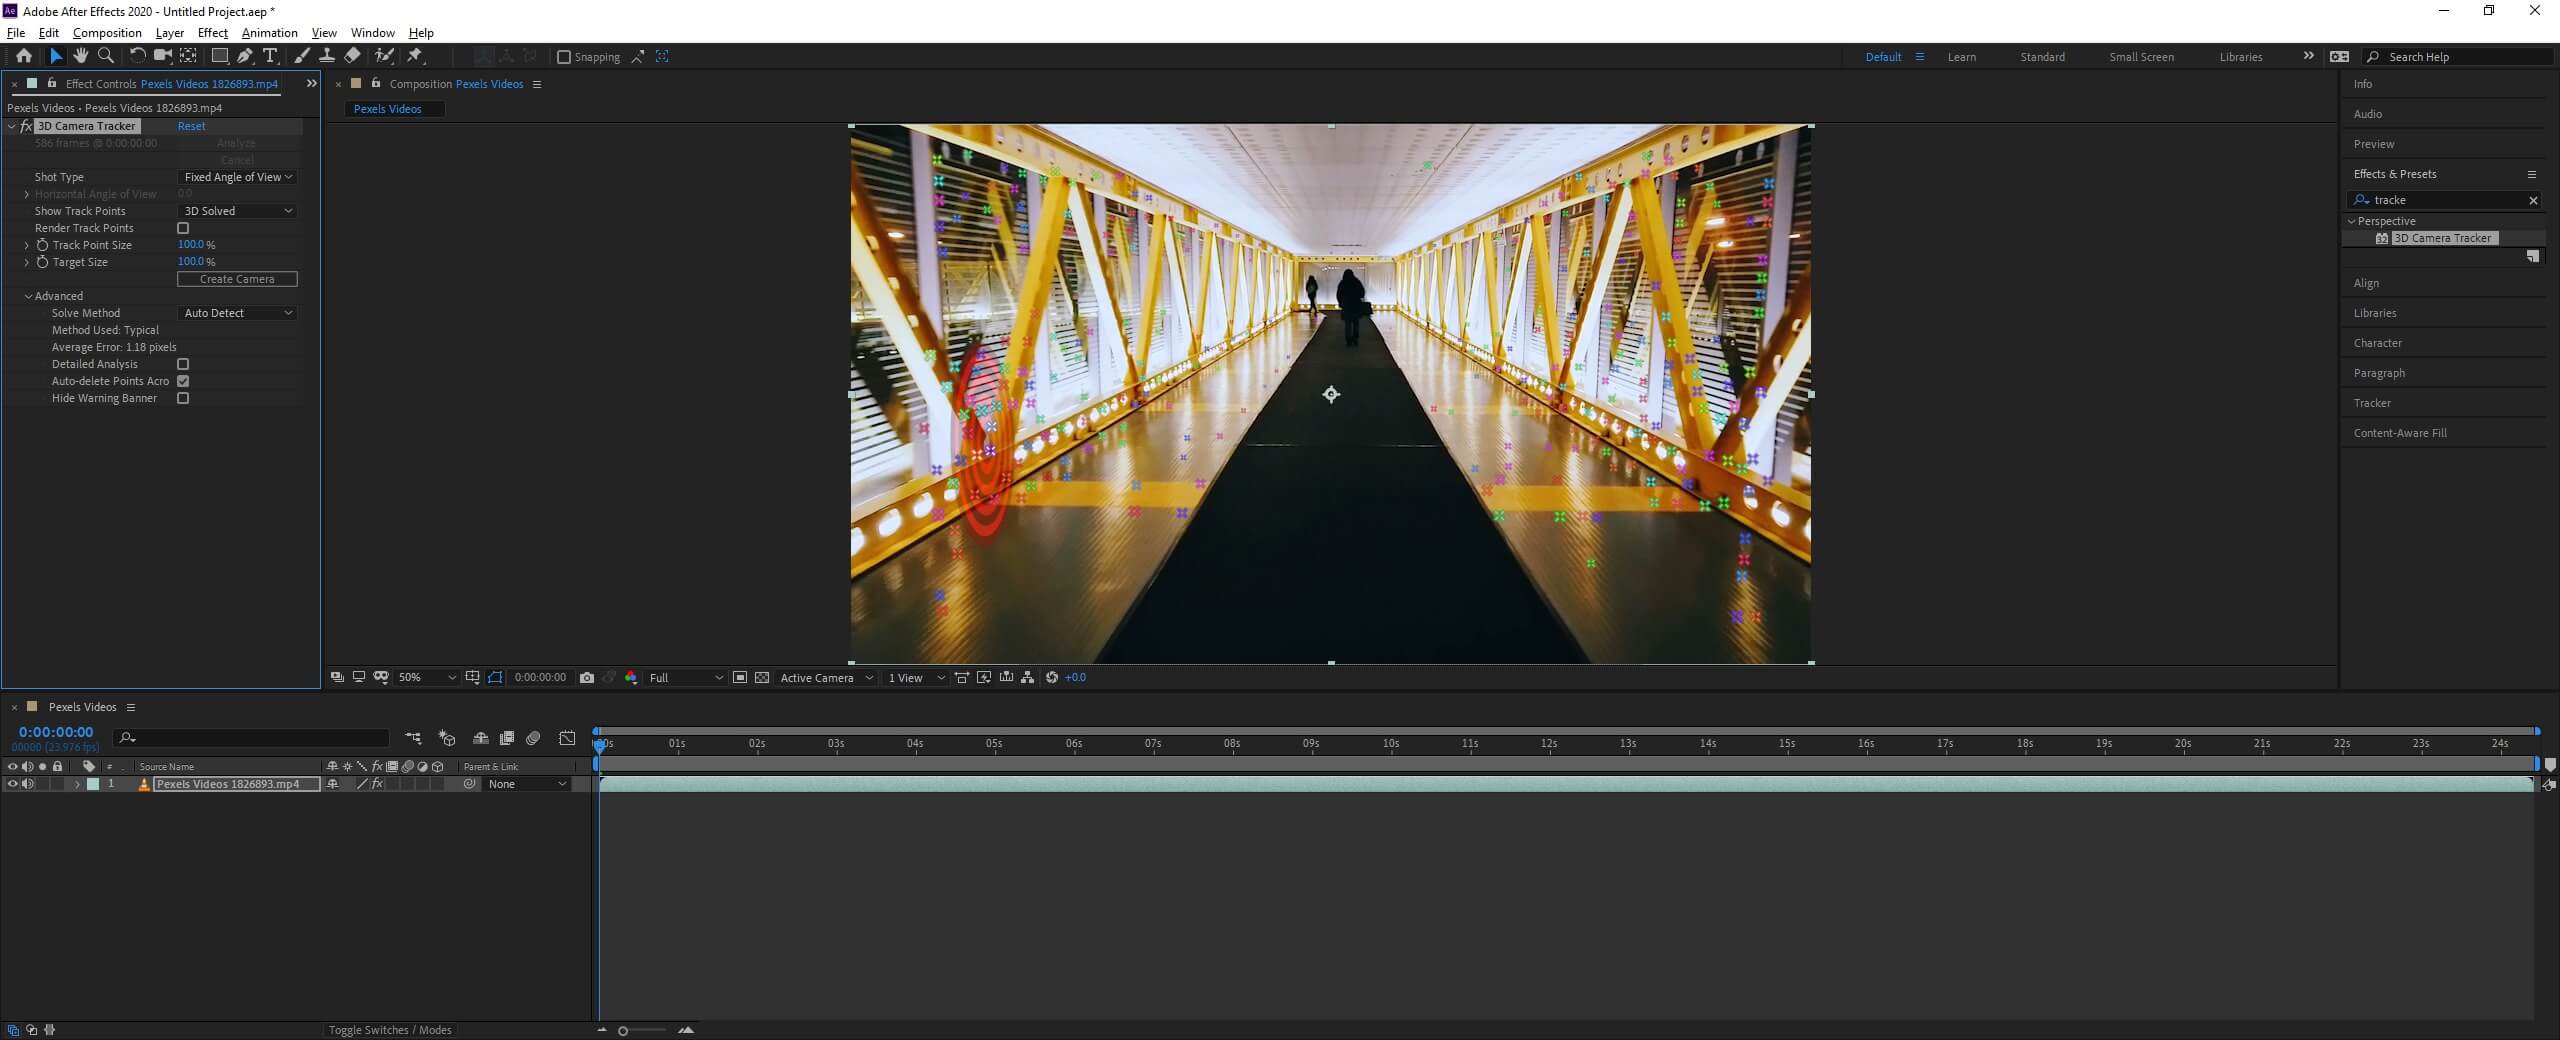
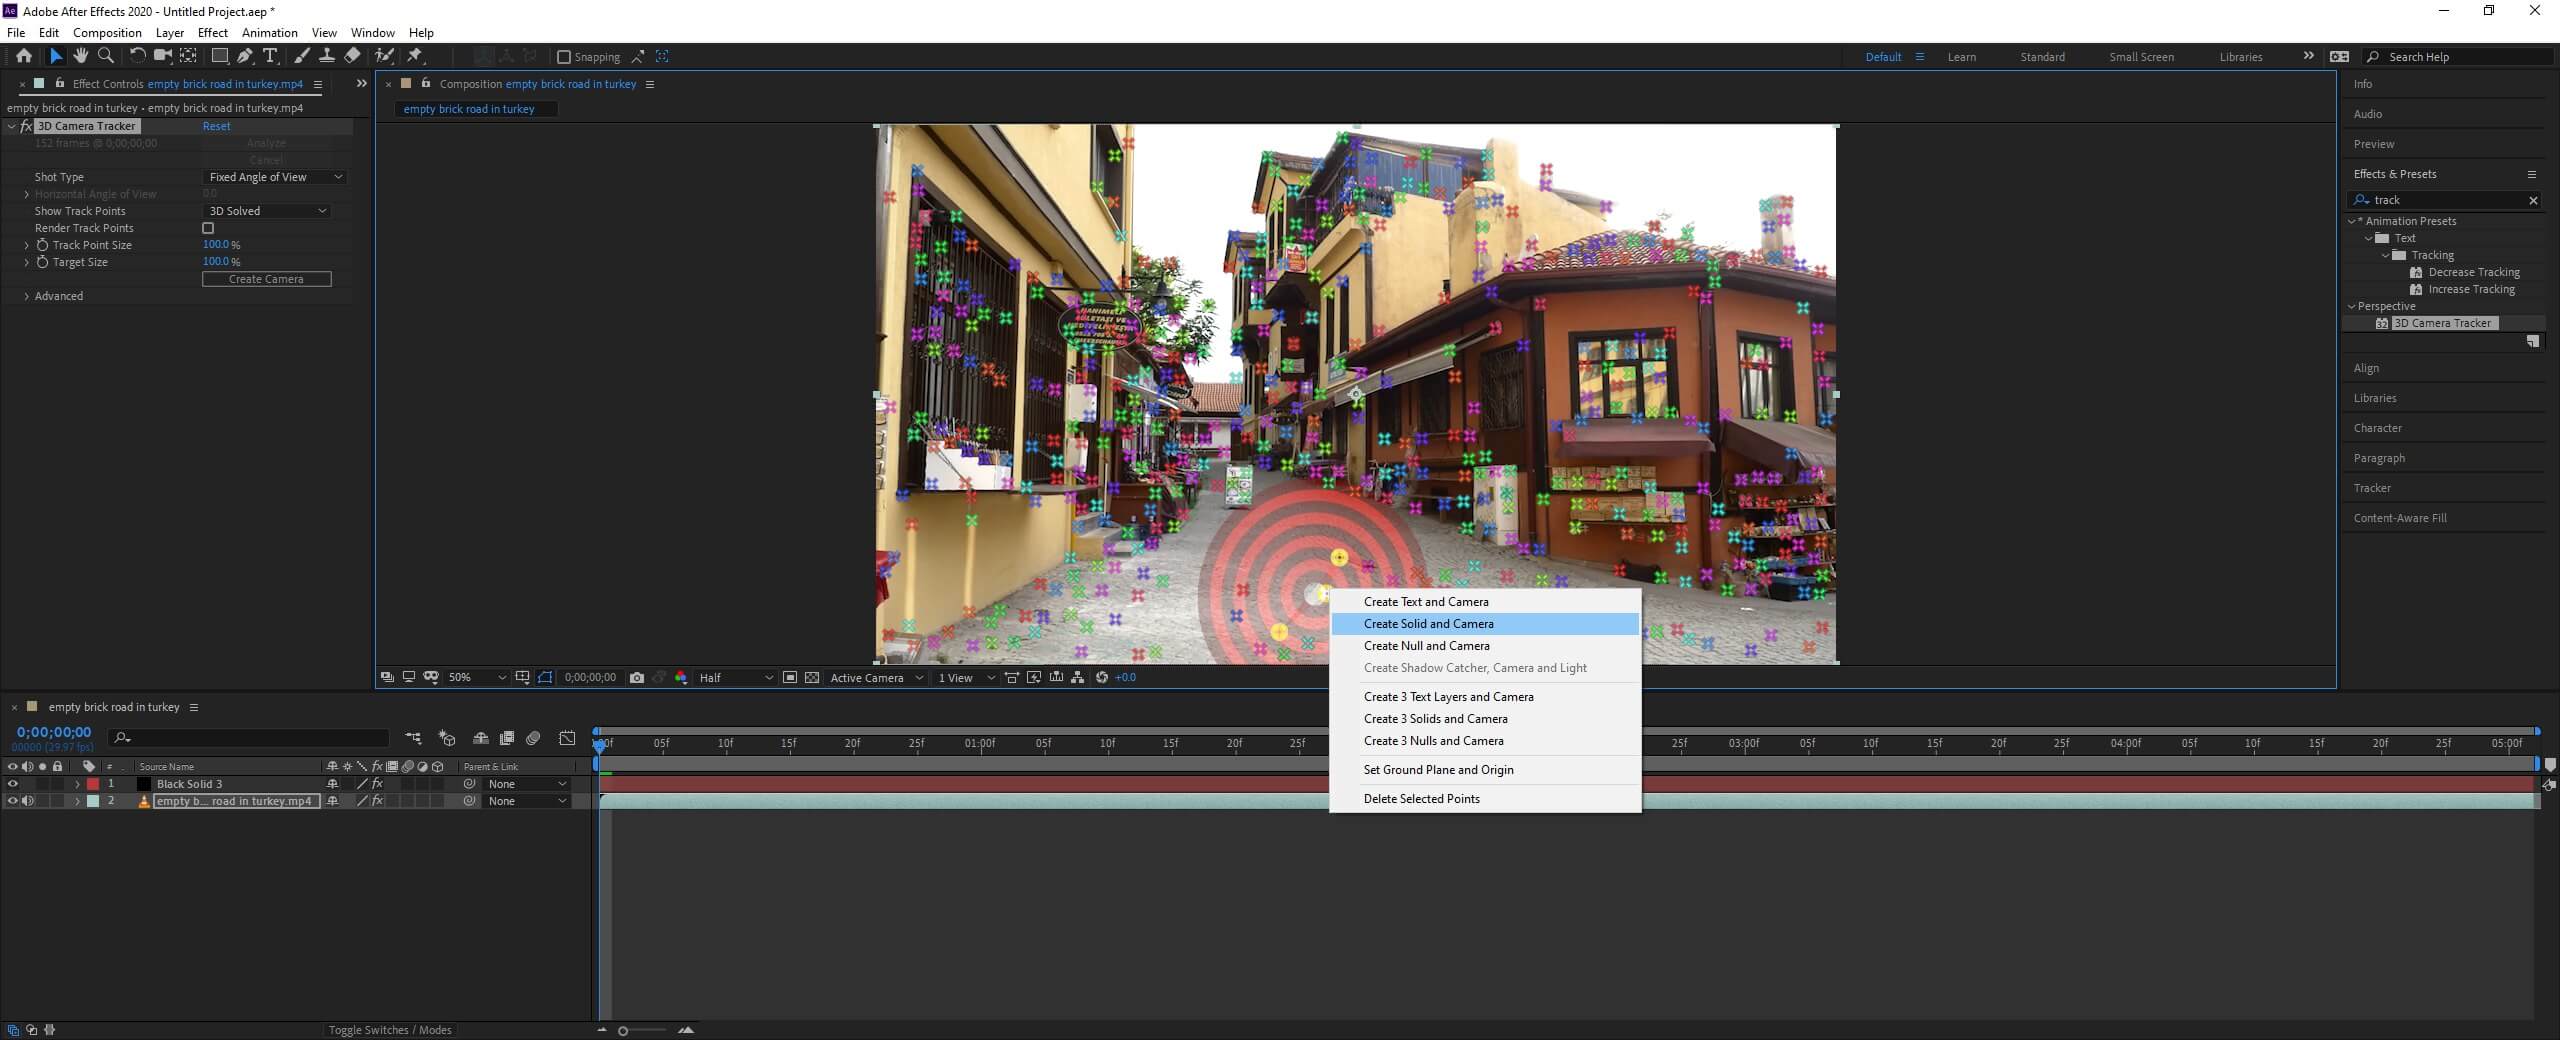
If you hover over them, then you will get a circle to place the objects.
Step #8
Let’s create a text object, so right-click and create text and camera.
Step #9
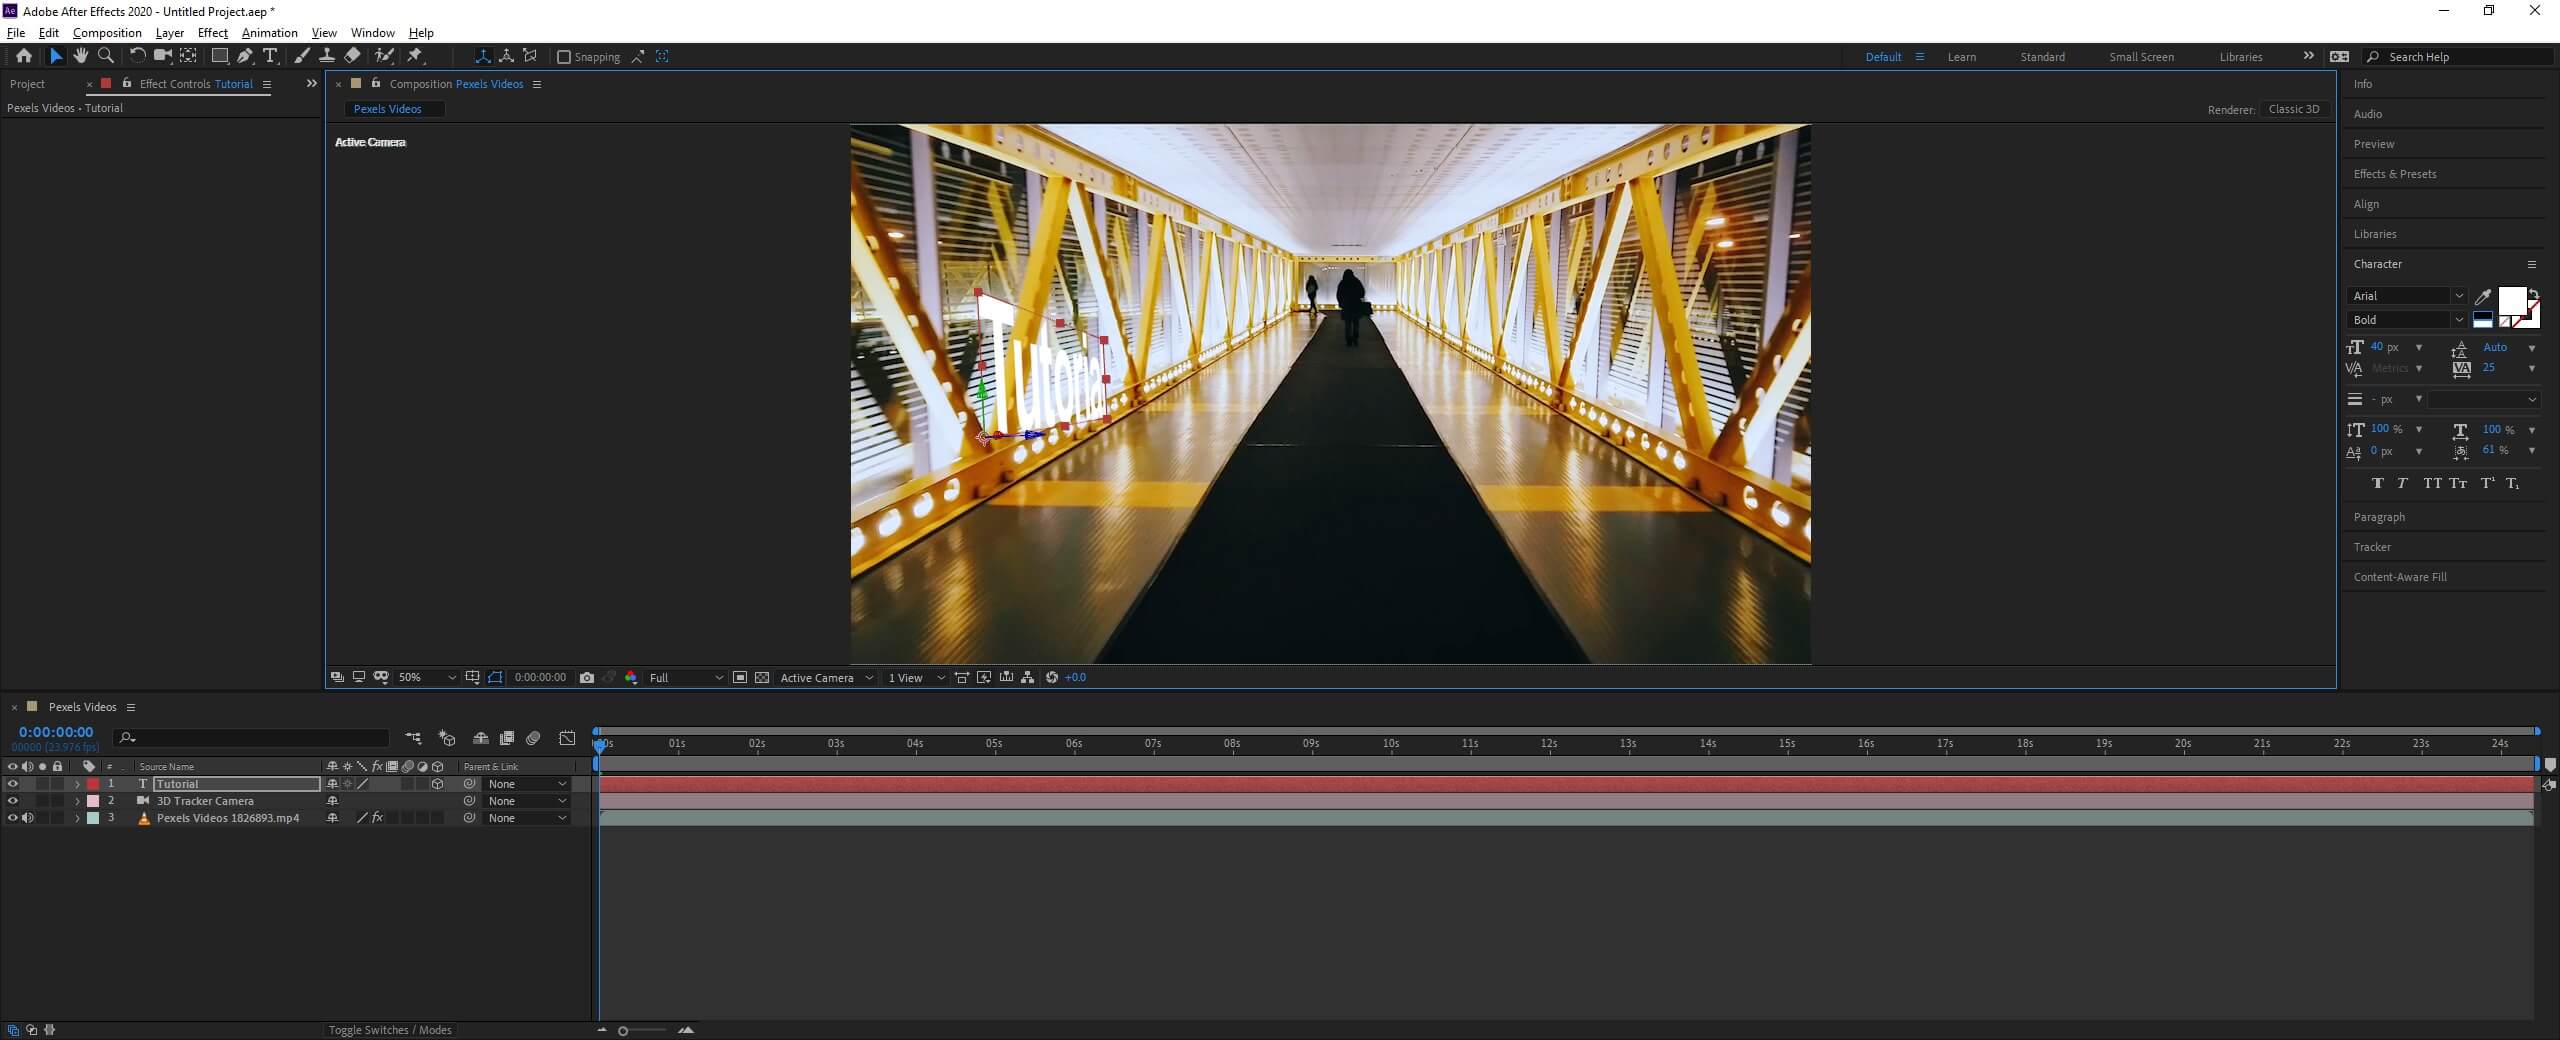
Double click to change the text and press Ctrl + Enter to exit the editing mode.
Step #10
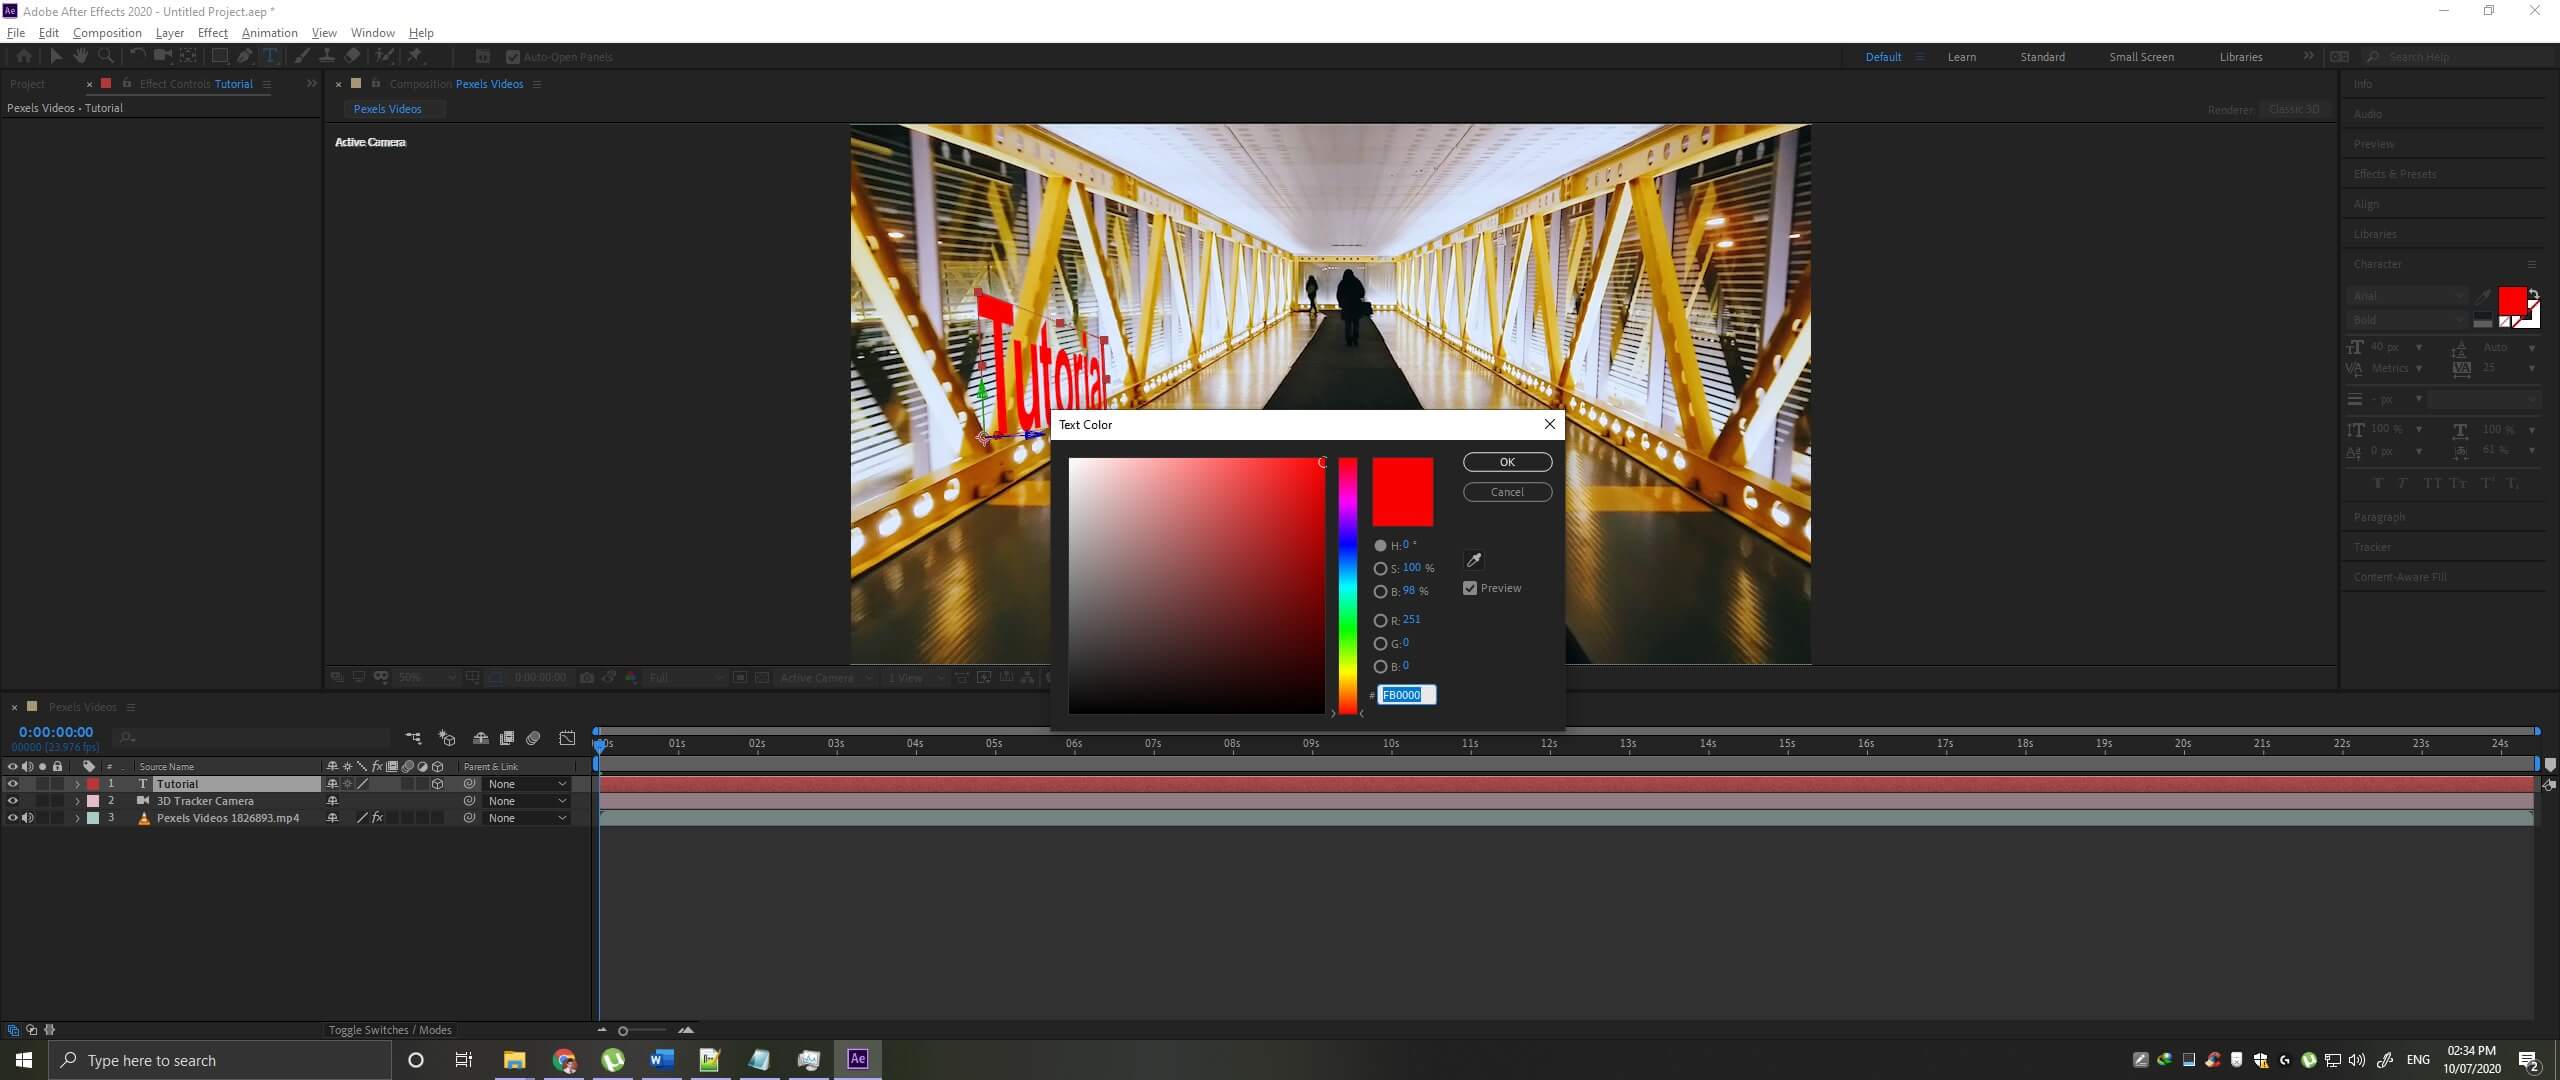
You can change the color, font, and size of the text from the characters panel.
Step #11
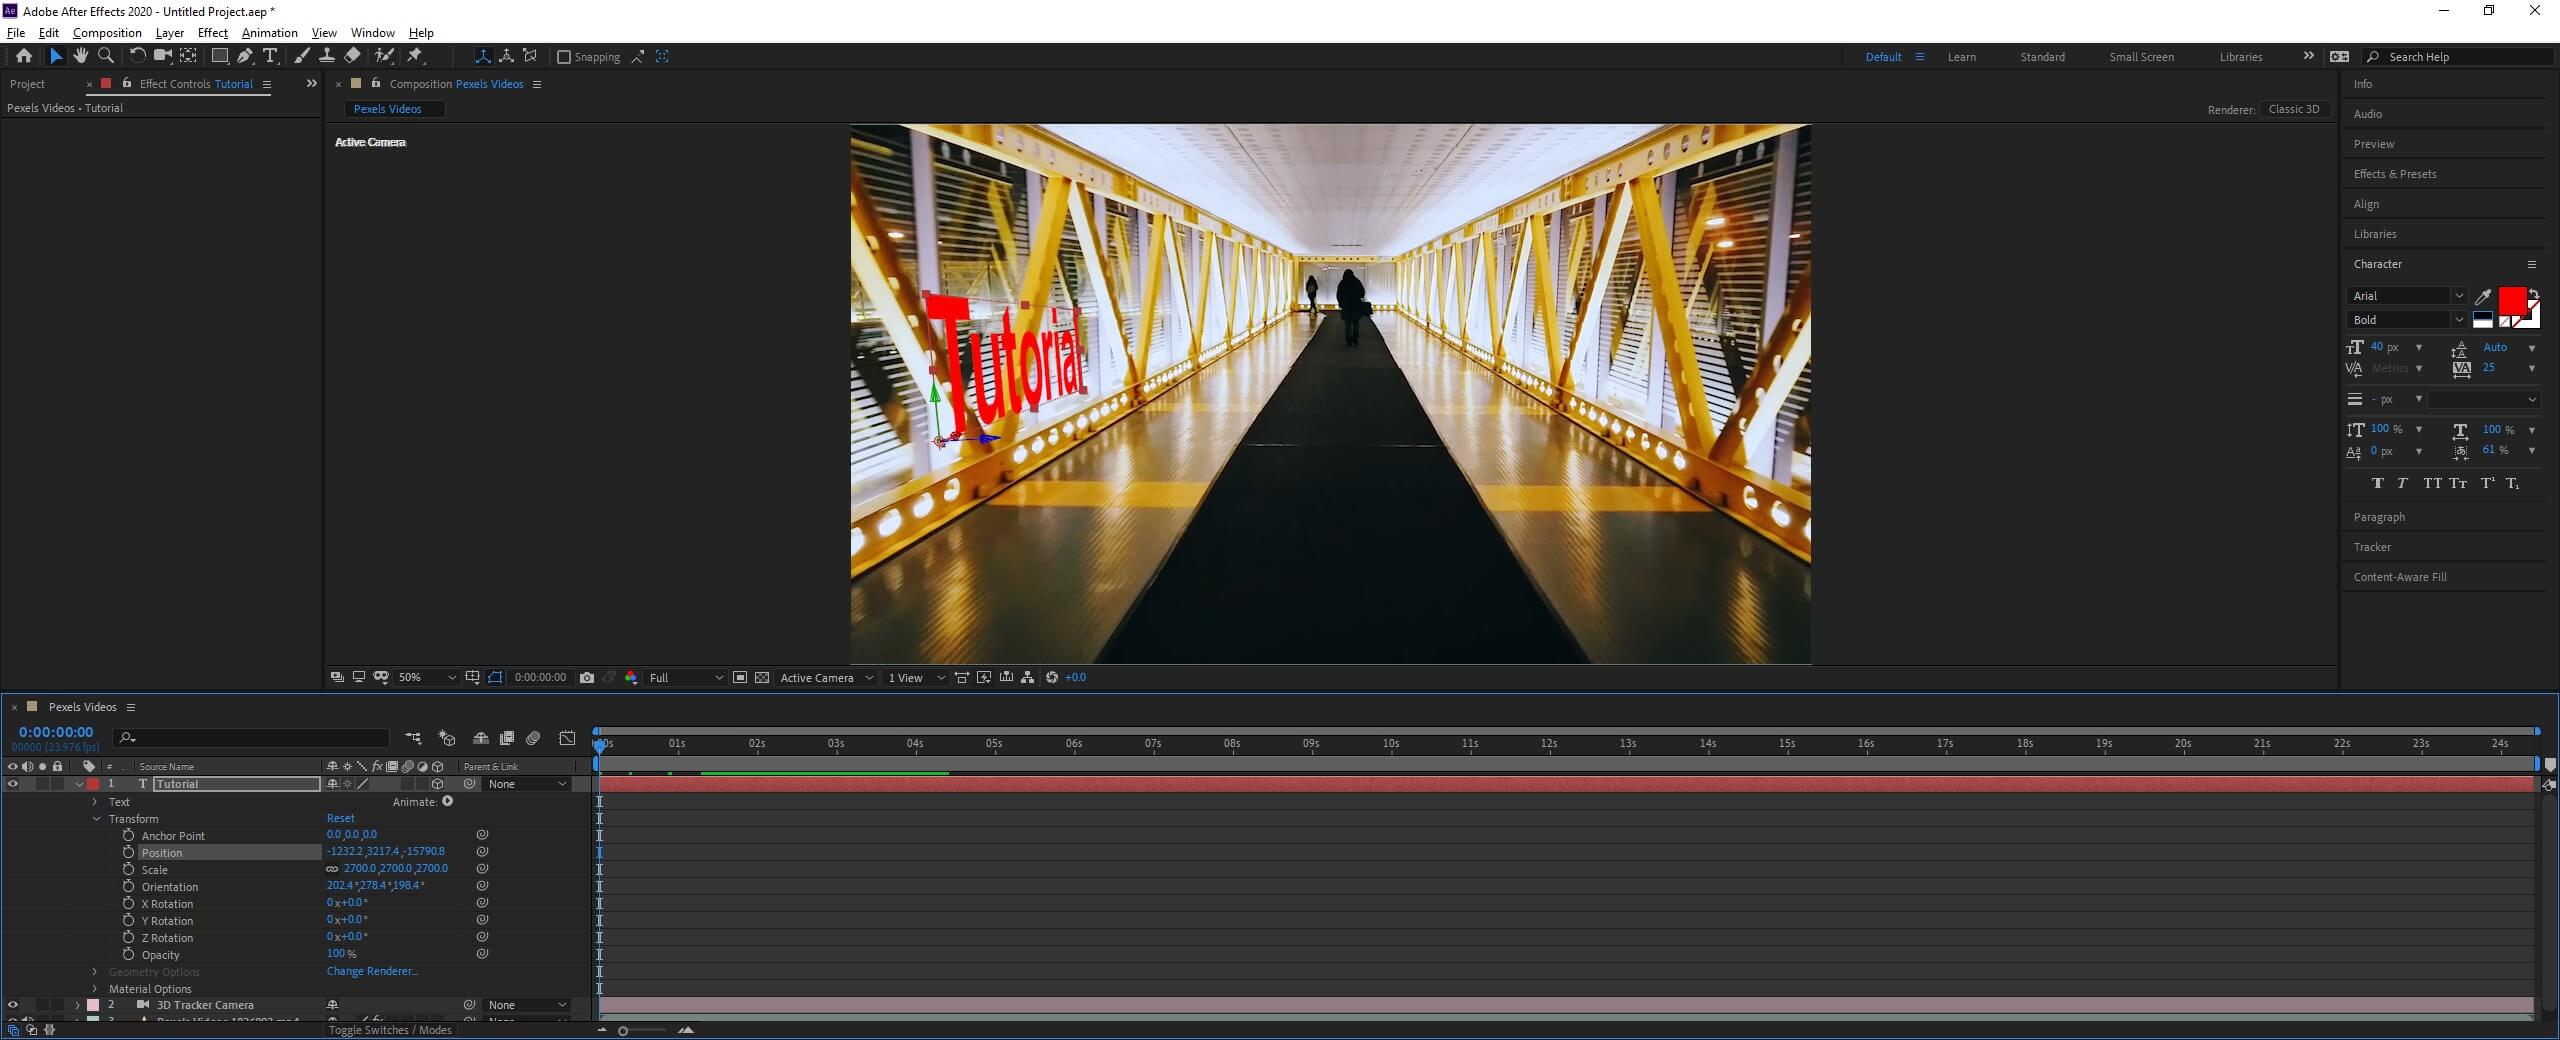
Also, you can change the position, scale, rotation, and orientation from the layers panel. Since this is a 3d object, you can also change values on the Z-axis.
Step #12
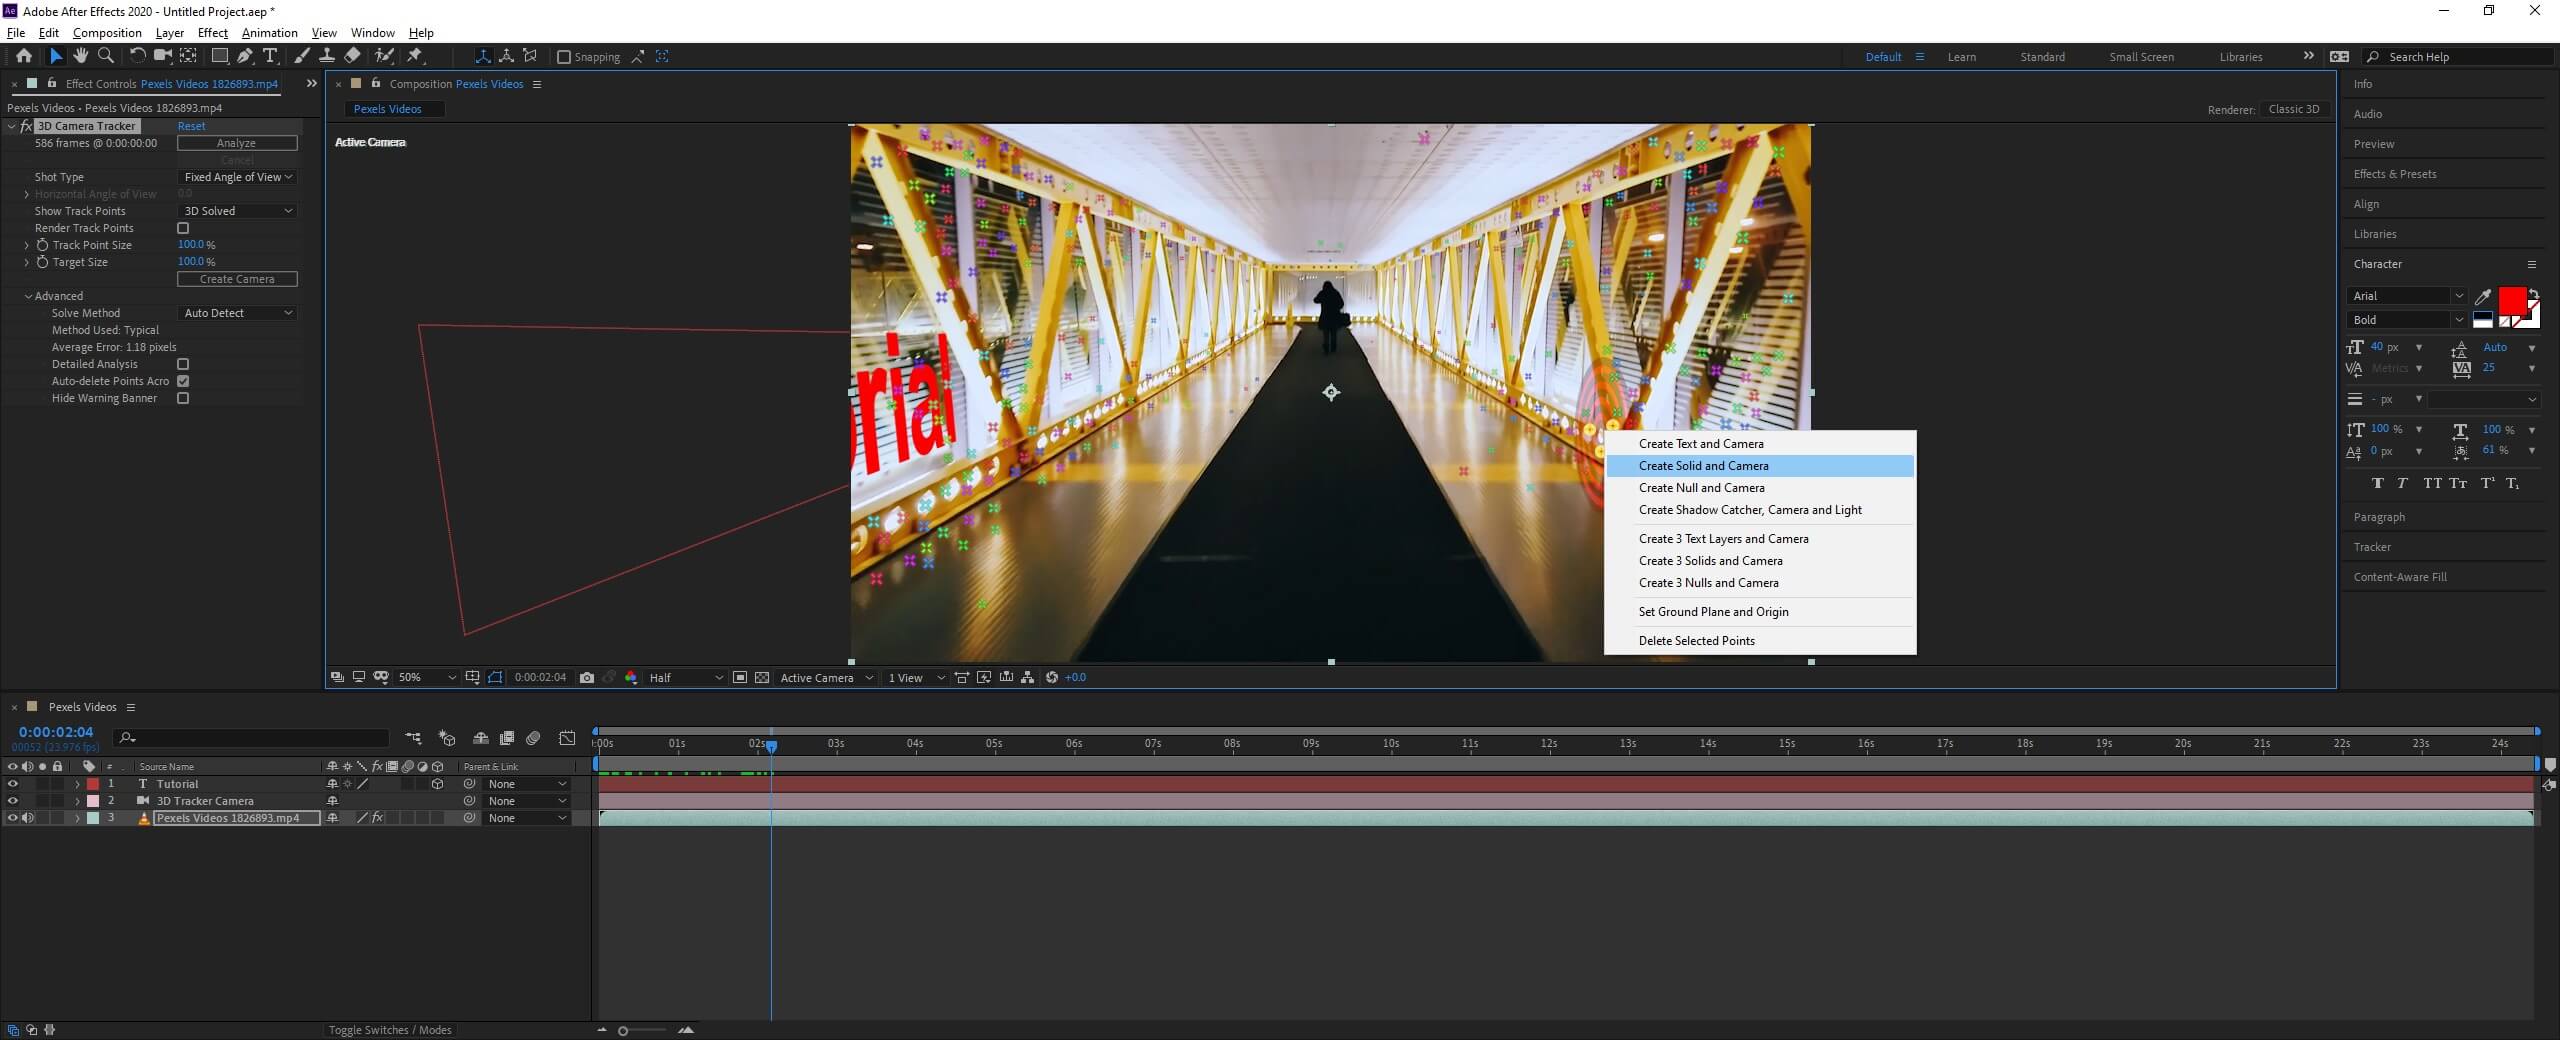
Similarly, we can add an image by selecting the area while selecting the video and the 3D camera tracker to view the track points. Also, move the timeline ahead of a couple of frames.
Step #13
Instead of text, now right click and create a solid and camera.
Step #14
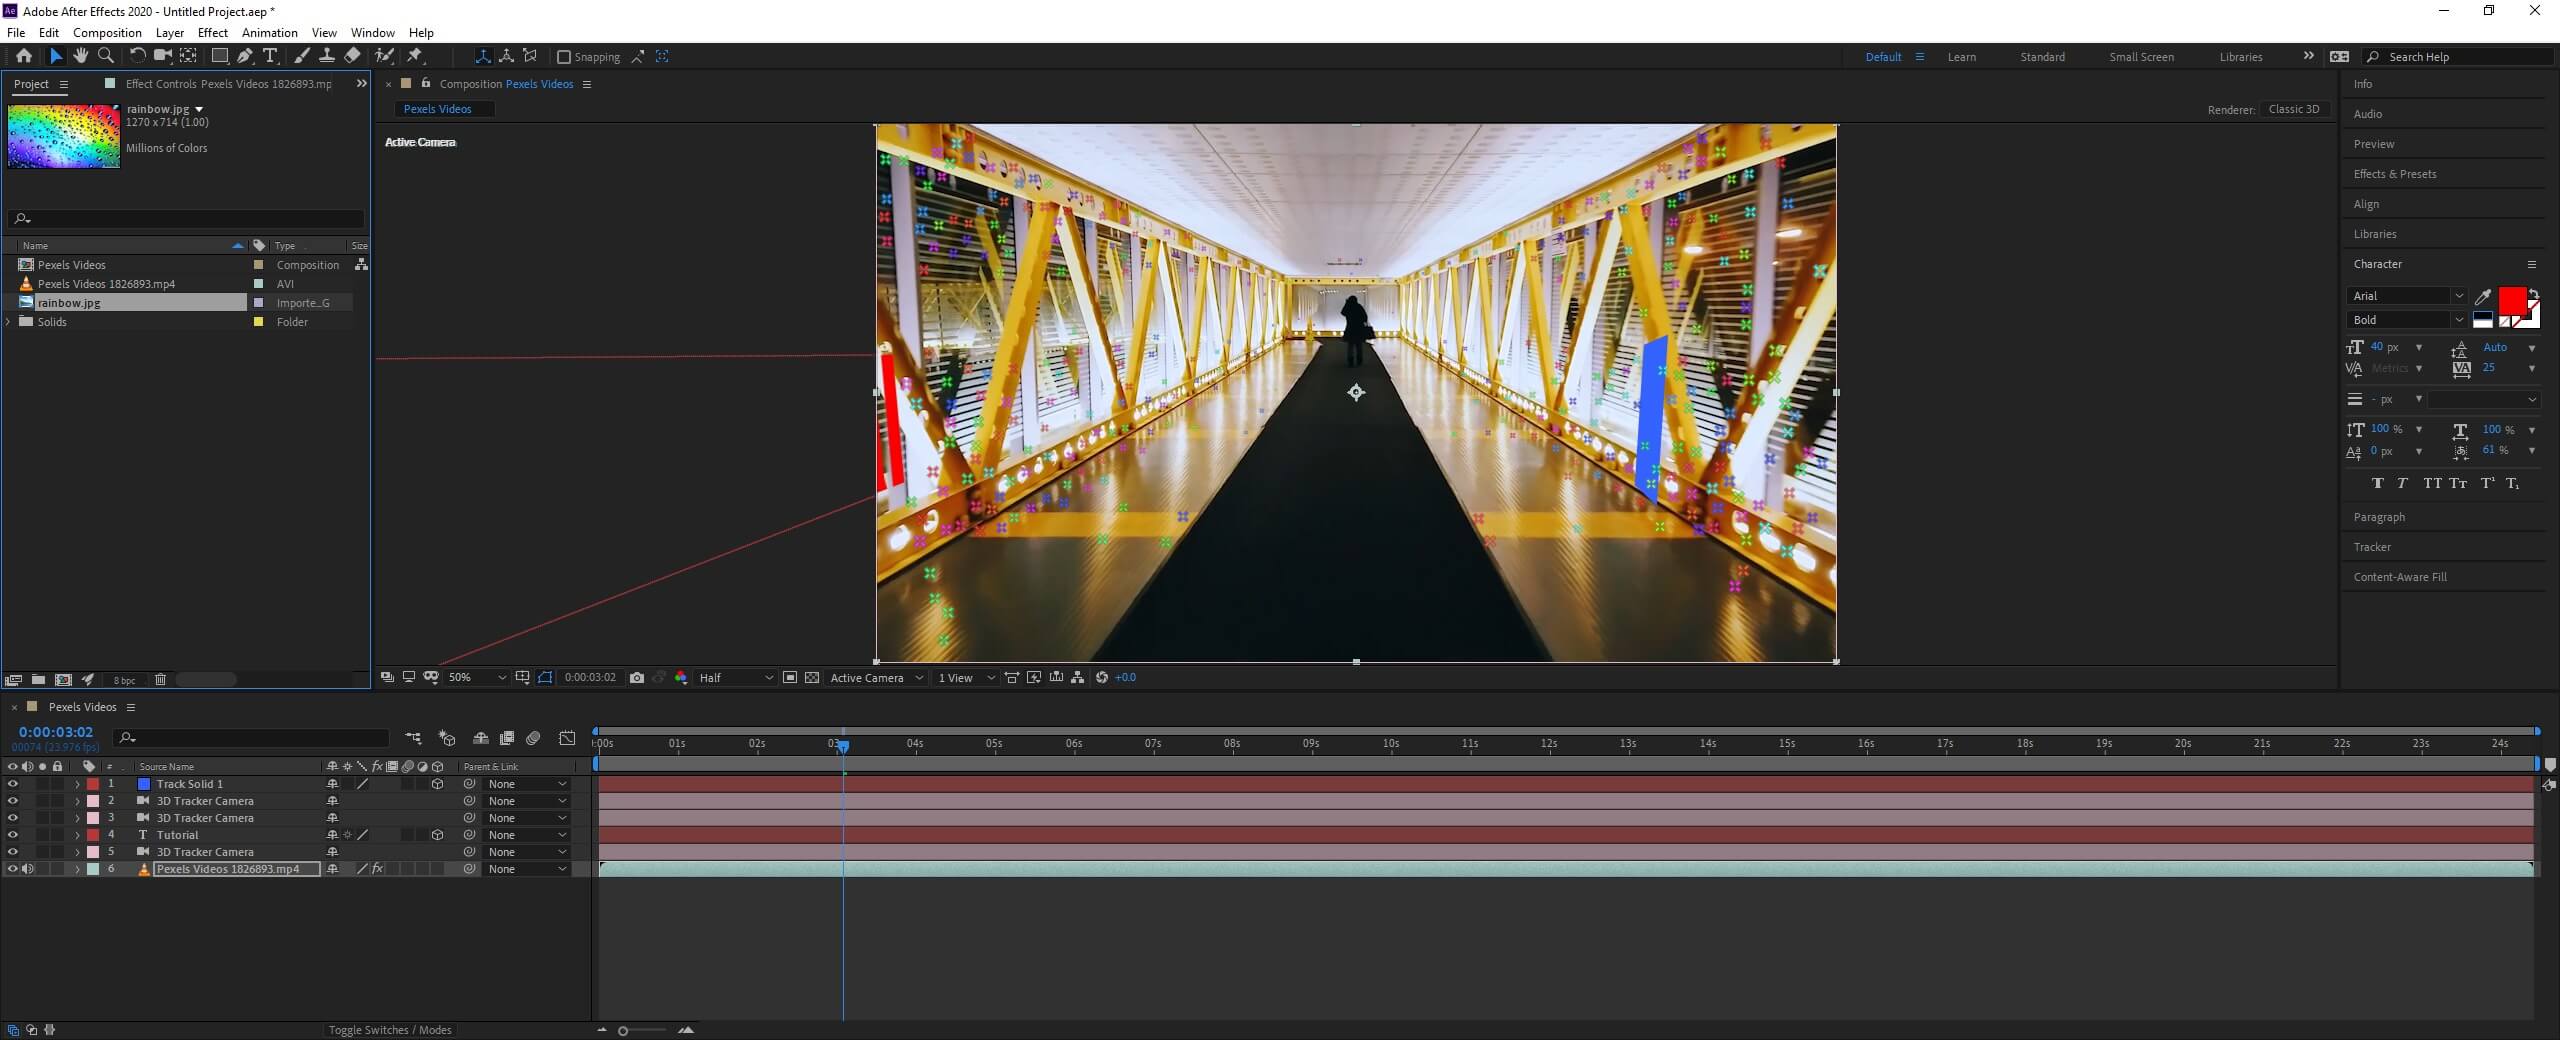
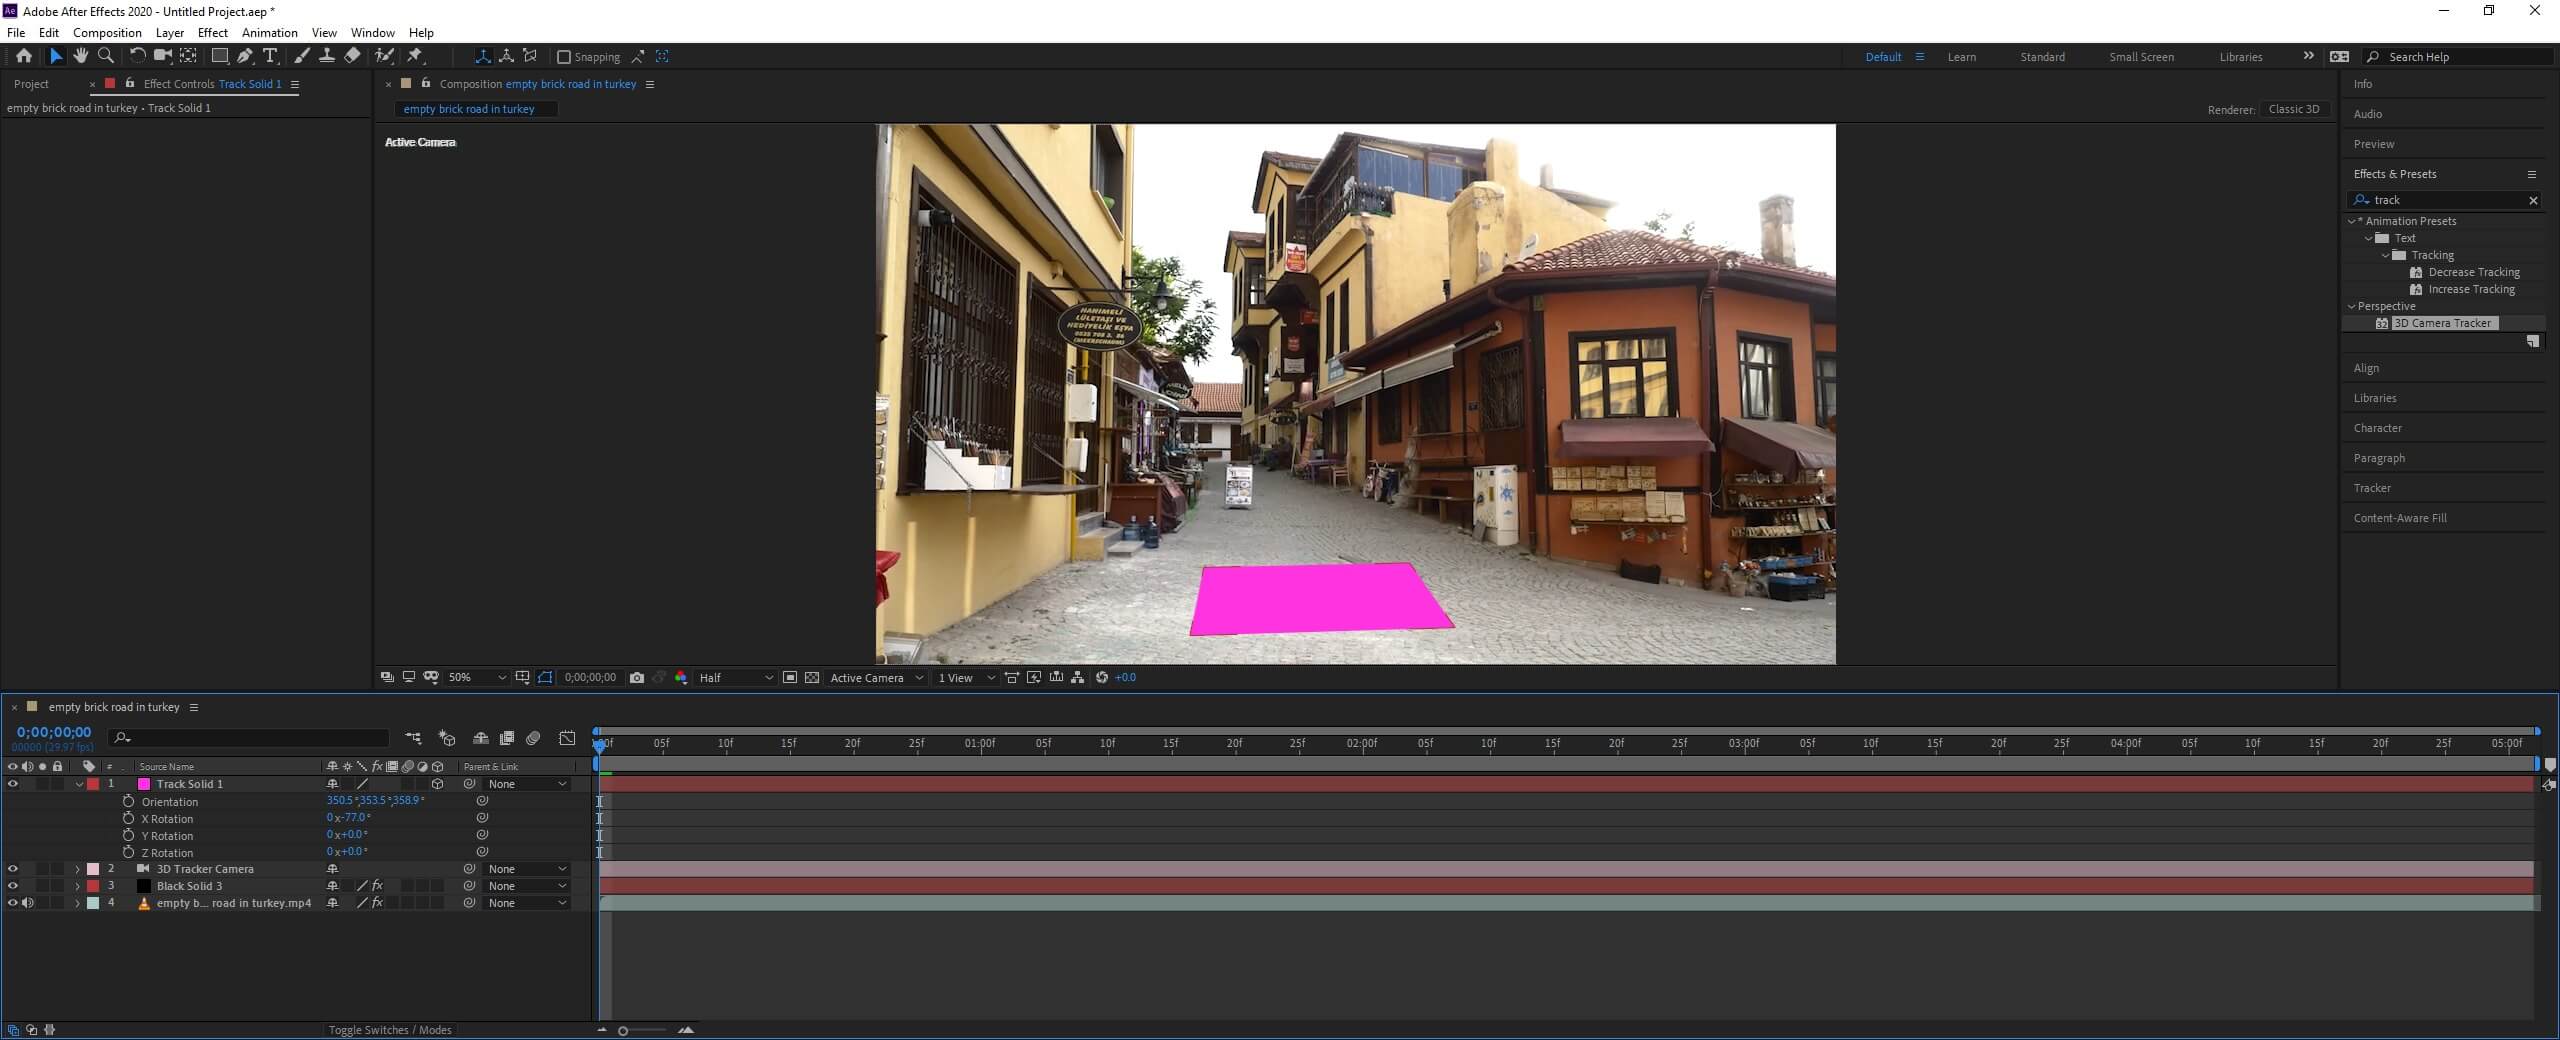
This will create a Track solid 1.
Step #15
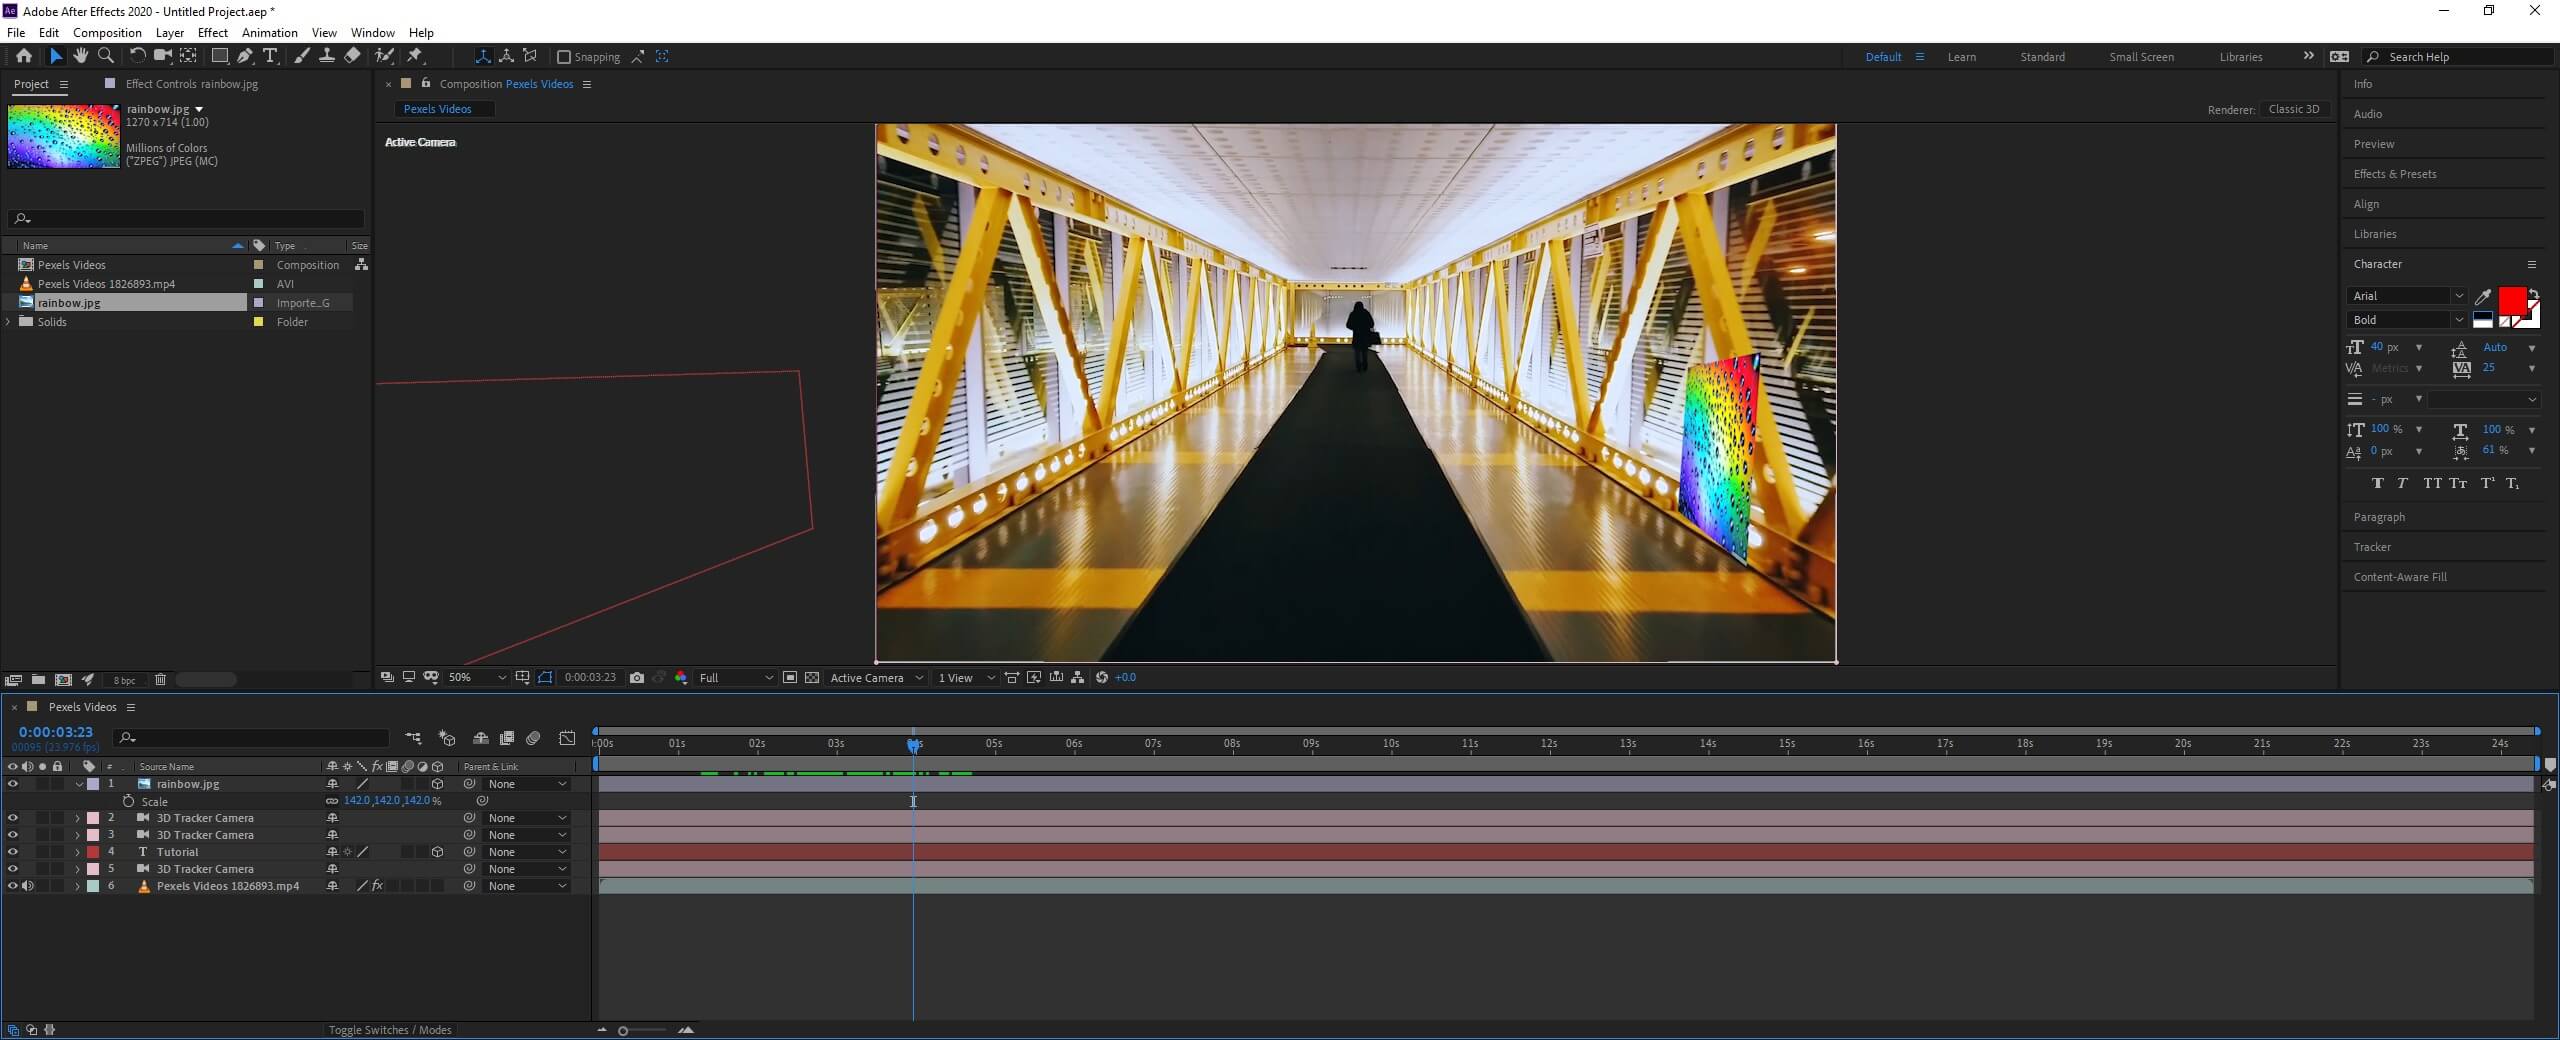
Now hold the alt key and drag the image on top of the solid. You can change the scale and position of the image from the layers panel.
Step #16
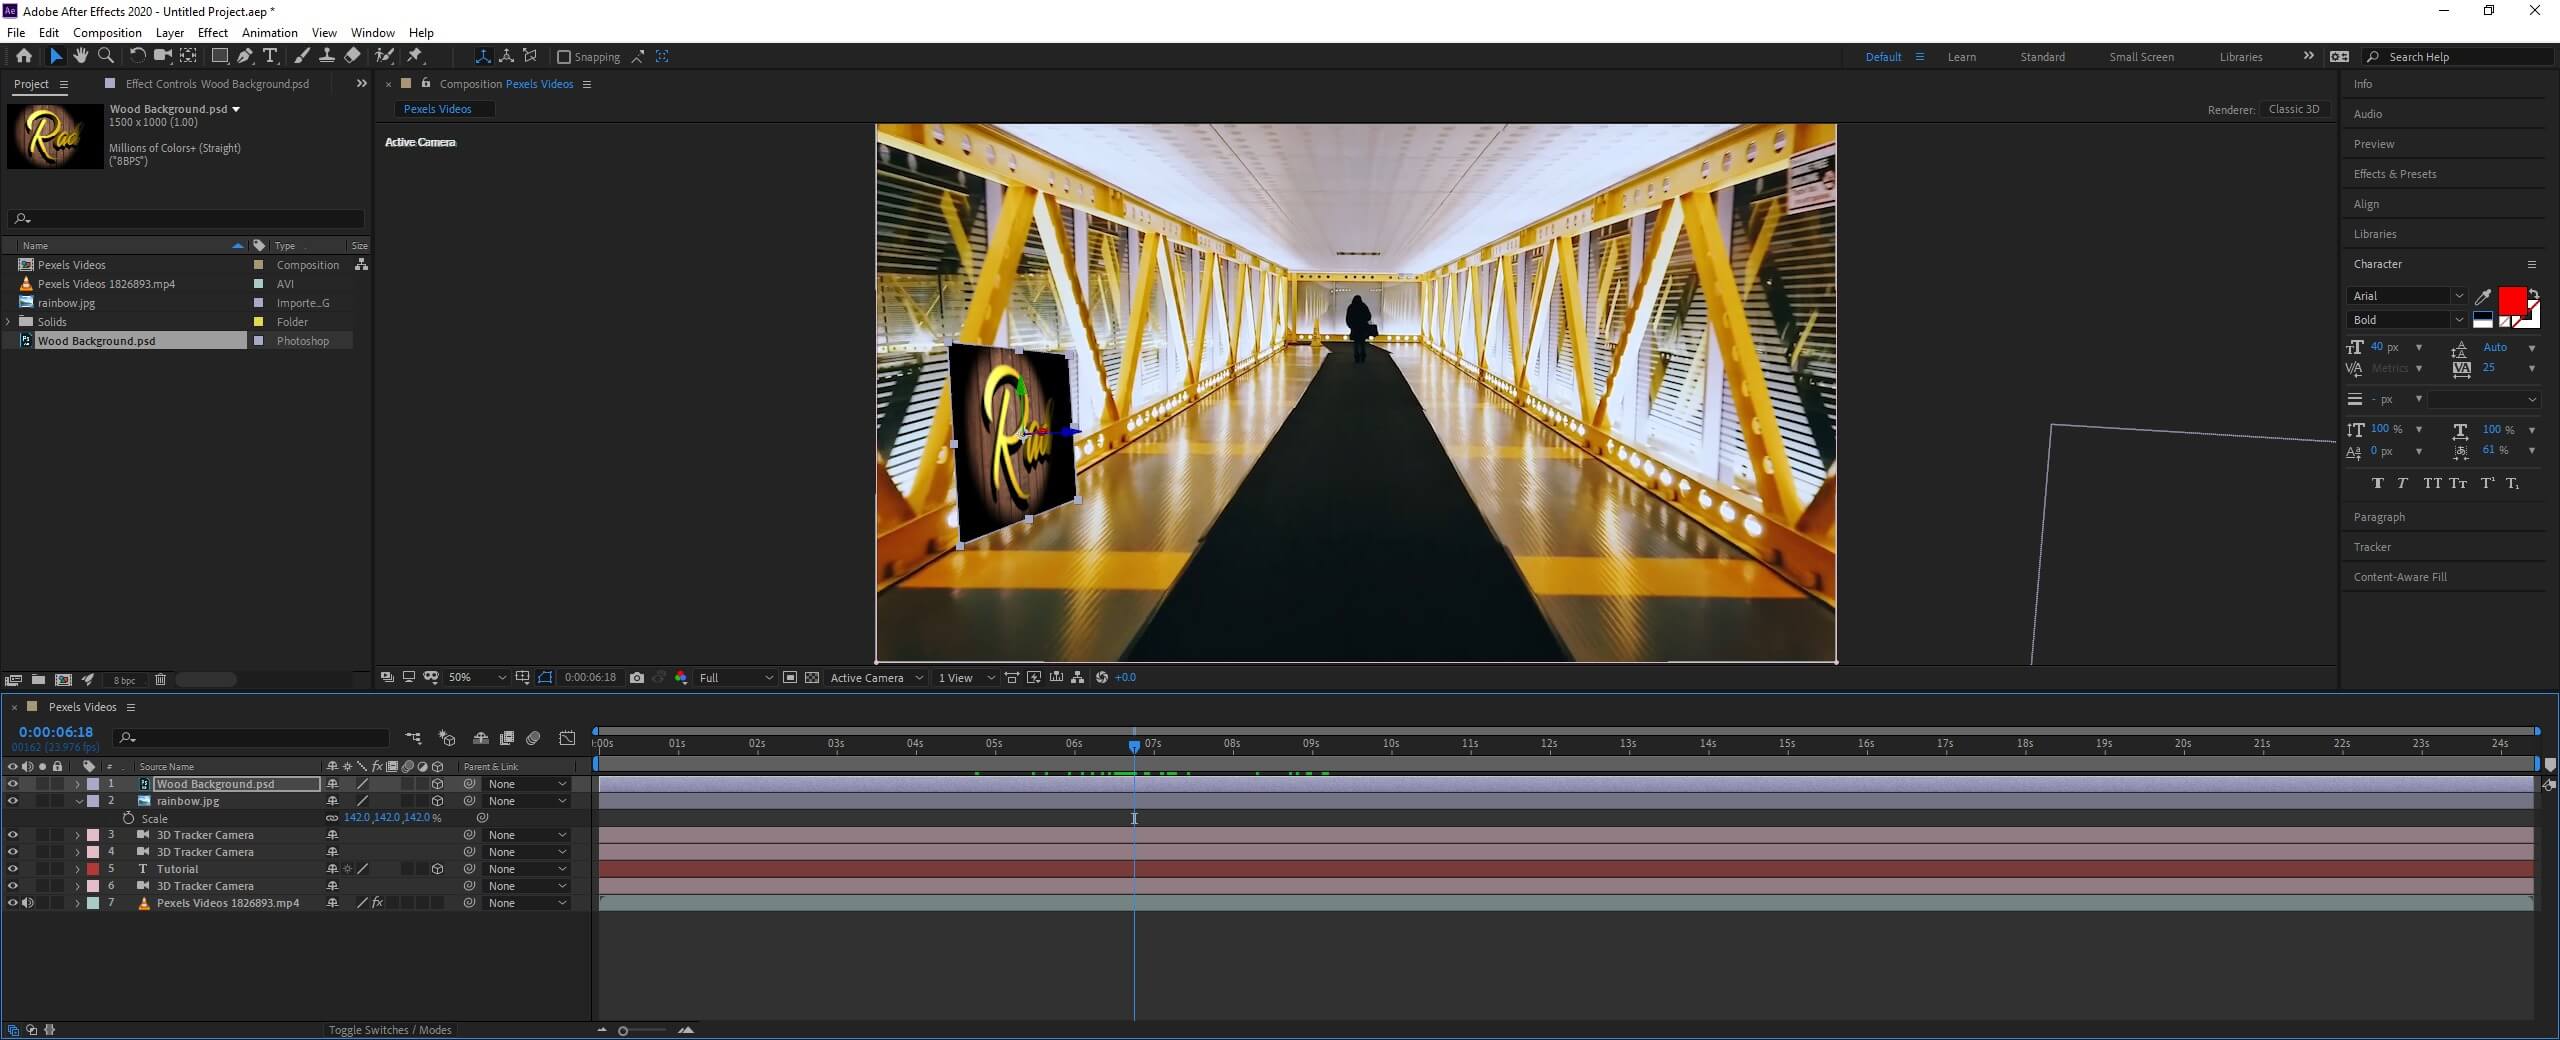
Now we have followed similar steps to create a solid and alt drag the 3d psd file as shown.
Step #17
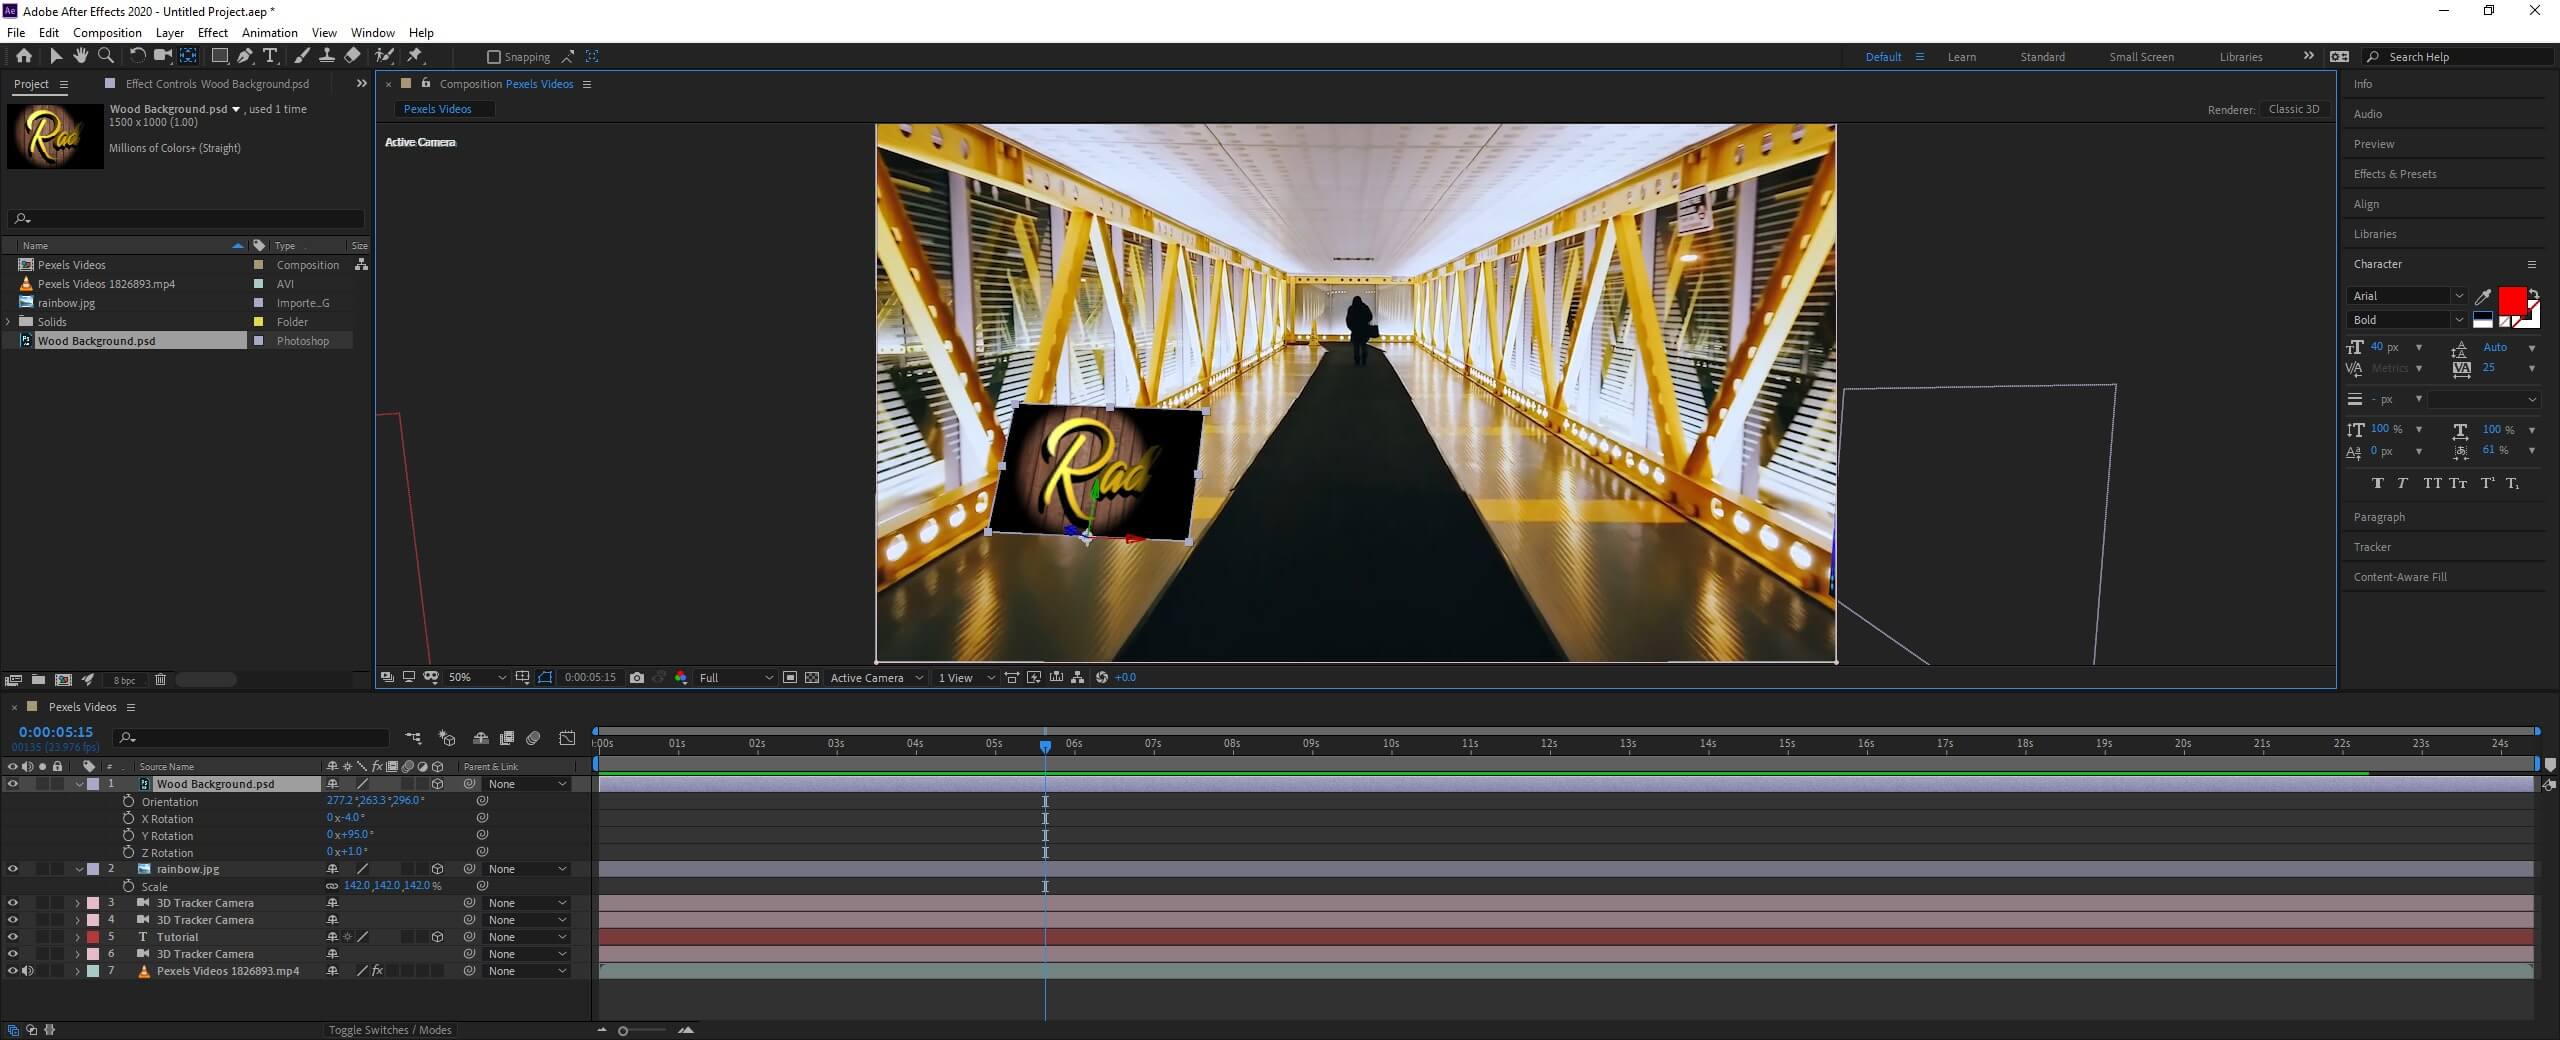
To make it forward-facing, first, we have changed the anchor point to the bottom by using the pan behind the tool or press Y and ctrl drag the anchor point to snap it in the bottom center. Then use the orientation and rotation to make it front-facing.
Step #18
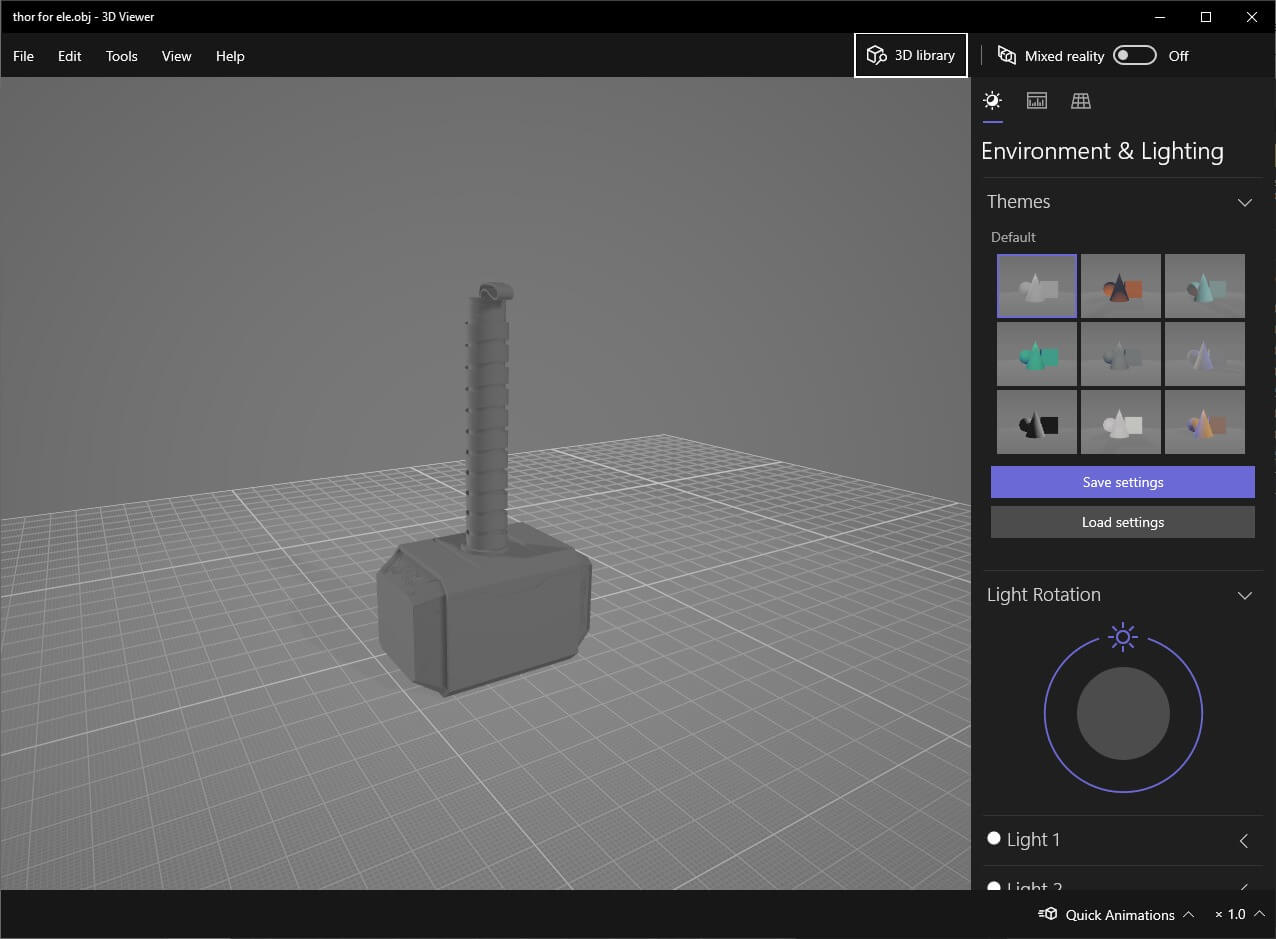
Now, this was the inbuild 3d support from after effects; we can add plugins to get advanced functionality. For that case, we will use a plugin called elements 3d, which you can download from its website and install. We will use an obj model to embed in our video, and shown is the preview of a hammer which we will bring in our video.
Step #19
Import a video and create a comp.

Step #20
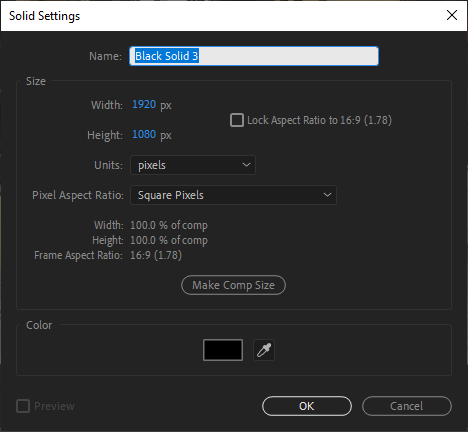
Create a solid black color.

Step #21
Then from effects and presets, you will find elements in the video copilot section, drag, and drop onto the solid.

Step #22
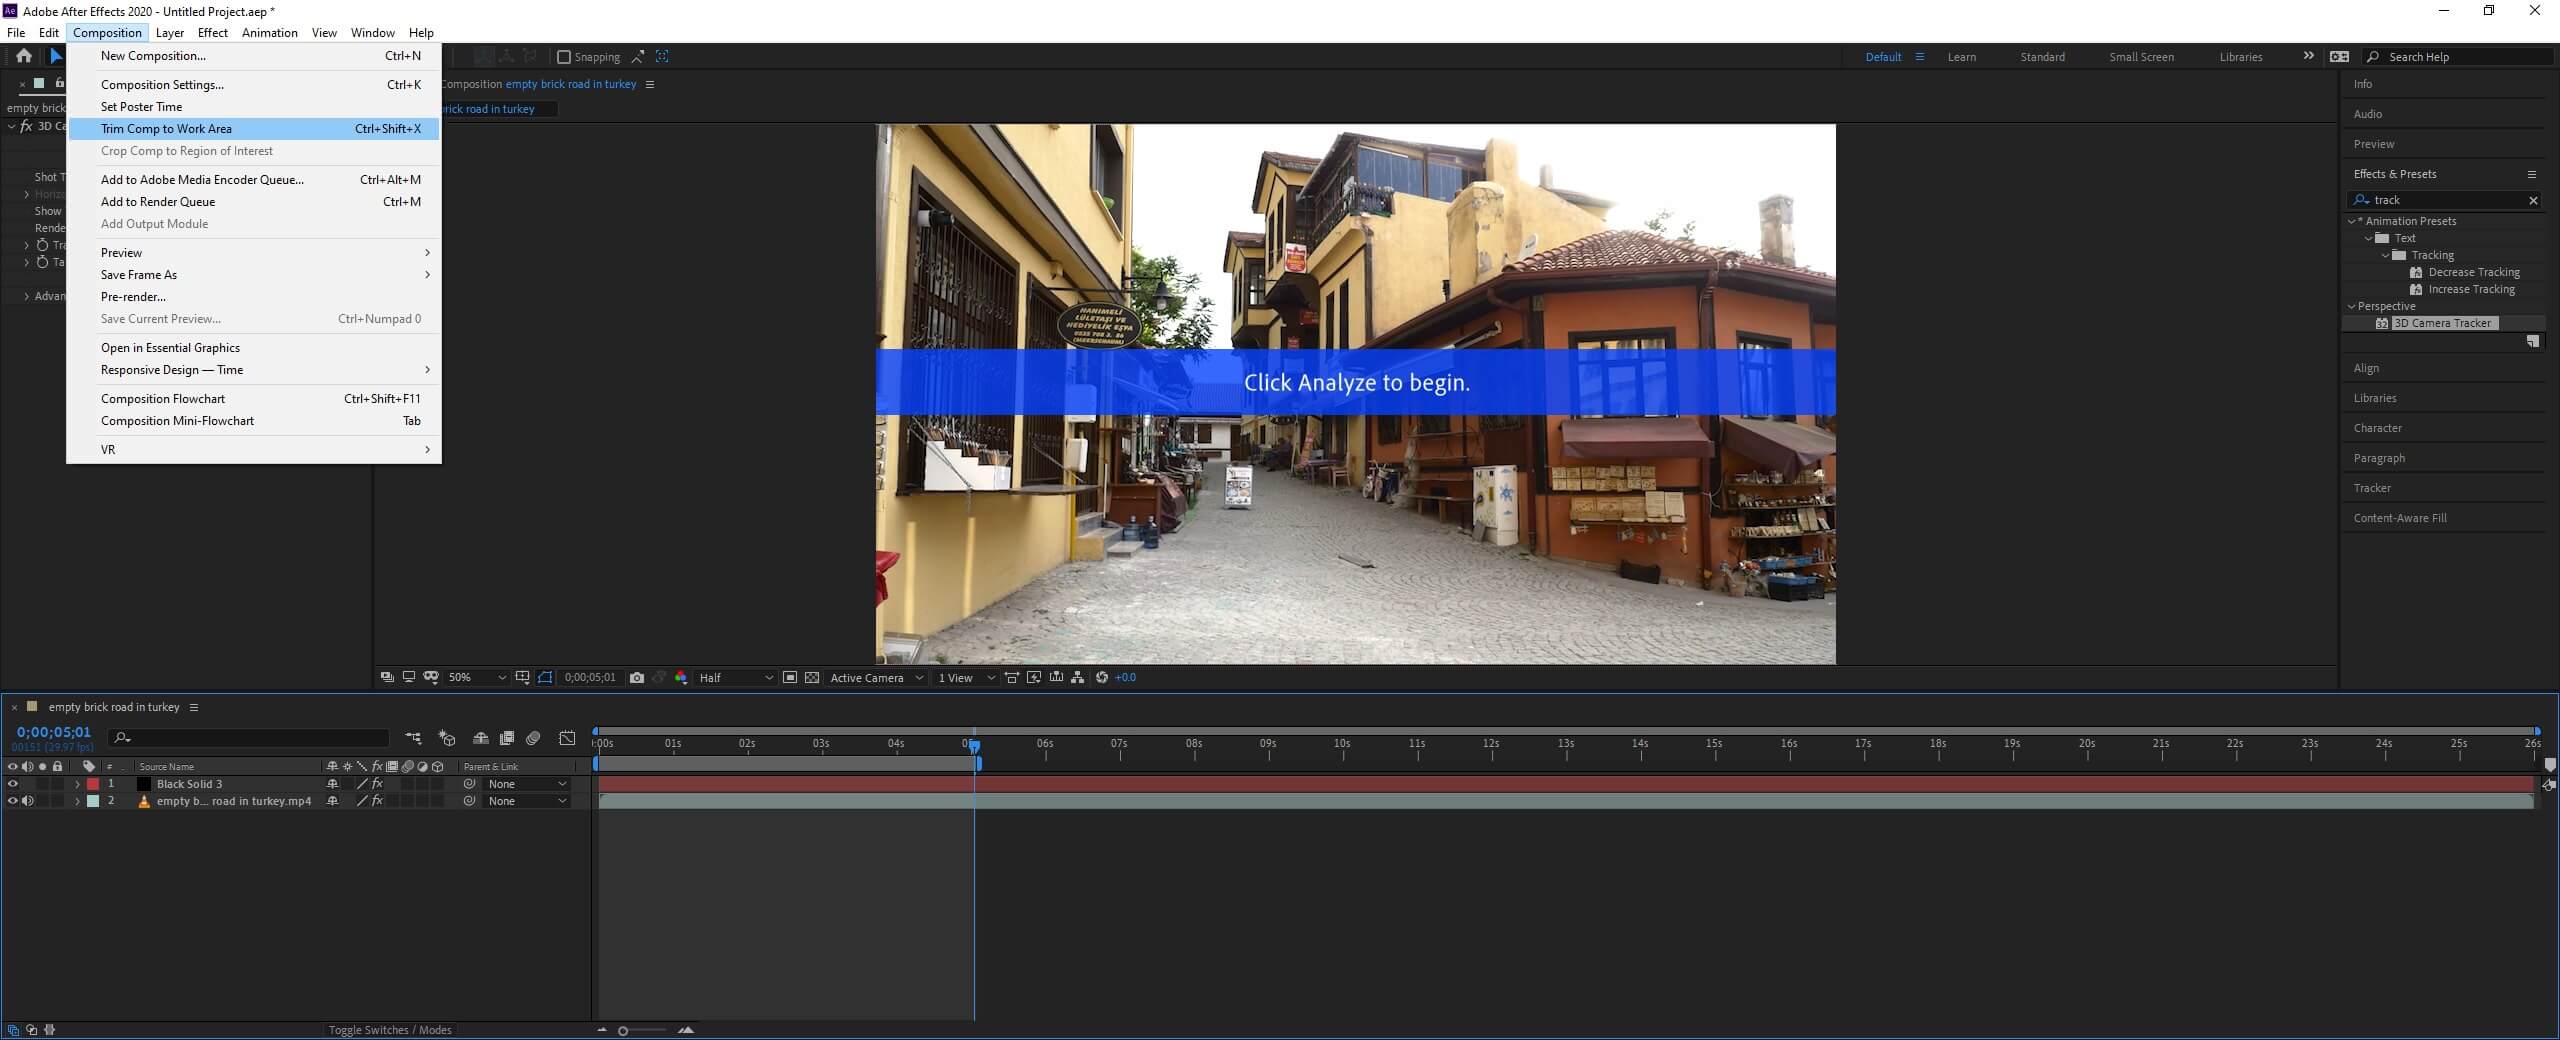
We have reduced the work area to reduce the frames and then trim the comp to the work area.
Step #23
Follow the earlier steps to analyze the video using 3d camera tracker

Step #24
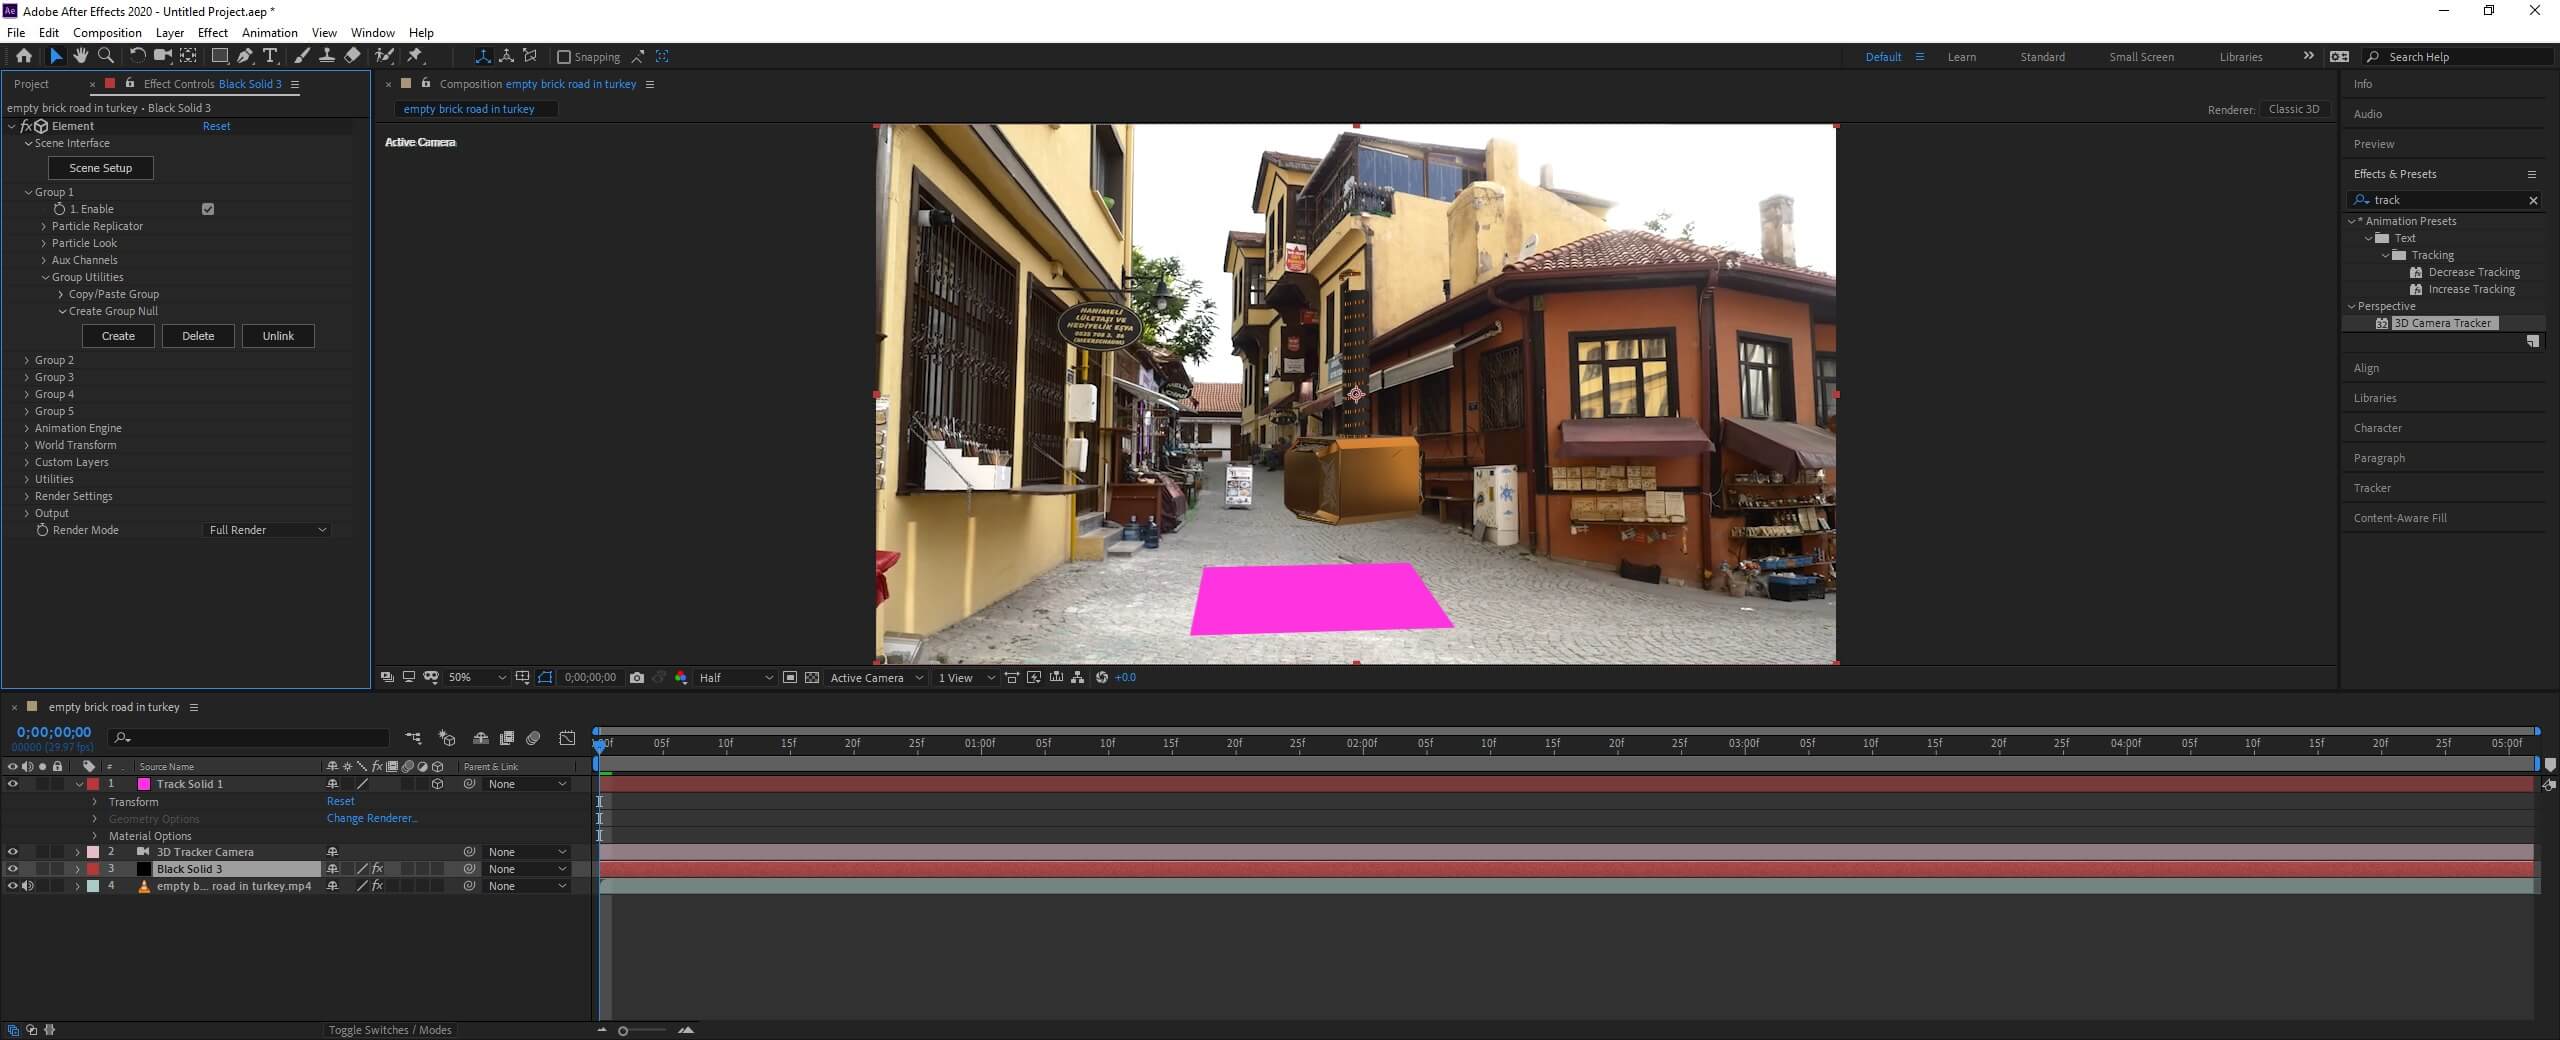
Select the tracking point and create a solid and camera by right-clicking.
Step #25
Adjust the rotation and scale of the solid.
Step #26
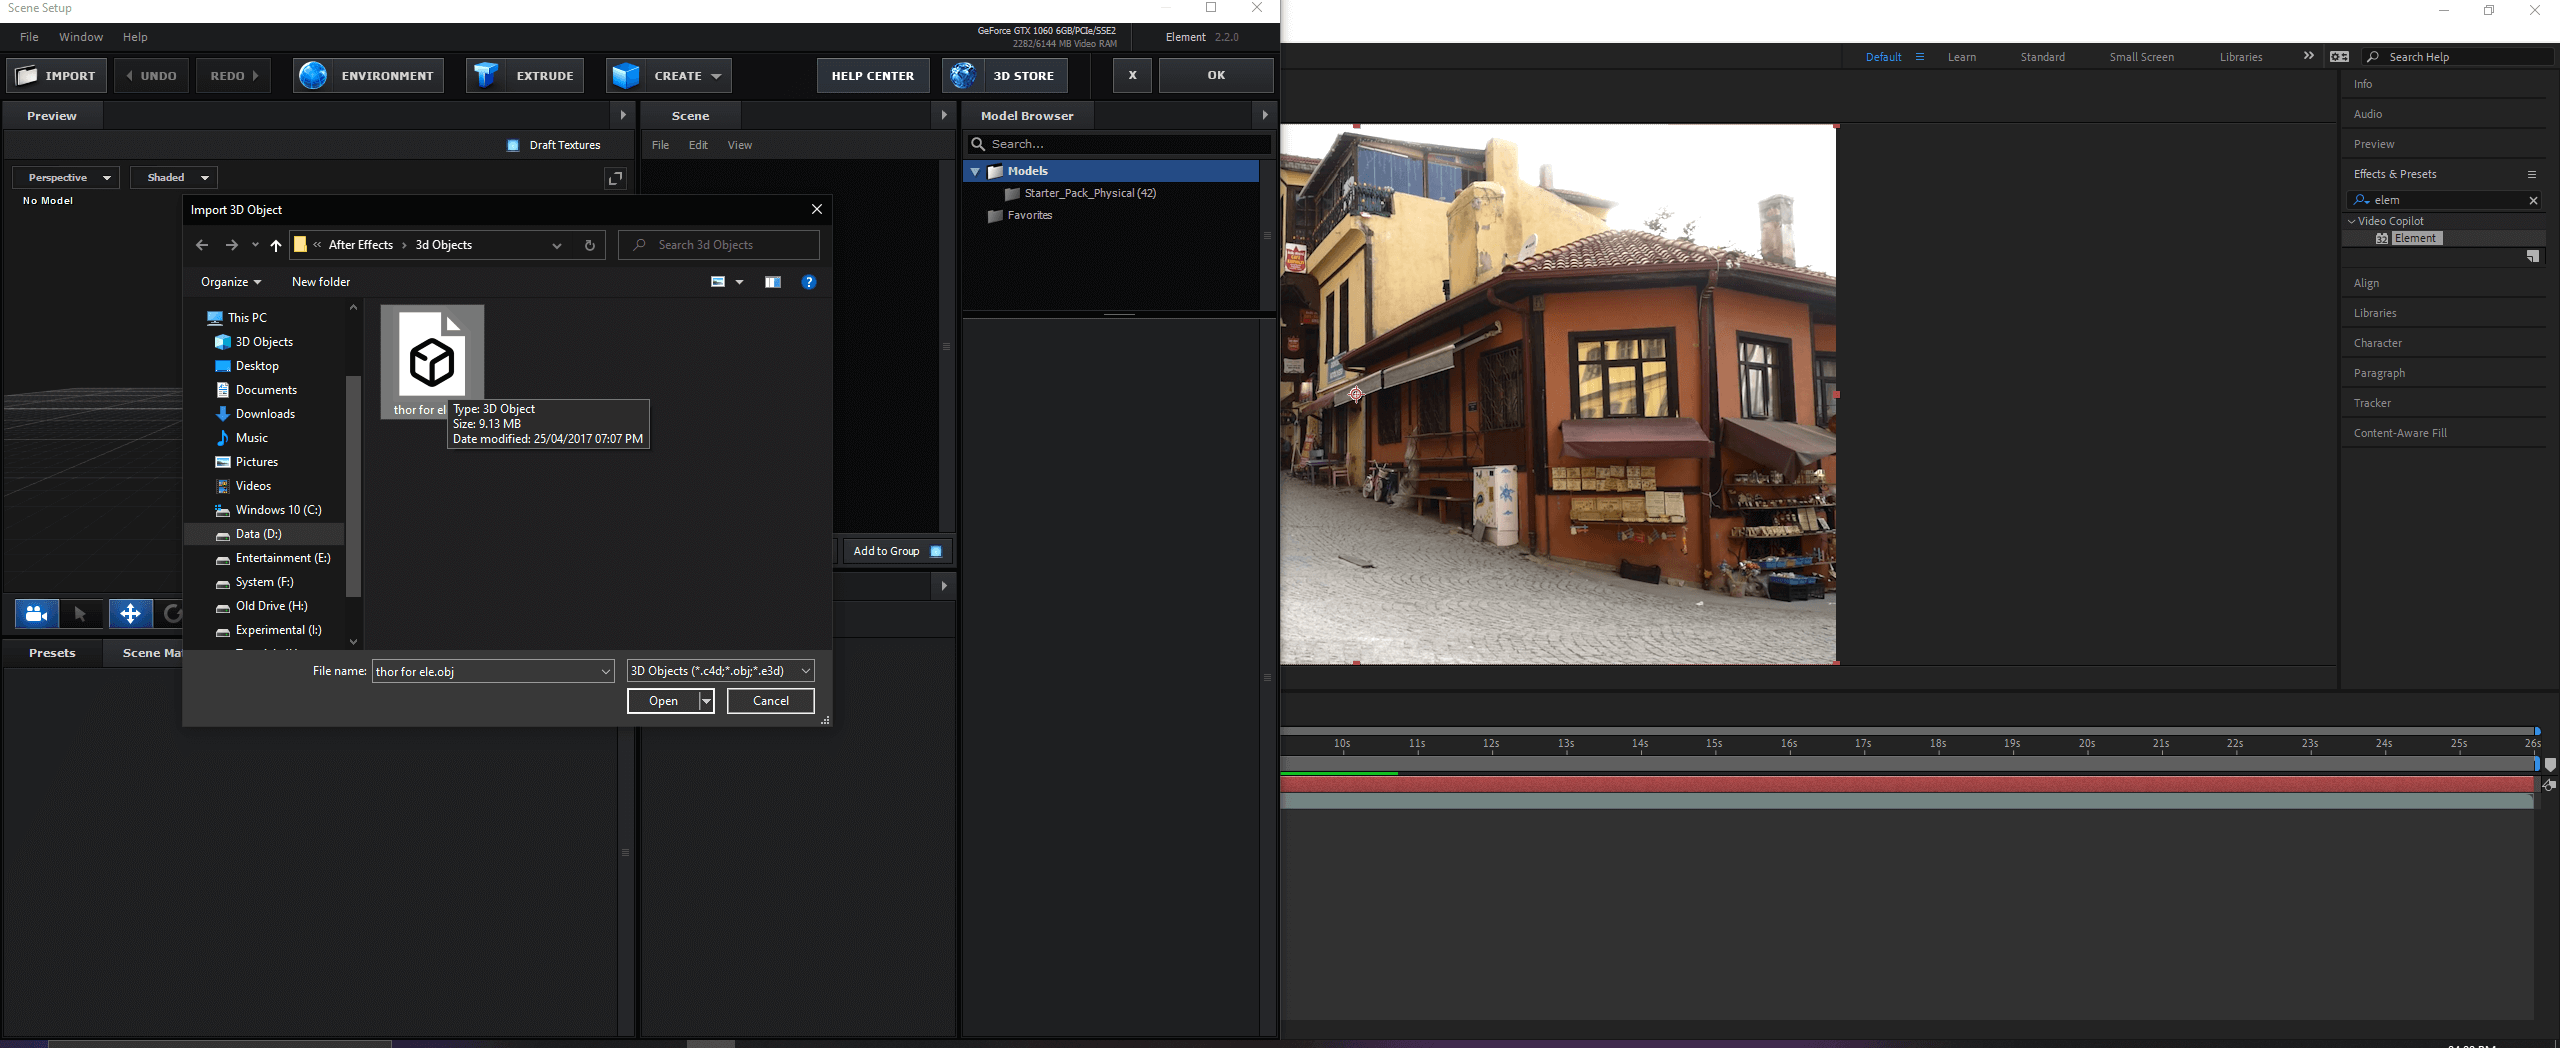
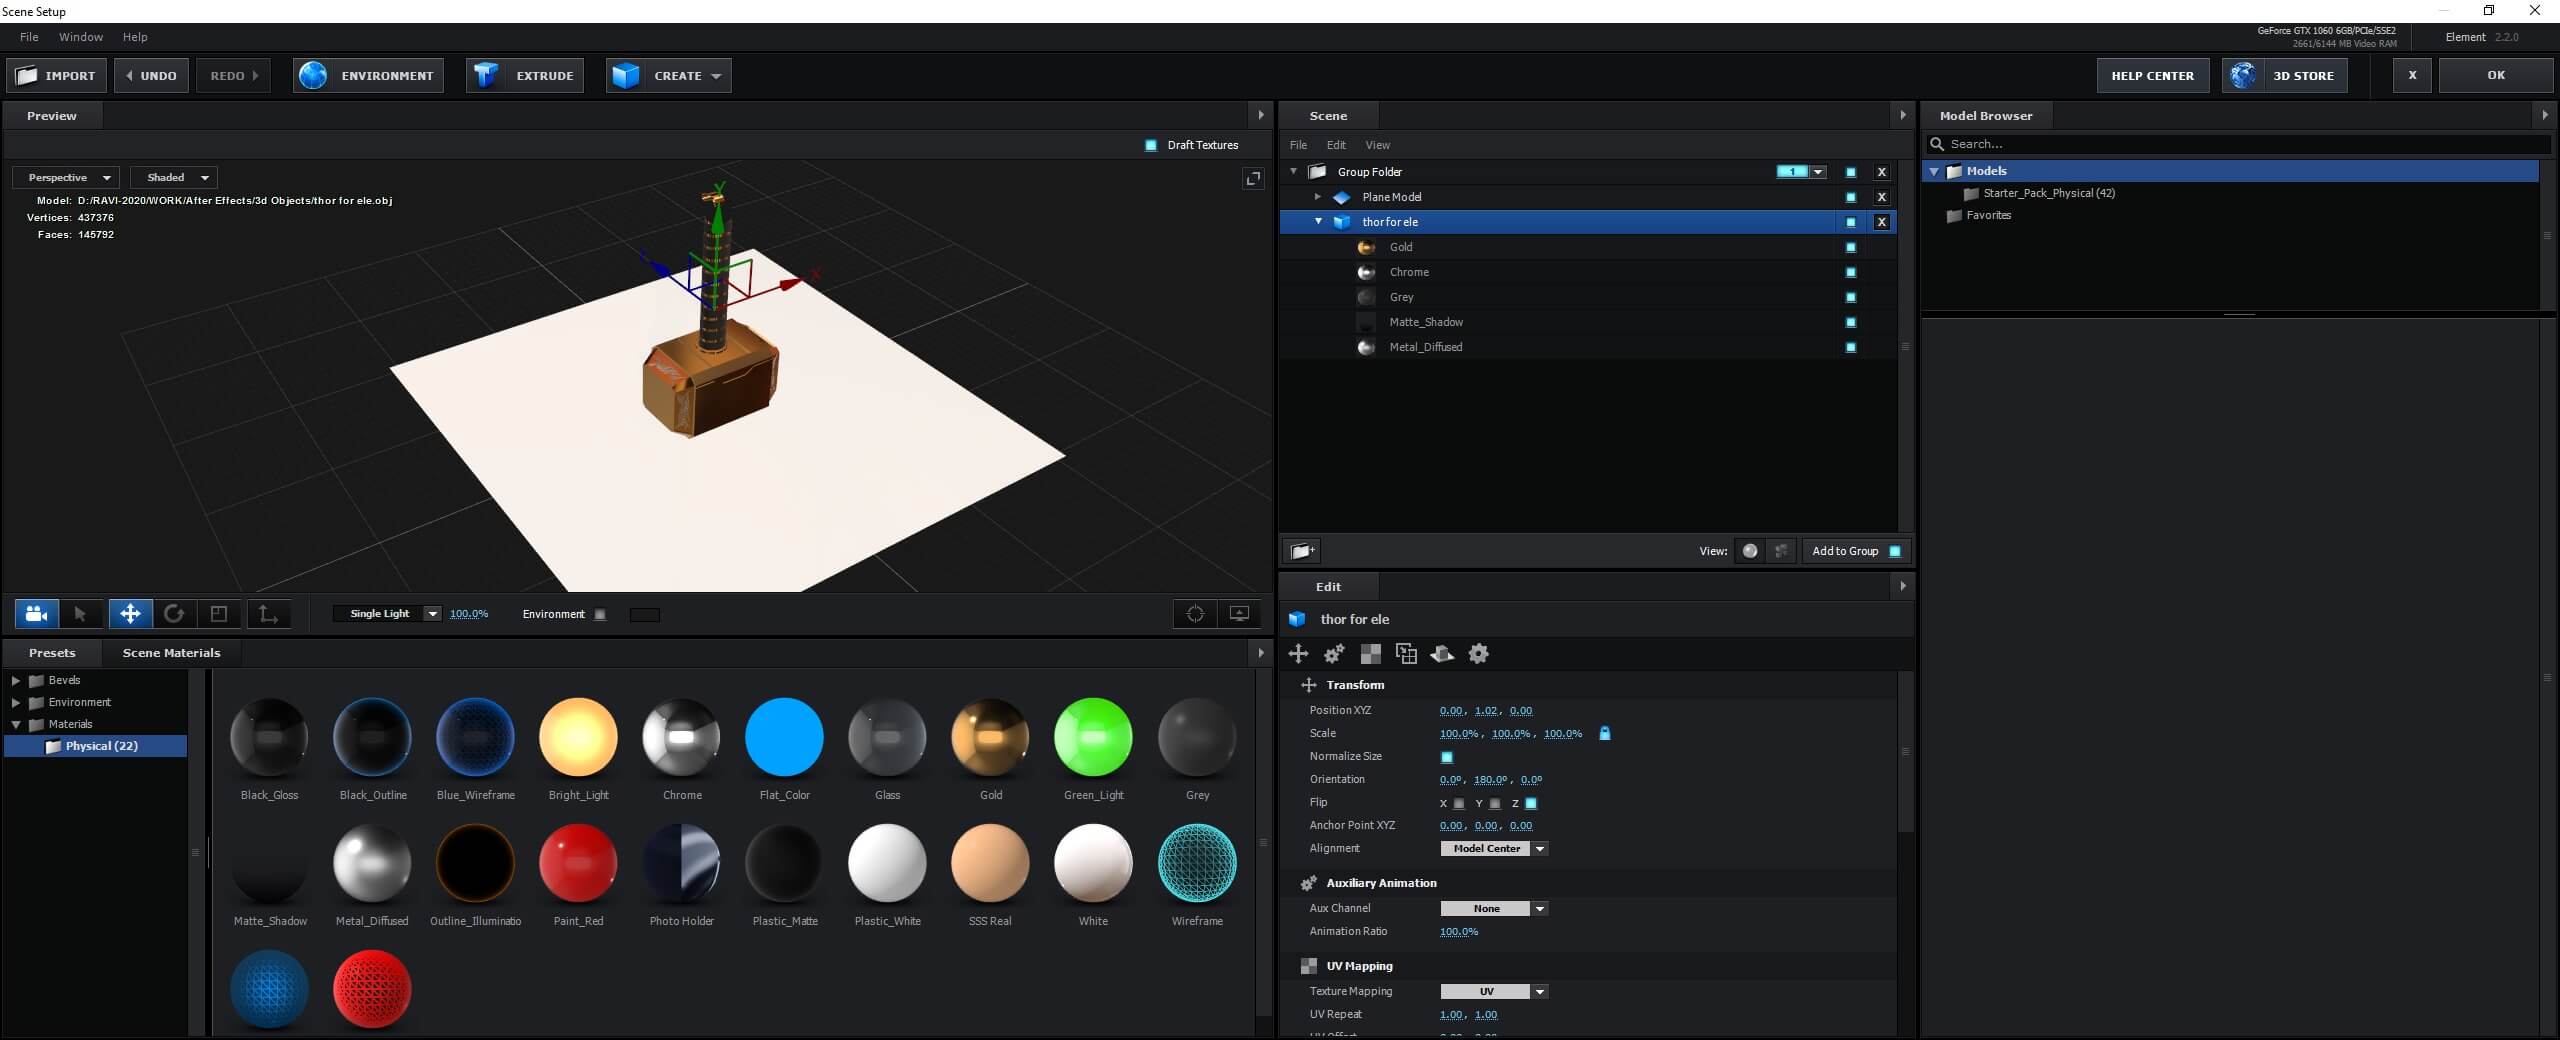
Now go to the black solid layer and click scene setup, which will bring in a new window in which we click the import button to import an obj file of the hammer model.

Step #27
Take a snapshot of the video, which we will use as an environment. This will bring the lighting effects.

Step #28
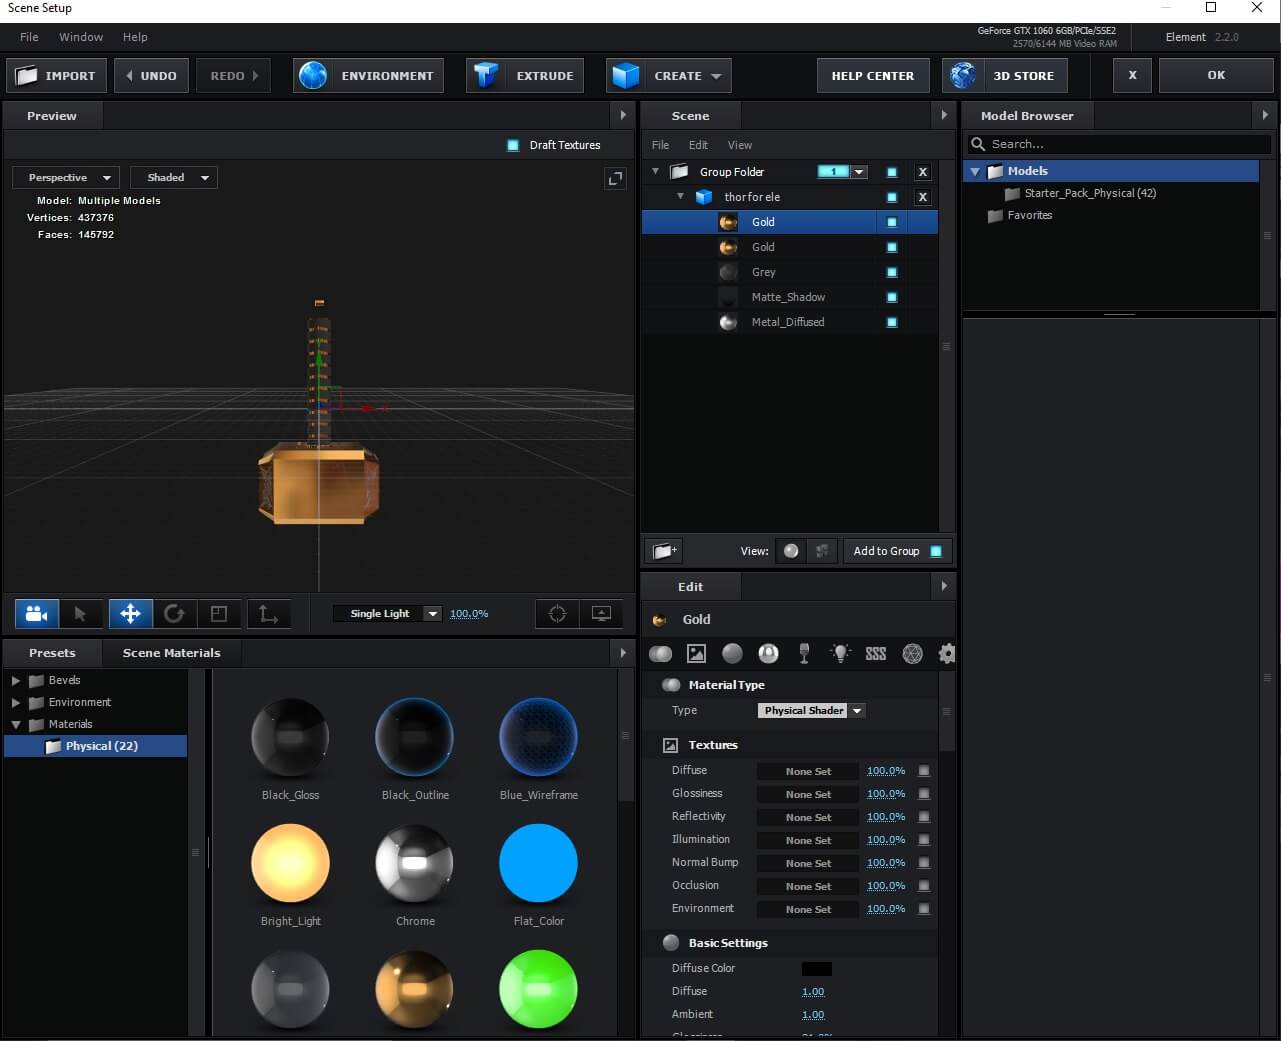
We can apply the physical materials to the model from the preset panel.
Step #29
You can change the rotation from group 1.

Step #30
In group 1, click create to make a group 1 null layer
Step #31
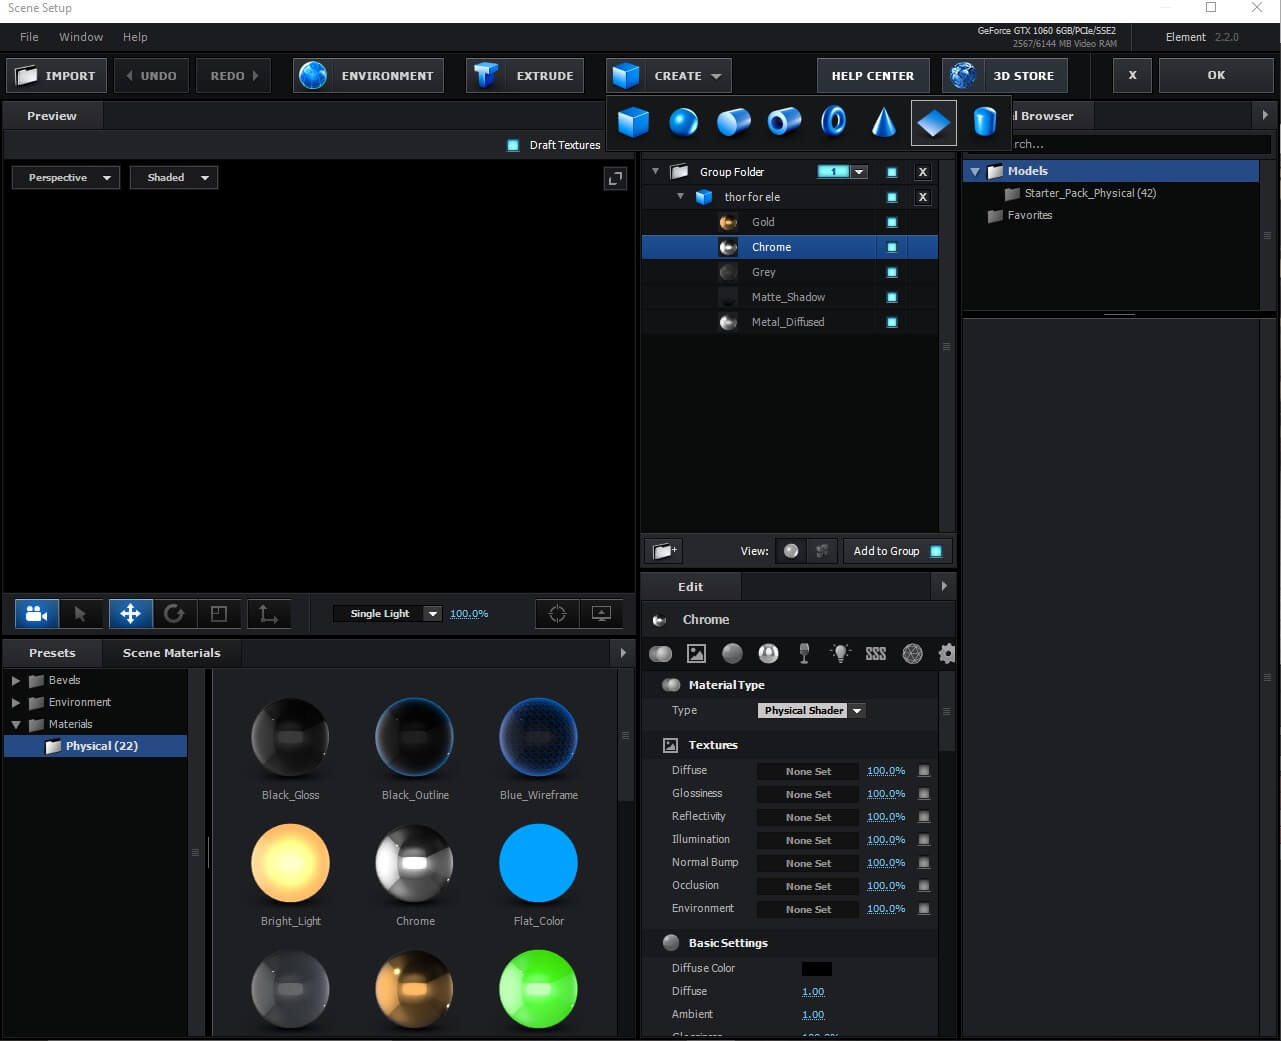
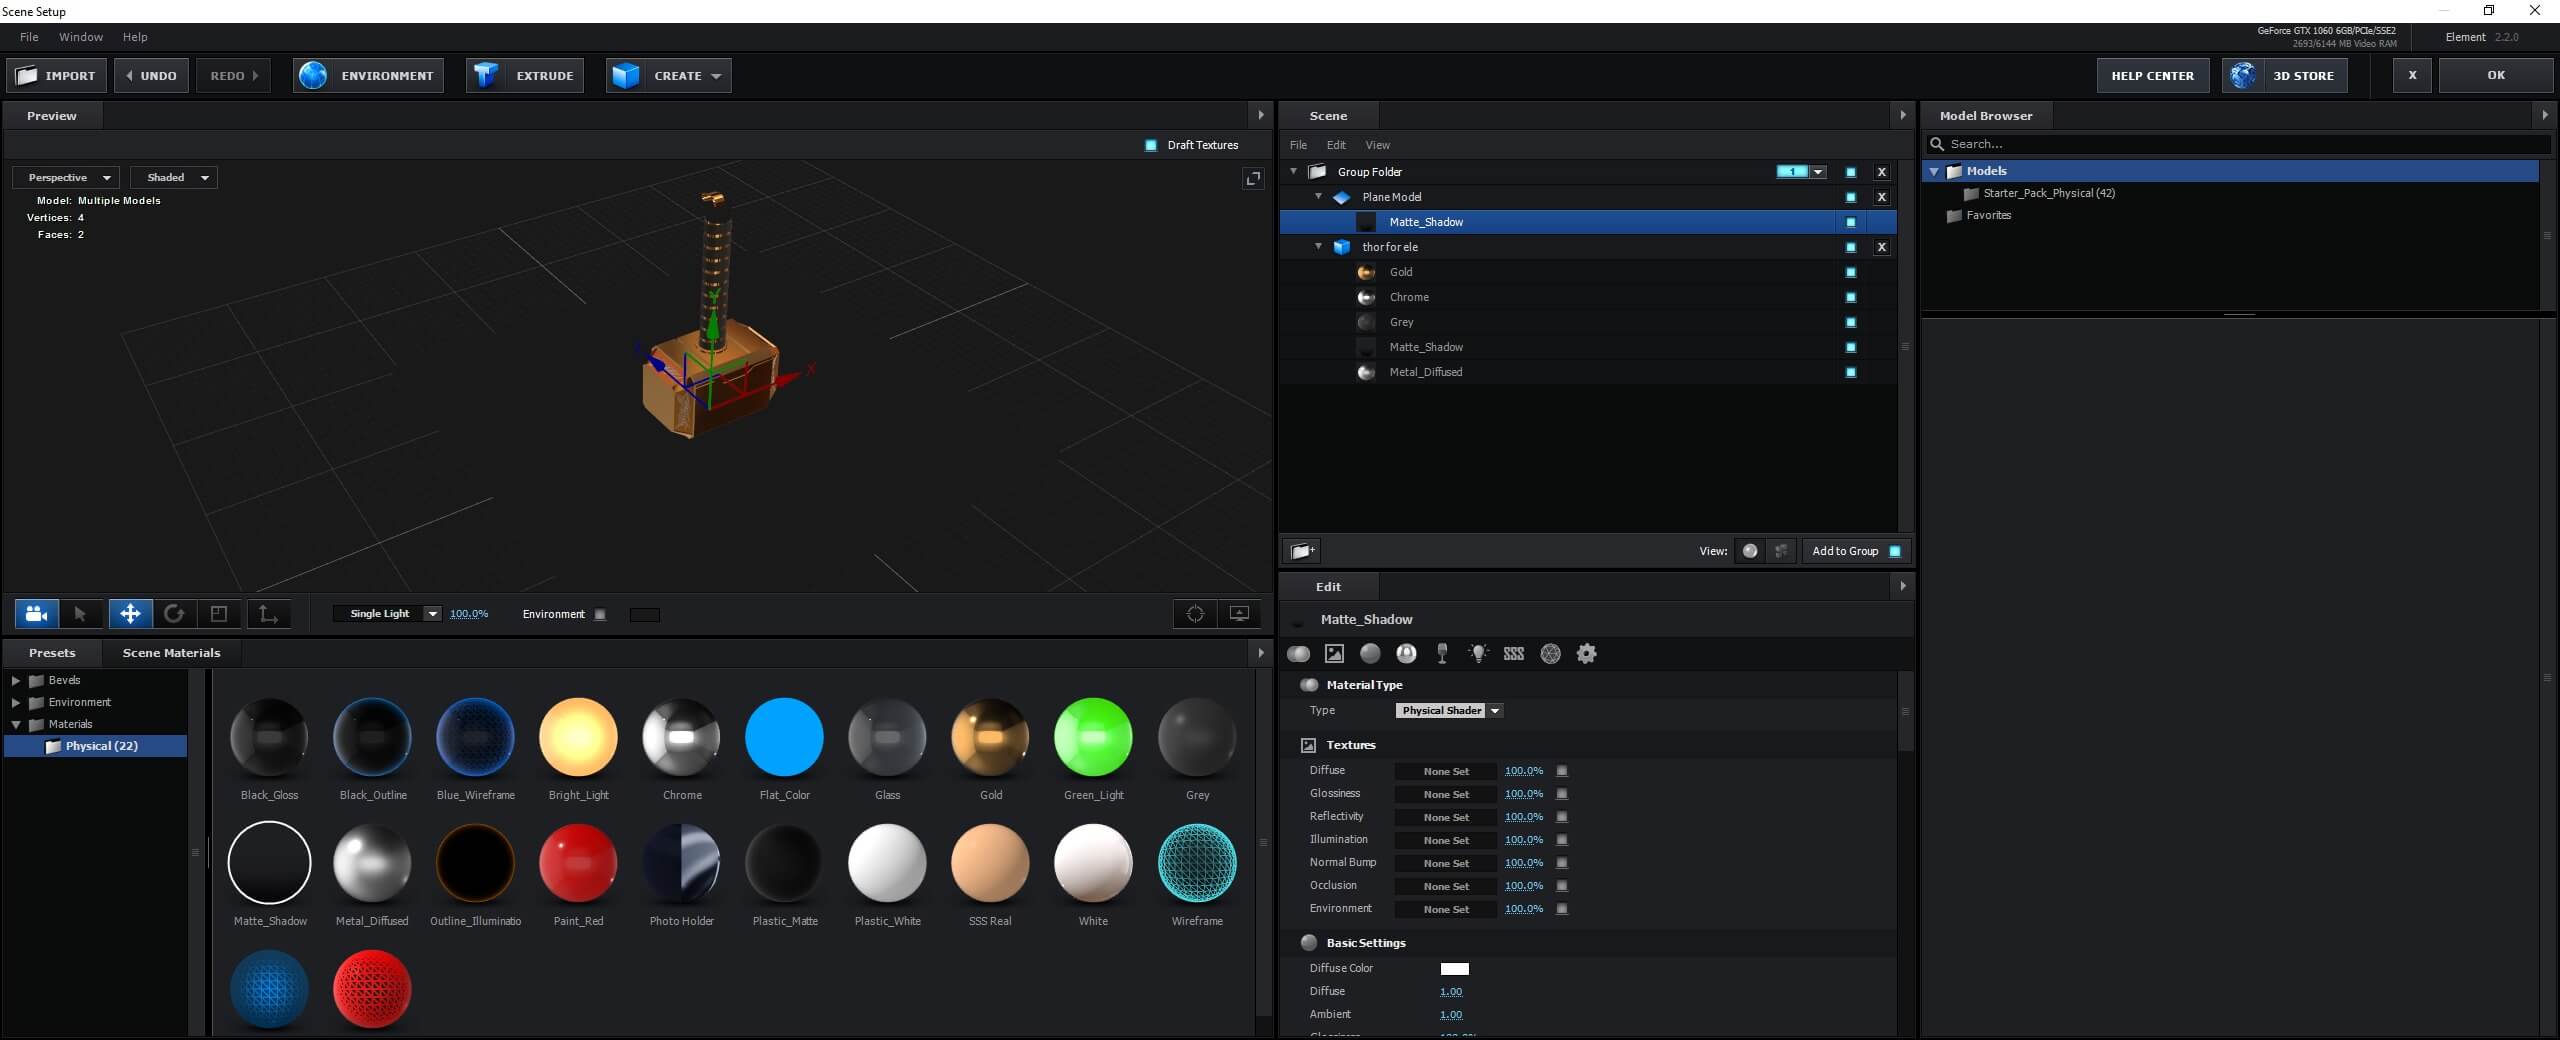
Again to scene setup of black solid and create a plane that will be used for shadows.
Step #32
Adjust the plane and the hammer by doing scale and translate
Step #33
Set the material of the plane to matte_shadow
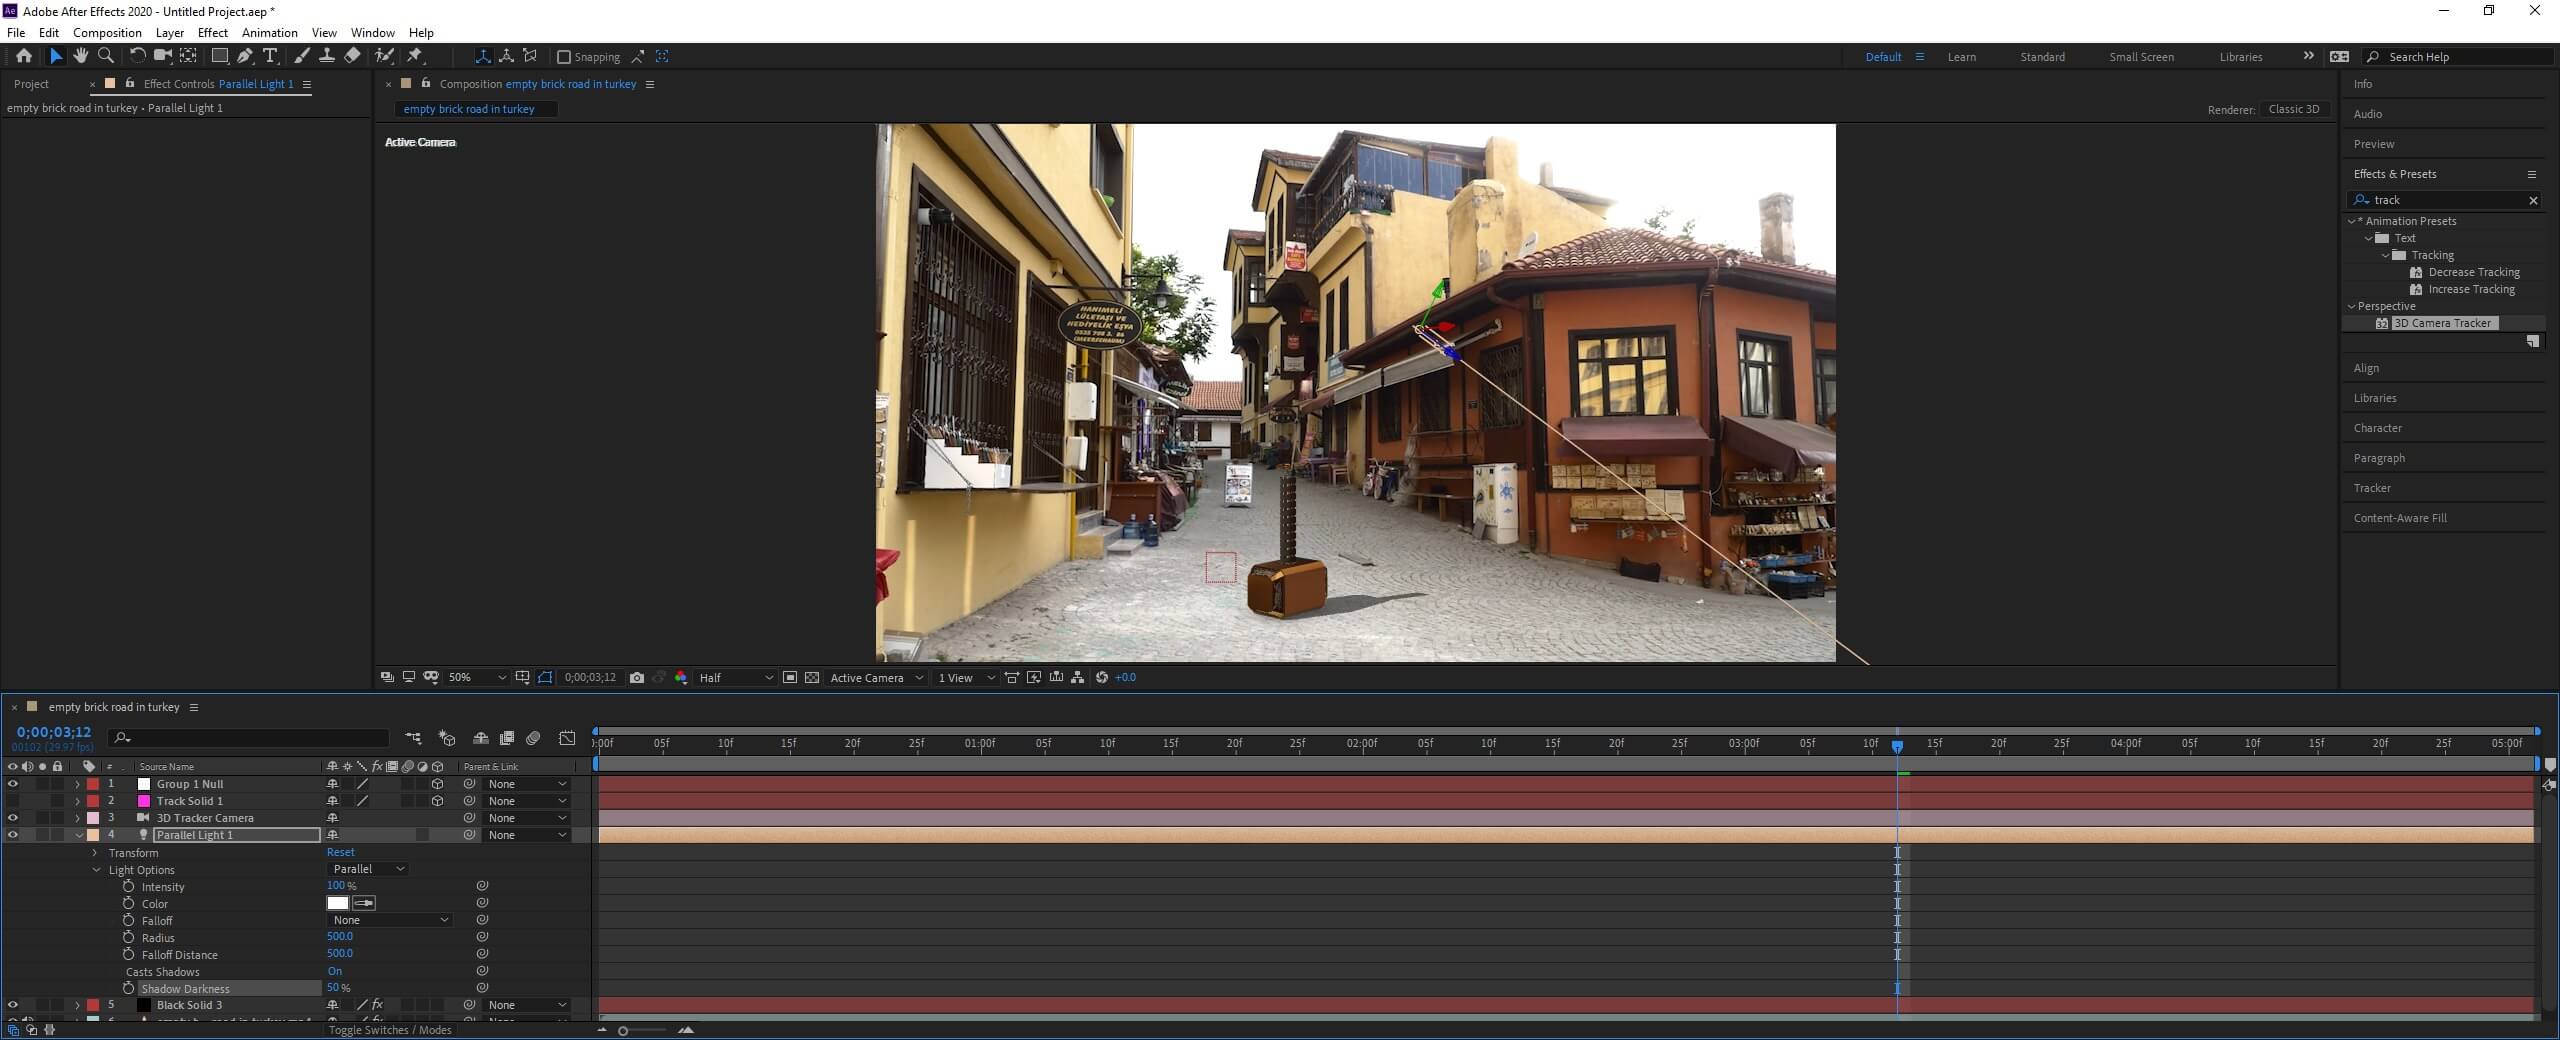
Step #34
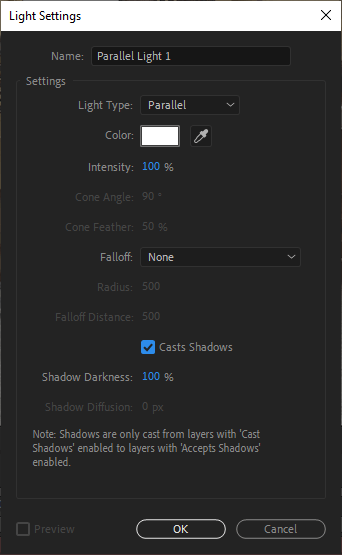
Create a new layer of light from the layer menu. Make sure that the light type is parallel and cast shadow is checked as we are simulating light from the sun.
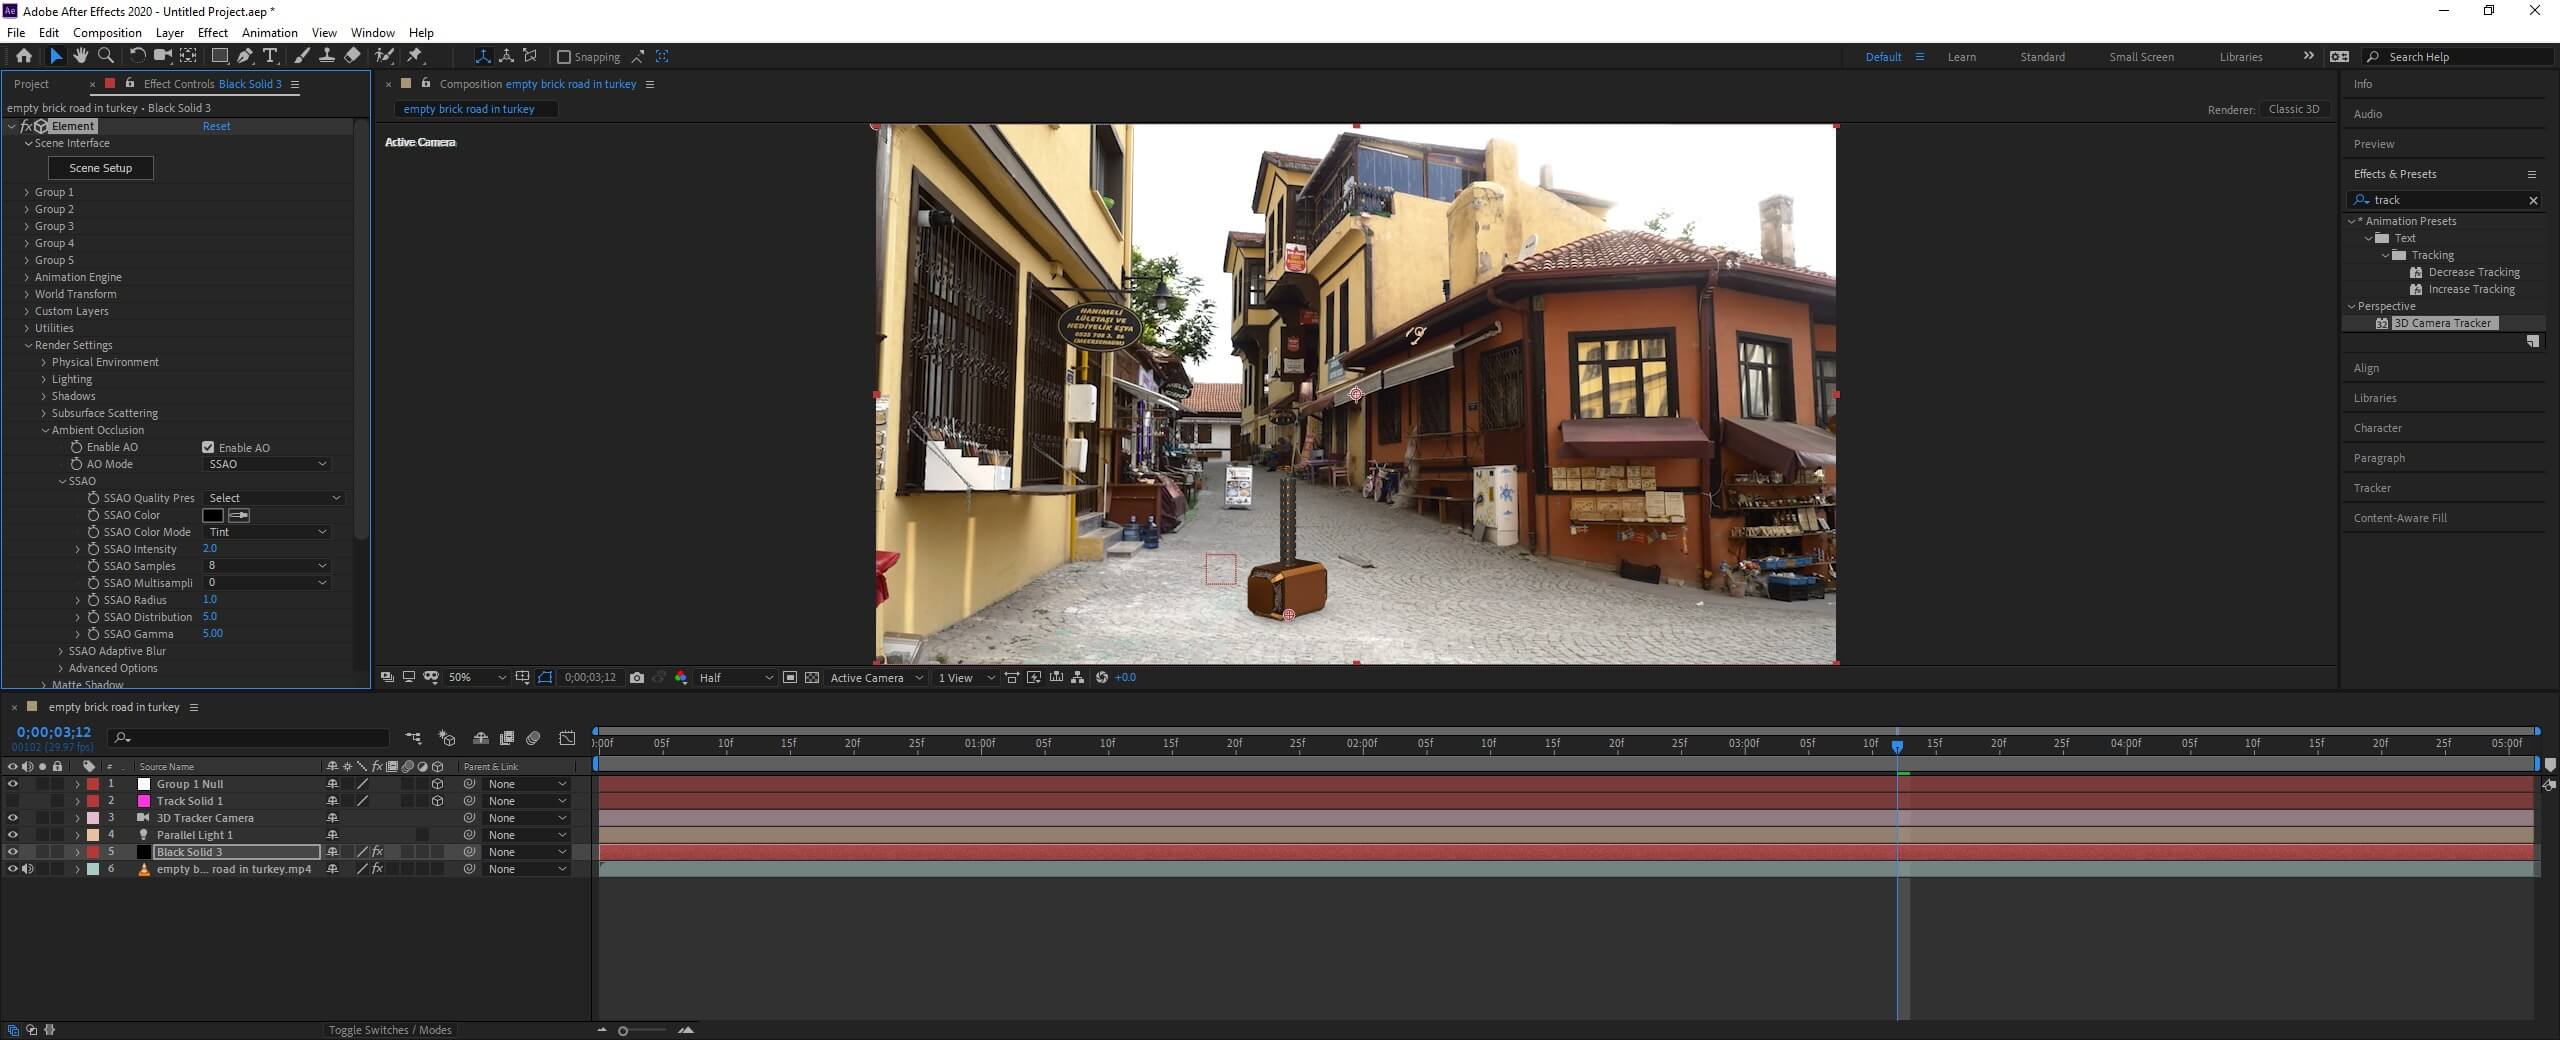
Step #35
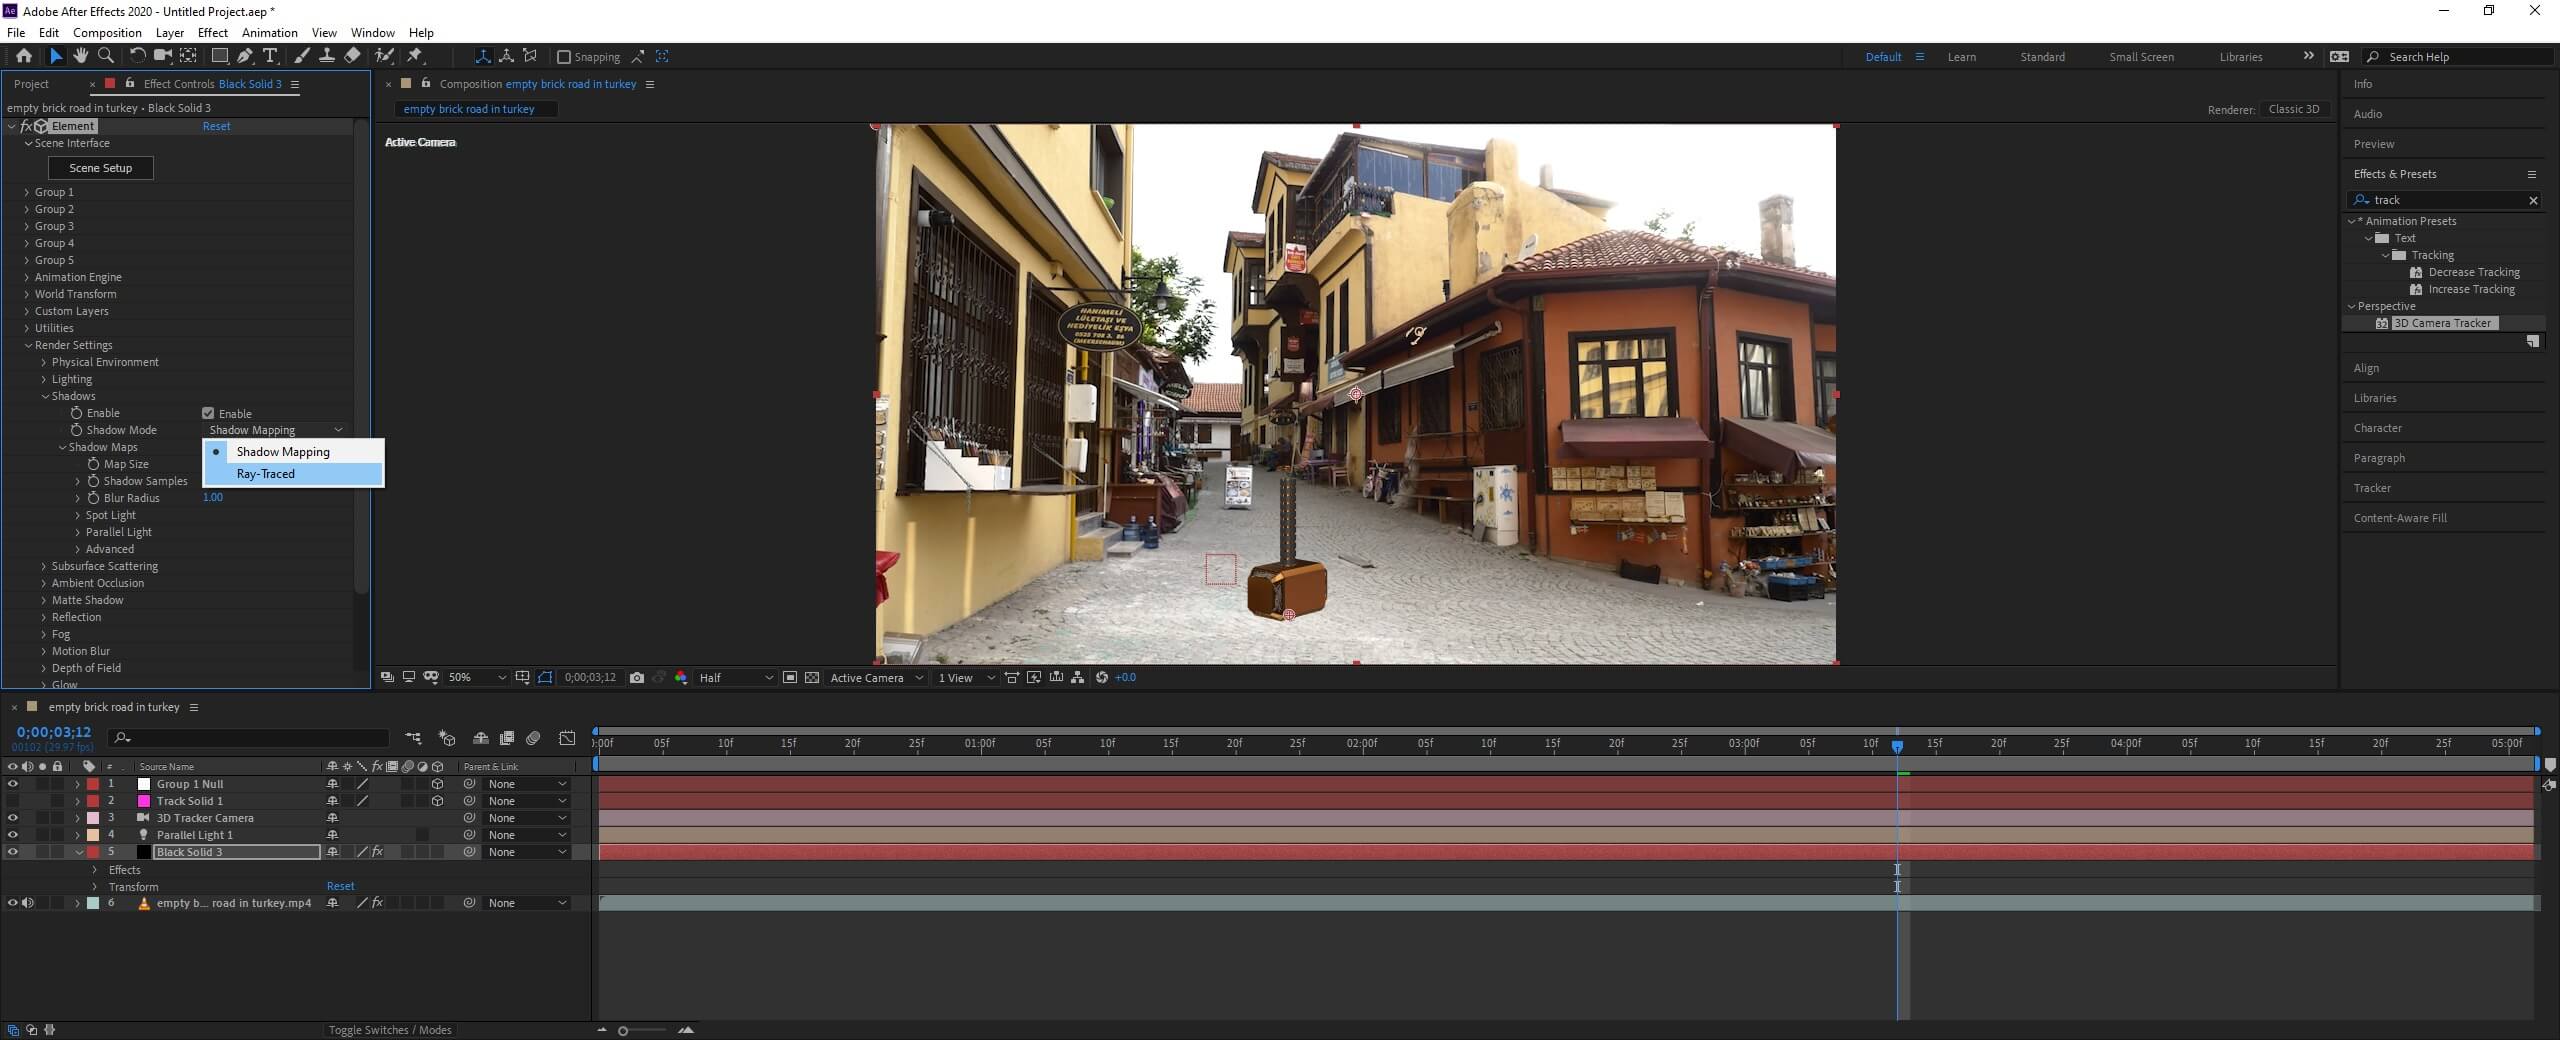
In the render, settings enable shadow and set the render mode to ray-traced. Also, enable ambient occlusion.
Step #36
Select the light layer and drag the handle to set the direction of the shadow.

Step #37
Set the shadow darkness to 50%.
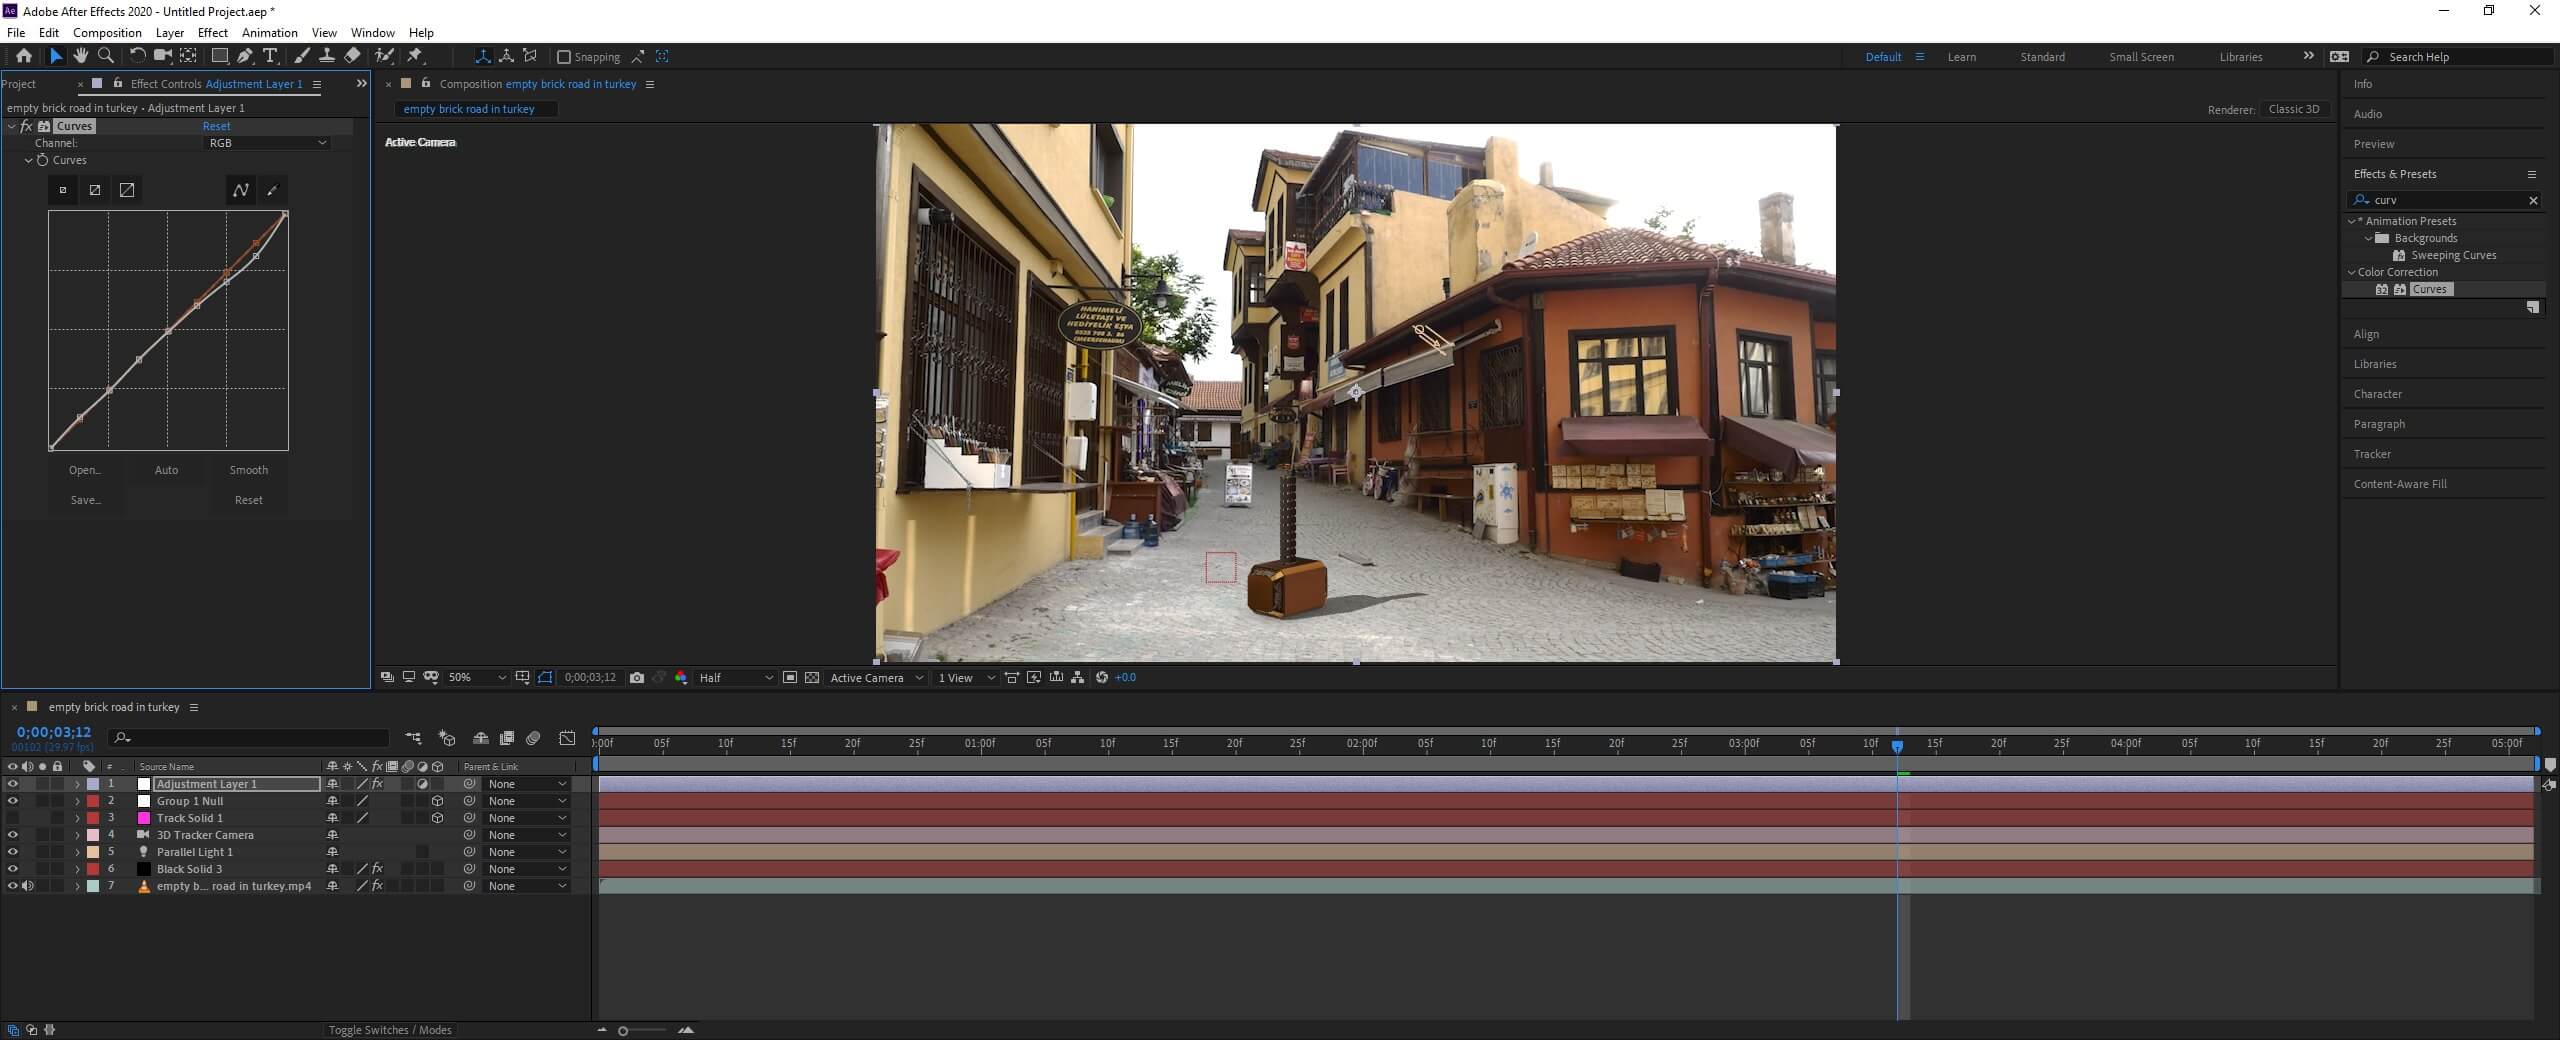
Step #38
For a proper color, balance creates an adjustment layer from the layer menu and adds a curves effect from effects and presets panel.

Step #39
Select auto for automatic color adjustment.
Conclusion
In this article, we have learned how to bring 3d objects in after effects and work with text, images, and 3d models. Apart from that, we have also learned how to use the element 3d plugin for better customization of 3d models to create a realistic look.
Recommended Articles
This is a guide to After Effects 3D Objects. Here we discuss how to bring 3d objects in after effects and work with text along with the steps. You may also have a look at the following articles to learn more –
