Updated June 9, 2023

Introduction to Affinity Photo Brushes
Affinity photo brushes can understand as different types of strokes or specific patterns, which we can draw on canvas with the help of the brush tool of affinity photo. This software has a separate brush panel with adjustable parameters settings. Along with adjustable parameters, we also have some brushes preset that make our drawing and painting or image retouching work easy.
Steps by Steps Affinity Photo Brushes
Before we discuss free brushes this software, let us have an overview of the brushes tool and presets of this software so that we can easily understand free brushes’ work.
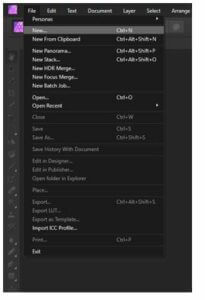
To understand brushes, let us create a new document and go to the File menu of the menu bar and click on it. Then, choose a New option from the drop-down list.
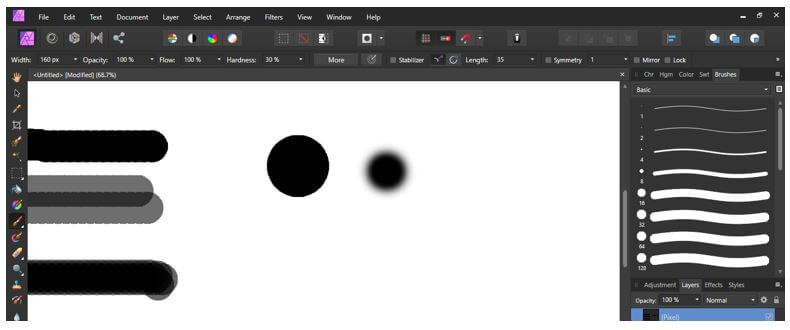
On the right side of the working screen of this software, we have a Brushes Panel. It has some presets and parameters.

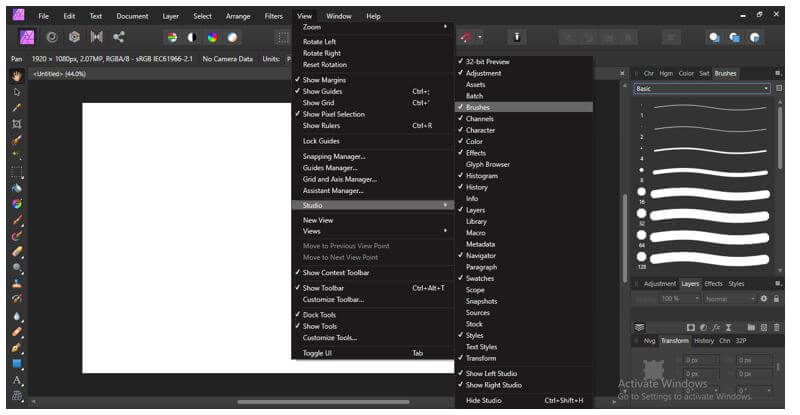
If you don’t have Brushes Panel on your working screen, you can go to the View menu of the menu bar. Then, in the drop-down list, go to the Studio option, and in the new drop-down list, you will have the Brushes option. Make a tick mark on it to enable its panel.
We have several presets of brushes in the Brushes panel, which you can use per your requirement.

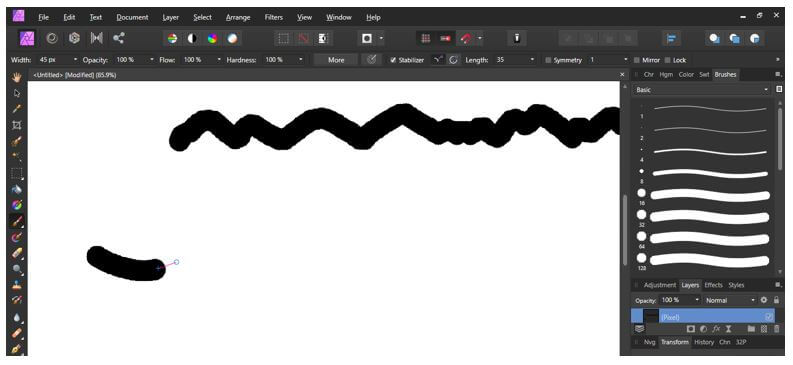
Now let us go to the Toolbar section on the left side of the working screen. Here you will find the Brushes tool with this icon. So select it by clicking on it.
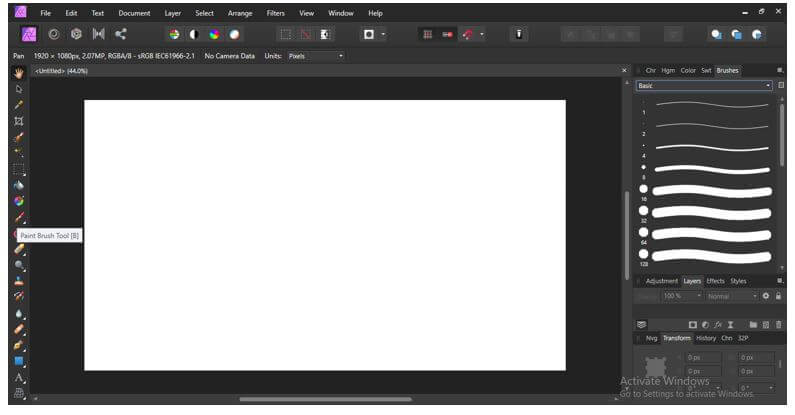
Once you select it, you will have all its adjustable settings at the top of the working screen below the Menu bar section.

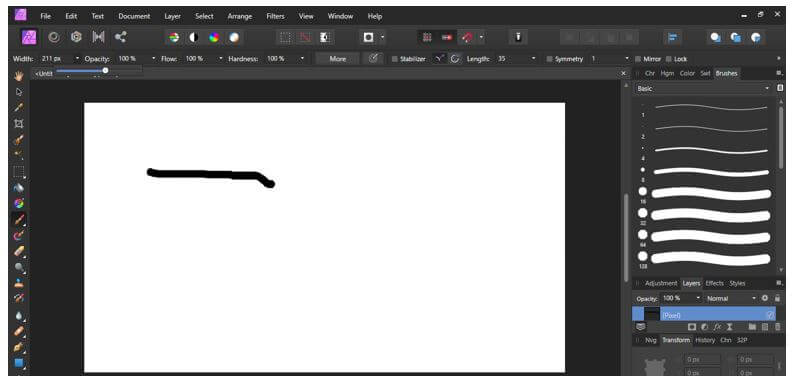
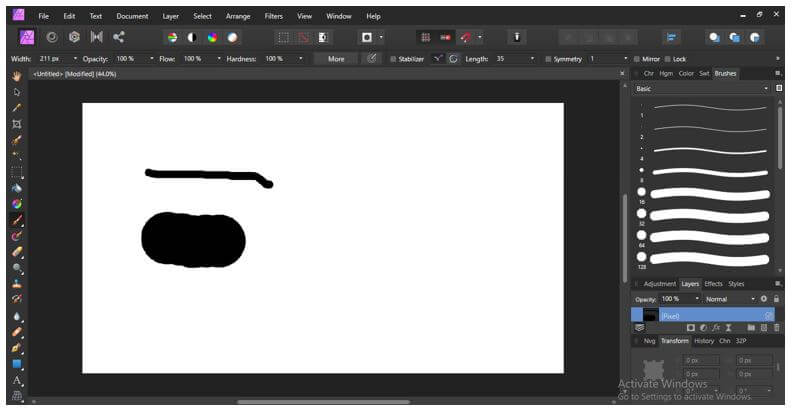
Now let us understand all its settings one by one. The first option is the width of the brush stroke.

There is a slider through which you can increase or decrease the width of the brush tip. We will draw it with less thickness, and you can see the width of the stroke is less.
Same as this, if we draw with increased value, then the thickness of the stroke will be more.
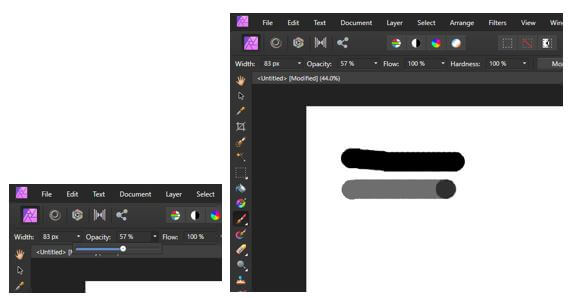
The next option is the opacity of the brush stroke.

If the value is less, you can see its visibility through the brush stroke.
Next is Flow which is similar to opacity but gives a different effect.

If the value is less, then the amount of color coming from the brush tip will be less.
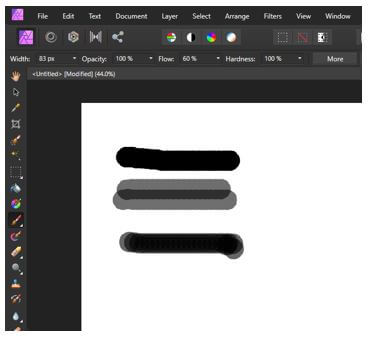
But if we again draw the same stroke in the same place, it will make the brush stroke darker.
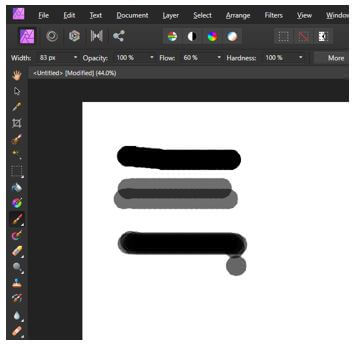
Now next option is Hardness. The stroke will be very sharp if we draw with a brush tip of 100 % hardness value.
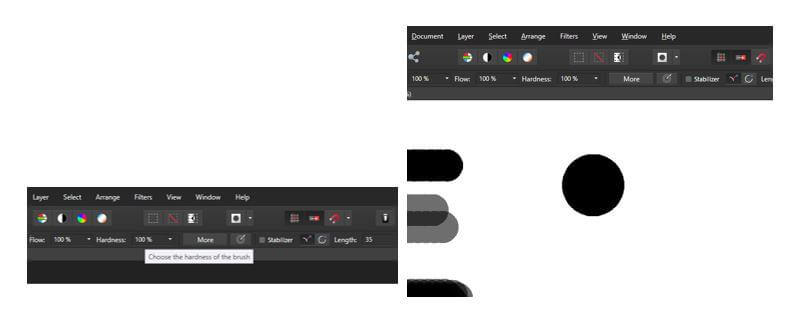
Now let us decrease the value of Hardness and draw again. You can see the outer side of the brush tip is blurred. We called it soft brush.
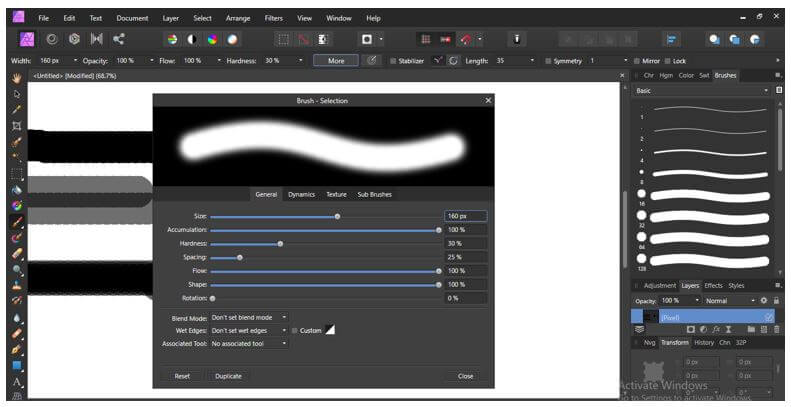
The next option is More. Once you click on it, you will have this dialog box where we can make custom changes in the brush presets, such as some more features here, such as spacing, a ratio of the brush tip, and so on. Again, you will know these settings by and by.
Next is Force Pressure. This option adjusts the brush tip’s pressure when we work with a pen device in place of a mouse.

Next, we discuss the Stabilizer option of the brush parameter. We have two options for it.

Let us enable the Rope Mode option, and when you start drawing with it, it will show you this type of anchor point.
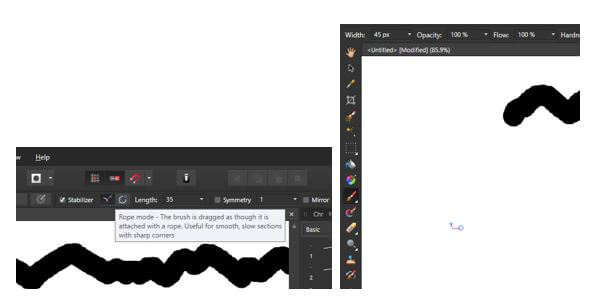
When you drag this anchor point to its maximum length, the brush will start drawing and follow the path of the mouse cursor. You can draw good art with this brush.
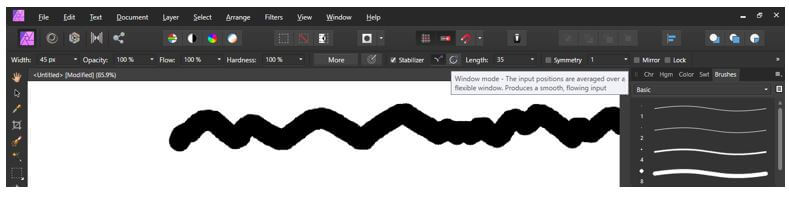
Now the next option of Stabilizer is Window mode. It will start drawing and follow the path of the mouse cursor immediately with a click of a mouse button.
Free Affinity Photo Brushes
We have several brush presets in this software, but sometimes we need to use some external brushes in our work to make our work more creative.
You can use free brushes in this software by installing them in a few steps.
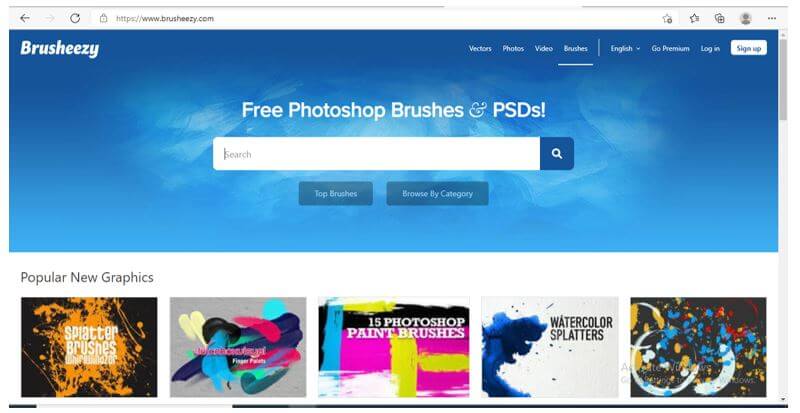
Go to the web browser and search for Free Brushes for Affinity Photo for downloading free brush. Then, we will go to this website to download the brushes file. Although these brushes are for Photoshop, we can also use them in Affinity Photo.
Once you download it, you will have it as a zip file. So in, unzip it.

Now open its folder and open the brush file with Affinity Photo.
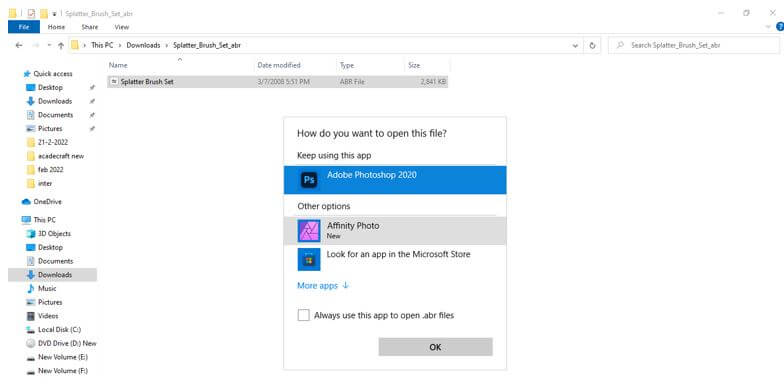
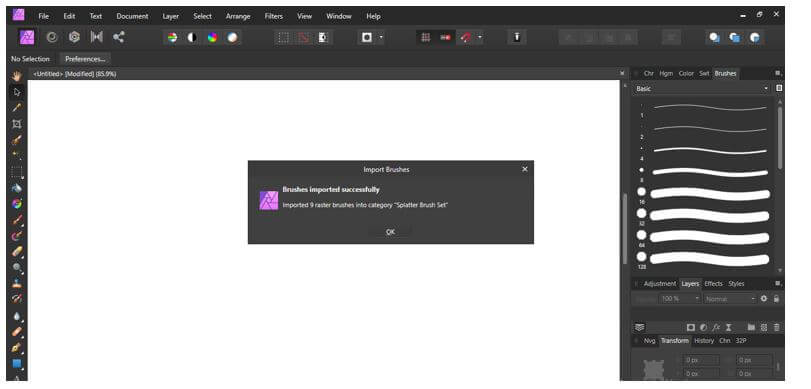
Once you open it, it will install in affinity photo automatically, and you will have this message that your brush has been successfully imported. Press the Ok button on this box.
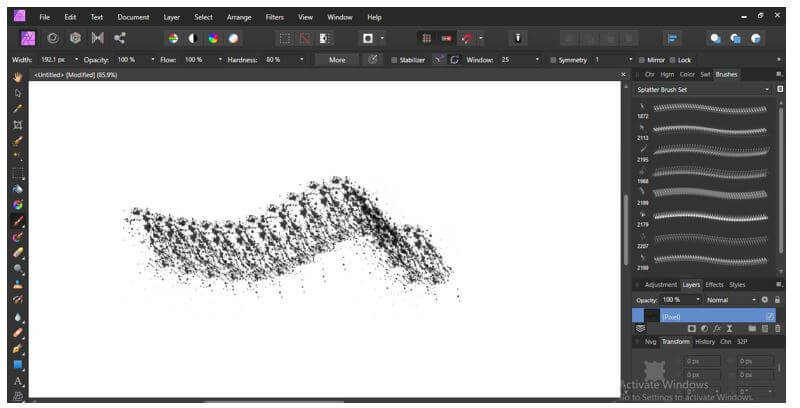
Now in the brushes panel at its bottom, you can find your installed free brush.

You can use it the same as we use pre-installed brushes of this software.
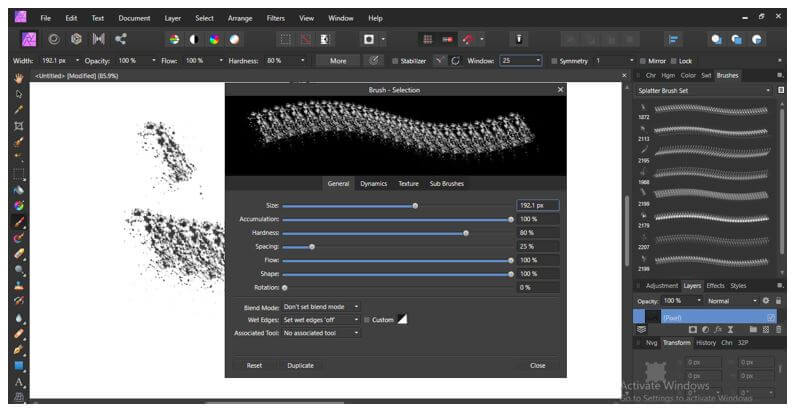
If you want, you can make further changes in the parameters of the installed brush by going through the more option of the brushes parameters bar as per your choice.
To start working with brushes, you must know these important aspects of the brushes of affinity photo.
Conclusion
After a good understanding of the brush tool and its parameters settings of this software, you can start using it in your work to get the best output. Now you go with custom brush settings for more variation during working with brushes. We will suggest you try to change every parameter for the particular brush to have a good practice and effective result of that brush.
Recommended Articles
This is a guide to Affinity Photo Brushes. Here we discuss the introduction, overview, and free affinity photo brushes. You may also have a look at the following articles to learn more –
