Updated April 18, 2023
Introduction to Adobe Illustrator for Beginners
In this article, we will learn about Adobe Illustrator for beginners. So let’s start. Did you ever fall in love with a Design? Have you ever experienced an engrossing moment trying to decode the tones and patterns in a graphic? In any of the cases, there is clearly an artist inside you, which is the crucial reason you are reading this page now.
For all our good, you landed in the right place where we understand your passion for design and help you give shape to your ideas with the best designing tools and software available.
In this post-Adobe Illustrator for beginners, we will discuss how to start designing using Adobe Illustrator software. And we take you through the following chapters you need to know as an Adobe Illustrator for beginners.
- Adobe Illustrator – Where it is used
- Anatomy of Adobe Illustrator
- Adobe Illustrator Interface
- Tools and Selection Tools
It was never in our mind; that graphic designing is another formal education type. We add a lot of fun to the posts to ensure you don’t just learn it but enjoy the experience. To simplify the process, we included an exciting project at the end of this post-Adobe Illustrator for beginners; you can practice with the tools you will learn here. It’s simple yet, comprehensive and fun.
Project Name – A Dog out of A Dog
Let us start with talking about Adobe Illustrator training
Where is Adobe Illustrator used?
Adobe Illustrator beginners tutorial is the Industry’s leading Vector graphics creation software. Its high-quality vector graphics maintain their quality regardless of scale, making it highly regarded. The Adobe Illustrator software is widely used in Web and Print designing. However, we cannot restrict its usage to the two communities as its range of benefits can be equally fulfilling in many other Industries.
Here are some of the usages and examples of Adobe Illustrator software
- Cartoons
- Logos
- Illustrations
- Charts
- Diagrams
- Infographics
The following are the designs created with the Adobe Illustrator beginner tutorial.


The Anatomy of Adobe Illustrator for Beginners
To have a good idea about Adobe Illustrator training, you should understand its anatomy. Knowing the structure of the graphics can benefit you with a higher level of control in creating and editing the graphics.
As mentioned above, Adobe Illustrator software is used to create vector graphics. But what is a vector graphic? Let us discern its anatomy.
Vector Graphic and Pixel Graphic
Unlike the most popular Adobe Photoshop, Adobe Illustrator software is vector-based graphics software. It creates high-quality vectors that can be stretched to any scale without losing their original quality. It is the signature quality that distinguishes vector graphics from pixels. Before diving deep into that, let’s see what vector graphics look like.
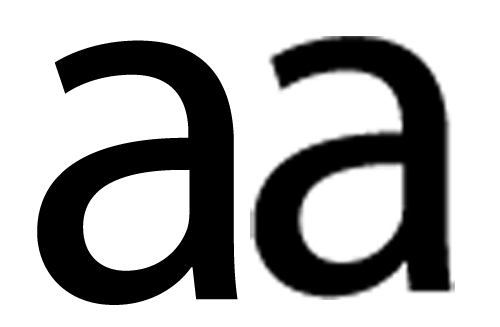
As we grasp the unbeatable quality of vector graphics, let’s know what makes a vector graphic different from a pixel-based graphics file.
Pixel-based graphics are files that store the color information in pixel form. A group of pixels closes together, forming individual color values into a single image. However, vector-based graphics structure works quite contrary to the above. In a nutshell, vector graphics are considered to connect the dots. They are created by combining multiple points called Anchor points. Finding a vector graphic without Anchor points is out of the question.
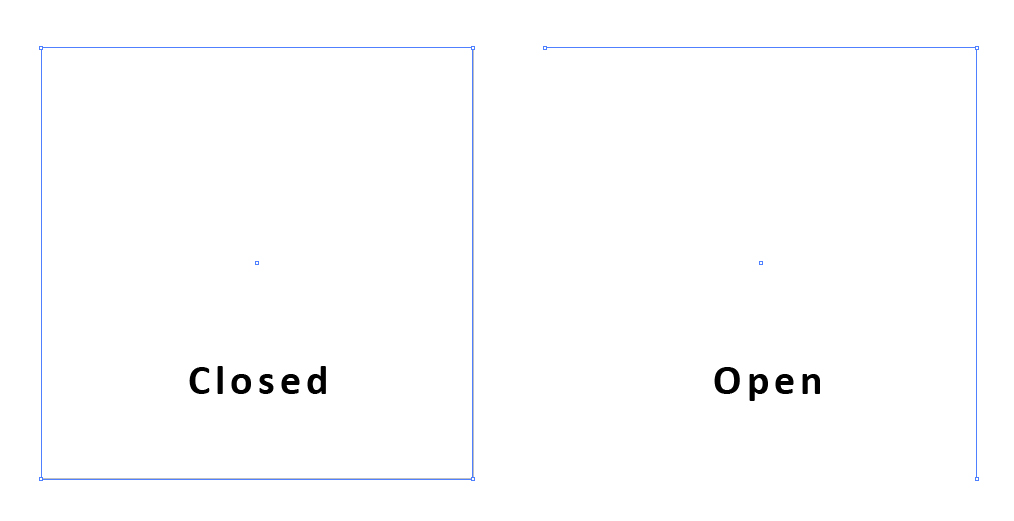
The line connecting two Anchor points is called a path.

A path can be closed by connecting all the Anchor points from where it started or open without closing the anchor points. But remember, to fill an object, you need at least three anchor points. A path connects three or More Anchor points and forms a shape.
We just knew about the Anchor points and how paths and shapes are formed through them. There is another crucial point that should be mentioned before we enter into the next segment. It is the type of Anchor point in Adobe Illustrator for beginners.
Anchor Points of Adobe Illustrator for Beginners
Anchor Points are of three types:
-
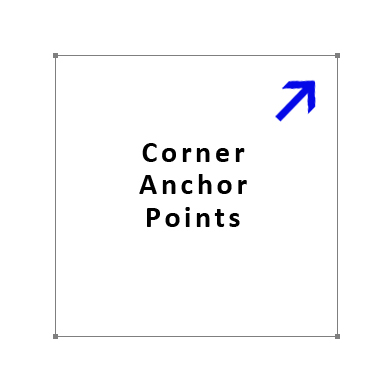
Corner Anchor Point
The following image gives an example of the corner anchor points. They usually are used to draw straight lines or corners edges.
-
Smooth Anchor Point
The anchor points that create a curvy edge are the smooth anchor points. The Advantage of them is the level of control it provides for editing a path while drawing or correcting.

-
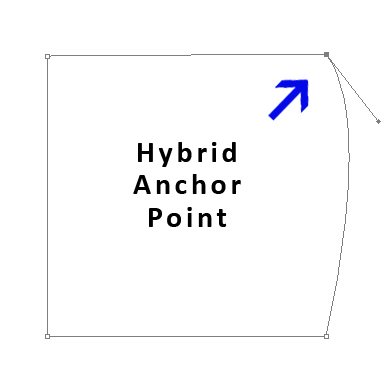
Hybrid Anchor Point
The third type is rarely used. In most instances, the above two kinds of anchor points can serve you the required paths and shapes; it is a rarity you will find to use the hybrid anchor point. Please take a look at the image to know the difference between them.
The Fill and Stroke
Fill and Stroke is the two best buddies inside Adobe Illustrator for beginners. But it is up to us to decide whether the friendship should be extended.
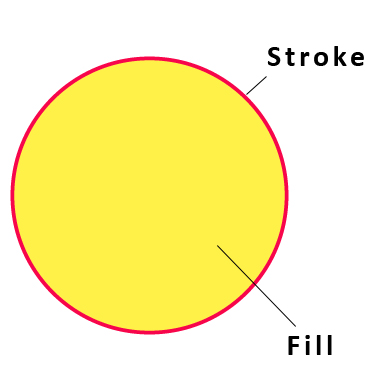
The color of the path is called a stroke, whereas the color of the Stroke is the fill. The two are the primary compounds to create every object in a vector graphic. In a casual sense, a stroke can be understood as the border and fill as an object.
The below image distinguishes a Fill and Stroke clearly
User Interface:
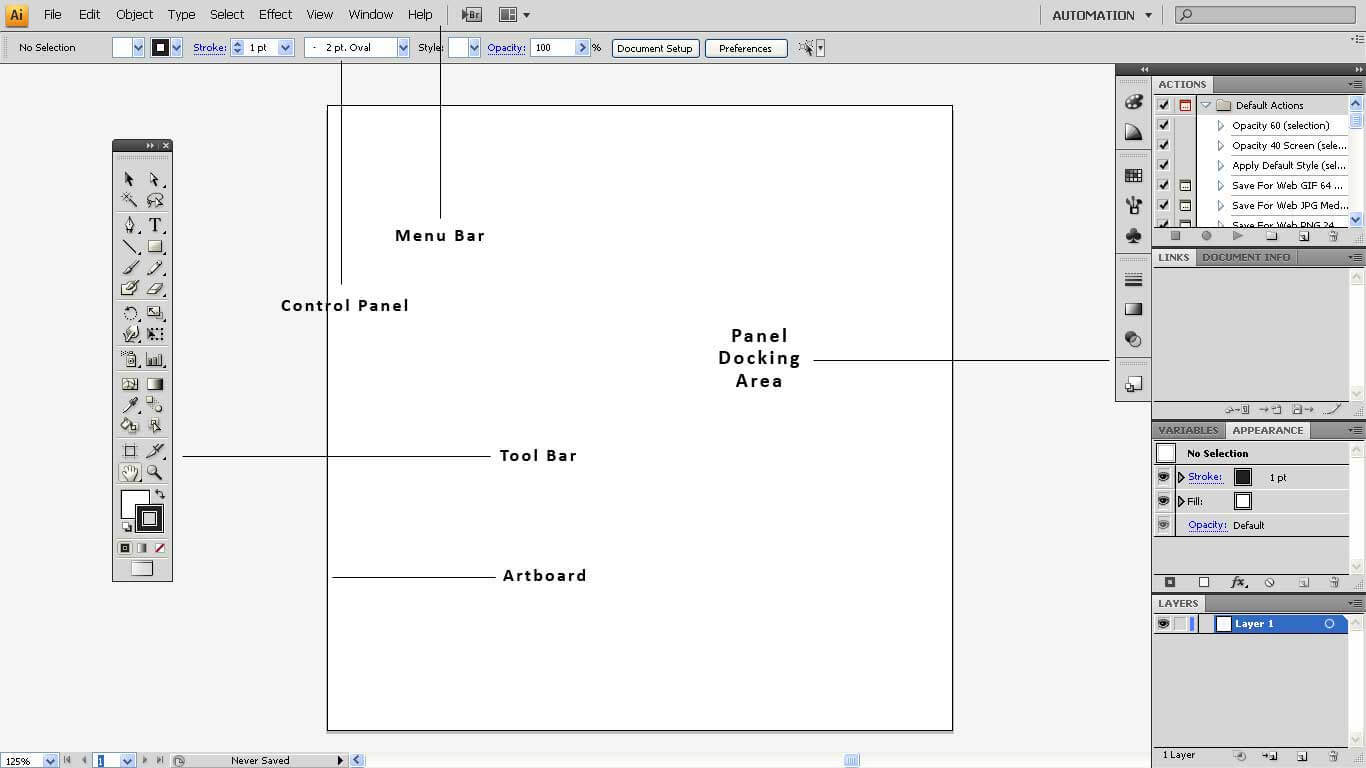
For the Adobe Illustrator beginner tutorial, the Adobe Illustrator workspace can look chaotic and subjugated with several panels and tools spread across the screen. Don’t let the fear bug bite you. We are here to throw your worry aside and make learning a wonderful experience.
The image seen above is the workplace; every button and panel in it is there for our users to create impressive vector graphics. Please look at the names and keep them in mind until we discuss the interface in a detailed chapter.
Tool Bar
The Toolbar is the utility kit of Illustrator. It has every tool that is necessary to keep getting the design going. By default, the Toolbar is displayed with tools arranged alongside other tools. At the same time, you can change it into a vertical mode in which the tools are stacked on top of one another.

A toolbar is a set of eight tool galleries that Illustrator provides. Below is the list of the tool galleries
- Selection tools
- Drawing tools
- Type tools
- Painting tools
- Reshaping tools
- Symbolism tools
- Graph tools
- Moving and zooming tools
The arrangement of the galleries provides clarity and avoids confusion. However, a few tools, like the Artboard tool, have been added recently in Illustrator that is not placed with its set of tools. Although Adobe considers Artboard a selection tool, it is located in a confusing position near the moving and zooming tools. Nobody knows what is in Adobe’s mind.
In this beginner’s guide to Adobe Illustrator, we will explore the selection tool gallery and several painting tools to complete the “A Dog out of A Dog” project.
Selection Tools
When it comes to the tools, the name says it all. It is easy to identify the purpose of the tools by their name. The selection tools are meant to select the objects to move, resize, edit, or delete.
There are six types of selection tools, and their hotkeys are mentioned beside the name of the tools.
- Selection tool (V)
- Direct Selection tool (A)
- Group Selection tool (A)
- Magic Wand tool (Y)
- Lasso tool (Q)
- Artboard tool (Shift+O)
Selection tool:
![]()
It is the primary tool in Illustrator that selects anything on your workspace, including artwork and images. To select, press the shortcut “V” or click the button.
After selecting a vector object in the workspace, the anchor points and the path are distinctly visible. The tool only allows the selection of paths and shapes but does not have the ability to edit or select anchor points.
Direct Selection tool:
![]()
Direct selection takes the selection process one step above, enabling micro-selection. It selects the whole object, and you can also select the anchor point you require and increase the level of convenience in editing your design.
When you select a vector object with the Direct Selection tool, you can observe the selection highlighted with anchor points visible in white. When you select the anchor points you set to edit, they are indicated in blue. Refer to the images below to understand the selection process.
Group Selection tool:
![]()
This tool assists in selecting grouped vector objects. Grouping is a different tool that you will learn in the next articles. Till then, try to know the presence of the group tool.
Magic Wand tool:
![]()
The Magic Wand selects objects that fall in a similar category. It is not designed to select the anchor points; instead, it comes in handy in a complex project to select identical objects with one click. It saves plenty of time and avoids tedious work.
Lasso tool:
![]()
Lasso works similarly to the Direct Selection tool but provides extra convenience in selecting the anchor points. Magic Wand is a freehand selection tool that allows the free selection of anchor points in a complex drawing.
Art Board tool:
![]()
In the earlier versions, it was inconvenient to change the workspace size between the project. If it were essential, you should change the dimensions of the file. With the Art Board tool launch, the job is just dragging away.
The tool makes it easy to select and drag the workspace to the size or dimensions you want.
Now that we have completed the selection tools, we shall quickly look at the other tools required to start our project. I mention the list of tools below.
Hand tool:
![]()
You can use the Hand tool to move and adjust the position of the workspace according to your convenience.
Zoom tool:
![]()
While working with Anchor points or fine details on vector graphics, looking at the image on a larger scale is essential. It is where exactly the zoom tool fits in; it allows you to zoom in and zoom out the part of the object you want to scale.
In Illustrator, zoom works in four ways.
- You can directly leave a click on the object to zoom in and Alt+left click to zoom it out.
- Use the hotkey Ctrl+ to zoom in and Ctrl- to zoom out.
- Left-click and drag the area you want to zoom in, and Alt+left click to zoom out.
- Hold the Alt button and roll the mouse wheel to zoom in and zoom out.
Brush Tool:
![]()
It is the best tool for freehand drawing in Adobe Illustrator. The level of control provides is amazing in adjusting the size and shape of the brush. As we delve deeper into the Brush tool, we come across various brushes and options. However, we shall limit the brush tool to a few introduction elements in this Adobe Illustrator for Beginners article.
Size of a Brush
The hotkey to increase the size of the brush is ]
The hotkey to increase the size of the brush is [
Change the color of the brush
- Draw an object and select it.
- Click on the stroke color in the Toolbar.
- When the color picker palette appears, choose the color you want.
Project – a Dog out of a Dog
Image source: pixabay.com
In this project, we will guide you through a practical exercise in drawing a cartoon dog. We know your question, what is A Dog out of A Dog? That’s adding a little fun to our work that you will understand in a moment.
The idea is to put all the tools we learned in this Adobe Illustrator for Beginners post to use. It’s an easy, simple exercise with a lot of fun.
- Step 1: Create a new document and name it Dog. Set the dimensions to W: 500 pt and H: 500 pt. Click OK.
- Step 2: Empty the fill color by clicking on the None button.
- Step 3: Click hotkey B or manually select the Paint Brush tool in the toolbox.
- Step 4: Adjust the brush size by using hotkey ] to increase and [ to decrease the size. You can play around and choose the size at your will.
- Step 5: At the center of your workspace, write the letters “dog” with the brush tool. Make sure to write the letters in a smaller case and that the circles are of equal size.
- Step 6: Draw the lines as shown in the image below.
- Step 7: Give the Dog his Eyeballs and Whiskers.
- Step 8: Zoom out and start giving the front legs and body to the Doggie.
- Step 9: After you complete the drawing, your Dog should look like this.
- Step 10:To depict your friend’s shiny, wet nose, leave the small circle unfilled and color the rest of the nose black.
- Step 11: Now, as we completed the drawing. It’s time to give a color to our furry friend. I chose the following color. Play creative and select a color for your Dog.
- Step 12: Add another layer in the Layers Palette and drag it to the bottom. The new layer will be your colored layer.
- Step 13: Adjust your brush size as per your requirement and carefully draw the color. Do not allow the color to reach inside the eyeballs and shiny nose.
- Step 14: This is a good doggy wagging his tail. Isn’t he too plain in this color? Let’s add him some shades.
- Step 15: To maintain the same color, select a lighter shade so it goes well with the actual color of the Dog.
- Step 16: Bring the opacity down to 50 percent, so it will not dominate the original color.
- Step 17: Your Dog will look like this after shading. But what is a Dog without his tongue hanging out?
- Step 18: Select the brush tool and adjust the size. Give the Dog a tongue.
- Step 19: Fill the tongue with red color and give it a lighter shade if you want.
Now your Doggie is ready, “A Dog out of A Dog.”
Try to complete the project and remember to be creative; you can always choose to add your style to your drawing. Let your uniqueness be your signature.
Want to learn more exciting courses and projects on Graphic designing? Check our Designing archive for more interesting articles and projects. At EDU CBA, learning is an enjoyable experience that you will love. Register in our Illustrator course to learn more about vector graphics and design like a Pro.
Recommended Courses
This has been a helpful guide to Adobe Illustrator for beginners here; we have discussed how to start designing using Adobe Illustrator software. We add a lot of fun to the posts to ensure you don’t just learn it but enjoy the experience.
You may also look at the following courses to learn more –
