Updated August 28, 2023
Introduction to Adding Keyframes in After Effects
Adding Keyframes in After Effects is mostly used in the animation process; its main tool is to animate. Keyframes are nothing but markers placing in the timeline for layers and change the values to create animations like position, scale, rotation, and color etc., keyframe animation works like we create a point in starting and ending points and change the values by that the animation play. If we need to move an object from one place to another, we create two keyframes; in starting, we set the point from where the object needs to start and set the point where to end the position, in between the keyframes object animations, if we need to speed up the animation we can move the keyframes close or far to make slow.
How to Use Keyframes in After Effects?
Here we are using text for animation:
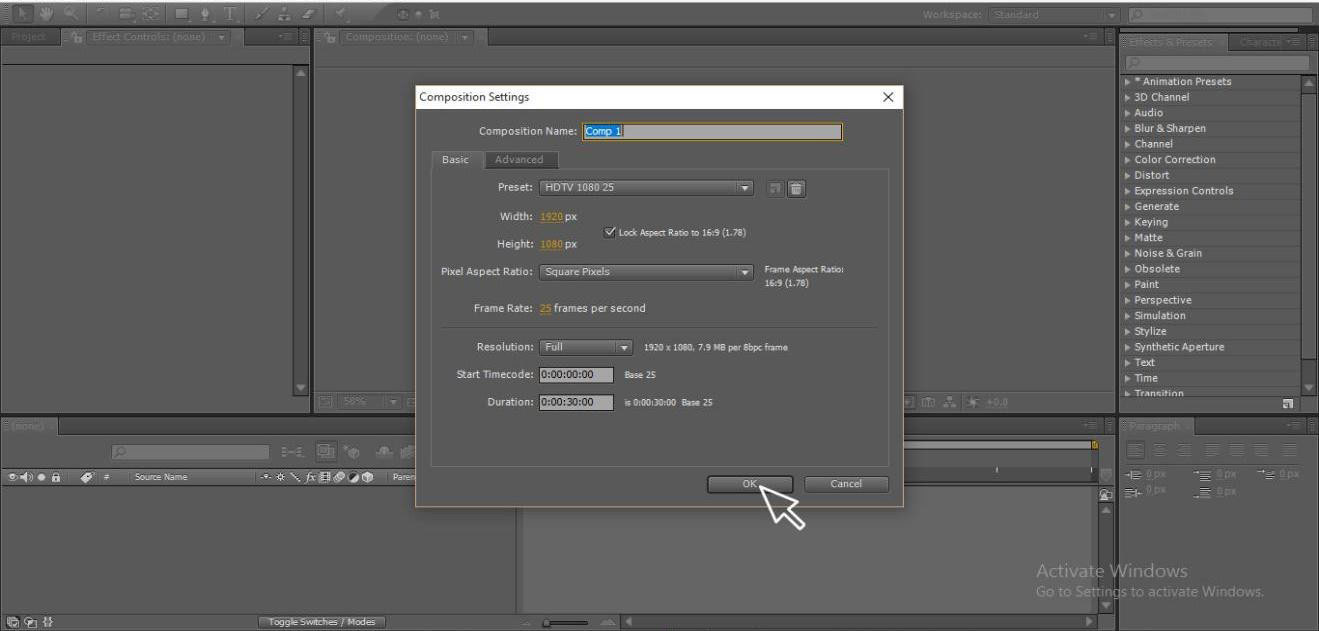
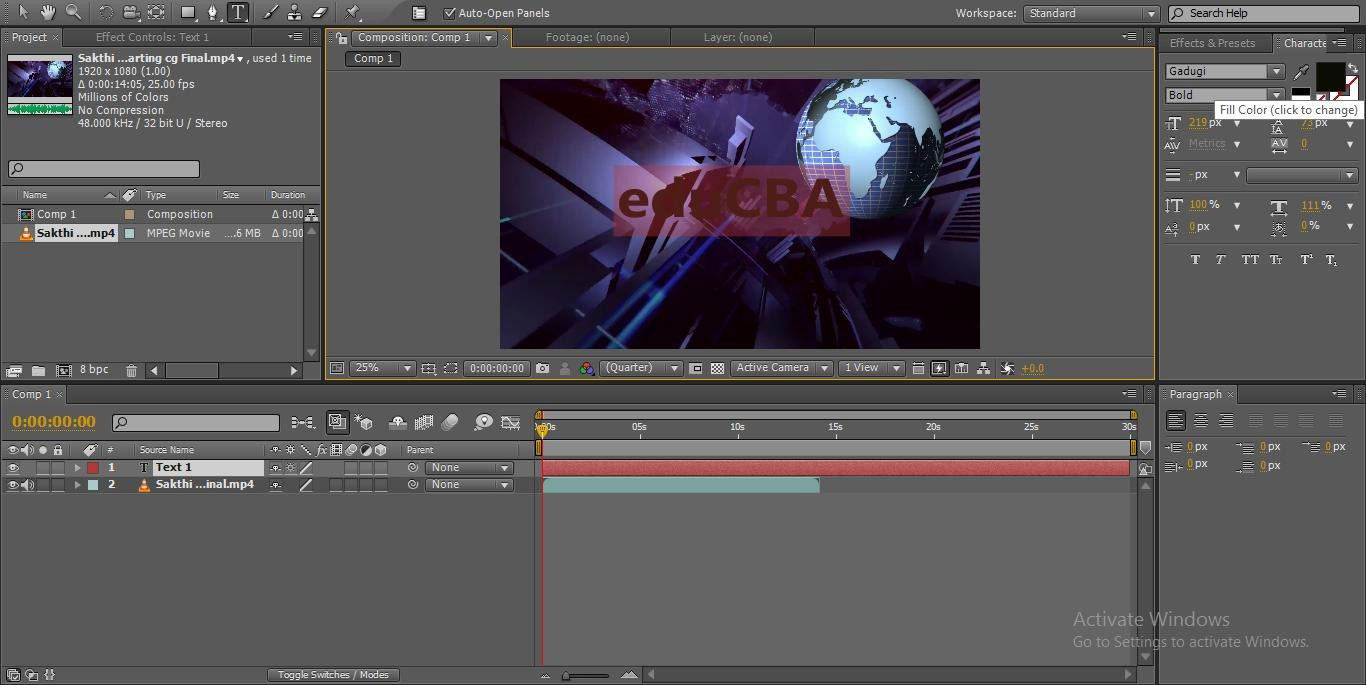
Step 1: Open New Composition.
Step 2: Add footage; it may be a video or image based on your requirement; here, I took a video.
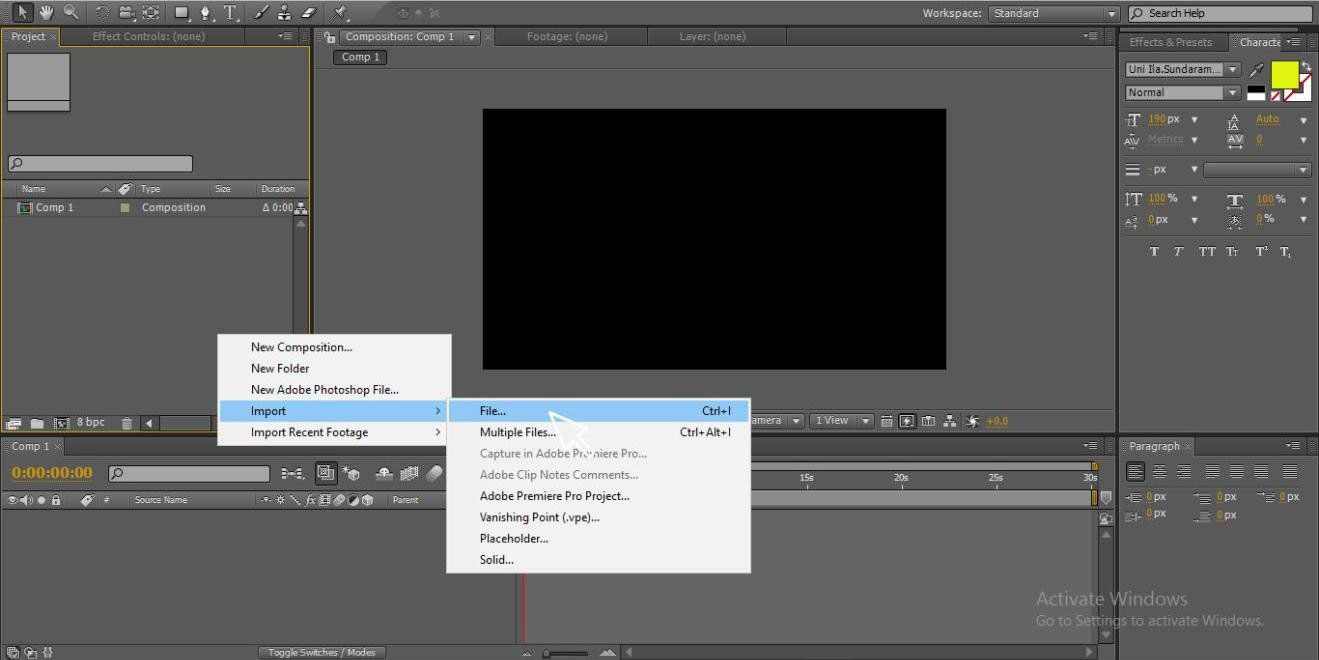
Step 3: Import the footage to the timeline.

Step 4: Create a new text layer
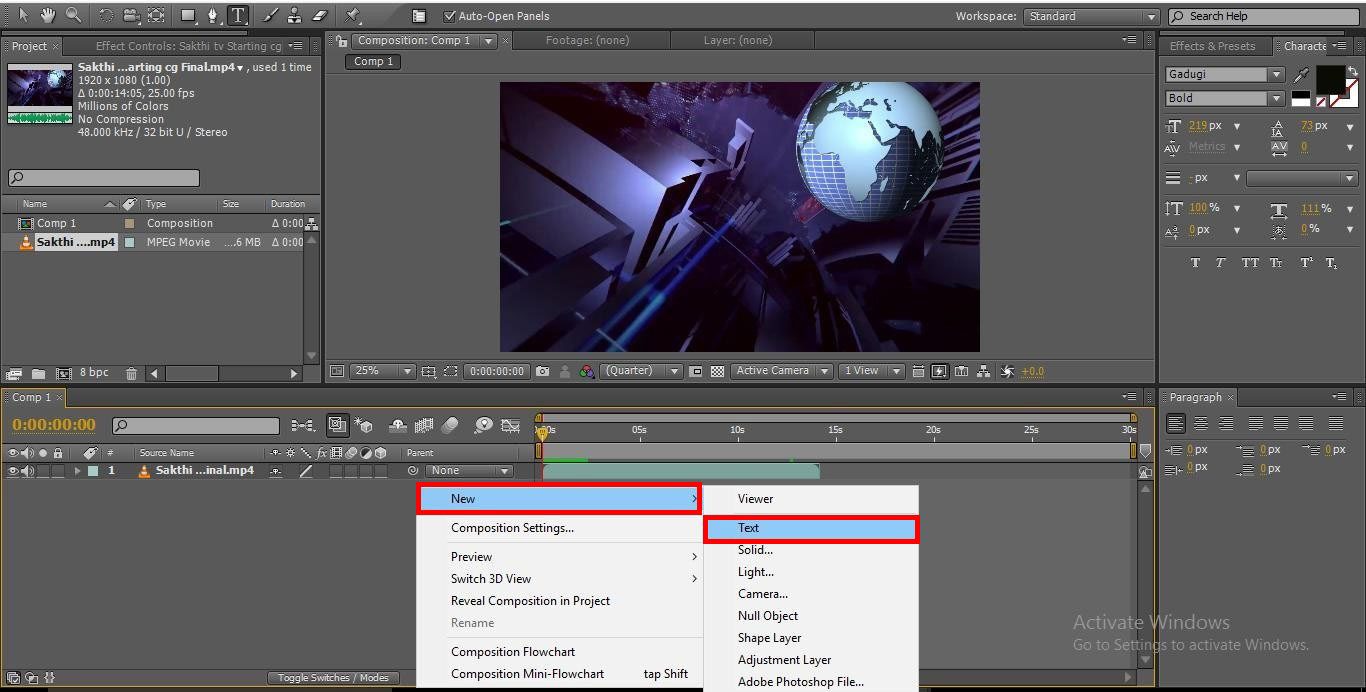
Step 5: We can create a new text layer by selecting the text tool and typing your text.
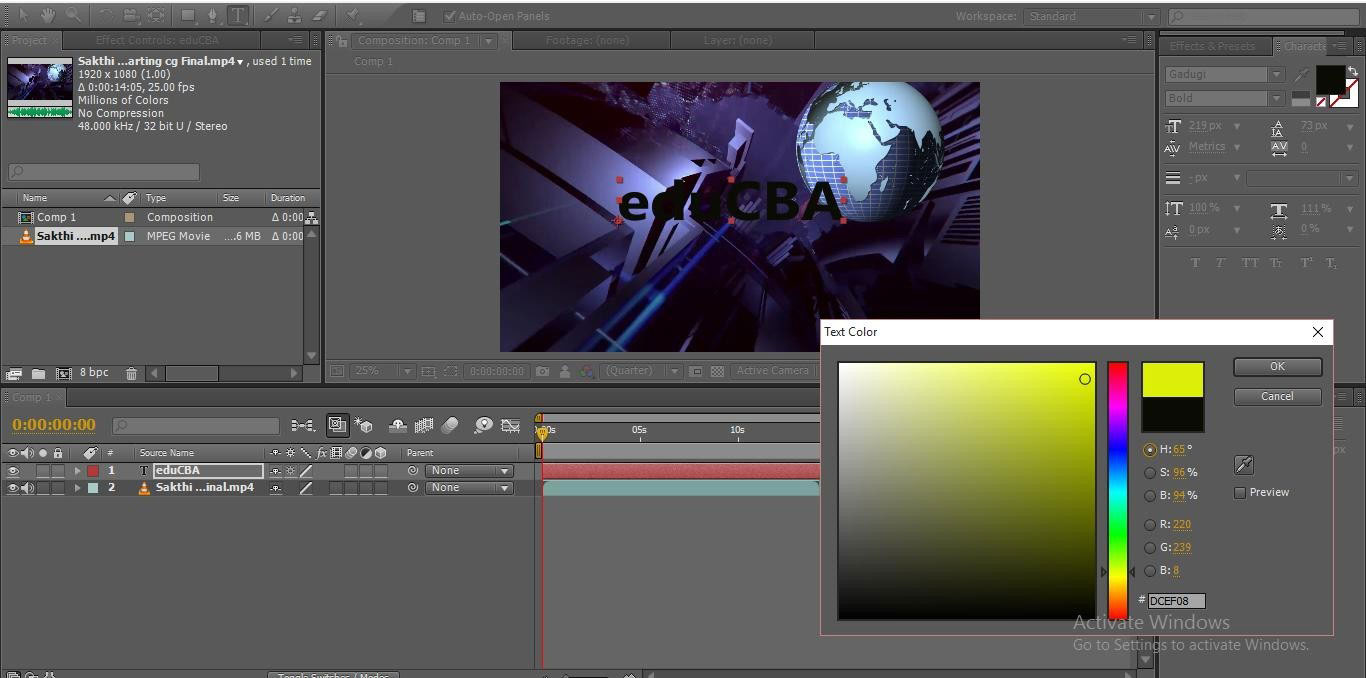
Step 6: Apply a perfect color to the text; color always give attraction to the animation.
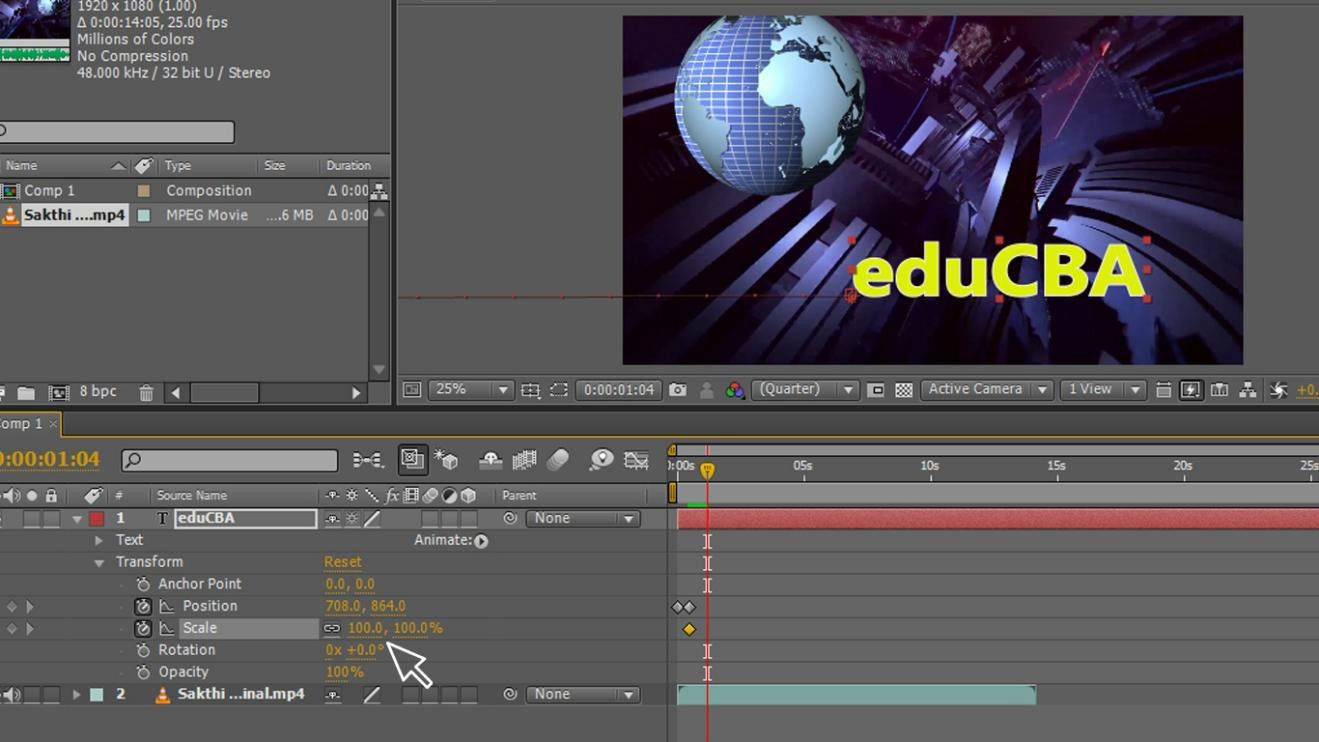
Step 7: We need to animate the text like position, scale, and opacity, to animate this text, we need to use keyframe animation; if we go to the text layer, we can find two sub-menu Text and transform.
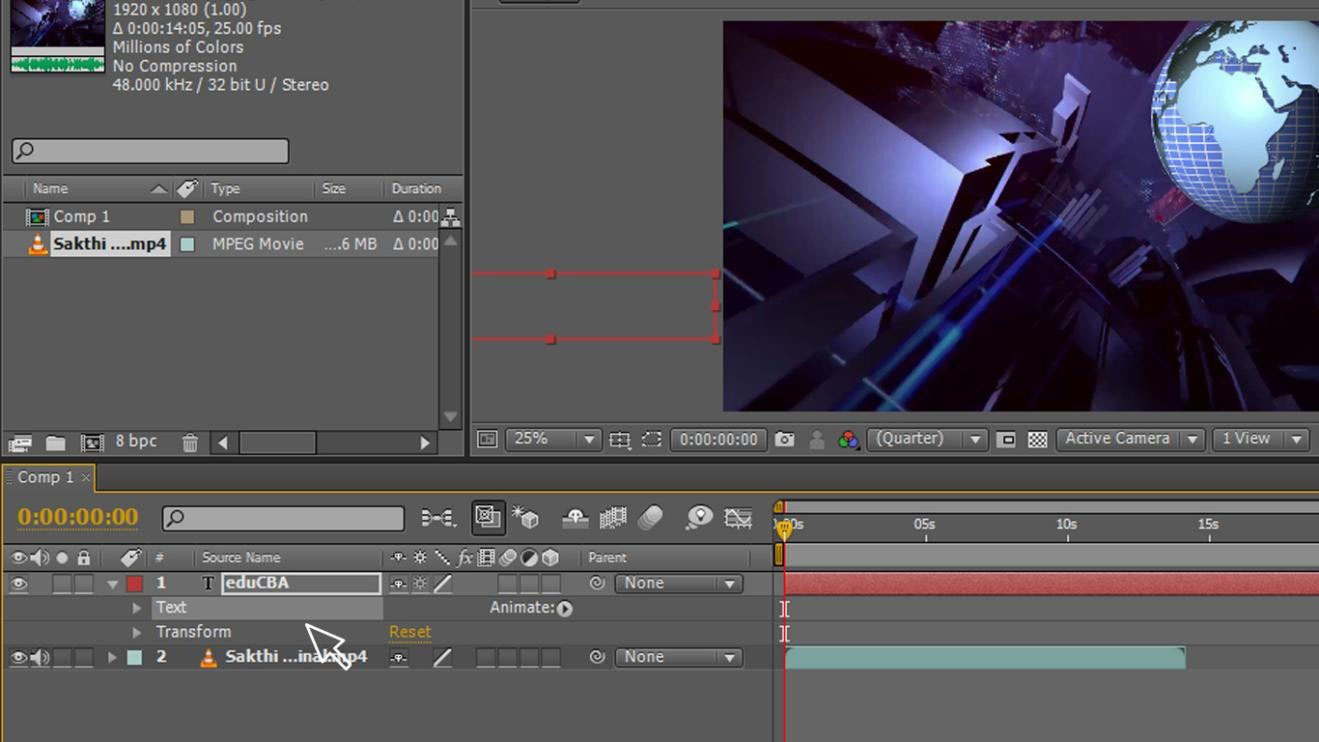
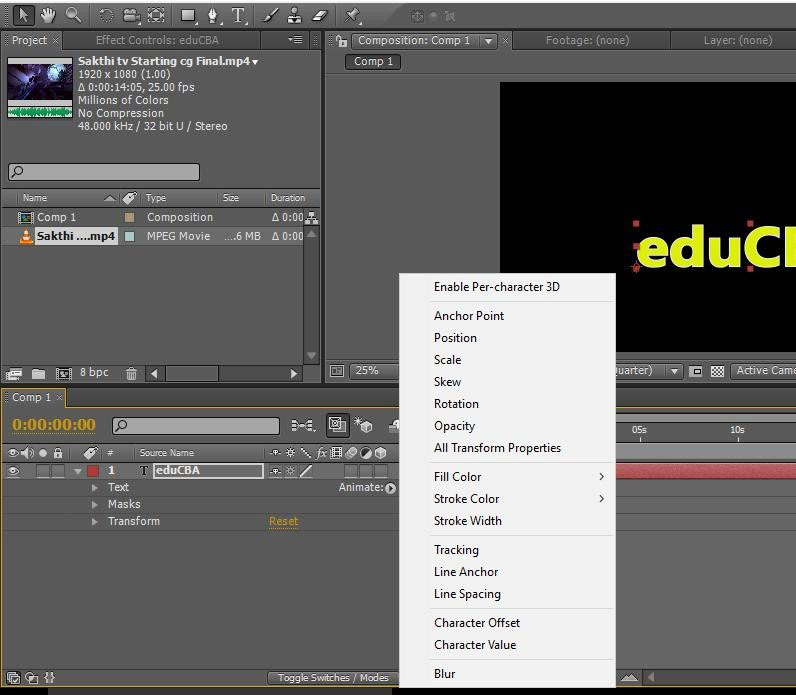
Step 8: In transform, we have a sub-menu of animation options as shown in the image.

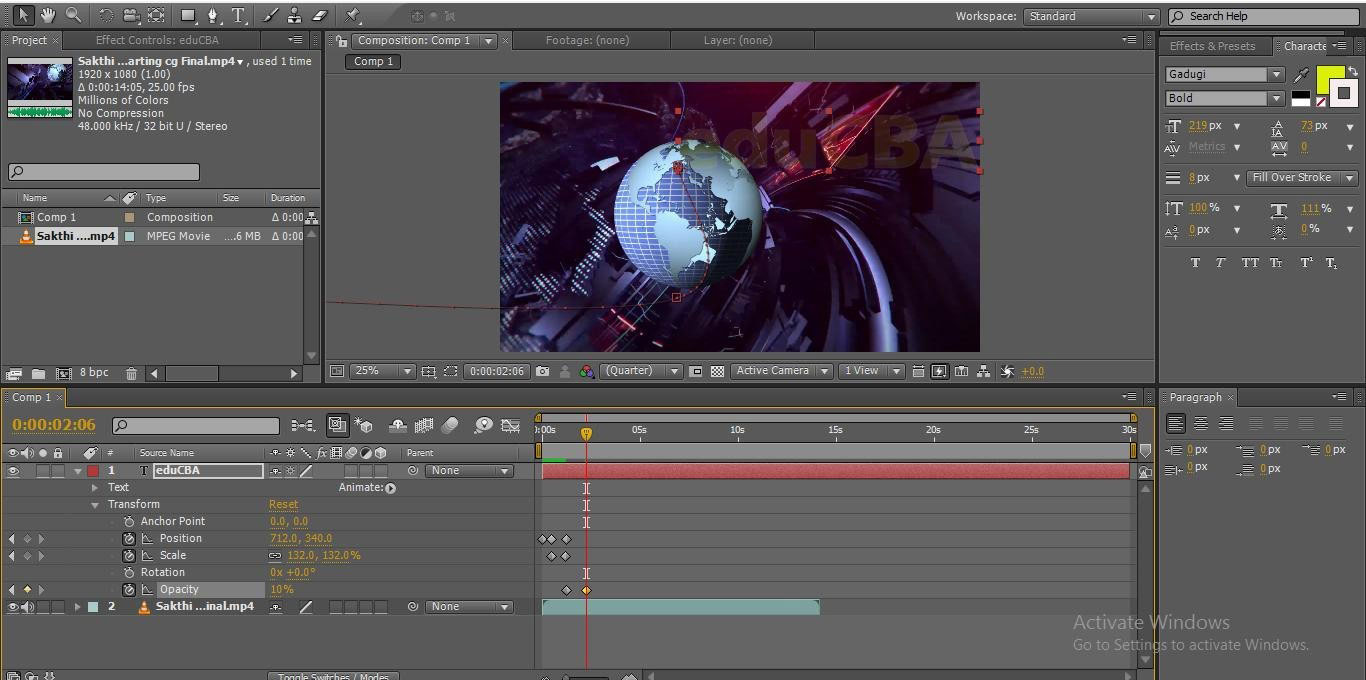
Step 9: Let’s start with position, start the position animation and give a starting keyframe and take the text to the position where to start, change the value of starting point, I take the text to out of the monitor because I like to animate text from outside of the screen.
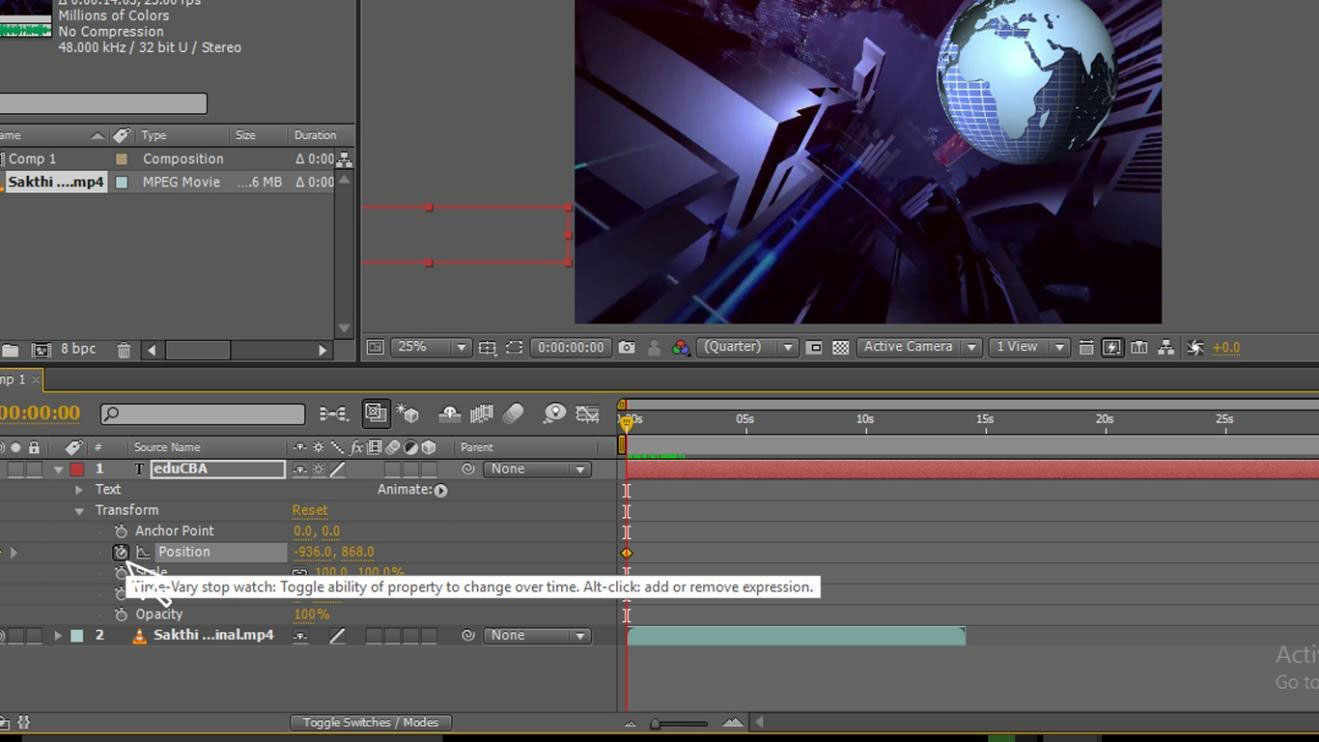
Step 10: Now give your next keyframe, take the text to the next position, automatically a keyframe will be added in the timeline, change the values of the endpoint we can find a path between starting and ending points within this path text animates, in the image you can find two keyframes.

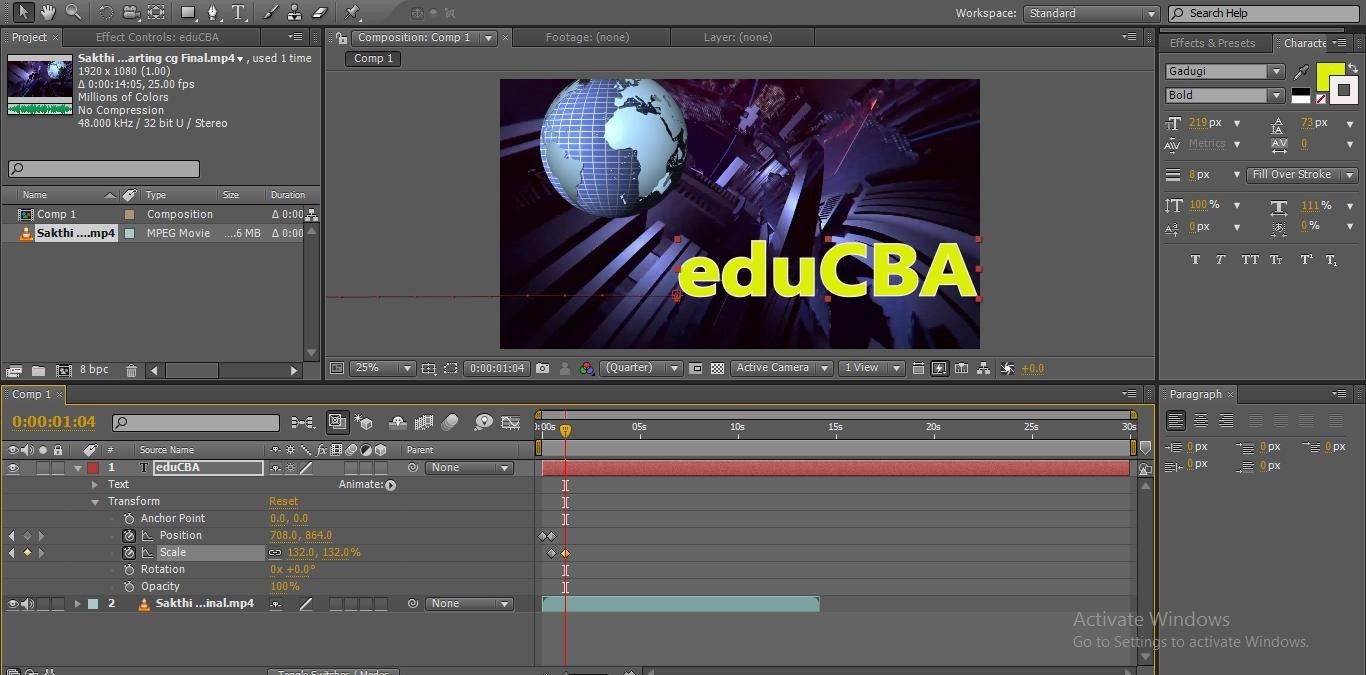
Step 11: Now, l start an animating scale, keep the starting point in the scale, click the animation button in scale and add a keyframe and change the value of the starting point.
Step 12: Keep another point of the scale and increase the value here; we can see the path of animation.
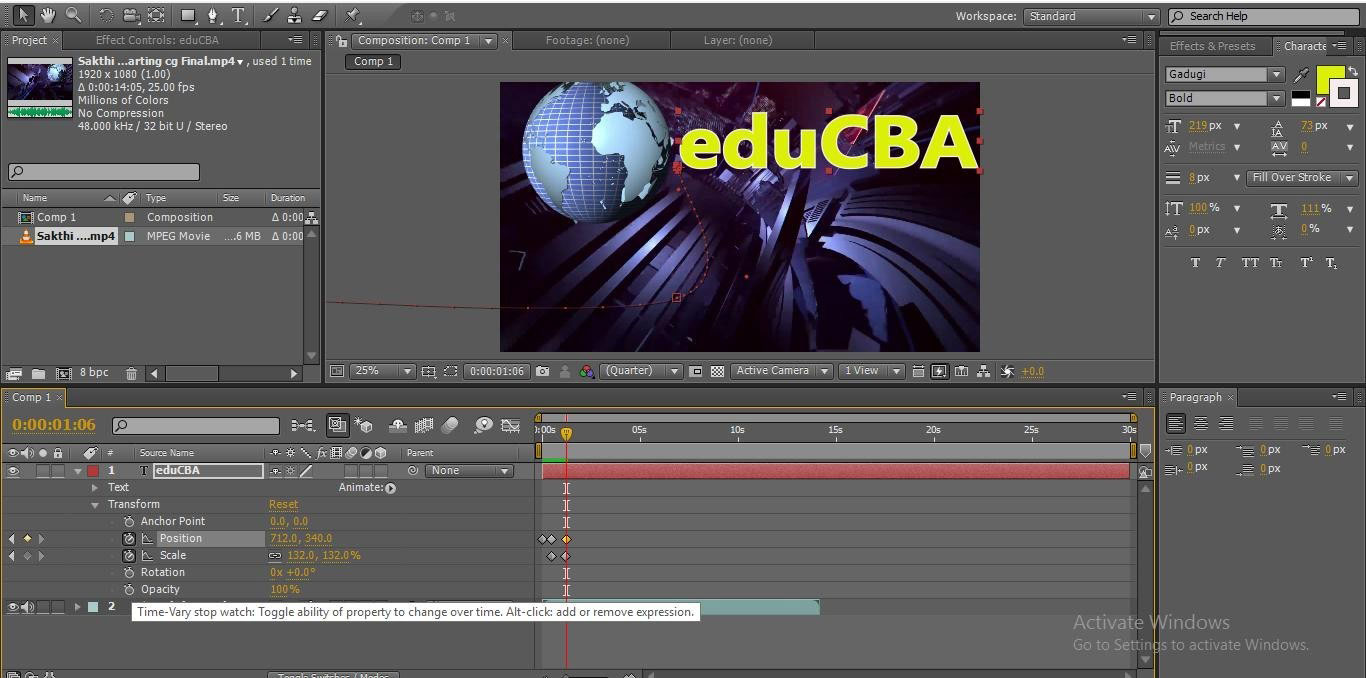
Step 13: Let us try with position again; here, I move the text to up; if we move the text to a keyframe automatically created, we can find the animation path.
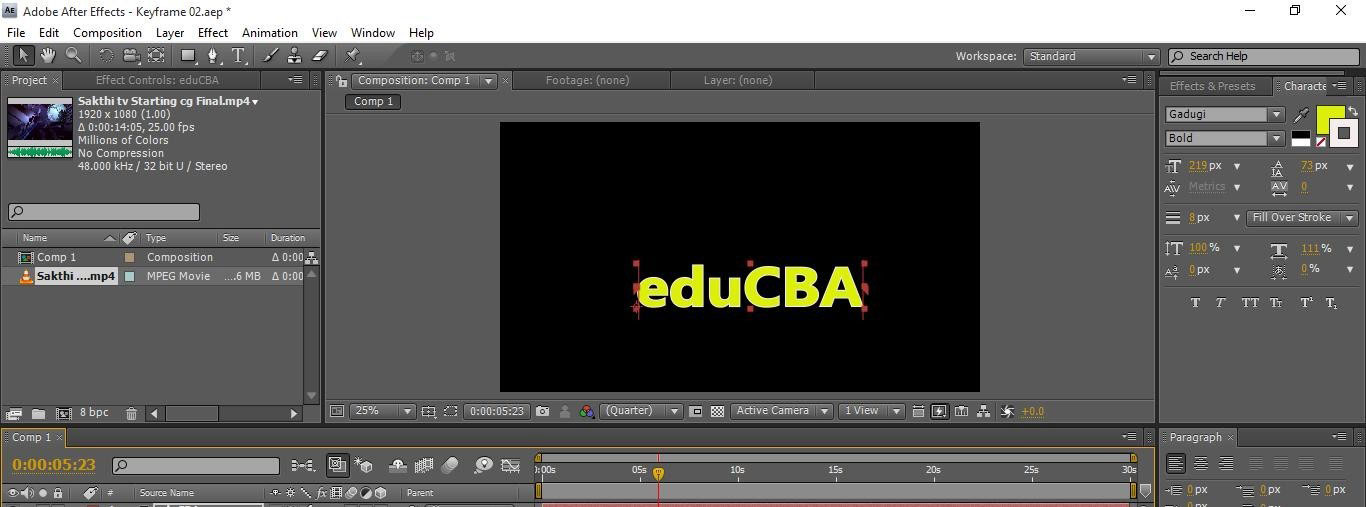
Step 14: We try with opacity and start the animation by clicking the opacity and changing opacity values at the starting point.
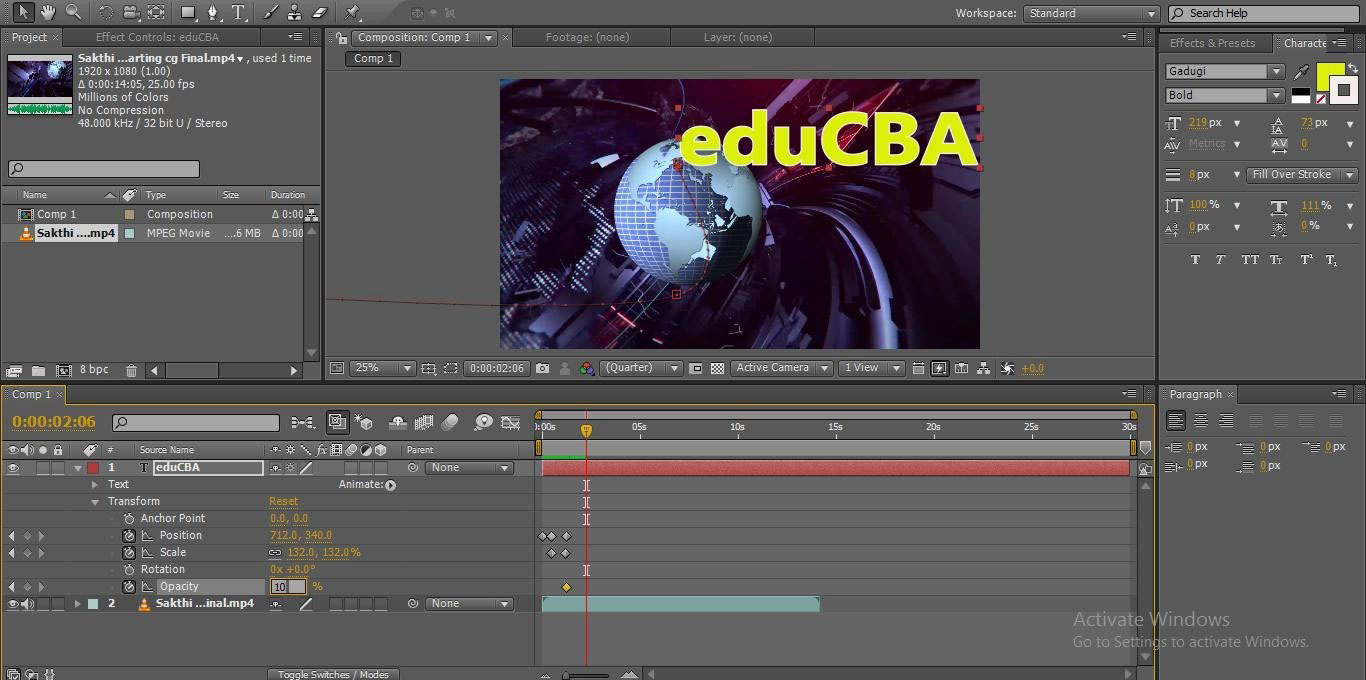
Step 15: Now give another point and change the value of opacity to 0; you can find the text disappear.
In this process, we learn keyframe animation, how to insert keyframe and how to adjust the keyframes, Here I import footage and created text, and I did position animation by adding the keyframes, then we started scaling by creating two keyframes and changing the values later we change opacity values, here we cover position, scale and opacity animations by using the keyframes animation.
Adding Keyframes Using Mask Animation
Let us try with mask path text animation using keyframes:
Step 1: Type your text.
Step 2: Create a new mask to the text, go to the text layer and right-click and select mask; then will get sub-menu in that New Mask; we can use shortcuts as Ctrl+shift+N.

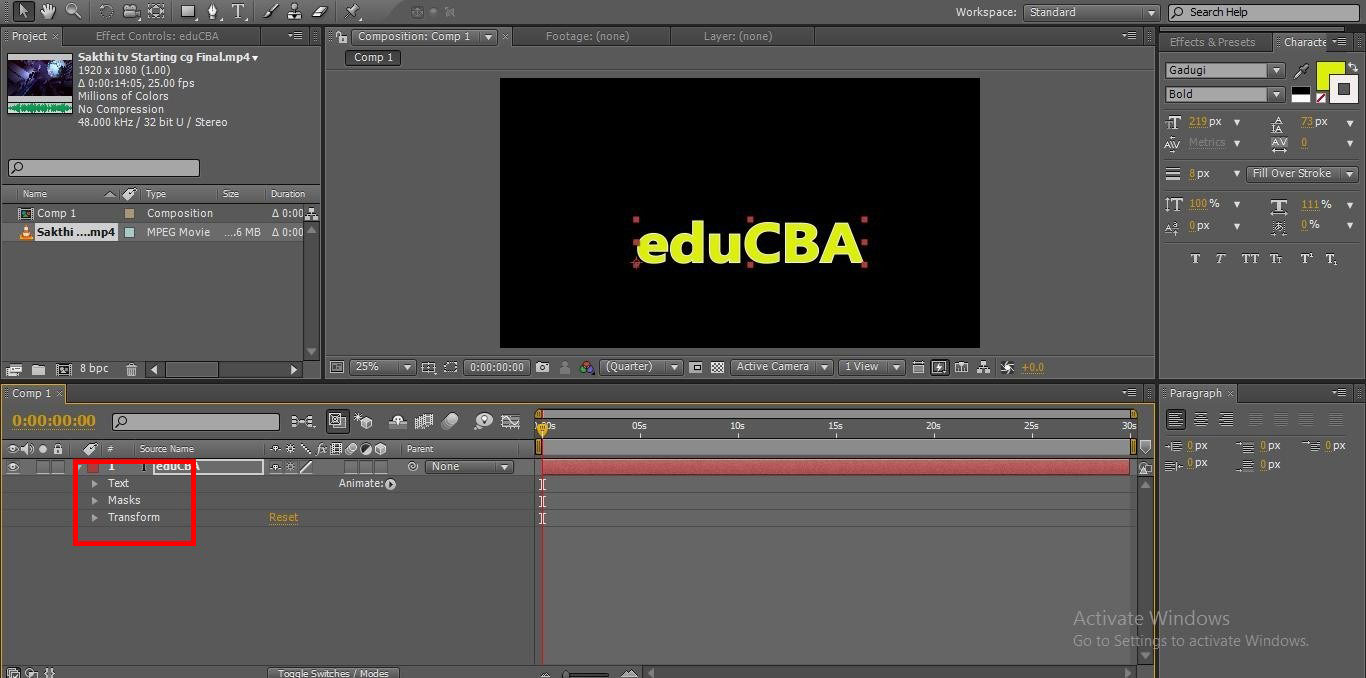
Step 3: We can find three options under text layers.
- Text
- Masks
- Transform
We can find the Animate option on the right, which is a very important and useful option.
Step 4: If we click on animation, we can find some sub-menu animation options; usually, we can do animation between two keyframes, but when we use mask path, it’s the correct method of animating.
Step 5: In this list of animations, we already tried position, scale and opacity, so let’s try with the Tracking method; tracking is also known as kerning; in this process, the text will separate the letters and get the gap between the letters if we change the values.
![]()
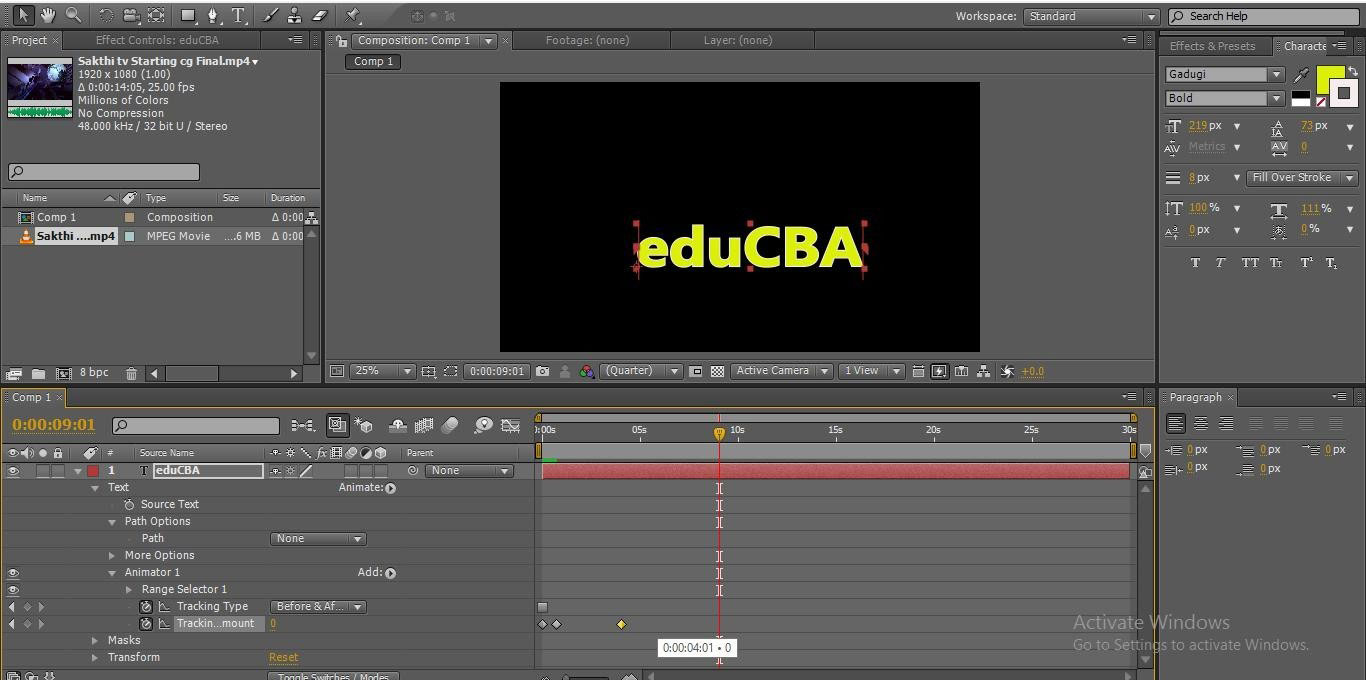
Step 6: If we select the tracking option, we can get the animation options.
- Tracking type in this option, there are 3 types Before & After, Before, After.
- Tracking amount here, we can change the amount of starting and ending places.
![]()
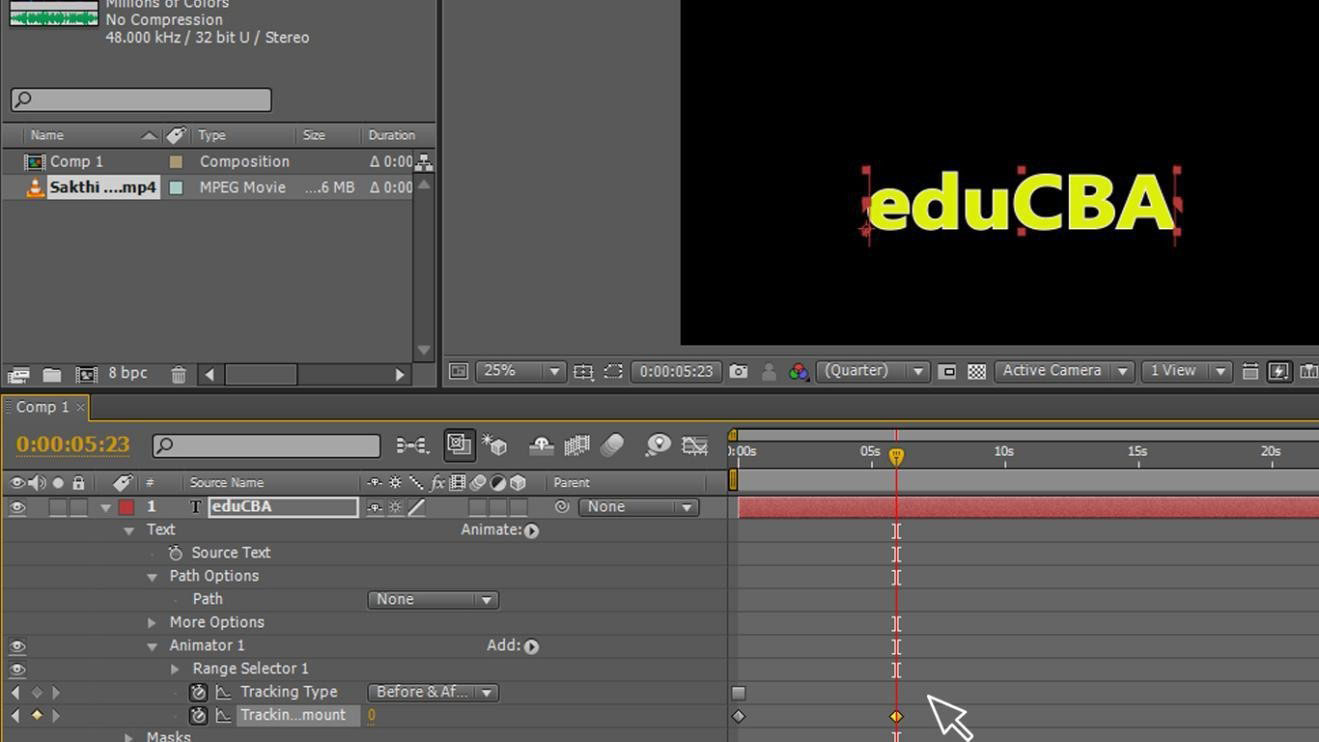
Step 7: Now we will start animating the text, so we give our first starting point, here we increase the amount of tracking up to hide the remaining text except the first letter; I gave 790 as tracking the amount.
![]()
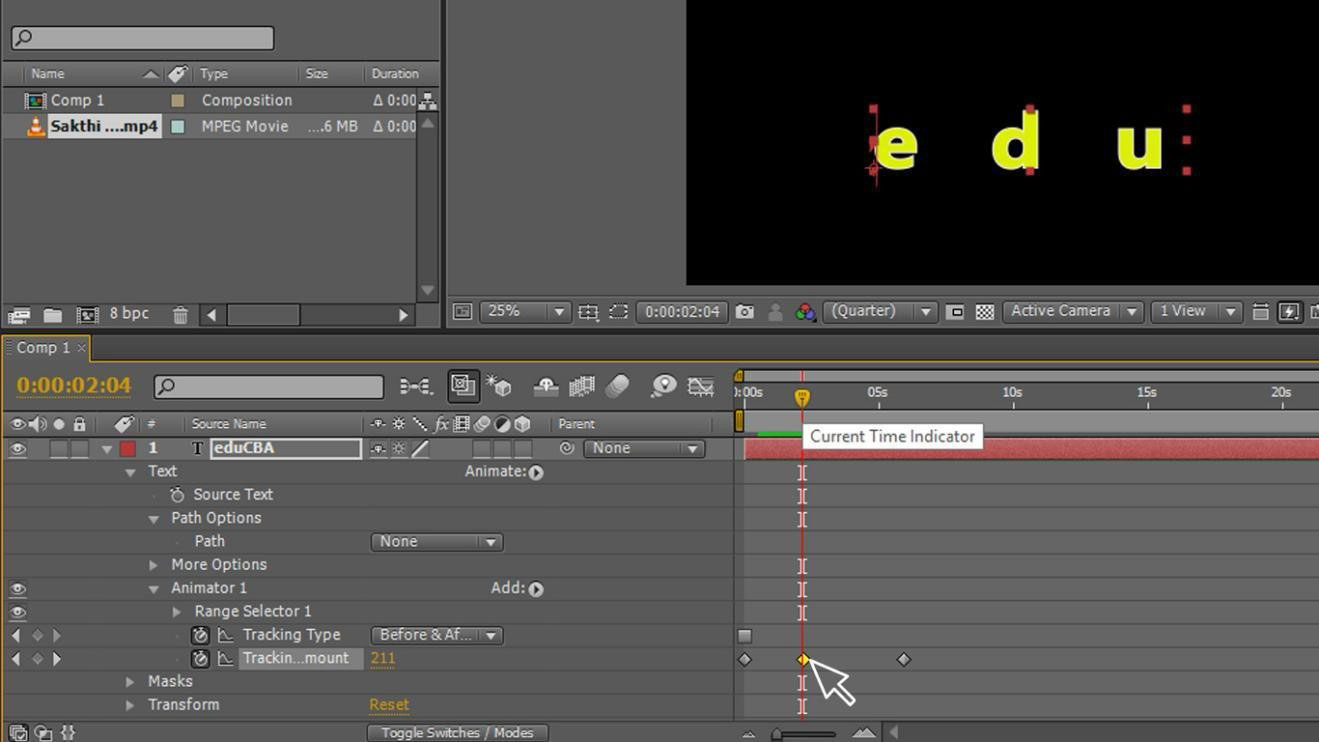
Step 8: We give another point as an end keyframe to complete the animation and give the values 0 to replace the text.
- Here we can find two keyframes starting and ending as we complete the animation, but we can adjust the keyframes to make animation much better, or we can insert another keyframe in between the animation to speed up or make it slow.
Step 9: If you think to do animation better, just add a key point in between and change the values by that we can feel the animation too better.
Step 10: When we feel about moving animation speed up or slow after giving the keyframes, just move the keyframe front or back to change the speed of the animation.

Step 11: Change the keyframe position to speed up the animation.
Conclusion
In this process, we create a text and gave the new mask to the text layer; by that, the text got a separate path, and we selected the animation option in that we go with tracking animation. Then we created two keyframes and changed the values of starting and ending by that text animated, and we insert a new keyframe in the middle to speed the text animation fast in the starting and slow at the end, and we move the keyframes closer to the ramp the animation.
Recommended Articles
This is a guide to Adding Keyframes in After Effects. Here we discuss how to use keyframes, how to insert keyframes and to adjust the keyframes. You can also go through our other related articles to learn more –
