
Introduction to InDesign Margin
InDesign Margin can be explained as a distance from any side of the edge of the document page to the content of the layout design and these contents may have text, text frame, images, and other content design or Margin can also understand as an area which defines typing area with content for a proper layout design. We generally use a margin area for all four sides of the document page that is from the left side edge of the page, the right side edge of the page, from the top of the page, and from the bottom of the page. Left side distance from the edge of page defines as Inside margin in this software and right side distance from the edge of page define as Outside margin. So let us analyze these things of Margin for getting more knowledge about it. In this topic, we are going to learn about InDesign margins.
How to use Margin in InDesign?
We use margins according to the requirement of our layout design and it may be different for all four sides or may be the same for all sides. The very first thing which I will do is to create a new document and for that, I will click on Create New button on the welcome screen of this software or you can simply press Ctrl + N as its shortcut key.
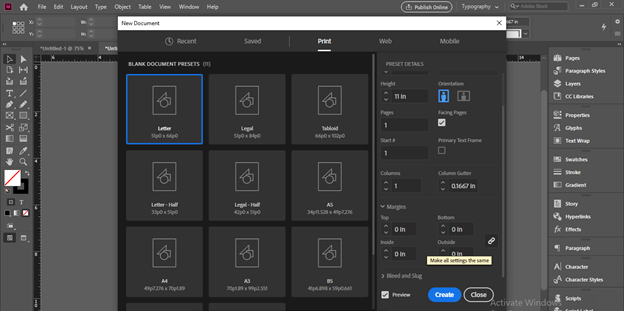
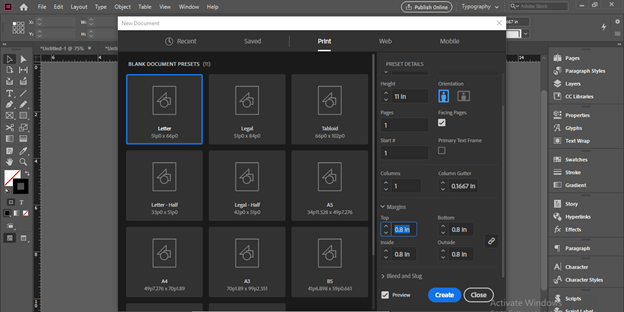
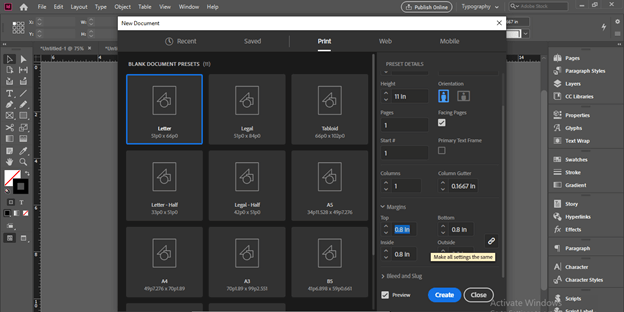
Once we click on this button we will have this dialog box for a new document. Here I will click on the Print preset option and choose the Letter size of the document page. You chose anyone as per your design.
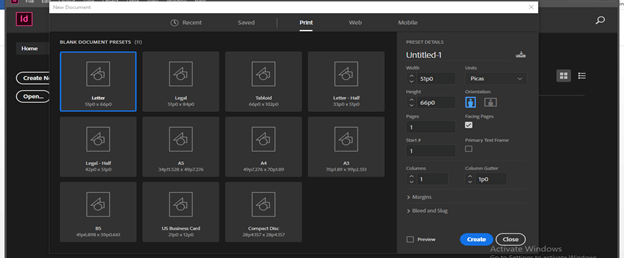
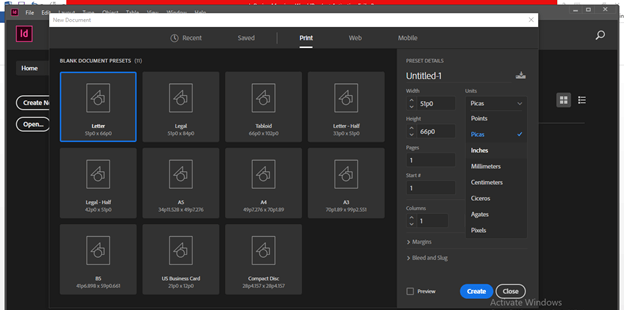
I will change units in Inches from this units list because I want to work in inches. It is in picas by default.
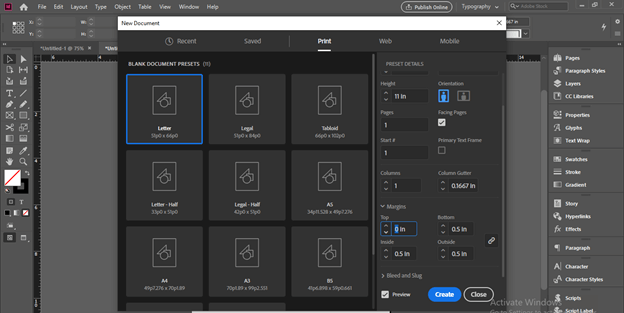
Here in this dialog box we have Margins tab so click on the down arrow button of this tab and you can see there are boxes for different margins such as top, bottom, left (inside), and right (outside). I will change margins values like 0 for this time so that I can explain it to us clearly.
Here is the chain button if it is linked then all four values of margin will change proportionally. Now I will click on Create button without disturbing this chain button because we will discuss it later.
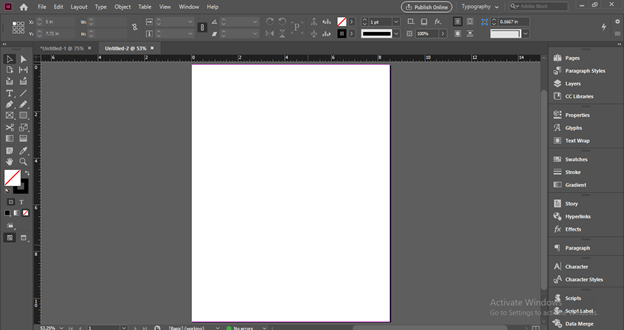
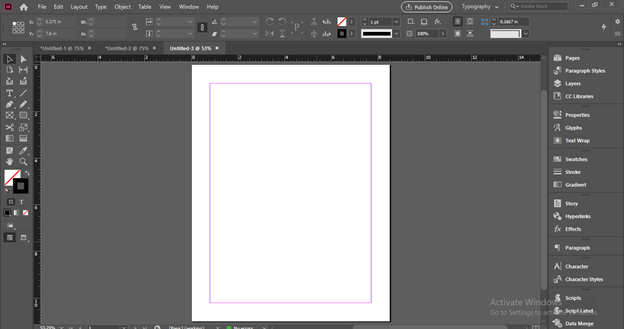
Now you can see there are no margins on the document page area.
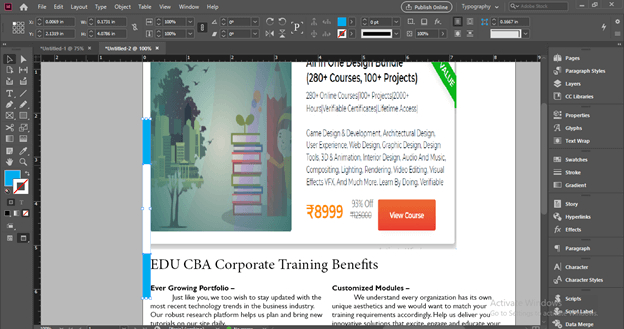
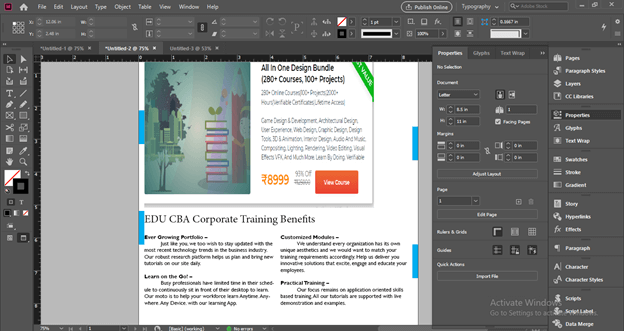
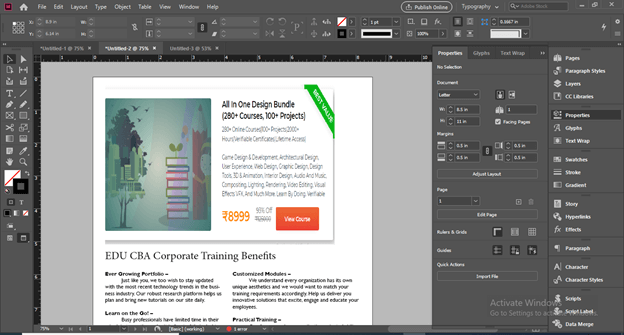
First, I will take this image and for having this image in the document are we can use the Place option of the File menu.
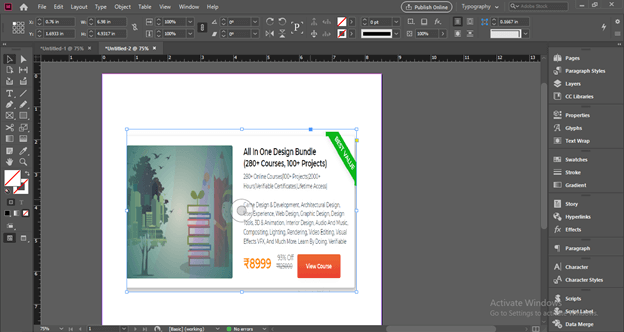
And place it like this from the edge of this document page. I don’t know what distance it is from the edge of the page document where I am placing my image.
I will take some text and adjust them in a good manner then place them at the same distance from the edge of the page as we placed the image before.

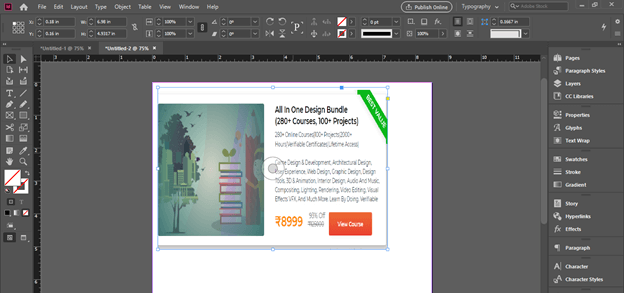
Now let us switch to Preview mode which will show us how our document will look finally. So you can simply press W for it or click on this button on the tool panel.
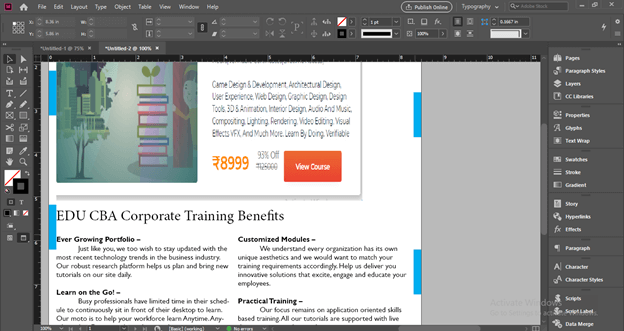
And this distance from the edge of the document page to the content of the document can understand as the margin of the page. The blue marked distance on the left side of the page defines as the Inside margin.
And same as a left side we can mark the same distance on the right side of the page or change this distance according to layout design. The right side distance defines as the Outside Margin. You can do the same for top and bottom margins.
But in place of marking margins manually we can set it with the help of the margins panel. So let us create a new document again and for having a new document go to the New option of drop-down list of File menu and then click on the Document option of the new drop-down list.

And now I will set some margin here before creating my document in the margins box of this dialog box. You can set these margins at the time of taking a new document or set it later too.
We can break this link button and change all fours margins separately as per our requirement. I will give the same values to all four sides’ margins that is 0.8.
Now you can see we have pink and purple lines around this document and this is called margin. Pink lines are used for top and bottom margins and Purple lines are used for top and bottom margins.
What if you want to have margins in an already opened document or want to make change the distance of margins? So you can do it in two ways. First, you can go to the Properties panel of this software which you can find in the left side panels section or in Windows menu of the menu bar.
And this is the Margins values box from where you can change its value or enter any desired value.
If I will add margins value in values boxes then you can see a preview of margins on the document area.

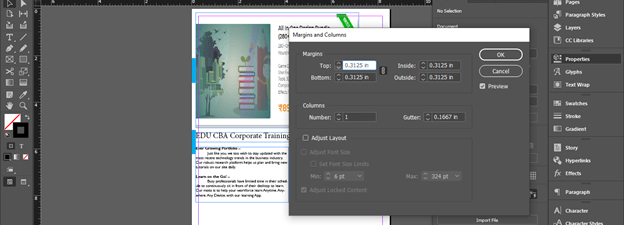
The second way through which you can do this is to go to the Layout menu of the menu bar and click on it. In the drop-down list of it you will find the Margins and Columns option. So click on it.

Once you click on this option you will have a dialog box of Margins and Column and from this box, we can change values of margins the same as we changed from the properties panel. You can see there is also the name of margins given that are Top, Bottom, Inside, and Outside.
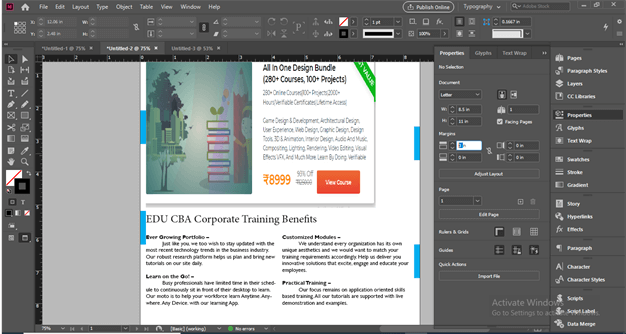
Now I will move my text and align it with the margin so that during printing this layout print will not disturb text content as well as other content of this design.
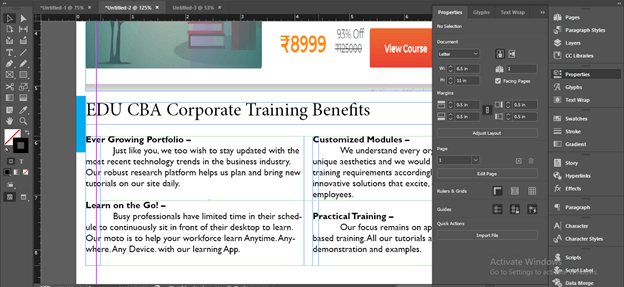
I will do the same for both text and image. You can see it is nice looking design layout now.
Conclusion – InDesign margins
So this way margins can be very helpful for you during designing layout design for different purposes in this software and margins also give you an idea for making your layout printable without losing the content of that design. Thes best part of using margins is that there are no restrictions for using the same margins to all sides.
Recommended Articles
This is a guide to InDesign margins. Here we discuss How to use Margin in InDesign and analyze the things of Margin for getting more knowledge about it. You may also have a look at the following articles to learn more
