


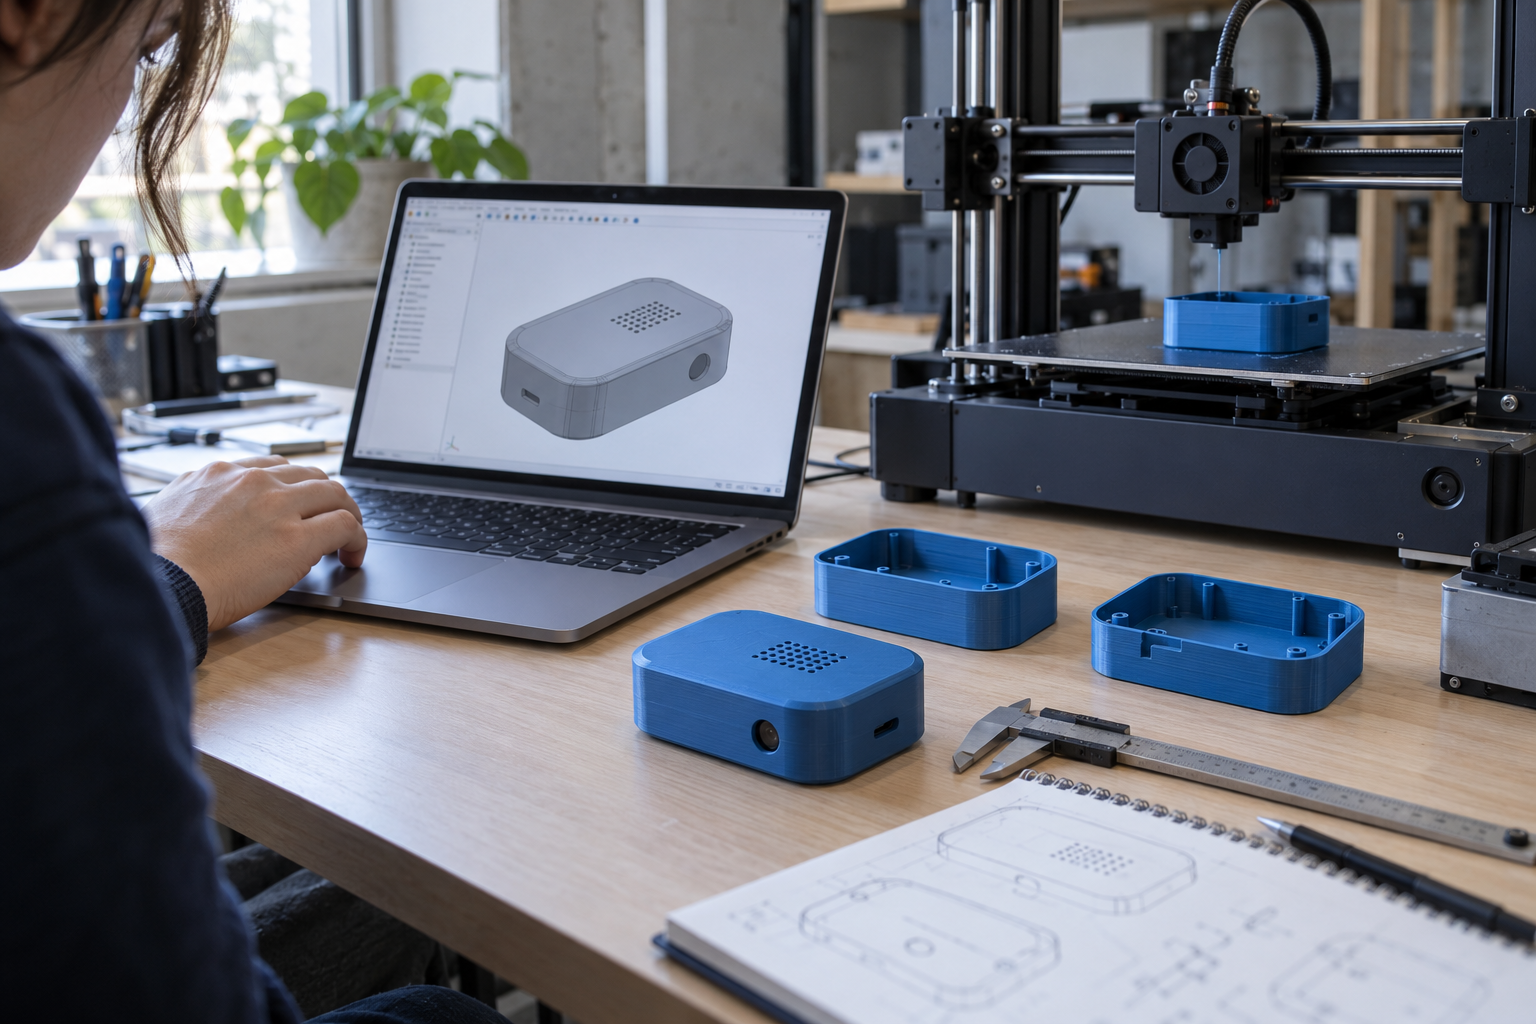
A sensor enclosure can look finished in a CAD rendering and still have a lid that will not close or a connector that is hard to reach. A physical prototype makes these problems visible while the design is still relatively easy to change. For students and small product teams, 3D Printing for Product Prototyping offers a practical way to check dimensions, compare design options, and gather feedback before commissioning tooling or larger production runs.
An early print aims to answer a useful question about the product. This guide follows a hypothetical desk sensor enclosure project to explain how to choose equipment, prepare a model, test the result, and keep a practical record of revisions.
Key Takeaways
- Define what each prototype needs to test before you design or print it.
- Choose equipment and materials according to the project’s requirements.
- Use small test sections to check fit before printing complete assemblies.
- Include preparation, finishing, and failed attempts in cost estimates.
- Document each revision so that testing produces useful design knowledge.
What is 3D Printing for Product Prototyping?
3D printing is a production technique that builds physical objects by adding material in successive layers based on a digital design. For desktop projects, one common approach is fused deposition modeling, or FDM. The printer feeds plastic filament through a heated nozzle and deposits it along paths generated by slicing software.
A prototype made this way can help answer several questions:
- Are the overall dimensions suitable?
- Can a user comfortably reach the controls?
- Do the components fit together?
- Is there enough space for cables and fasteners?
- Which features need further development?
Different questions require different prototypes. A model intended to demonstrate size does not need the same material properties or level of detail as a component meant for repeated mechanical testing.
1. Start With a Testable Design Question
“Print a prototype” is too broad to guide an effective project. A more useful instruction is: “Check whether the enclosure can accommodate the circuit board and allow access to its connector.” Consider a hypothetical student team developing a desk-mounted environmental sensor. Its prototype might test three things: whether the electronics fit, whether the display is readable, and whether the enclosure stands securely.
The team does not need a polished exterior to answer those questions. It needs a model with the correct internal dimensions, display opening, and base. Writing down acceptance criteria makes evaluation more objective. For example, the connector must remain accessible with the lid fitted, and the enclosure must sit flat on the intended surface.
2. Choose Equipment for 3D Printing for Product Prototyping
Choose a printer around the parts you need to test. Compare build volume, material compatibility, maintenance requirements, and access to support rather than relying on headline print speed. When comparing Creality 3D printers, match each model to your intended workflow. A larger build volume helps with one-piece housings, while a compact printer may suffice for small enclosures, test joints, and classroom design exercises.
For example, the Ender-3 V3 SE combines automatic bed leveling and automatic Z-offset adjustment with a direct extruder that supports PLA, PETG, and flexible TPU. These features can simplify setup for introductory projects, although reliable results still depend on suitable models, material profiles, and print preparation. For a shared workshop, plan for scheduling, material storage, and operator training. Verify the first layer before leaving a print to continue, and follow the equipment instructions for installation and use.
3. Design the Model for Its Testing Purpose
Computer-aided design, or CAD, software defines the object’s geometry. A useful prototype model should include the dimensions and features needed for the planned test. For an enclosure, these may include wall thickness, mounting points, connector openings, and clearance around internal components. Parts that must fit together need particular attention. Matching dimensions in CAD do not guarantee a suitable physical fit.
Material behavior, print settings, orientation, and machine calibration can influence the result. Instead of printing the entire enclosure immediately, produce a small section containing the connector opening or lid joint. Adjust that feature after checking it against the actual component. This approach isolates problems and reduces material waste on unsuitable versions.
4. Select Materials According to the Test
Material choice affects how a prototype prints and behaves during evaluation.
| Material | Possible Prototype Use | Main Consideration |
| PLA | Shape studies, presentation models, and early fit checks | Limited suitability for elevated temperatures |
| PETG | Enclosures and parts needing more toughness than a basic visual model | Settings and moisture management affect results |
| TPU | Flexible grips, feet, and cushioning concepts | Requires compatible equipment and suitable settings |
These are starting points rather than universal recommendations. Properties vary between formulations, so check the filament manufacturer’s technical information. The prototype material may also differ from the planned production material. A printed model can validate dimensions but may not resolve questions about long-term durability.
5. Prepare and Inspect the Sliced Model for 3D Printing for Product Prototyping
Slicing software converts the model into printer instructions. It determines the toolpaths and settings used to build the object. Use slicing software such as Creality Print with a profile that matches the printer, nozzle, and filament. A downloaded model is not a ready-to-run print file: orientation, supports, and material settings still need review. Inspect the layer preview around connector openings, mounting posts, and the lid joint.
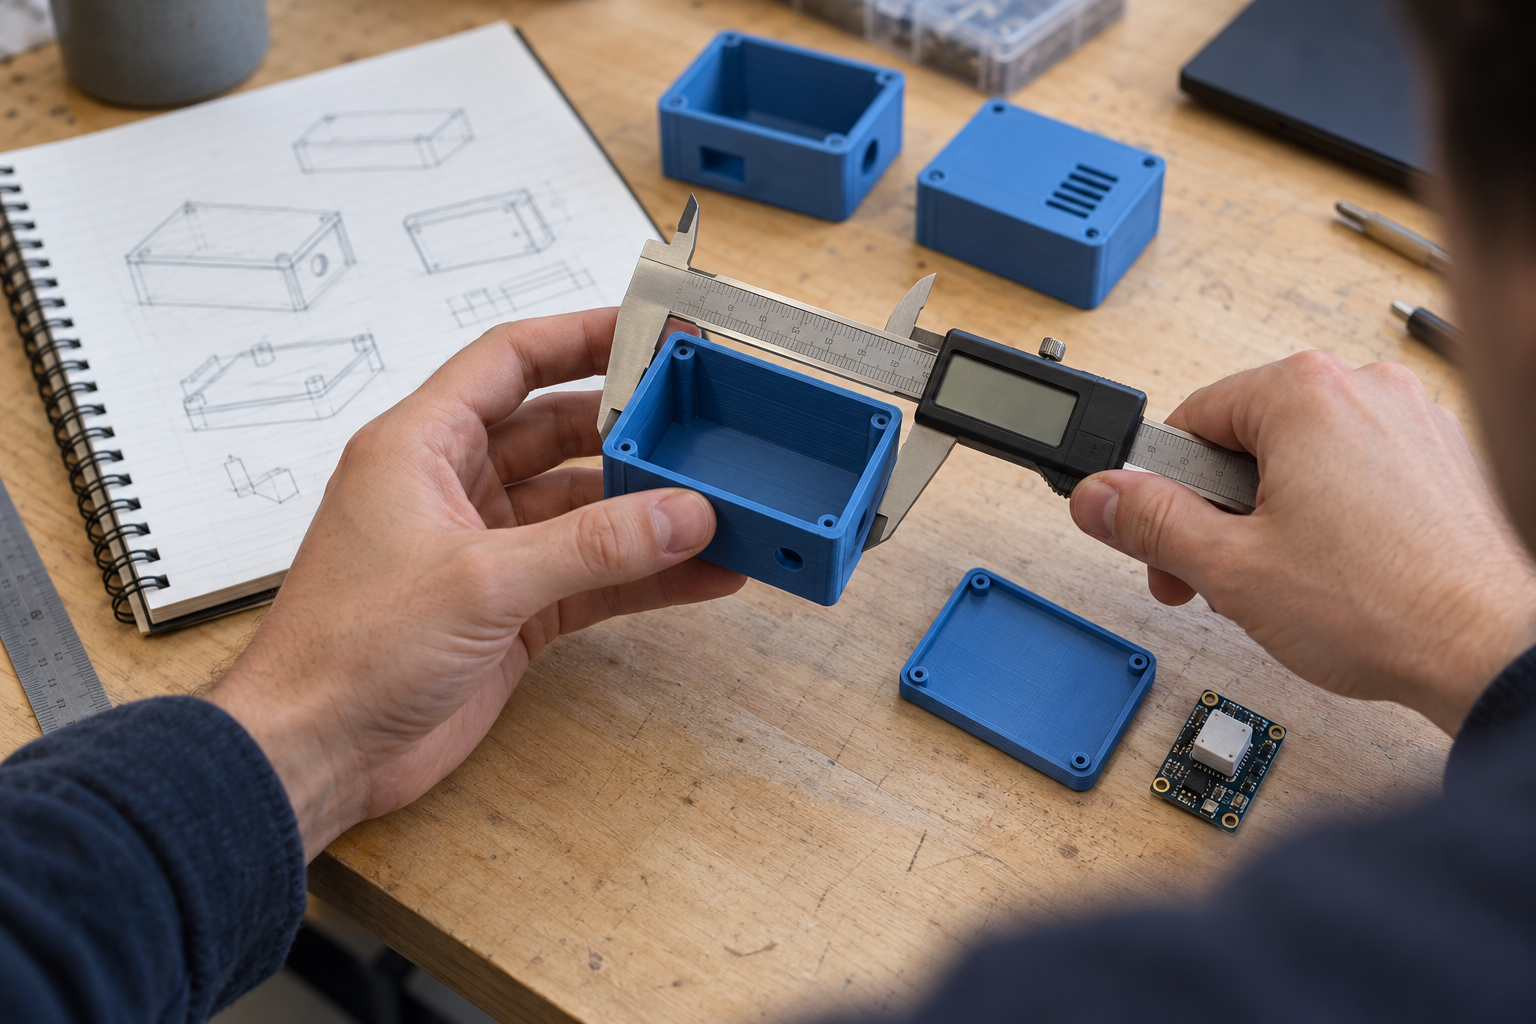
Check that thin features are printable and that supports can be removed without damaging assembly surfaces. Orientation influences mechanical behavior, support placement, and finishing work. Consider how the part will be loaded during its intended test. Change one variable at a time. For a tight connector opening, compare the CAD dimensions with the printed measurement before adjusting settings.
6. Test the Prototype Against the Original Brief
Once the printed part has cooled sufficiently, remove it and complete any required finishing according to the equipment and material instructions. Return to the acceptance criteria. Does the circuit board fit? Can the cable be connected? Does the lid close without interference? Record measurements and observations separately. “The opening is 1 mm too narrow” provides clearer direction than “the connector does not fit well.”
For usability checks, ask someone unfamiliar with the design to handle the prototype. Observe where they hesitate or misunderstand the intended interaction. Keep the scope of the conclusions clear. A successful fit check does not establish electrical safety, weather resistance, or suitability for a production application.
7. Calculate the Cost of Learning
Filament consumption is only part of prototype cost. Teams should also consider machine time, preparation, finishing, failed attempts, and purchased components.
A simple planning model is:
Prototype cost = material + machine operation + hands-on labor + additional components
For an illustrative estimate, assume a print uses 80 grams of filament priced at $25 per kilogram. Its filament cost is $2. If preparation and finishing take 30 minutes at an internal labor rate of $20 per hour, that adds $10 before machine operation and other expenses. This calculation compares alternatives. Printing a small fit-test section may provide the same useful answer as a complete model at a lower cost.
8. Turn Revisions Into a Learning Record for 3D Printing for Product Prototyping
Save each meaningful design revision with a short note explaining what changed and why. A practical record includes the CAD version, material, print profile, orientation, test result, and next action. Photos can show assembly problems that are difficult to describe.
For students, this record strengthens a project portfolio by showing measurement, troubleshooting, and design decisions. For a small business, it helps explain the design to colleagues and manufacturing partners.
Final Thoughts
3D Printing for Product Prototyping makes physical prototypes more accessible, but useful results depend on disciplined testing. For a first enclosure project, start with a connector opening or lid joint, check it against the actual component, and then print the complete housing. Record what each version reveals. This approach helps students build practical design skills and gives small teams clearer evidence for their next development decision.
Recommended Articles
We hope this comprehensive guide to 3D printing for product prototyping helps you create, test, and improve product designs efficiently. Explore these recommended articles for more insights and practical strategies to support your product development journey.