


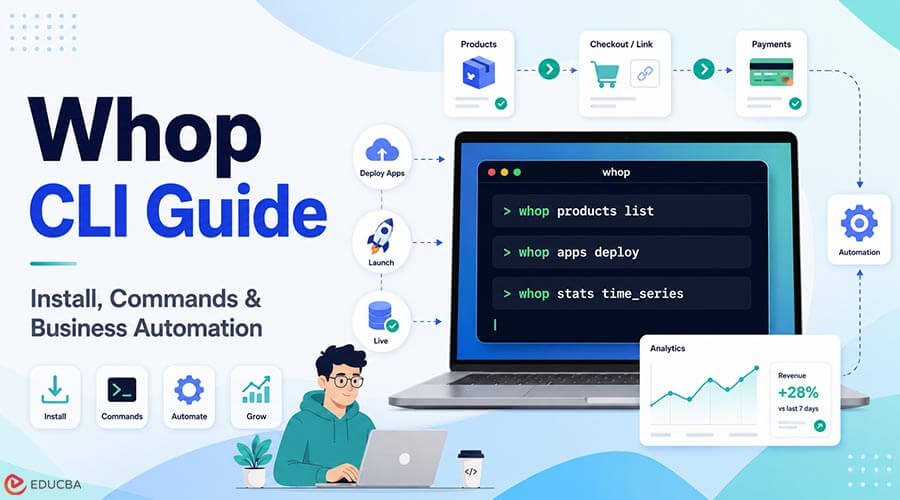
Most business platforms rely on dashboards. You log in, navigate through menus, fill out forms, and save your changes. That works well for occasional tasks, but it quickly becomes repetitive when you are creating products, updating pricing, generating checkout links, or deploying apps multiple times a day.
The Whop CLI changes that workflow. Instead of relying on a browser, it brings the Whop platform directly into your terminal, allowing you to manage products, plans, analytics, app deployments, and more using simple commands or automated scripts.
Whether you are a developer, creator, or business owner looking to automate repetitive tasks, this guide walks you through installing the Whop CLI, using its core commands, deploying applications, and integrating it into your workflow.
What is Whop CLI?
Whop CLI is the official command-line interface for the Whop platform. It provides direct access to Whop’s API via terminal commands, allowing you to manage your business without constantly switching between browser tabs.
Instead of clicking through the dashboard, you can perform actions such as:
- Listing and managing products
- Creating pricing plans
- Generating checkout links
- Viewing analytics
- Deploying applications
- Accessing logs
- Automating workflows with scripts
- Integrating AI agents and CI/CD pipelines.
Because every action is available through commands, repetitive work becomes faster and easier to automate.
Who Should Use Whop CLI?
The CLI is particularly useful for:
- Developers building Whop apps
- SaaS founders managing subscriptions
- Digital product creators
- Online course businesses
- Agencies managing multiple clients
- Teams that automate deployments or reporting.
If you only make occasional changes through the dashboard, you may not need the CLI. However, if you perform the same tasks repeatedly or want to automate business operations, it can save a significant amount of time.
Installing Whop CLI
Whop CLI supports multiple installation methods depending on your operating system and preferred package manager.
Install on macOS or Linux
curl -fsSL https://whop.com/install.sh | shInstall with Homebrew
brew install whopio/tap/whopInstall with npm
If you already use Node.js, install the CLI globally:
npm install -g @whop/cliVerify the Installation
Confirm everything installed correctly by running:
whop --versionSigning In
Launch the CLI by entering:
WhopThe CLI automatically opens your browser for authentication. Once you have signed in, you will be prompted to choose the Whop business you want to manage.
If you operate multiple businesses, you can switch between them later using:
whop quickstartUnlike many developer tools, interactive use does not require manually creating or copying an API key. Your authenticated session is used automatically.
Understanding the Command Structure
One of the biggest strengths of Whop CLI is its consistent command format.
Almost every command follows this pattern:
whop <resource> <action>Common actions include:
| Action | Purpose |
| list | Display available resources |
| get | Retrieve details for a resource |
| create | Create a new resource |
| update | Modify an existing resource |
| delete | Remove a resource |
Once you learn this structure, most commands become intuitive.
Managing Products
To view all your products, run:
whop products listNeed machine-readable output for automation or reporting?
whop products list --format jsonJSON output works well with tools such as jq, scripts, and CI/CD pipelines.
Creating Pricing Plans and Checkout Links
Creating pricing plans follows the same command pattern.
To view available options:
whop plans create --helpAfter creating a pricing plan, generate a checkout configuration:
whop checkout-configurations create --plan_id plan_xxxThe command returns a preconfigured checkout URL that you can immediately use in:
- Landing pages
- Marketing emails
- Social media campaigns
- Documentation
- Product launches
Viewing Business Analytics
Business metrics are also accessible through the terminal.
For example:
whop stats time_seriesThis command allows you to retrieve reporting data for use in dashboards, automated reports, or custom business intelligence workflows.
Deploying Whop Applications
If you are developing applications on the Whop platform, deployment is one of the CLI’s most valuable features.
Deploy your app with:
whop apps deployWhen executed from a compatible Whop-ready Vite project, the CLI performs several tasks automatically:
- Validates the project
- Builds the application
- Runs type checking
- Uploads the build
- Deploys it to production
If a project has not been created yet, the CLI can scaffold one for you.
Deploy a Preview Build
Want to test before releasing?
Use:
whop apps deploy --skip_promoteThis uploads a preview build without publishing it.
When you are ready to go live:
whop apps builds promote <build_id>This separates testing from production deployment while keeping the workflow entirely within the terminal.
Monitoring Application Logs
Debugging is another area where the CLI shines.
To view recent errors:
whop apps logs --level error --since 1hSearch logs for a specific keyword:
whop apps logs --query "checkout"The CLI provides searchable logs covering console output, exceptions, and failed requests, making it easier to diagnose issues without leaving your development environment.
Using Whop CLI with AI Agents
One of the most interesting features of the Whop CLI is its support for AI-powered workflows.
Running:
whop --llmsproduces a machine-readable description of the CLI’s available commands. This helps AI assistants and coding agents understand and use the platform more easily.
You can also connect the CLI to supported clients using:
whop mcp addand generate reusable capabilities with:
whop skills addThese features make the CLI particularly useful for developers building AI-assisted automation.
Using API Keys for Automation
Interactive login is ideal for day-to-day use, but automated environments require API authentication.
Set your API key as an environment variable:
WHOP_API_KEY=whop_xxx whop products list --format jsonThis approach is well suited for:
- Continuous integration pipelines
- Scheduled jobs
- Server-side scripts
- AI agents
- Automated reporting
API keys can be created in the Developer → API Keys section of your Whop dashboard.
Benefits of Using Whop CLI
Compared with relying solely on the web dashboard, Whop CLI offers several advantages:
- Faster execution of repetitive tasks
- Automation through scripts
- Easy integration with development workflows
- JSON output for external tools
- Built-in deployment support
- Searchable application logs
- AI agent compatibility
- Reduced manual clicking.
For developers and technical teams, these improvements can significantly increase productivity.
Is Whop CLI Worth Using?
If you primarily manage your business through occasional dashboard updates, the web interface remains a straightforward option.
However, if you repeatedly create products, deploy applications, generate checkout links, or collect business data, the Whop CLI can dramatically streamline your workflow. Because every command can be scripted and automated, routine tasks become reproducible, faster, and less error-prone.
A good way to explore its capabilities is to install the CLI, create a test product, generate a checkout link, and then remove it. In less than fifteen minutes, you will have a practical understanding of how the tool fits into your workflow.
For advanced commands and the complete command reference, consult the official Whop CLI documentation.
Recommended Articles
We hope this guide helps you understand how to use the Whop CLI to simplify business management and automate everyday tasks. Explore these recommended articles for more insights into developer tools, API automation, command-line workflows, app deployment, and business automation.