
Introduction to Plexus After Effects
After Effects is one of the video editing software that the graphics professionals use for a different type of editing work; in this software, we can increase its working preformation using a different type of plugin. Plexus is one of the important plugins of After Effects software. You can understand the Plexus plugin as a package of different types of parameters through which you can make a high professional animation for your project work. Here in this article, I will introduce you to the Plexus plugin and also tell you how to handle its parameters with an example.
How to Use Plexus in After Effects software?
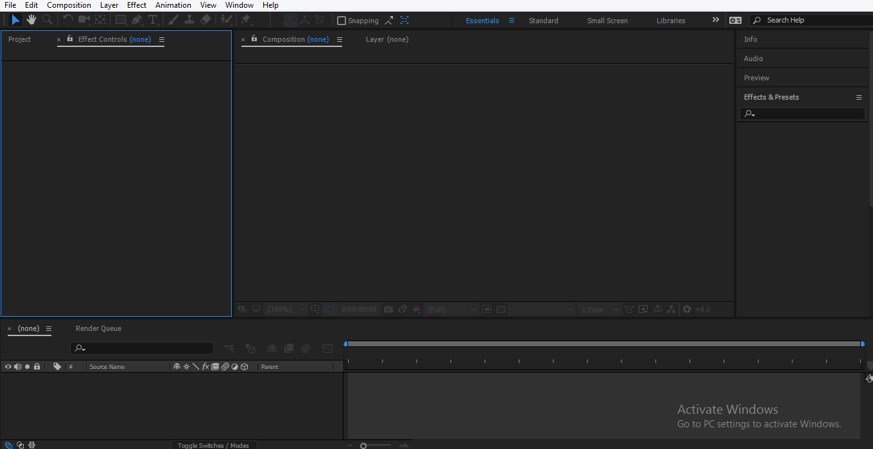
Step 1: Here, we will discuss Plexus in very easy steps with an example but for your better understanding throughout this article, let us have a quick look at the working screen of this software. The working screen of this software is divided into some sections for making it user friendly. At the top two ribbons are the Menu bar and Toolbar; at the middle of the working screen, three main panels are Project Panel at the left side, Composition window at center, and Parameters panels at the right side, at the lower end of this software there are two panels that are Layer Panel at left end and Timeline panel at right end.
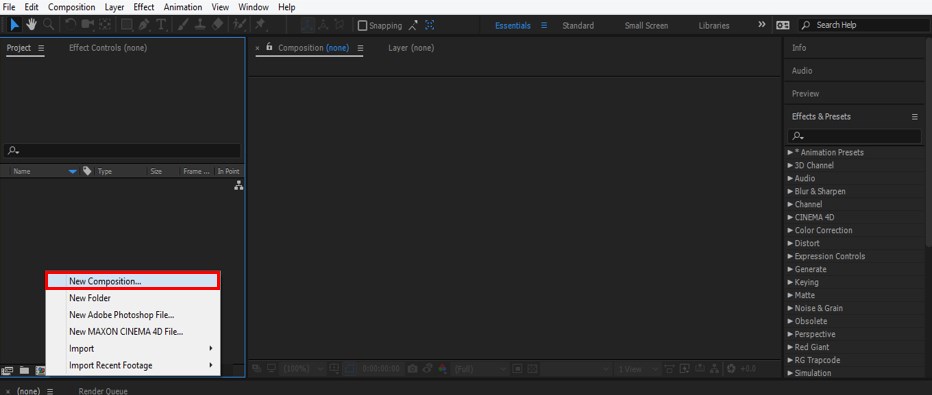
Step 2: Let us now have a new composition for starting our learning. For new composition, you can go through three options: first, go to the Menu bar at the top of the working screen and click on the File menu, then click on the ‘New’ option of the drop-down list.

Step 3: The second option is to click on this ‘Create new composition’ tab of the Project Panel for a new composition.
Step 4: The third one is to make right-click anywhere in the Project Panel section with the help of the mouse’s right button for a new composition.
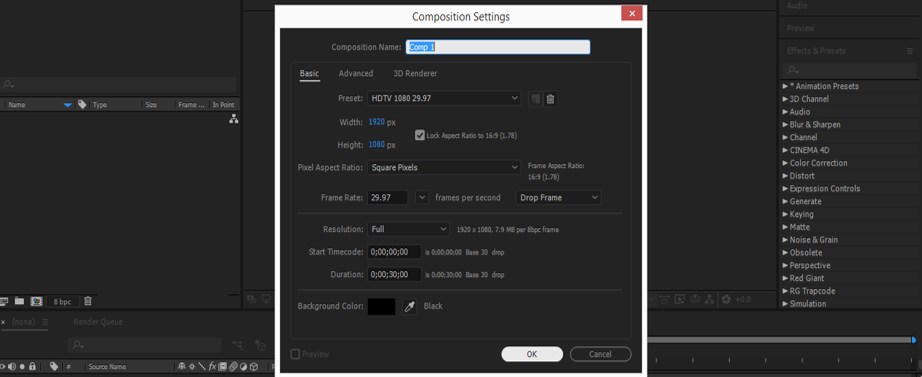
Step 5: A composition setting dialog box will be open. Make your desired settings here according to you and press the Ok button of this dialog box.
Step 6: Now go to the Layer section of this software at the bottom end of the working screen and make right-click anywhere in this section with the help of the mouse’s right button. A drop-down list will be open, go to the ‘New’ option of this drop-down list and choose the Solid option from the new drop-down list for making a solid layer.

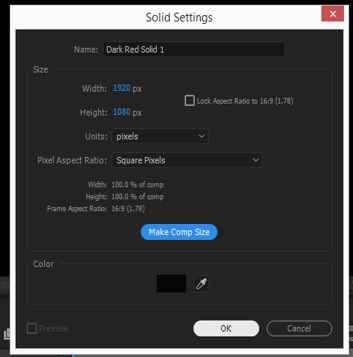
Step 7: A Solid setting box will be open. Name it according to you, click on the ‘Make Comp Size’ option, and then press the Ok button of this dialog box.
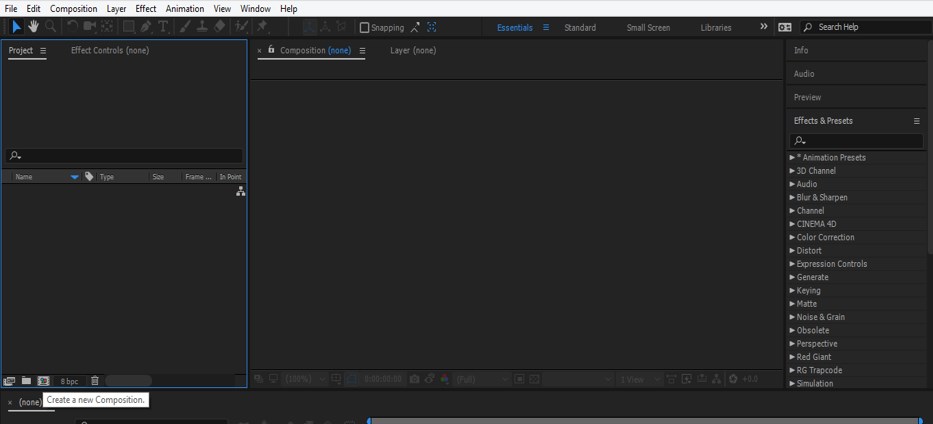
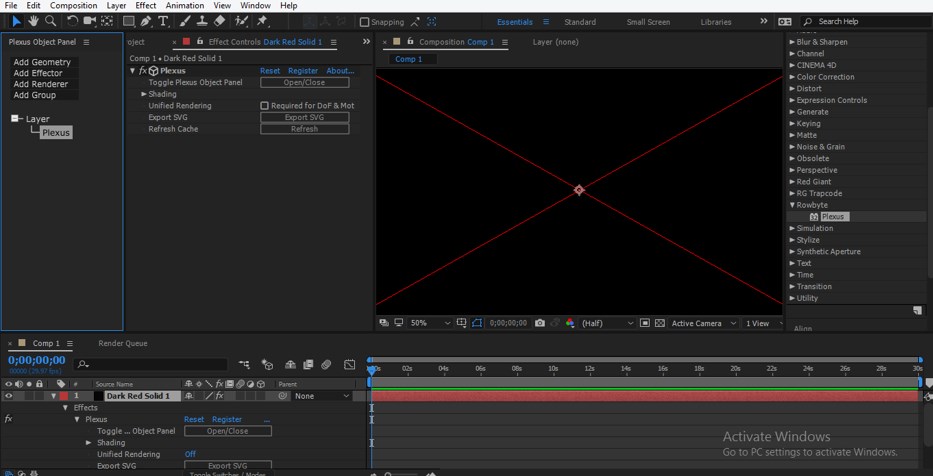
Step 8: Now, if you have not a Plexus plugin on your After Effects software, download it from the internet and install it on your computer. Then go to the Effects & Presets tab, which is at the right side of the working screen in the Parameter panel, and search for Plexus in the search box of the Effects & Presets tab.

Step 9: Now, Pick the Plexus option from there and drop it on the solid layer in the Layer section. Once you drop it on the solid layer, the parameters of Plexus will be open in the Effects Control panel, which is next to the Project panel on the left side of the Composition window.
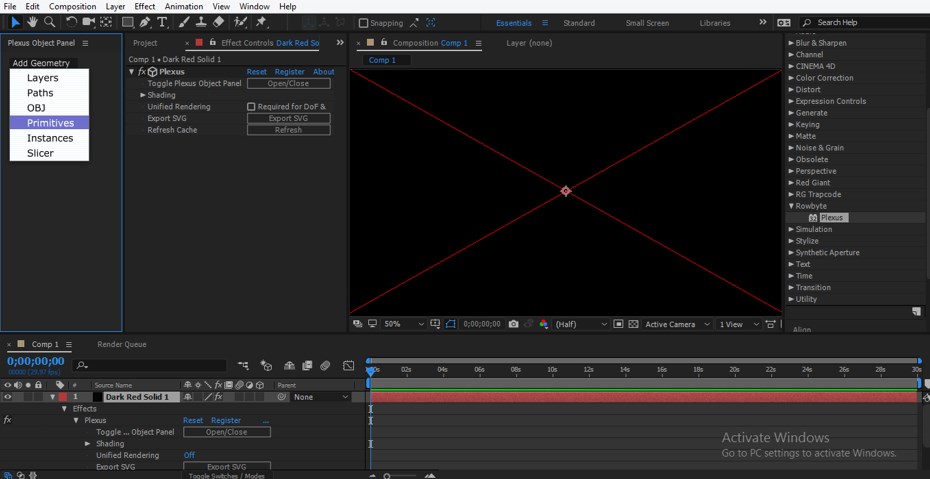
Step 10: Now, let us understand the parameters of Plexus with an example. Adjust the parameter panels of Plexus like this. Now click on the ‘Add Geometry’ option and click on the Primitives option of the drop-down list.
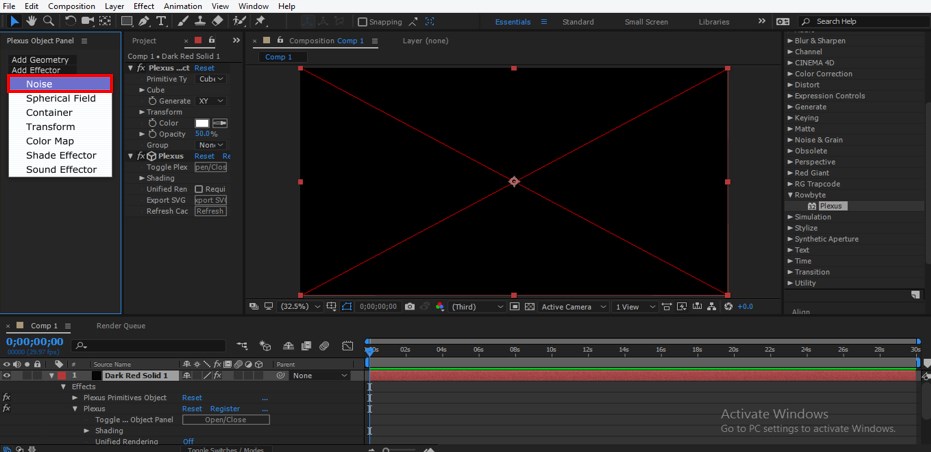
Step 11: Now click on the ‘Add Effector’ option and choose the ‘Noise’ option from the drop-down list of this option.
Step 12: Now click on the ‘Add Render’ option and choose Lines from the drop-down list.
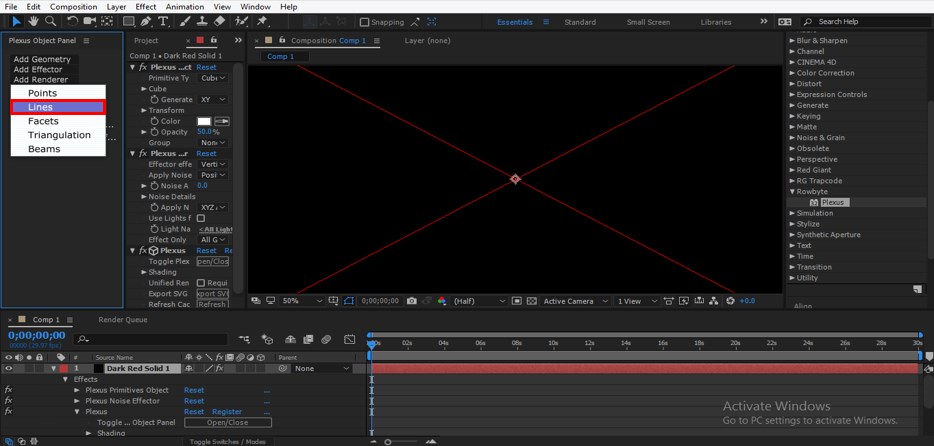
Step 13: These are three main parameters for making an animation with the Plexus plugin. Once you choose these options, then a combination of line structure will look like this.

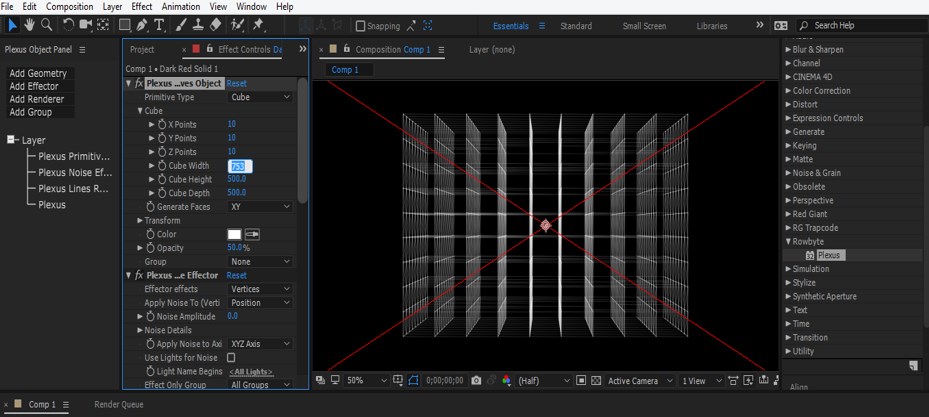
Step 14: Now, let us manipulate these options to get our desired line structure. Now go to the Effect Control panel and click on a small arrow icon of the Plexus Primitives option. A list of data of Primitives will be open, increase the value of Cube width for increasing the size of the cube.
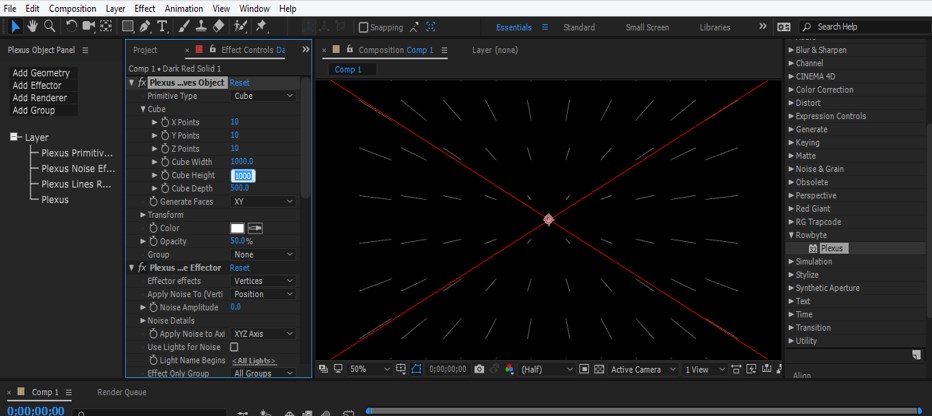
Step 15: Now increase the value of Cube Height up to 1000 for getting line like structure.
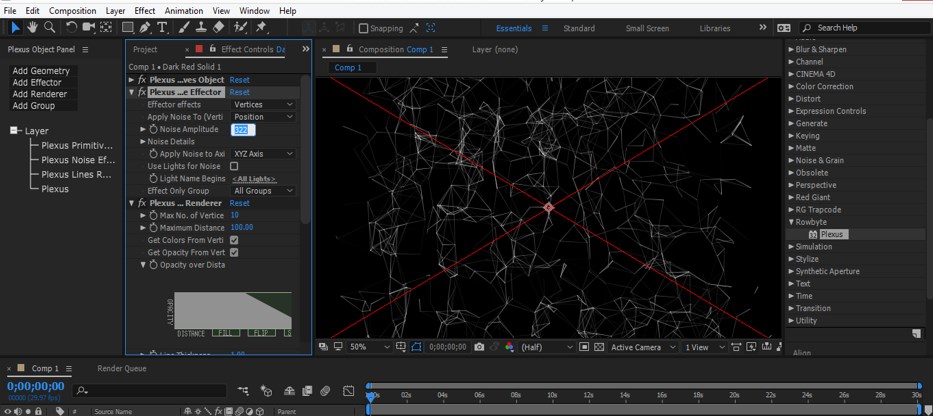
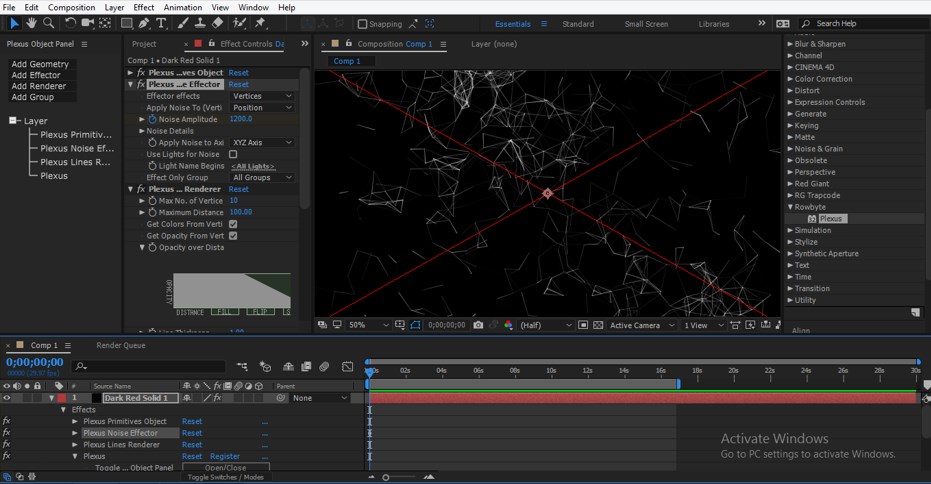
Step 16: Now, come to the Plexus Effector option and click on the small arrow icon of this option. Data list of Effector will be open, increase the value of Noise Amplitude for getting this type of variation inline structure.
Step 17: Now, let us animate the value of this Noise property. Click on the small clock icon on Noise Amplitude for adding the key.
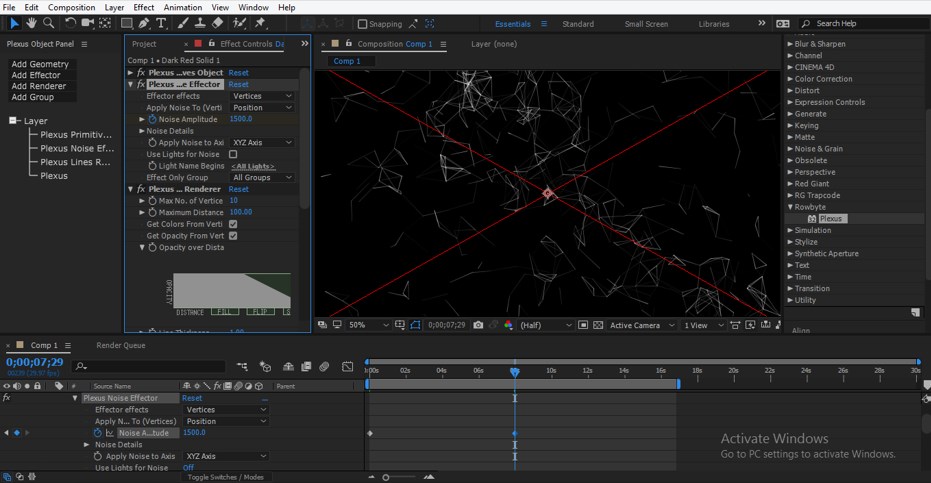
Step 18: Now place keyframe play head few frames forward in the keyframe section and increase the value of Noise Amplitude up to 1500. Add a new key at this point again in the keyframe section.
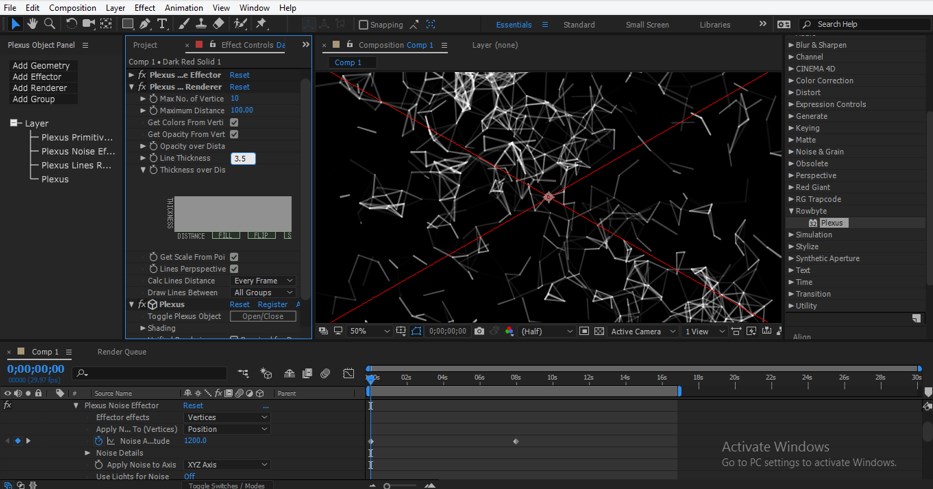
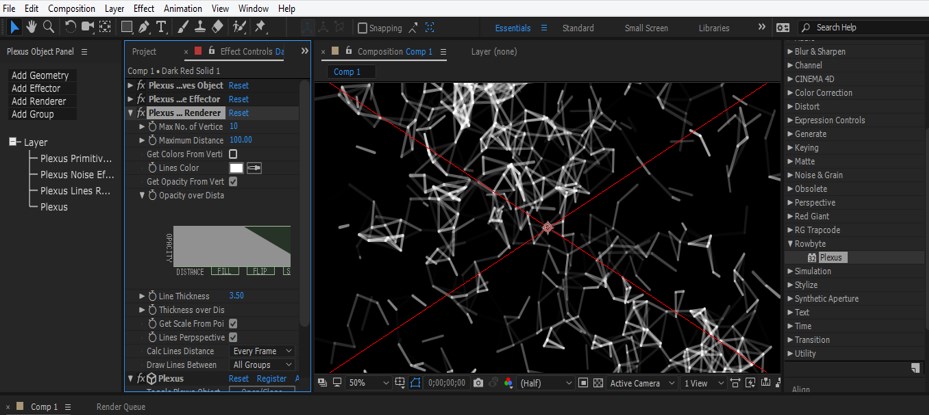
Step 19: Now, come to the Plexus Renderer option and click on the small arrow icon of this option. The data list of this option will be open. Increase the value of Line thickness here.
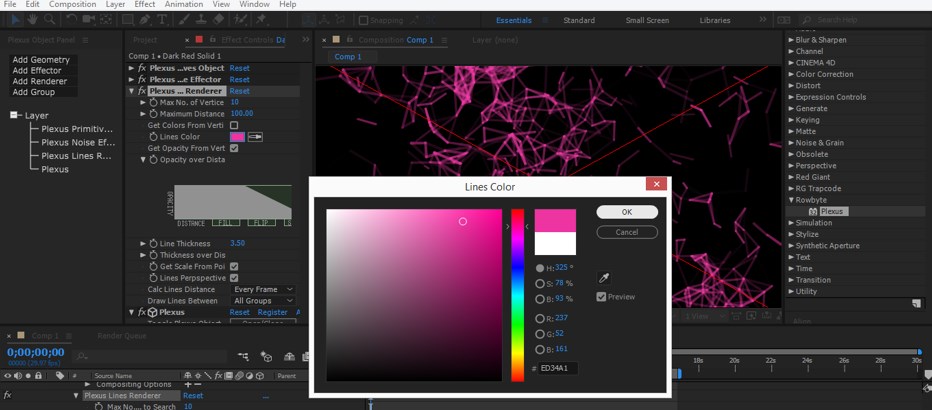
Step 20: Now, make uncheck on the ‘Get Colors from Vertices’ option and click on the color box of the ‘Line-color option.
Step 21: Choose your desired color from the color panel dialog box as the color of the line of the structure and press the Ok button of this dialog box, then add a key in this option also in the keyframe section.
Step 22: Now, place keyframe play head at some frame forward and change the color of lines according to you, then add a new key in the keyframe section.
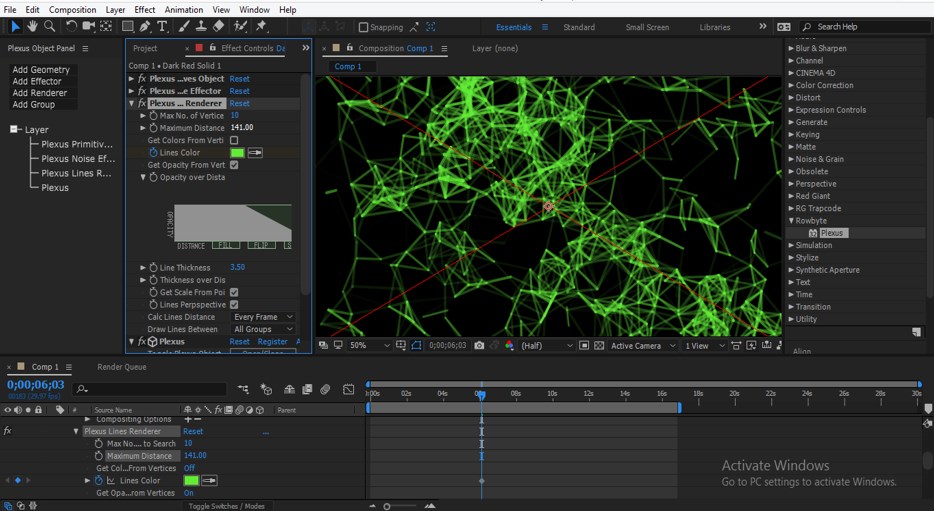
Step 23: Now, decrease the thickness of the line up to 1 at this point.

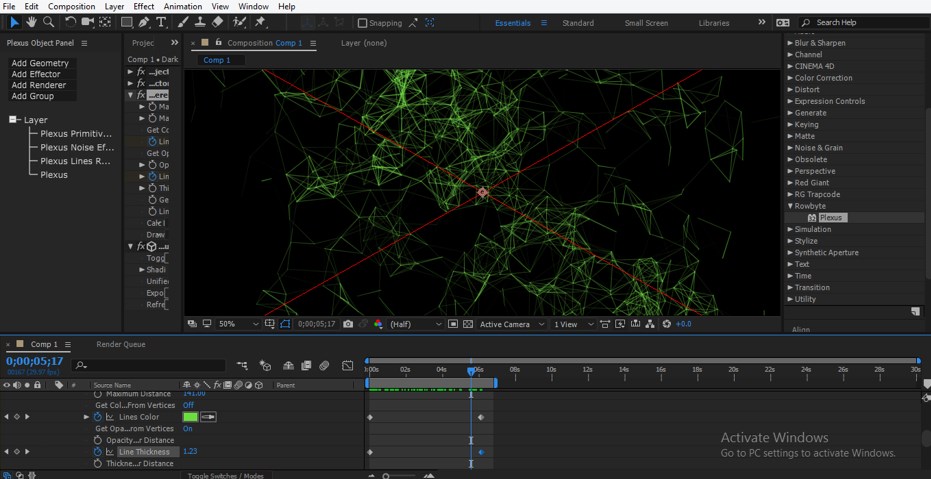
Step 24: Now, when you play your animation by pressing the keyboard’s space bar, your animation will look like this. You can also go to the Preview tab of the Parameter section for playing the animation.
In this way, you can make a professional animation for any project work by using Plexus plugin in After Effects software.
Conclusion
After this article, you can understand the Plexus plugin in After Effects software and can use this to make effective animation for any video footage or graphics design. You can make a different type of animation effect with Plexus by changing the parameters setting of it.
Recommended Articles
This is a guide to Plexus After Effects. Here we discuss an Introduction, how to use Plexus After Effects in a step by step manner. You can also go through our other related articles to learn more –
