Updated August 25, 2023

Introduction to Photoshop Overlays
Overlays are nothing but simple images used as the additional layer with original Photos or images for adding different mode effects on those simple photos to make them effective. There is several overlays available on the internet with lots of themes collections that you can use freely for your personal use. You will also find some paid overlays so according to your choice you can go with anyone. Here in this article today, we will analyze how we will use these overlays with our photo to give it a natural look. Are you excited about learning this feature of Photoshop? So without wasting your time, let us get started. In this topic, we are going to learn about Photoshop Overlays.
How to Create and Use Overlays in Photoshop?
We can create it by using different tools of Photoshop but here for our learning, I have downloaded some overlays of different themes from the internet, but before going through our topic, you should have an idea about the user screen of this software so you can quickly connect with this article.
At the top of the working screen, you will get a Menu bar with a File menu, Edit menu, Layer menu, and others. Below this menu bar, we have a property bar of active tool or active image for making different changes in their parameters. Below this property bar, we have a toolbar on the left side, display window at the center of this section; on the right side, we have some other important tabs such as color tab, swatches, and some others. You can arrange all these sections anywhere on the user screen as per your choice.
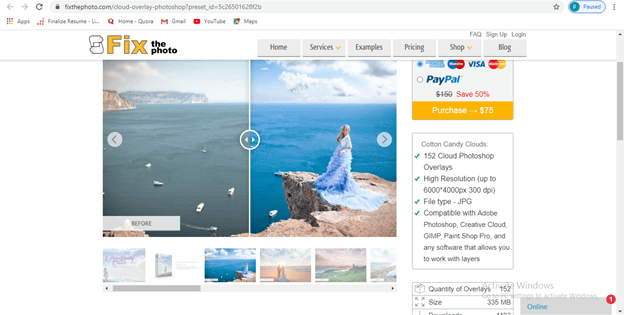
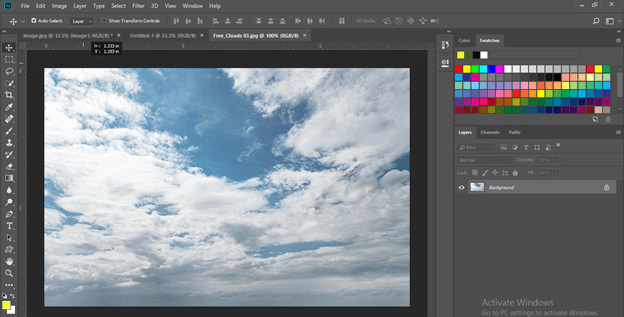
I have downloaded a Cloud overlay image. For downloading it, search ‘Overlays for Photoshop’ on google.com and find any website for it if you want a good collection of the overlay. I go to this website.

You can also go with paid Overlay collections.
Now let us an open photo first, with which we will use overlays image. So click on the Open button on the welcome screen of Photoshop.
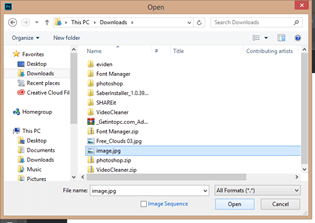
Once you click, this dialog box will be open. Open the desired location in your Personal computer where you have saved your photo, then select it. You can use your personal photo or have any photos from the internet for this learning; after choosing your desired photo, hit on the Open button of this dialog box.
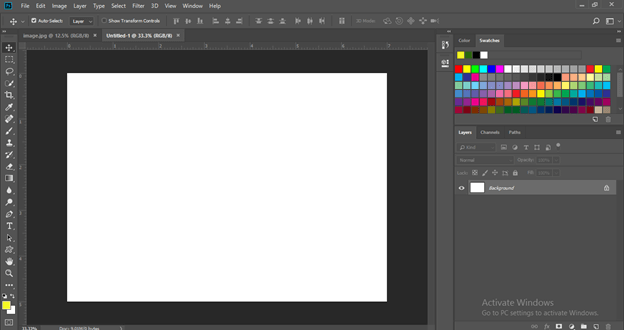
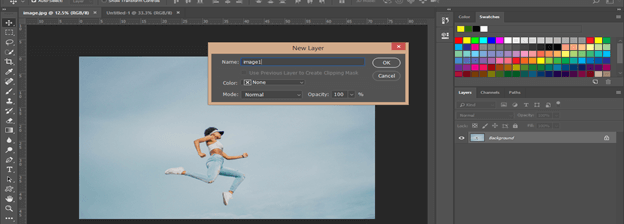
This image will open as a background layer image, making a double click on this layer to convert it into a normal layer. A dialog box will be open now; give it a name as per your choice and hit the Ok button.
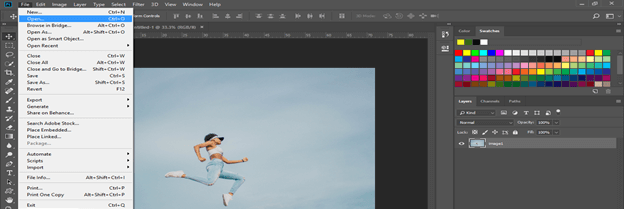
Now, this is an editable image. We will open overlays images now. So go to the File menu of the menu bar and click on it. Choose the Open option from the scroll-down list or press Ctrl + O button from the keyboard as a shortcut key.
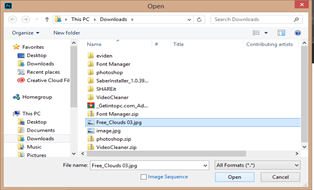
Go to the saved location of the Overlay image in the open dialog box and select it, then the hit Open button of this dialog box.
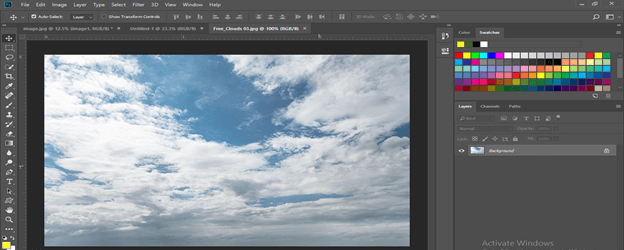
We have a cloudy sky overlay image here like this. You can have any other overlay image according to your choice once you have a good idea about this feature of Photoshop.
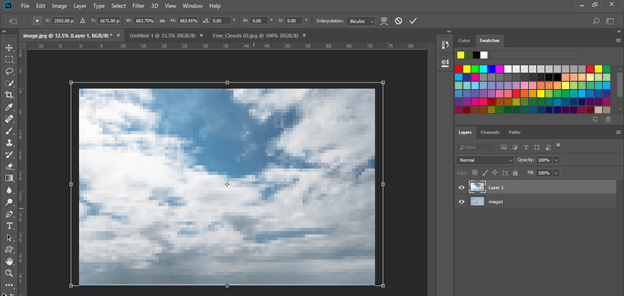
Convert this layer into the normal layer by double-click on the background layer and drag it into the photo window tab, our main working tab.
Adjust the size of this cloud overlay image by using the transform bonding box of this image. Increase its size in this way so that it will cover the whole photo, then hit the Enter button on the keyboard.
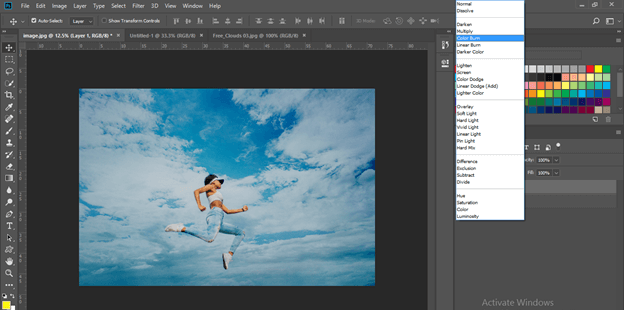
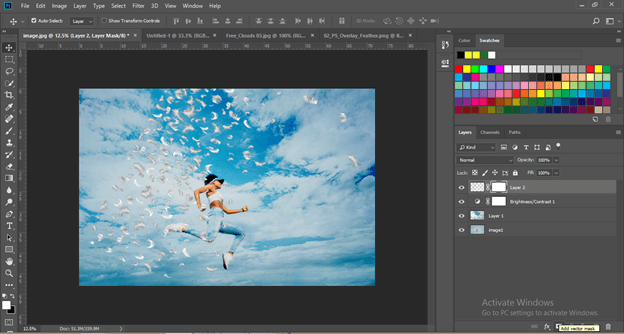
Now click on the Mode option of this layer and make sure the overlay cloud layer is selected. Choose the Color Burn option from the scroll-down list, and your photo will blend with the cloud image. You can choose any Mode option from the list according to which suits your images and according to which type of effect you want.
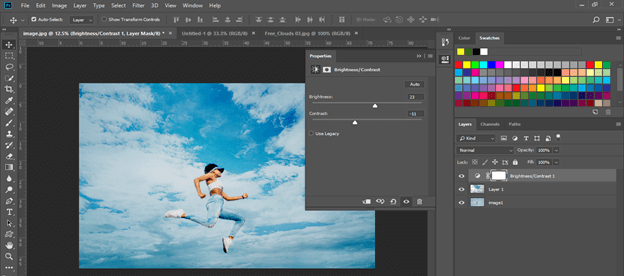
Now I want to increase the brightness of this image a little bit so go to the Adjustment layer button, which is at the bottom of the layer panel. Choose the Brightness/Contrast option from the list.
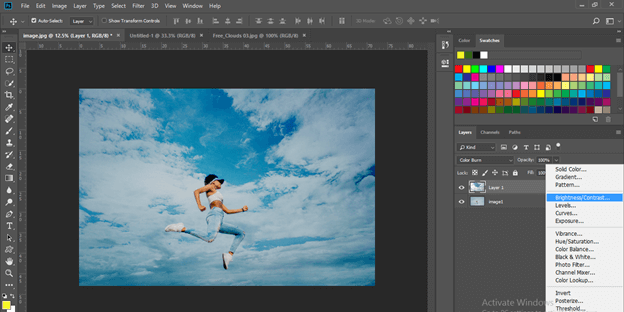
Increase the value of brightness a little bit and decrease the value of contrast a little bit for giving your photo-real effect. You can adjust the brightness of your photo according to you.
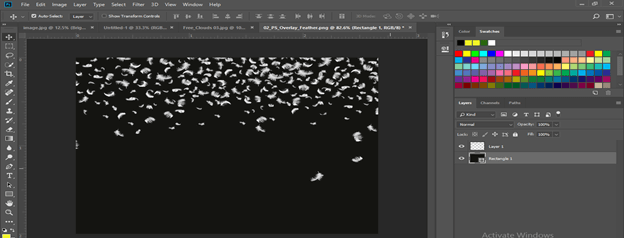
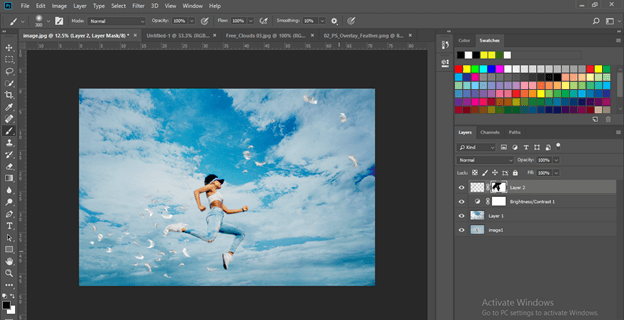
Now let me show you a transparent overlay image. I also downloaded it from the internet. This is a feather overlay, and it has a transparent background.
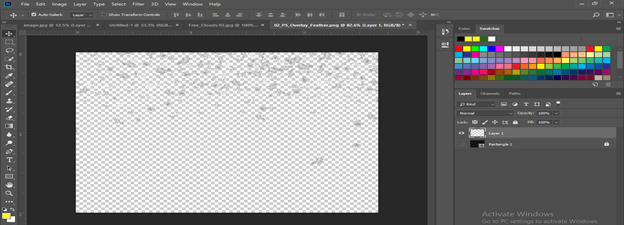
You can see it clearly on the black background.
Drag this feather overlay into the main Photo tab and adjust the size according to you. I will adjust it like this by using the transform bonding box of this image.

I will rotate it a little bit like this and increase its size also.
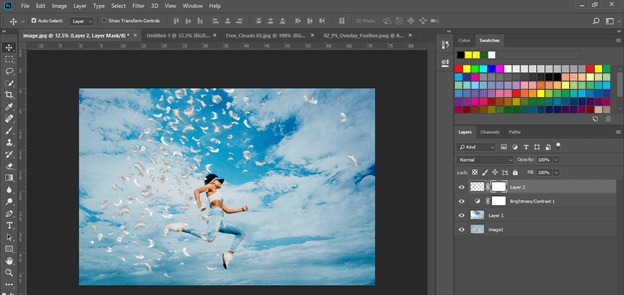
Now add a layer mask with this layer by click on the add mask button of the adjustment layer, which is at the bottom of the layer panel.
Now go to the tool panel of this software, take a brush tool, and select the black color as the foreground color in the color panel box. Select mask thumbnail by click on it and Remove unwanted feathers from overlay images with the brush tool.
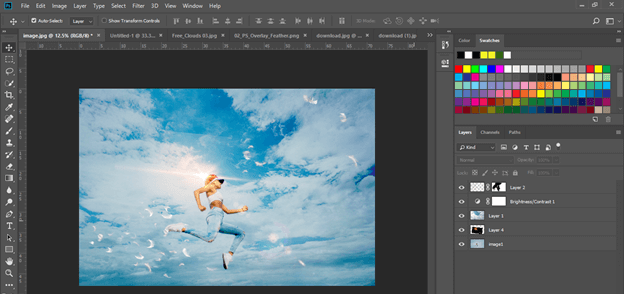
Now select this feather overlay image and go to the mode option. Choose the Lighten mode option from the list to enhance the feather image effect.

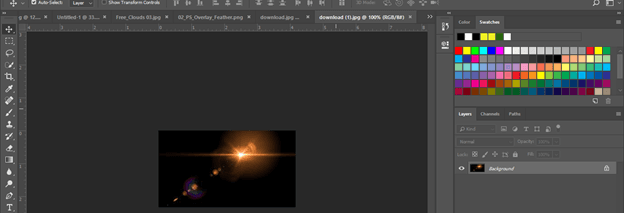
Now let us again take a lens flare overlay with a black background so that we can add a light effect to the Photo.
Drag this overlay image to the main Photo tab and Flip it according to the direction in which you want to set it.
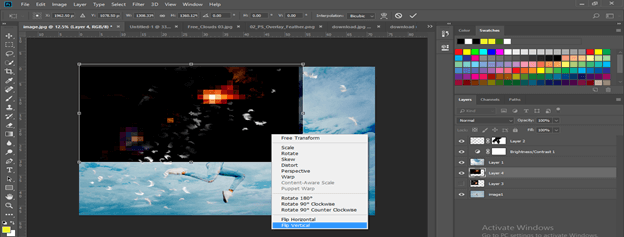
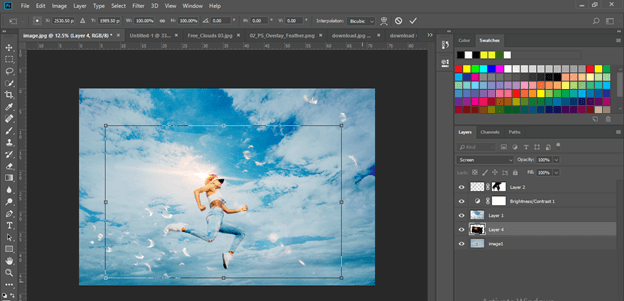
Now select this lens flare overlay image layer and change its mode option to Screen mode.

Set this lens flare at the top of the head of this girl.
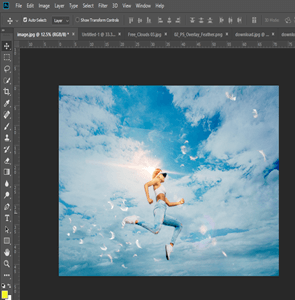
This is the final photo which we edited by using different overlays of image.
You can see the difference between both images.
Conclusion
How was your learning about the Overlays feature of Photoshop? I think you find great fun during learning about this topic through this article. Now you should go on the internet and search for more overlays images and use them on your Photo to give your photo a different look. I am sure you will definitely have a good command of this feature with more and more practice.
Recommended Articles
This is a guide to Photoshop Overlays. Here we discuss learning about the Overlays feature and How to create and use Overlays in Photoshop. You may also have a look at the following articles to learn more –
