Updated August 25, 2023
Introduction to Photoshop Content-Aware Fill
Content-Aware clearly shows its purpose by its name: to understand anything automatically, and here content-aware fill stands for filling sampling area (the area which we want to remove from our image by selecting it) itself by pasting other similar areas of that image. In simple language, you can use this feature of Photoshop for removing any object from an image and automatically clone a similar area in place of the removed object. Here in this article, we will understand all important aspects of the Content-Aware Fill feature of Photoshop and analyze the parameters through which we can command this feature.
How to use Content-Aware Fill in Photoshop?
Content-Aware Fill is like magic through which you can remove any object from your image, so are you ready to do this magic on your work?. I am sure you are waiting for it so let’s get started.
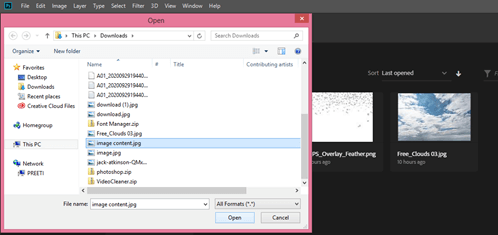
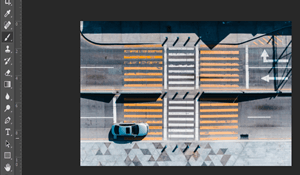
For learning about content-aware fill, we need an image, so for opening an image in Photoshop, go to the File menu of the menu bar and click on it. Once you click a scroll-down list will be open click on the Open option of this list.

Find your desired folder in the opened dialog box, click on your desired image for selecting it, and then hit on the Open button of this dialog box.
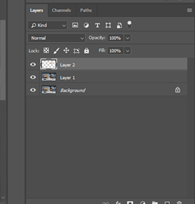
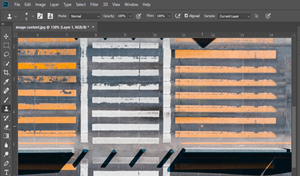
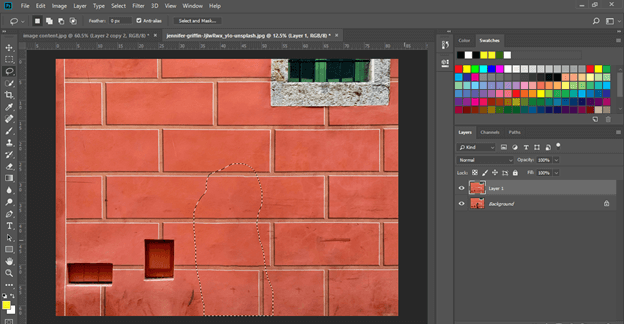
Now make a copy of your imported image. For making a copy select the background layer of the image, then press the Ctrl + J button on the keyboard. We are making a copy of this layer because content-aware is a destructive process.
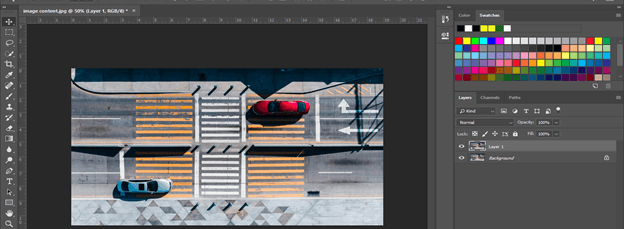
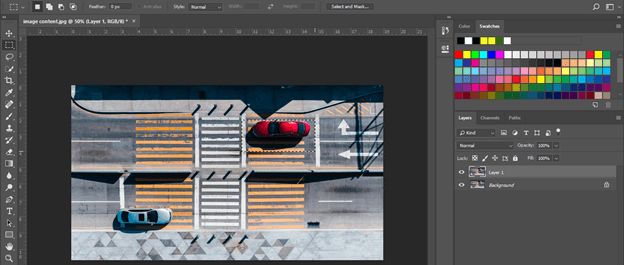
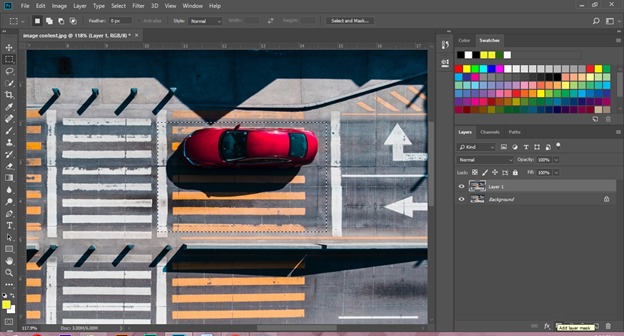
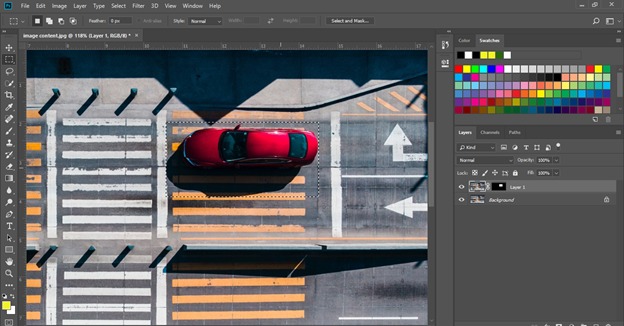
Now make the selection of object which you want to remove from your image. You can use any selection tool of the tool panel for selecting it. I will make a selection around the red car by using a rectangular marquee tool.
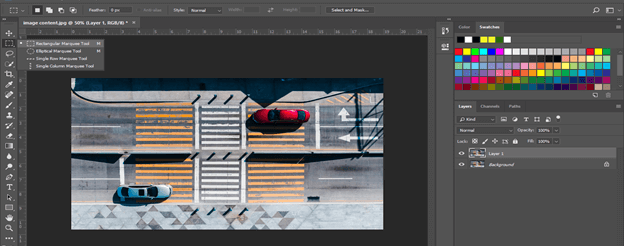
Make a selection like this.
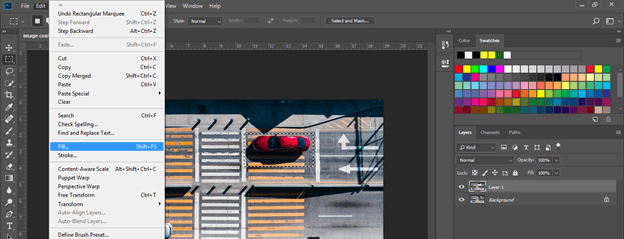
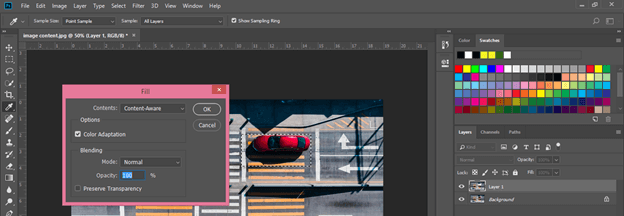
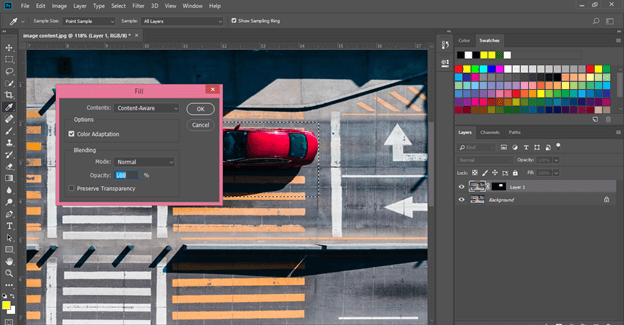
Now go to the Edit menu of the Menu bar and click on it. A scroll-down list will be open to choosing the Fill option from this list or press. You can also press the Shift + backspace button for content-aware fill.
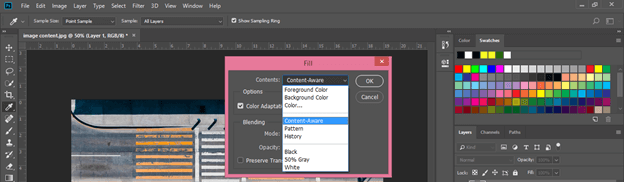
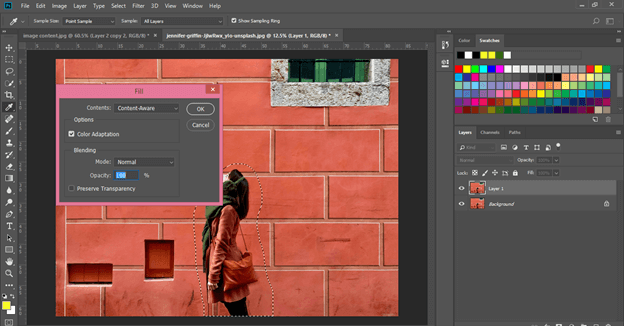
Fill dialog box will be open. Choose a content-aware option from the contents list.
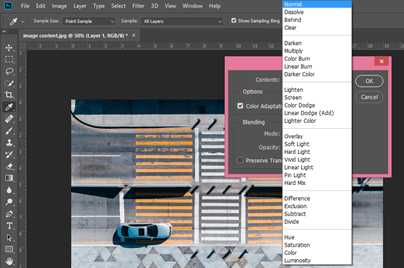
You can also choose the mode of pasted area (which Photoshop automatically paste in place of the removed object) from this blending mode list.
Make checkmark ‘On’ in a square box of the Color Adaptation option so that content-aware match color properly during the process. Now hit on the Ok button of this dialog box.
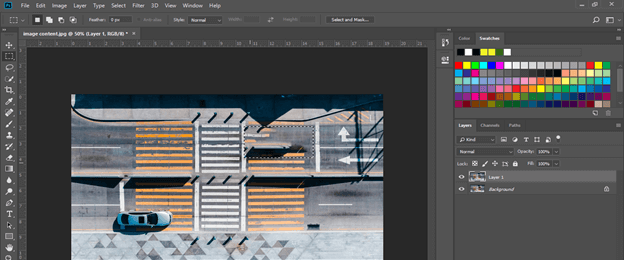
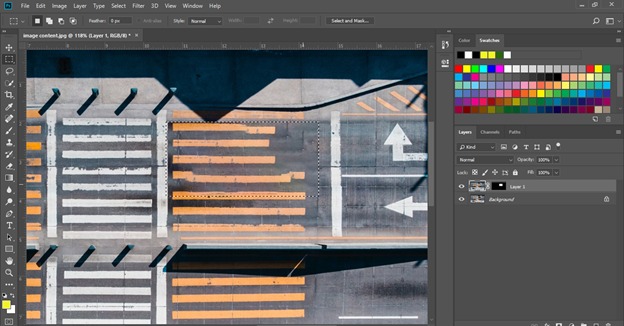
You can see Photoshop itself paste some area of this image in place of the red car, but it is not pasted the exact area. So what will we do now? Don’t worry; we also have a solution to this.
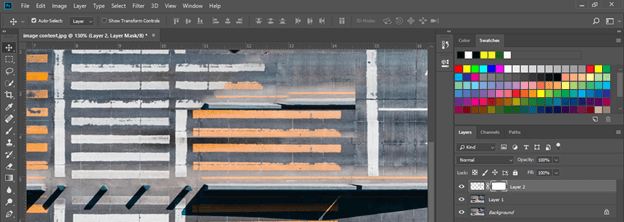
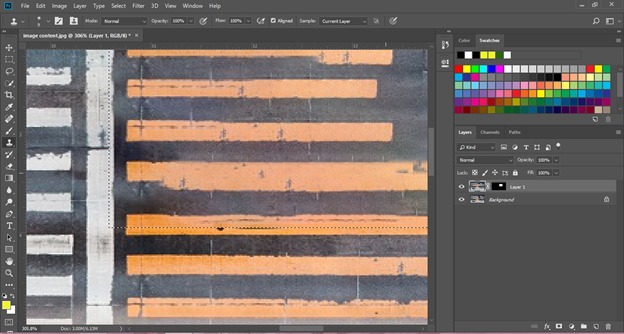
We have to remove this divider from the yellow strip lines of the road.
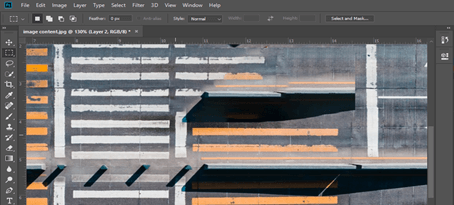
Now take the rectangular marquee tool and make a selection around it like this.
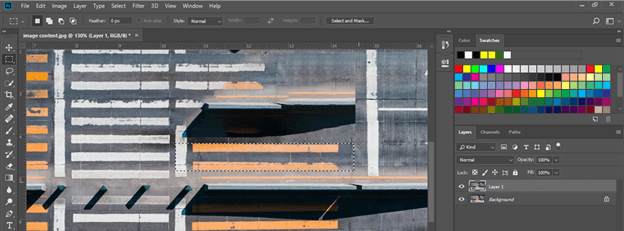
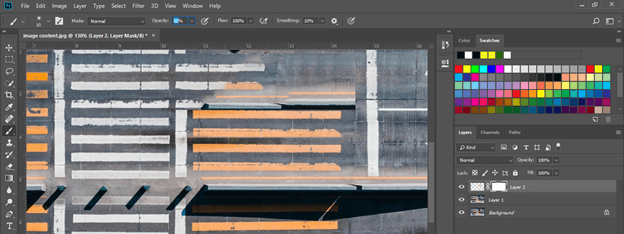
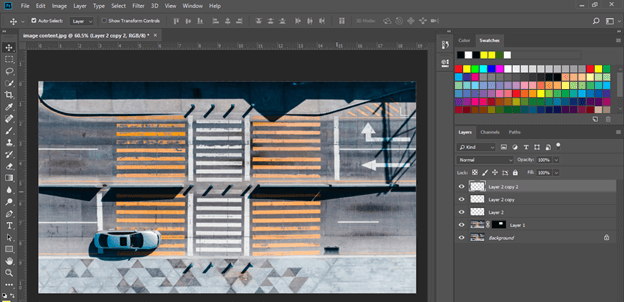
Press the Ctrl + J button from the keyboard for making a copy of the selected area.
Move it in an upward direction like this and add a mask layer with this copied layer from the adjustment layer button of the layer panel.
Take a brush tool from the tool panel and select black color in the foreground color of the color panel box. Now remove sharp edges around copied and moved layer.
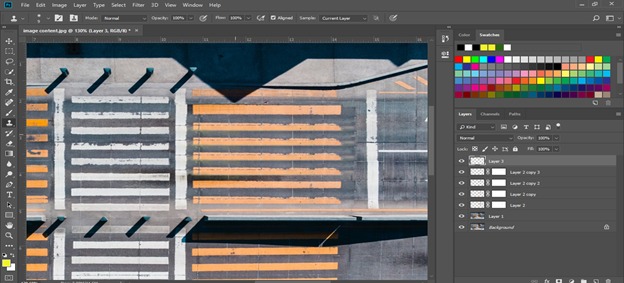
Make multiple copies of the copied layer and cover all areas like this.
This way, you can remove any object exactly from your image.
We can do one more thing so that the content-aware fill feature of Photoshop can make the right selection about which area should be selected for pasting at the removed object.
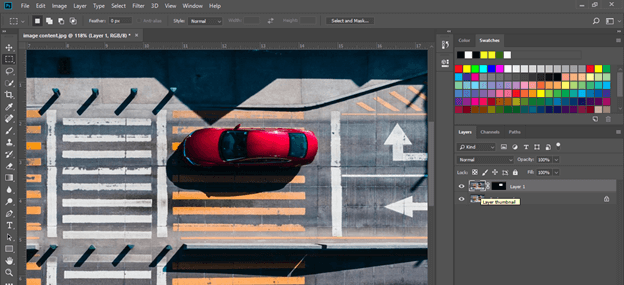
The option is that make a mask round area in which you want to suggest Photoshop as considering the area of the pasting area in place of the removed object. So selected Layer 1 and choose the area for making the mask, then click on the Add layer mask button of the layer panel. I used a rectangular marquee tool for selection and clicked on the Add layer mask button.
Now Photoshop is bonded for choosing a pasting area from this masked layer. Now click on the Layer thumbnail of layer 1.
Make a selection around the object which you want to remove from the image. I will make a selection around this red car with a rectangular marquee tool.
Press shift + Backspace as shortcut key of Content-aware fill box. Make the setting of parameters of this box according to you and hit the Ok button of this dialog box.
And magic happened. You can see it only pasted area from the masked area in place of the red car, which is our removed object.
Let’s manage unwanted areas from pasted content by using the clone Stamp tool. Go to the tool panel of this software and take the Clone Stamp tool.
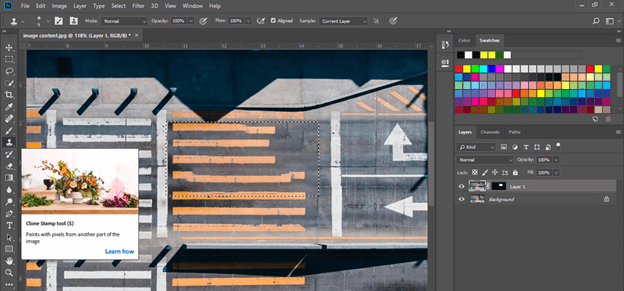
Use the clone tool for filling the yellow line by holding the shift button for the straight yellow line after sampling the yellow area in the clone tool.
Sample black area of road in clone tool and remove an extra yellow portion from the yellow strip with the clone tool, and you can see we done it nicely.

Do the same with all yellow strips, which are not managed, and you have done a good job of removing the red car from your image.
Now let’s look magic of the content-aware feature on the image, which has not complex color content around the object you want to remove.
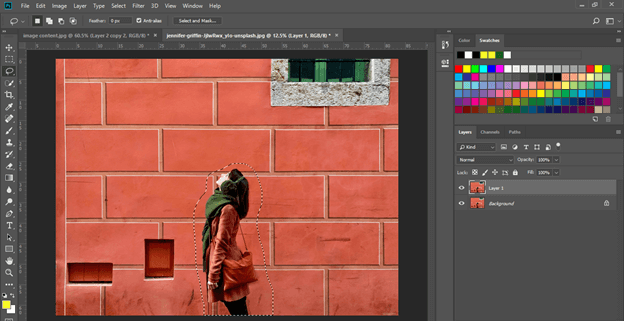
I want to remove this girl from this image, so I make a selection around it with the help of the lasso tool of the tool panel. Always remember during using content-aware not to make the exact selection; make the rough selection so that it can easily pasted area in place of the removed object.
Now make settings in the content-aware box, then hit the Ok button.
See it removed object properly without leaving any mark.
The So accuracy of content-aware depends on the complexity of the image and object you want to remove.
Conclusion
I think now content-aware fill will not anymore new thing for you, and you can easily manage its parameters for using it in your project work for removing any object. You can have a better command of your working skill after adding this feature to your expertize work.
Recommended Articles
This is a guide to Photoshcontent-aware are fill. Here we discuss How to use the Content-Aware Fill in Photoshop and analyze what are the parameters through which we can have command on this feature. You can also look at the following article to learn more –
