Updated February 14, 2023
Introduction to Node-RED WebSocket
Node-red websocket is a communication protocol that is used to extend the typical TCP connection in order to establish a persistent connection. It is useful because it allows two-way communication between the server and the client, which improves server performance and reduces overhead. Node-red WebSockets are pretty flexible and can be used to transfer data from one server to another via a browser.
Key Takeaways
- Node-red websocket is an open-source tool that provides traditional programming and allows users to configure nodes such as HTTP or JSON.
- There are websocket nodes that have been selected in a websocket. Client or server is used to configure input and output websocket nodes.
What is Node-RED WebSocket?
The node-red websocket is used at the time we need low latency and real-time connection between the server and client. The http socket is connected to the server which stays open for the connection, which means we can say that data is pushed to the browser in real-time and on demand. At the time of using node-red websocket, we must write a code and use various libraries such as socket.io and ws4py.
Node-red is basically a visual tool for writing things. It was developed by IBM and the open-source community. Developers will use node-red WebSockets to wire and connect input, processing nodes, and output to create flows for processing data and sending alerts.
Installing Server Node-RED WebSocket
The node-red socket allows us to wire up the custom nodes or web services, it does the following things:
- Send mail on weather forecast report.
- Push the sensor data.
- Complex analysis of data.
Pre-requisites:
To install the node-red websocket we need the below prerequisites as follows:
Below are the prerequisites which we need to define at the time of installation.
- Need to create a cloud account for IBM.
- Require the cloud app of IBM by using a node-red starter.
Steps:
The below steps show how we can install the node-red websocket as follows. We need to provide the instance of node-red to install the node-red websocket.
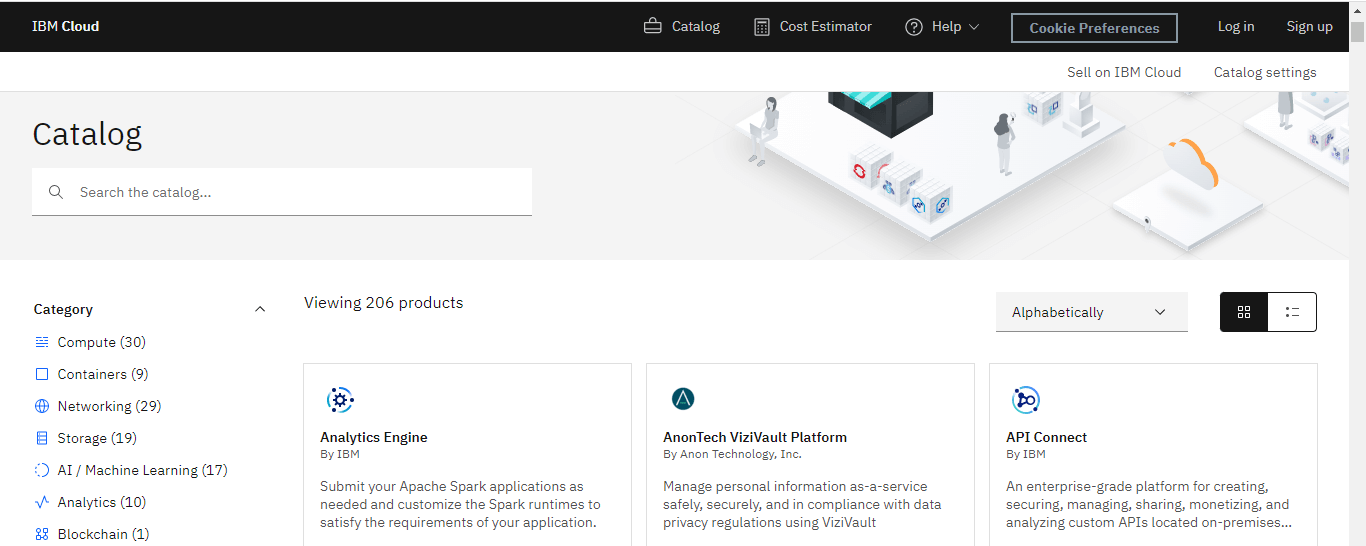
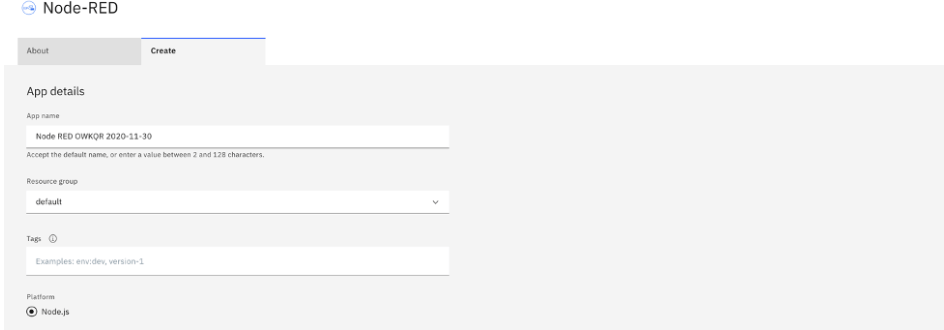
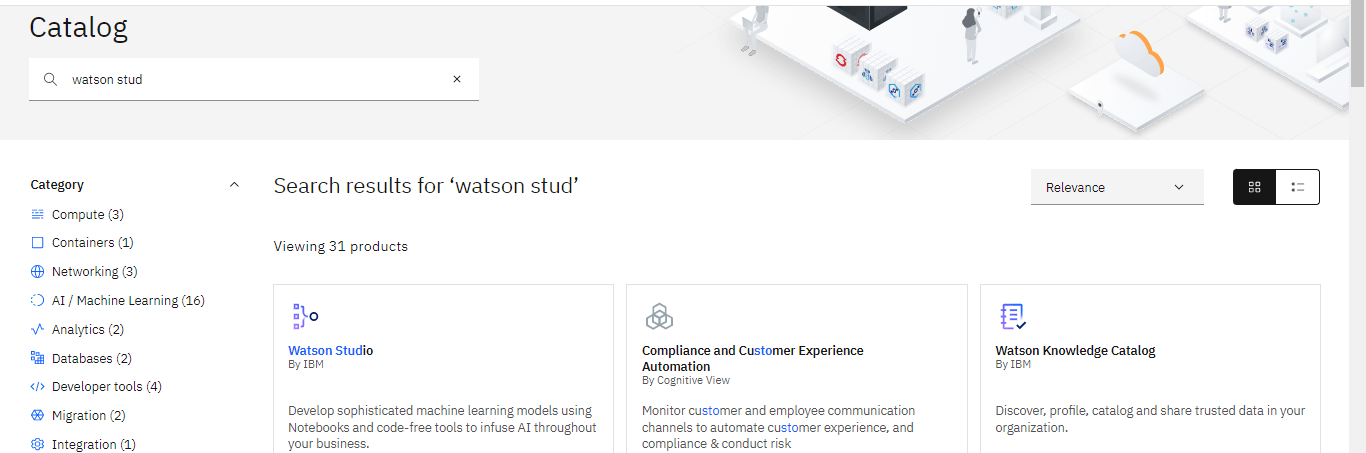
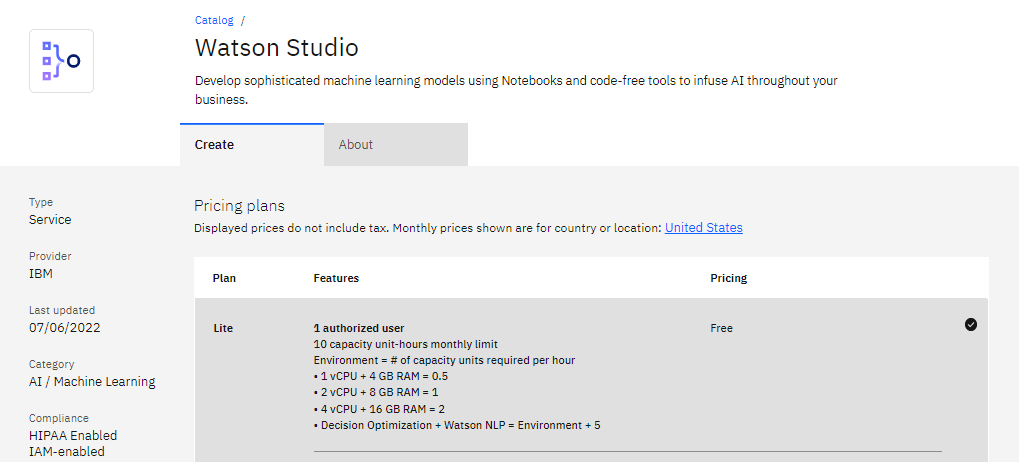
1. To install the node-red websocket first we need to open the catalog of the IBM cloud.
Below example shows how to open the catalog of node-red websocket as follows:
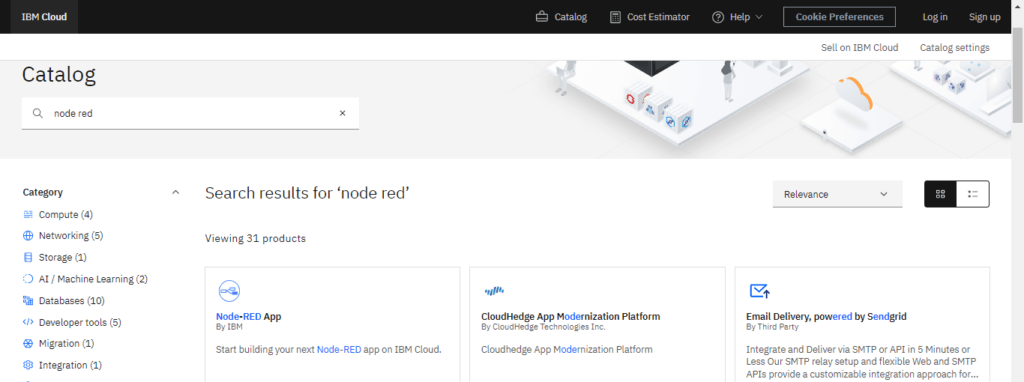
2. After opening the catalog of IBM cloud we need to search the node-red app by searching node-red in the search bar. After searching we need to open the same.
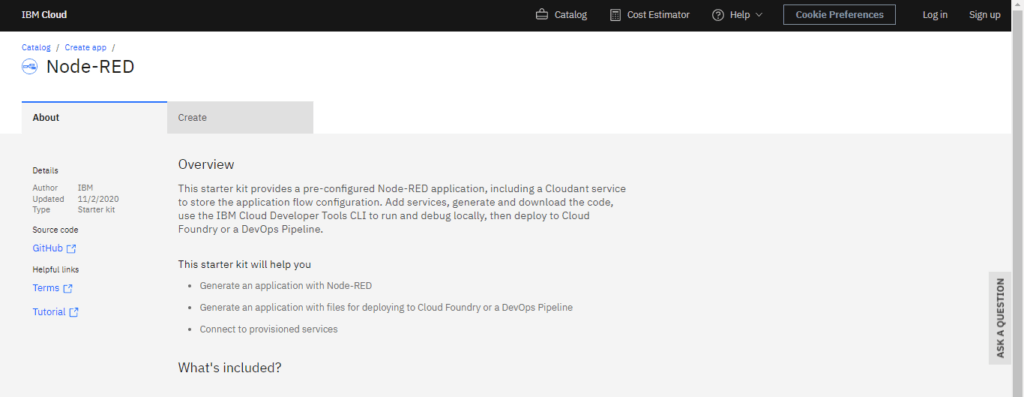
3. Now in this step we are creating the provision of instances for cloudant database, which we used for storing the flow of node-red as follows.
We can define the server and client communication between the web interface and the notebook of jupyter as follows:

Setup Server of Websocket on Node-red
By using server mode, they are listening for the URL by defining the client and connecting to the address that we have specified. The below step shows how can we navigate the node-red websocket as follows:
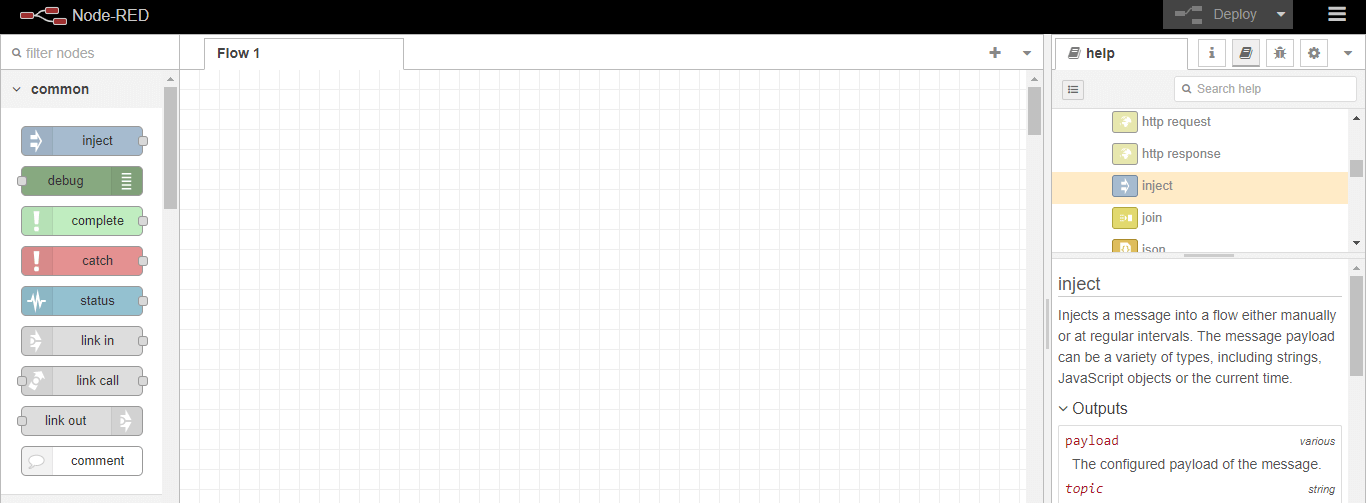
1. In the first step, we navigate the node url by searching the web socket in a filter node, as shown below. The websocket node makes the endpoint available for clients to connect to and send messages.
We are creating the websocket server by using the following nodes:
- Function
- Websocket out
- Websocket in
The examples below show the flows that were used to create the web socket server.

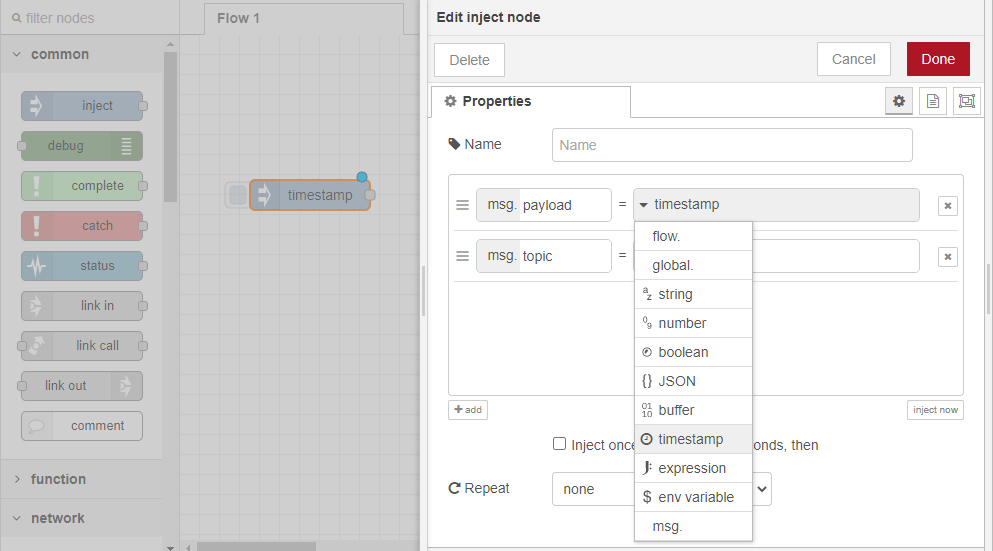
2. In the second step we are dragging the input node to the specified flow.
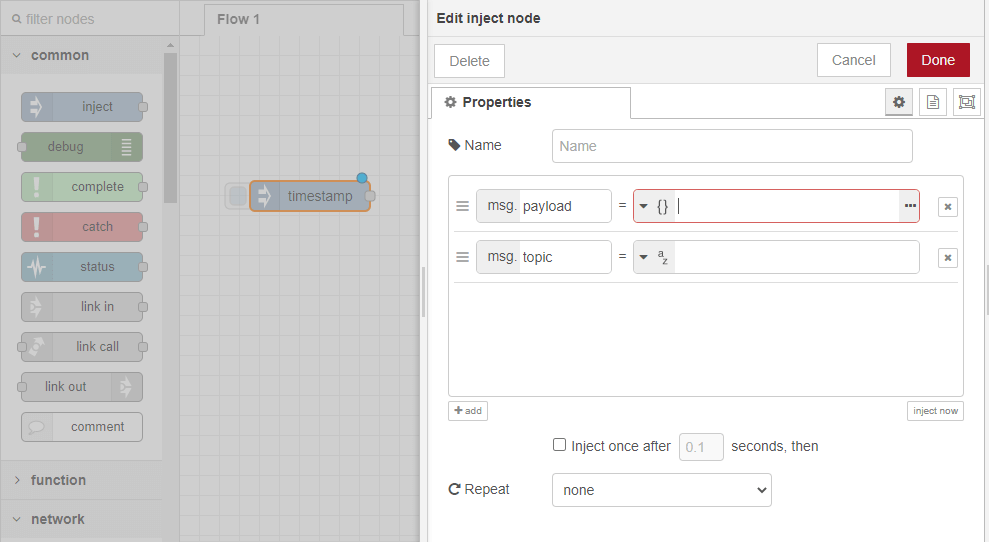
3. Then we double-click on the node to configure it.
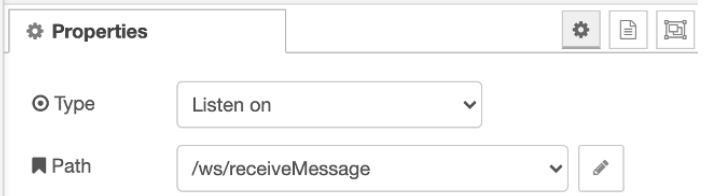
4. In the fourth step we need to set up the type as listen on.
5. In the path section we need to define the endpoints that the client is connecting to the websocket listener by using the path as /ws/receiveMessage as follows.
6. In this step we need to select the output node of websocket.
7. After selecting the output node in this step, we are setting the listening type.
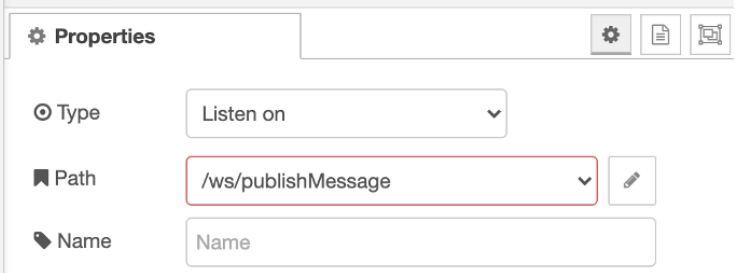
8. Now in this step we are adding a new websocket listener with path name as /ws/publishMessage as follows.
9. In this step we are searching the function for filtering the nodes in a search bar.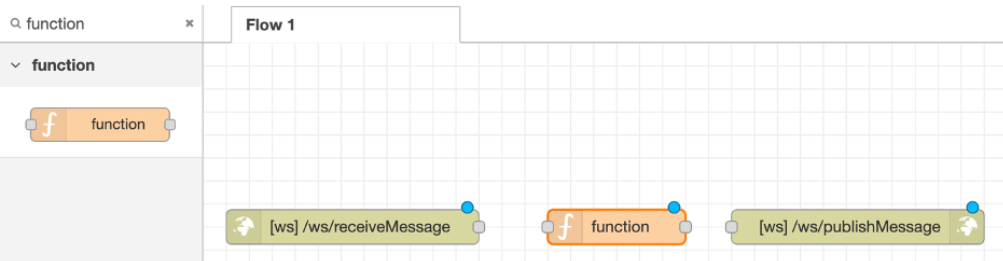
10. Now we are using the function node for redirecting the incoming message.
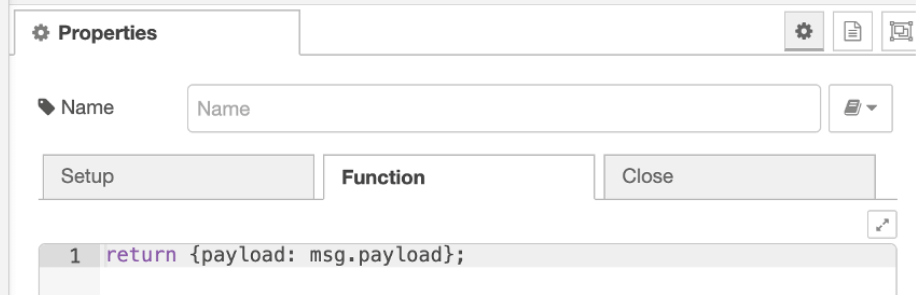
11. Then we are deploying the flow by clicking on the deploy tab.
Create WebSocket Client
In this step, we are creating a simple test web page which acts as a client for publishing the message. The below steps shows how we create the client websocket as follows:
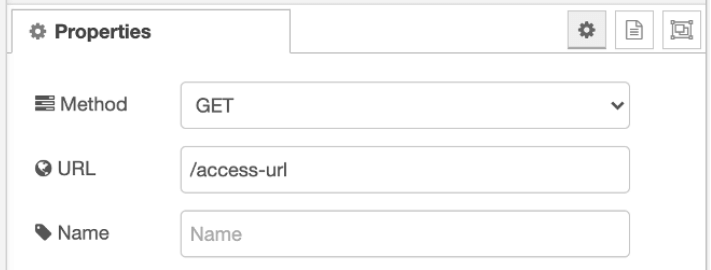
1. In the first step we are creating the new flow for http and drag the same in the http node.
2. After that we are selecting the http node for entering the access url as follows.
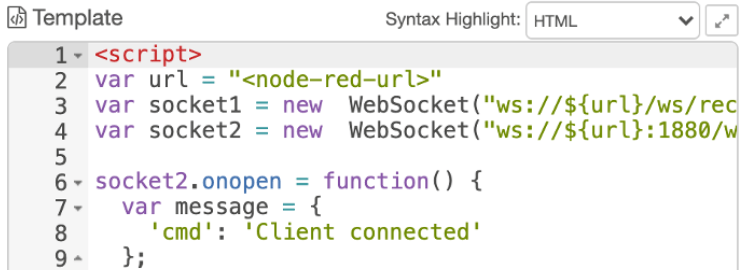
3. Now we are configuring the html template.
4. After adding the http code now in this step we are adding the http out node as follows.

Setup websocket client by using jupyter notebook
The below step shows how can we setup a websocket client by using jupyter notebook as follows:
1. Open the Watson studio.
2. Then we need to create an empty project as follows.
3. After creating the project we need to run the jupyter notebook. After running the notebook message will appear in a section of debug.
How to Use Node-RED WebSocket Application?
The below steps show how we use the node-red websocket application as follows. We need to install the node-red in our system.
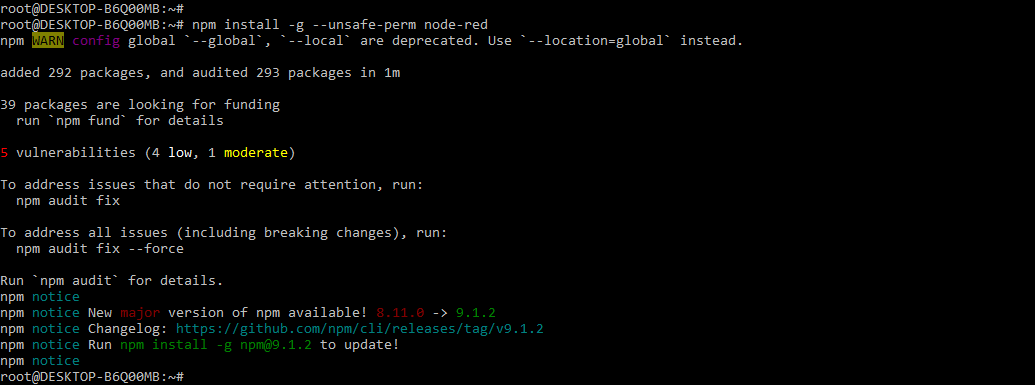
1. In the first step we are installing the node-red in our system by using the npm install command.
Command:
# npm install –g –unsafe-perm node-redOutput:
2. After installing the node-red, now in this step we are running the node-red as follows.
Command:
# node-redOutput:

3. Now we are creating the JSON data by using the dashboard as follows.
4. Now in this step we are changing the data as per our needs.
5. Now in this step we are checking the connection as follows.

FAQs
Given below are the FAQs mentioned:
Q1. What is the use of node-red websocket?
Answer: The node-red websocket is nothing but the protocol of websocket communication that was used to expand the TCP connection in order to establish a persistent connection.
Q2. Which nodes are required for creating the node-red websocket?
Answer: The node-red websocket required three nodes to create: function, websocket in, and websocket out.
Q3. How can we install the node-red on the ubuntu system?
Answer: We can install the node-red on the ubuntu system by using the npm install command.
Conclusion
The node-red websocket is used at the time we need low latency and real-time connection between the server and client. The http socket is connected to the server which stays open for the connection. Node-red websocket is a communication protocol that was used to expand the typical TCP connection to establish a connection that was persistent.
Recommended Articles
This is a guide to Node-RED WebSocket. Here we discuss the introduction, installing server Node-RED WebSocket and how to use Node-RED WebSocket application. You can also look at the following articles to learn more –
